First, check for condensation or a stuck needle when you depressurize; if it won’t snap back or reads 1.2–1.4 bar, the gauge is likely faulty. Choose a 40 mm capillary‑tube or liquid‑filled gauge with BSP threads, install a PTFE damping line filled with glycerine, and seal all connections with Teflon tape. Hook it up between the pump and boiler, leak‑test at 1–2 bar, then calibrate the zero and 1‑bar mark. Keep reading for the full step‑by‑step process.
Identify the Gauge Symptom and Confirm Failure
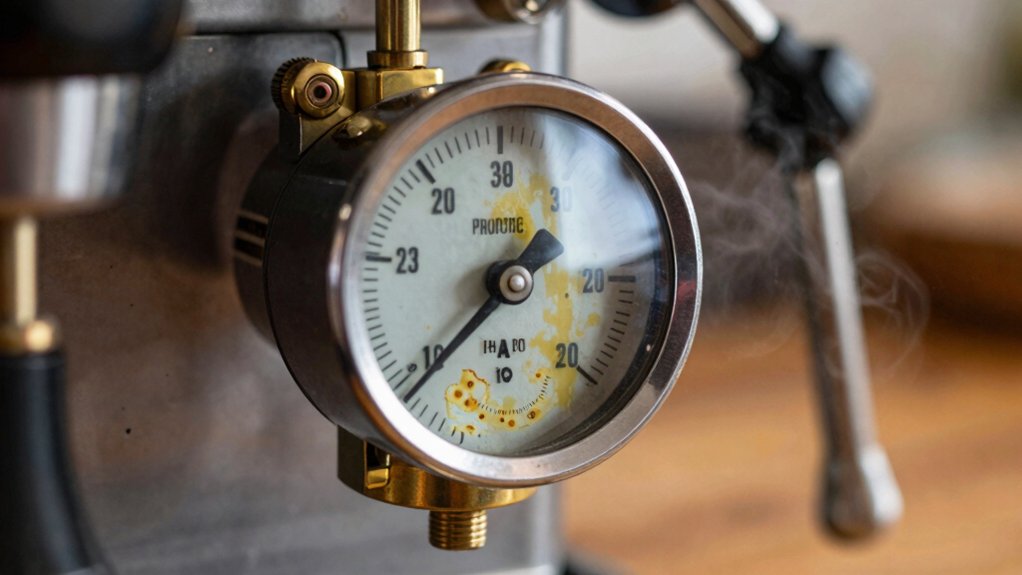
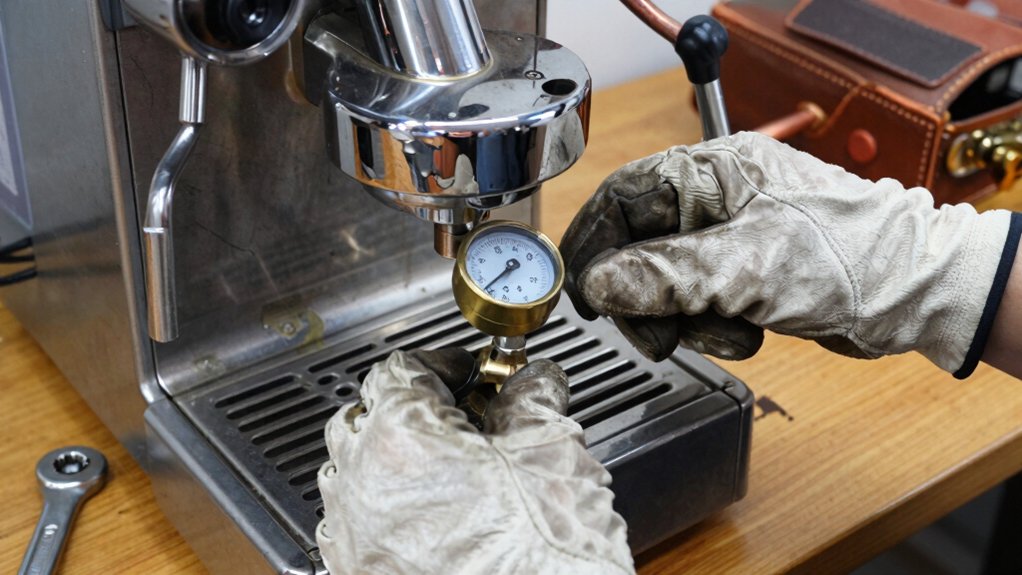
What’s the tell‑tale sign your espresso machine’s pressure gauge has failed? You’ll notice condensation inside the gauge or a Bourdon tube leak, and the needle won’t snap back to zero when you depressurize. If readings hover around 1.2–1.4 bar despite normal operation, the gauge may be drifting or mis‑calibrated rather than reflecting true pressure. Check the case: a cracked all‑metal housing or compromised seal can hide the fault. Also verify the stat (pstat) setting; a mis‑set stat can mimic a bad gauge. To confirm failure, depressurize, watch the needle, and compare its response to a known‑good reference gauge. If it stays stuck or shows erratic movement, the gauge is definitely compromised. Vacuum siphon technology
Choose the Correct Pressure Gauge for Your Machine
After you’ve confirmed the gauge is faulty, the next step is picking a replacement that fits your espresso machine’s design and operating range. Choose a 40 mm Pressure Gauge, but never exceed 63 mm because larger sizes distort proportional readings. Stick to BSP threads—1/4″ or 1/8″—so the gauge bolts cleanly to existing fittings, and prefer horizontal installation to simplify alignment. Look for a capillary‑tube or liquid‑filled design; these dampen vibration and keep the needle steady during brewing. Verify that the gauge’s inlet and outlet match your hose dimensions (e.g., OD 6 mm, ID 4 mm) and that the pressure scale uses bars, since 1 Kg/cm² ≈ 0.98 Bar and 1 MPa ≈ 10 Bar. Selecting the right Pressure Gauge ensures accurate pressure monitoring and reliable espresso extraction, and understanding market options can help you choose a compatible AeroPress replacement that aligns with your device’s pressure requirements.
Select the Proper Tee Size and Thread Orientation
Where do you start when fitting a tee for your espresso machine? First, pick a BSP‑threaded tee—most vintage gear uses 1/4″ or 1/8″ BSP. Match the tee’s bore to your hose’s dimensions; if the hose OD is 6 mm and ID 4 mm, a 6 mm inner‑diameter port gives a snug, leak‑free gauge installation. Position the tee between the pump and boiler so the gauge reads pressure without exposing electrical parts to hot water. Use threaded connections rather than quick‑release clips; they hold up better and let you seal with Teflon tape. Finally, route the gauge hose so it bends gently, avoids kinks, and stays clear of panels, wires, and the safety relief valve. This orientation ensures reliable, maintenance‑free gauge installation. BSP-threaded tees are widely recommended in vintage setups for ensuring compatibility and leak resistance.
Install the PTFE Damping Line and Fill With Glycerine
One of the simplest ways to quiet a jittery gauge is installing a PTFE damping line and filling it with glycerine. First, pause any leaks and set the gauge horizontal, then hold it upright while you push glycerine from a 60 ml syringe through the slip‑tip or Luer‑Lock. The viscous liquid damps needle vibration, giving clear gauge damping. After the syringe empties, gently rotate and tilt the gauge to let bubbles rise, then reseal the connection. Keep any leftover glycerine labeled for future use. ATC and IP-rated models from the referenced refractometer group can inform your choice of compatible components and operating ranges to ensure you don’t introduce measurement drift when retrofitting.
| Step | Tool | Tip |
|---|---|---|
| 1 | 60 ml syringe | Use slip tip or Luer lock |
| 2 | PTFE line | Install before filling |
| 3 | Glycerine | Fill to dampen gauge |
Seal All Threads With Teflon Tape and Clamp Securely
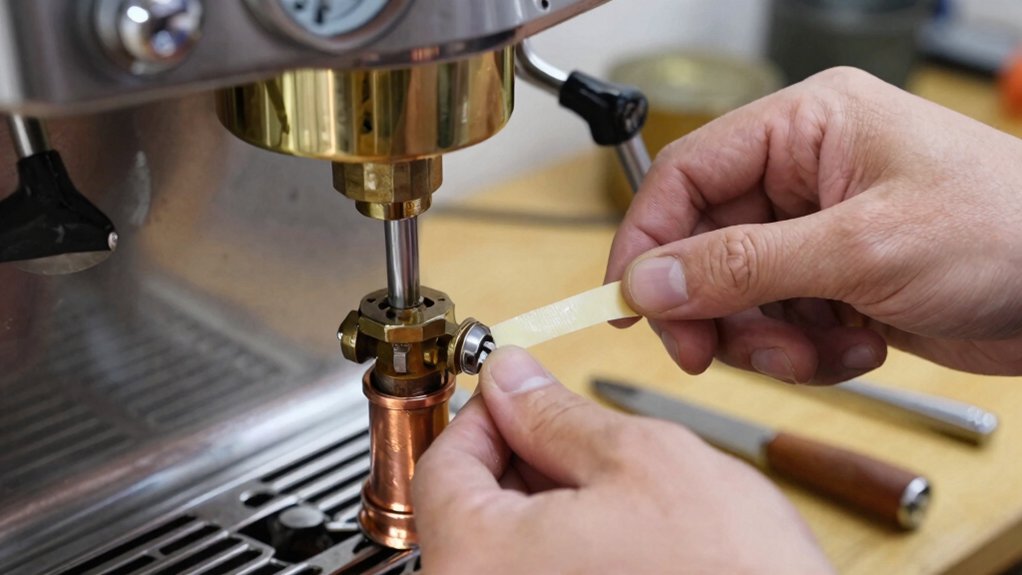
How do you keep a vintage espresso gauge from leaking and wobbling? First, clean the gauge threads and the mating fittings. Wrap 1‑2 turns of Teflon tape around the gauge threads clockwise, keeping the tape snug and overlapping slightly. If the threads are damaged, re‑tap them before re‑wrapping. Align the tape‑covered gauge with the Tee’s male or female fitting—typically 1/8 BSP—and hand‑tighten. Then use two wrenches: one on the gauge, one on the Tee, and tighten just enough to seat the threads without over‑torquing. Secure the assembly with a clamp if the gauge has a mounting bracket, ensuring it’s tight but not crushing the gauge. Finally, power up the machine and run a paper‑towel leak test around all threaded joints to confirm a dry, stable seal. Teflon tape is widely recommended for sealing pipe threads in espresso machines to prevent leaks and ensure a secure seal.
Connect the Gauge to the Boiler‑Pump Circuit
You’ll install the boiler‑pump Tee where the pump outlet meets the boiler inlet, making sure it’s snug and aligned.
Then you’ll mount the gauge with a glycerine‑damped base, using a short PTFE tube to keep the pressure reading stable.
Finally, seal all threads with Teflon tape and tighten the fittings, so the gauge can accurately track the 1.0–1.4 bar range during preheat.
The process also benefits from selecting a hat-style design for labeling or branding your pressurized system, if you’re documenting a workshop scene. custom production
Boiler‑Pump Tee Placement
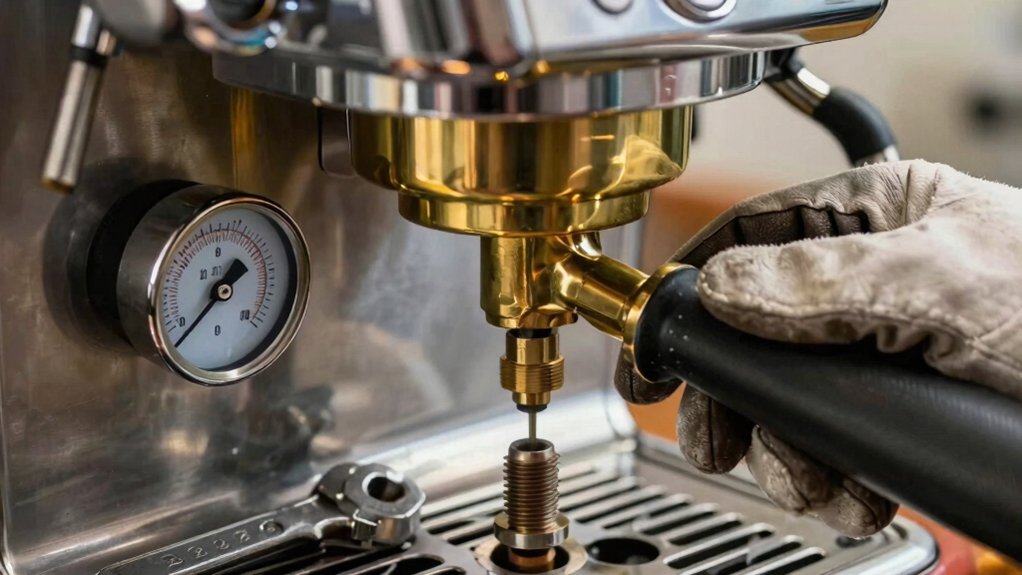
Where should the gauge tap into the circuit? You’ll want the Tee right between the pump and the boiler so the gauge reads pressure after the pump but before the boiler input. Grab a 1/8 BSP threaded Tee with two male ports and match the hose outer diameters—typically 6 mm OD—for a tight fit. If you use an elbow, orient it so the gauge sits horizontally and stays clear of heat sources, reducing vibration and thermal distortion. Clamp the hoses firmly, routing them to avoid kinks and leaving enough clearance for the clamps and nearby pump or boiler fittings. Wrap Teflon tape clockwise on every thread before tightening, then fill the gauge with glycerine per the tubing instructions to dampen oscillations and improve readability for your espresso machine. This approach helps protect the gauge from heat exposure and vibration, ensuring accurate readings over time gauge placement.
Glycerine‑Damped Gauge Installation
A few milliliters of glycerine—about 60 ml—will damp the gauge’s needle, so start by loosening the gauge, cleaning its threads, and wrapping them with Teflon tape.
Fill the gauge with glycerine using a slip‑tip or Luer‑Lock syringe, letting the liquid settle to prevent needle flutter.
Then attach a PTFE tube from the boiler‑pump tee to the gauge, ensuring a smooth, kink‑free run.
Rotate each fitting clockwise and tighten with two wrenches, avoiding overtightening that could crack the gauge housing.
Power the machine with a blind filter in place, then watch for drips.
If leaks appear, release pressure, re‑apply Teflon tape, and retighten.
Once dry, you have a fully functional glycerine-damped gauge ready for accurate pressure readings.
Test for Leaks and Calibrate the Pressure Reading
After you’ve secured the gauge, connect a hose and use a bicycle pump to pressurize the line to 1–2 bar, then check every joint for hissing or dampness.
Connect the hose, pressurize to 1–2 bar with a bike pump, then inspect every joint for hissing or dampness.
Submerge the gauge briefly in clean water to spot continuous bubbles that reveal a bourdon‑tube leak or seal failure, and if condensation appears inside the dial, know the seal is compromised and must be fixed before reassembly.
Now dry the gauge, wipe away moisture, and apply a thin oil coat to moving parts.
Turn the pump off and let the pressure drop to zero; the needle should rest at the baseline.
Use a calibrated reference pressure source to apply exactly 1 bar and verify the needle aligns with the 1.0‑bar mark. Adjust the zero screw or calibration nut until the reading matches the reference.
Re‑pressurize to 1–2 bar, repeat the leak check, and confirm the gauge holds steady before reinstalling it in the espresso machine.
Troubleshoot Common Gauge Issues and Maintain Performance
Now that the gauge is dry, oiled, and calibrated, turn your attention to the most common problems that can creep up during regular use. First, watch for condensation inside the gauge; it fogs the dial and hints at a seal issue. Open the housing, dry the internals, and reseal tightly.
Next, test for a gauge leak by attaching a hose and pressurizing to 1–2 bar, then submerge the unit in clean water. Bubbles reveal external leaks, while irregular or damp readings point to a Bourdon tube leak.
If the needle won’t return to zero after depressurization, the tube is likely sticking or damaged—inspect or replace it. Keep normal readings around 1.2–1.4 bar; any persistent deviation warrants a thorough inspection of the gauge and its plumbing.
Frequently Asked Questions
Why Is the Pressure Gauge Not Working on My Espresso Machine?
You’re probably facing a faulty gauge, a leak, or a pump issue; condensation, a stuck Bourdon tube, or a loose fitting can all prevent it from showing pressure correctly.
How to Assemble a Pressure Gauge?
You’ll first slide the gauge into the front opening, then reattach the bracket and nuts, tightening the 13 mm bottom nut and 14 mm bracket nut. Connect the water line filter, insert PTFE tubing, and run a leak test.
Why Is My Pressure Gauge Not Working?
Your gauge isn’t working because the bourdon tube’s leaking, the needle’s stuck, or the pressurestat’s mis‑set; condensation, corrosion, or a damaged case seal can also block accurate readings.
How to Burp a Pressure Gauge?
You’ll burp the gauge by attaching a hand pump, pressurizing to 1–2 bar, then quickly venting while tilting the unit so trapped air escapes, and finally checking the needle’s zero reading.
In Summary
Now you’ve diagnosed the symptom, picked the right gauge, sized the tee, installed the PTFE line, sealed everything with Teflon tape, and clamped it securely. Connect the gauge, test for leaks, calibrate, and you’ll have reliable pressure readings again. Keep an eye on the gauge, replace the glycerine dampening line periodically, and your vintage espresso machine will stay spot‑on, delivering consistent shots for years to come.


Leave a Reply