Make sure your brewing area is well‑ventilated and that all metal enclosures are securely grounded and bonded. Verify every outlet near sinks or wash stations has a functioning GFCI and test it monthly, and check that residual‑current and arc‑fault devices trip correctly. Inspect wiring for cracked insulation, corrosion, or exposed conductors, and confirm breaker sizes match the equipment’s amp draw. Label all switches, relays, and circuits with durable, legible tags, and keep emergency shut‑offs reachable and functional. Follow these steps, and you’ll discover the full checklist.
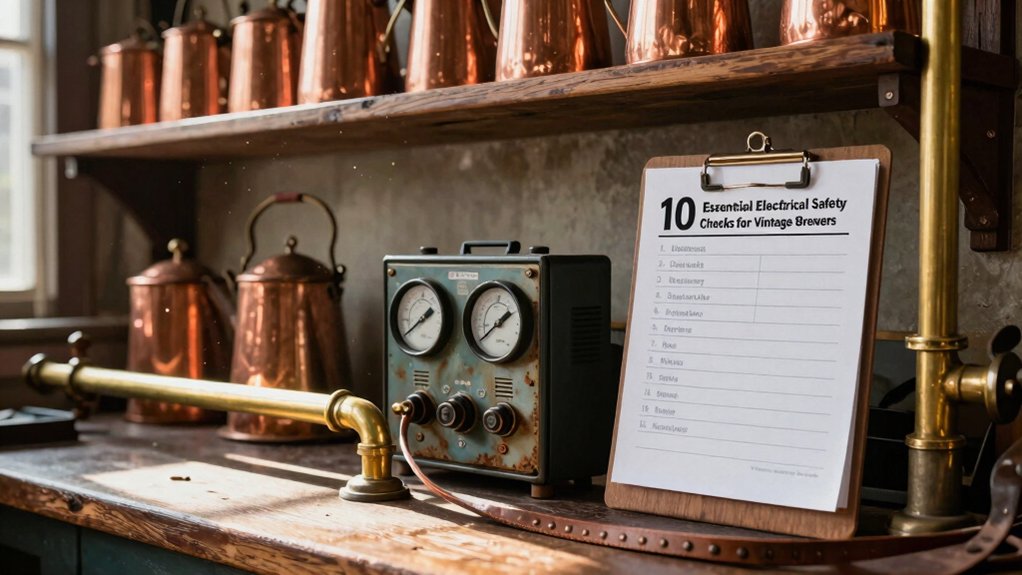
Quick‑Start Safety Checklist for Vintage Brewery Wiring

Where to start? First, confirm your brewing area has proper outdoor-ventilation or a well‑ventilated space; this prevents carbon monoxide buildup from propane or natural‑gas burners.
Confirm proper outdoor ventilation for your brewing area to prevent carbon monoxide buildup.
Next, inspect every circuit that powers equipment near water. Install GFCI protection—either outlets or breakers—to shut off power instantly if a fault occurs.
Label each pipe and its contents clearly, so you won’t mistake a gas line for a water line during maintenance.
When you begin any work on burners or energized gear, apply lockout-tagout procedures: de‑energize, lock the source, and post a tag that warns others.
Finally, wear eye, hand, and foot protection, and keep floors dry and slip‑free to avoid burns, chemical exposure, and trips. Electrical safety practices are essential for long-term reliability and safety in vintage brewing environments. Follow these steps, and you’ll reduce hazards dramatically.
Inspect Vintage Brewery Wiring for Wear, Damage, and Corrosion
After securing proper ventilation and lockout‑tagout procedures, turn your attention to the wiring itself. Begin a thorough electrical safety walk‑through, checking for wiring wear like cracked insulation, frayed conductors, and brittle sheath that signal aging. Conduct a corrosion inspection on panels, conduit connections, and terminations, especially where moisture or flour dust linger. Look for exposed or damaged cable near heat sources, pumps, and kettles, because high temperatures accelerate insulation breakdown and raise shock or fire risks. Verify that metal conduit remains intact and properly grounded, noting any missing bonding conductors. Use a megohmmeter to test insulation resistance and continuity, catching hidden faults before they cause arcing or equipment failure. This systematic review protects both you and your vintage brewing operation. This Morning with Her Coffee Wall Art Print
Verify GFCI Protection on All Outlets Near Water‑Prone Areas
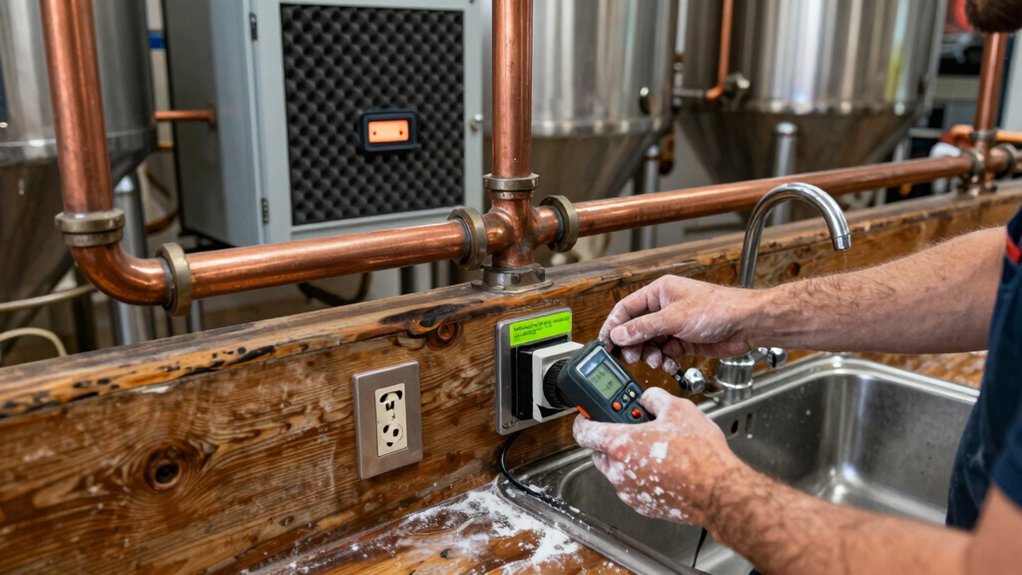
Need you sure every outlet that sits near a sink, cleaning station, or any wet brewing area is guarded by a functioning GFCI. Start by locating all outlets near water in the brew house and confirming each has a GFCI device—either a built‑in receptacle or a hard‑wired breaker. Press the test button monthly, then reset to verify it trips under load. If the outlet lacks GFCI protection, install a compliant unit before you resume work. Replace any cracked or aged GFCIs immediately; never use adapters that bypass protection. Record each test in your maintenance log and label the protected spots clearly. Consistent GFCI protection is a cornerstone of electrical safety checks for vintage breweries. Power Outlets are often integrated with air switch controls in some models, so ensure those features are also evaluated during safety checks.
Test Residual‑Current Devices and Arc‑Fault Protectors
Testing residual‑current devices (RCDs) and arc‑fault protectors is a critical step in keeping your vintage brewery safe from shock and fire hazards.
Quarterly testing of RCDs and arc‑fault protectors safeguards your vintage brewery from shock and fire hazards.
First, press the test button on each residual-current device; you should hear a click and see the indicator lamp go out, confirming it trips at the 30 mA threshold.
Next, use a calibrated arc‑fault tester on the arc‑fault protectors. inject a simulated arcing signal; the breaker must open within seconds.
Record the results in your maintenance log and replace any unit that fails to trip.
Perform this electrical safety testing quarterly, especially on circuits near kettles, mash tuns, and any wet zones.
Consistent verification ensures your protective devices remain reliable and your brewing operation stays safe. Electrical safety
Confirm Proper Grounding Continuity and Bonding of Metal Enclosures
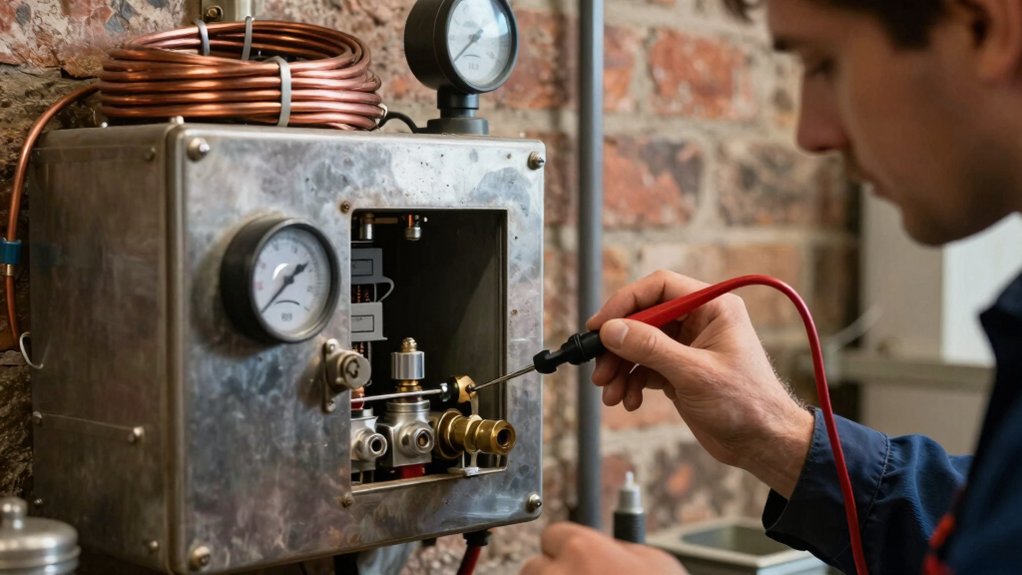
You’ll start by checking continuity with a multimeter to make sure every metal enclosure ties back to the ground bar without interruption.
Next, bond all enclosures to the ground bar and verify the bonding resistance stays within code‑approved limits.
Finally, inspect the grounding electrode system for corrosion or loose connections that could break the low‑impedance path.
Additionally, confirm the stability of the enclosure mounting and ensure the chosen materials (wood, metal frame) won’t compromise the integrity of the grounding path during normal operation. Grounding Systems
Verify Continuity With Multimeter
When you set the multimeter to continuity mode, you’ll quickly confirm that the grounding conductor and the metal enclosure share an uninterrupted path, ensuring the bonding is solid and the equipment is safely tied to the building’s earth ground. You’ll hear a beep and see near‑zero ohms, which proves grounding continuity and bonding integrity. Record each reading, then move to the next enclosure. If the meter shows resistance, inspect the jump wire, terminal, or connector, repair the fault, and retest before powering up. Document any corroded spots and re‑measure after repairs to satisfy electrical safety testing standards. A clear beep as you touch the probe to the chassis bolt. A digital readout showing 0.1 Ω or less. A quick visual check of the grounding strap’s condition before testing. Grounding continuity remains essential for vintage electrical safety, especially when verifying metal enclosures across multiple units.
Bond Enclosures To Ground Bar
How do you guarantee every metal enclosure in a vintage brewery remains safely connected to the building’s ground system?
First, select a suitable bonding conductor—green or bare copper—and attach it to each enclosure’s lug or bonding screw, linking it directly to the equipment grounding conductor or the main grounding bar. Before you tighten the connection, scrape away paint, corrosion, or insulation to expose clean metal surfaces.
Then, run a low‑resistance tester between the enclosure and the main ground point; you should see near‑zero ohms, confirming continuity. Record each measurement, and if any reading exceeds acceptable limits, re‑bond and retest.
Proper bonding and grounding keep fault currents flowing safely, protecting both equipment and personnel.
Check Grounding Electrode System
Is the grounding electrode system truly providing a low‑impedance path to earth for every metal enclosure? You’ll verify ground continuity by testing from the main service panel to each cabinet, frame, and pipe. Use a qualified tester to measure resistance; any reading above code limits signals a broken bond. Inspect the main bonding jumper and every detached structure, looking for corrosion, loose clamps, or frayed jumpers. Document each measurement, then tighten or replace connections that show high resistance. A solid grounding electrode system eliminates chassis voltage during faults, protecting you from shock while you brew.
- A copper rod driven deep into the earth, linked by a thick copper conductor to the service panel.
- A metal‑enclosure chassis, bonded with a green‑yellow jumper that snaps securely to a grounding lug.
- A corrosion‑free clamp on a detached steel pipe, ensuring uninterrupted continuity across the whole system.
Link text example: grounding continuity
Verify Correct Voltage (120 V vs. 240 V) on Brewing Equipment Connections
You should always check the voltage label before plugging anything in, then verify the actual voltage with a meter, and finally make sure the plug’s rating matches the circuit.
This quick routine prevents mismatched 120 V and 240 V connections that could overheat your brew gear.
If anything looks off, call a licensed electrician to double‑check the wiring.
Correct Voltage Labeling
If you don’t label the voltage on each brewing connection correctly, you risk plugging a 120 V device into a 240 V circuit—or vice‑versa—and either starving the equipment of power or frying it. Good voltage labeling eliminates guesswork, helps you keep circuit correct voltage, and makes safety labeling a habit.
- A bright red tag on a 240 V line, a blue tag on a 120 V outlet, and a clear amp rating printed beside each.
- A laminated label that lists voltage, amperage, and purpose, stuck where you can see it during routine checks.
- A quick visual scan before you power up, confirming every plug matches its label.
Regularly inspect these tags for legibility, replace faded ones, and update them whenever you swap or rewire equipment. This simple step protects your vintage brew system and keeps you compliant with electrical codes.
Meter Before Connection
Ever wonder why a quick meter check can save your brew? Before you plug in any vintage kettle or fermenter, grab a reliable multimeter and perform voltage verification. Set the meter to AC, touch the probes to the outlet, and note whether you read 120 V or 240 V. If your equipment demands 240 V, make sure it’s on a dedicated 240 V circuit with the correct breaker size and gauge wiring. Record the reading in your start‑up safety log and label the outlet and plug clearly—circuit labeling prevents accidental cross‑connections. A simple meter check eliminates overheating risks, breaker trips, and costly downtime, keeping your brewhouse both safe and efficient.
Match Plug Rating
After confirming the outlet voltage with a meter, check that the plug on each brewer matches that voltage. You’ll want to scan the label or spec sheet to verify 120 V or 240 V requirements, then compare the plug’s prong layout and rating. Mismatched plugs can cause overheating, tripping breakers, or even fire. Keep circuit protection in mind—make sure the breaker or fuse matches the equipment’s amperage draw. A quick visual check plus a multimeter test gives you confidence before you fire up the kettle.
- A 240 V kettle with a thick, three‑prong plug sits in a dedicated, high‑amp circuit.
- A 120 V mash tun uses a slimmer, two‑prong plug on a standard kitchen outlet.
- A mismatched plug sparks a breaker trip, protecting the wiring and your brew.
Make Sure Your Circuit Breakers Are Rated for the Right Amp Load
Why does it matter that your circuit breaker matches the actual amp load of your brewing setup? Because a breaker sized too low will trip during a long boil, while one sized too high lets excess current flow unnoticed, risking fire. Follow NEC guidelines: size breakers for 80 % of the continuous load, so a 50 A circuit should never exceed 40 A continuously.
Most North‑American kitchens use 15 A or 20 A circuits, limiting how many high‑wattage kettles you can run together. For large mash tun heaters, install a dedicated 240‑volt line with appropriately rated breakers to improve efficiency and reduce boil time.
Always verify local code, conductor size, and breaker rating before adding new equipment, ensuring safe, uninterrupted brewing.
Label All Switches, Controls, and Relays Clearly for Safe Operation
You should label every switch, control, and relay so you can instantly identify its function. Use durable, legible tags and a nearby legend to map each element to its purpose. Keep the system consistent across panels and refresh the labels during regular maintenance.
Label Switches Clearly
Ever wondered how a simple label can prevent a costly mishap in a vintage brewery? You can stop accidental energizing by applying robust safety labeling to every electrical control, switch, and relay. Use weather‑ and chemical‑resistant markers or engraved plates that survive beer splashes, cleaning agents, and humidity. Position each label next to the device and on the associated circuit, indicating ON/OFF positions, interlocks, and any maintenance tagging notes. Adopt a consistent color‑code and naming scheme so new staff instantly recognize functions. Finally, audit labels after any rewiring or upgrades to keep information current.
- Bright, waterproof tags on each switch
- Dual‑side stickers showing circuit name and status
- Color‑coded stickers for emergency, normal, and maintenance modes
Identify Control Functions
How can you keep a vintage brewery’s electrical system safe when the next brew cycle starts? Start by applying control labeling to every switch, relay, and breaker. Use durable tags like “Mash Pump” or “Emergency Stop,” and color‑code them—red for emergencies, green for ON, yellow for standby. Draft a single‑line control diagram that maps interlocks, sequence logic, and device dependencies, then keep it posted at the panel. Implement lockout/tagout for each identified control, allowing only authorized staff to energize equipment during service. Finally, log each control’s function, setting, test date, and any changes for audit readiness.
| Device | Tag & Color |
|---|---|
| Emergency Stop | Red – “EMO” |
| Mash Pump | Green – “Mash Pump” |
| Boil Element | Green – “Boil Elem” |
| Cooling Fan | Yellow – “Cool Fan” |
| Main Breaker | Red – “Main” |
Mark Relay Purposes
After labeling control functions and posting the single‑line diagram, the next step is to mark every relay, switch, and control with a clear, legible label that shows its exact purpose. You’ll want durable, heat‑ and chemical‑resistant labels that survive the brewery’s steam and cleaning agents. Include the circuit name, voltage, and the device it controls—think “Kettle 240V Boil” or “Pump A”. Keep a panel map that mirrors those labels to physical locations, and audit them after any change to guarantee safety.
- Kettle 240V Boil – relay that powers the kettle heating element
- Pump A – switch that starts the mash pump motor
- Vent Relay – control that opens the fermentation vent valve
Ensure Emergency Shut‑Off Switches Are Accessible and Functional
Where are the emergency shut‑off switches in your brewery, and are they truly ready for an emergency? You must verify each emergency shut‑off is clearly labeled, reachable, and unobstructed along exit routes. Test every switch for immediate power cutoff, confirming no circuit delay or fault indication. Ensure the switch controls the correct critical circuits—boilers, pumps, agitators—and that safety interlocks engage. Post updated floor plans near each shut‑off after any renovation. Schedule semi‑annual functional testing and post‑work inspections to keep reliability high.
| Location | Controlled Circuit | Test Frequency |
|---|---|---|
| Main boiler room | Boiler power | Quarterly |
| Fermentation floor | Pump network | Semi‑annual |
| Grain mill area | Agitator drive | Quarterly |
| Packaging line | Conveyor system | Semi‑annual |
| Storage cellar | Ventilation fans | Quarterly |
Document Findings and Schedule Repairs to Keep Your Vintage Brewery Safe
Ever notice how a simple, dated entry can turn a chaotic repair schedule into a clear action plan? You’ll want to capture every observation in an electrical safety maintenance log, noting the date, location, and who’s responsible. Prioritize high‑risk repairs—damaged wiring, exposed conductors, faulty GFCI near water—so you can act before a spark ignites a disaster. Use the log to track test results, recommendations, retrofits, and expected completion dates, then assign certified electricians to each task.
- A dated entry with a clear description of the issue.
- Assigned responsible person and a realistic deadline.
- Follow‑up status indicating completion or next steps.
Frequently Asked Questions
What Are the Types of Checks That Must Be Completed for Electrical Safety?
You must inspect GFCI protection, verify grounding, test insulation integrity, evaluate circuit loading, confirm accessible and labeled disconnects, check panels for corrosion or overheating, and ensure compliance with NEC code limits.
What Are 5 Electrical Safety Rules?
You should never work on live circuits, always use GFCI protection near water, keep loads under 80% of breaker capacity, verify proper grounding, and inspect cords for damage before each brew.
What Are the Six Electrical Golden Rules?
You follow six golden rules: de‑energize before work, verify power is off, use proper PPE, keep dry, maintain clearances, and always double‑check connections and grounding.
What Are the 21 Golden Safety Rules?
You follow twenty‑one rules: treat all brewing electricity like certified work, use GFCI near water, verify loads, apply NEC 80 % limits, install proper 240‑V circuits, lockout/tagout equipment, label everything clearly, keep dry areas, inspect cords, avoid overloads, ground all devices, use surge protectors, maintain clear aisles, wear insulated gloves, test outlets, keep water away, use waterproof fixtures, check breakers regularly, document changes, train staff, and prioritize emergency shut‑offs.
In Summary
By following these checks, you’ll keep your vintage brewery’s electrical system safe, reliable, and compliant. Regular inspections, proper grounding, and functional protective devices prevent hazards before they spark. Keep your breakers correctly sized, label everything clearly, and ensure shut‑off switches are within reach. Document each finding and schedule repairs promptly—your equipment, your staff, and your peace of mind will thank you.


Leave a Reply