You’ll want a sealed shadow‑box with a sturdy, adjustable base and a wide plastic foot for the hydrometer, cushioned with felt or rubber to protect delicate glass. Line the interior with protective pads, arrange vintage cappers and sample tubes in a labeled layout, and seal the case to lock out dust and humidity. Add era‑specific labels and focused lighting, plus a small demo station for handling a modern hydrometer. Keep the exhibit stable with clamps and a low‑center‑of‑gravity design, and you’ll discover even more tips as you explore further.
Select the Display Style for Your Vintage Brewing Gear
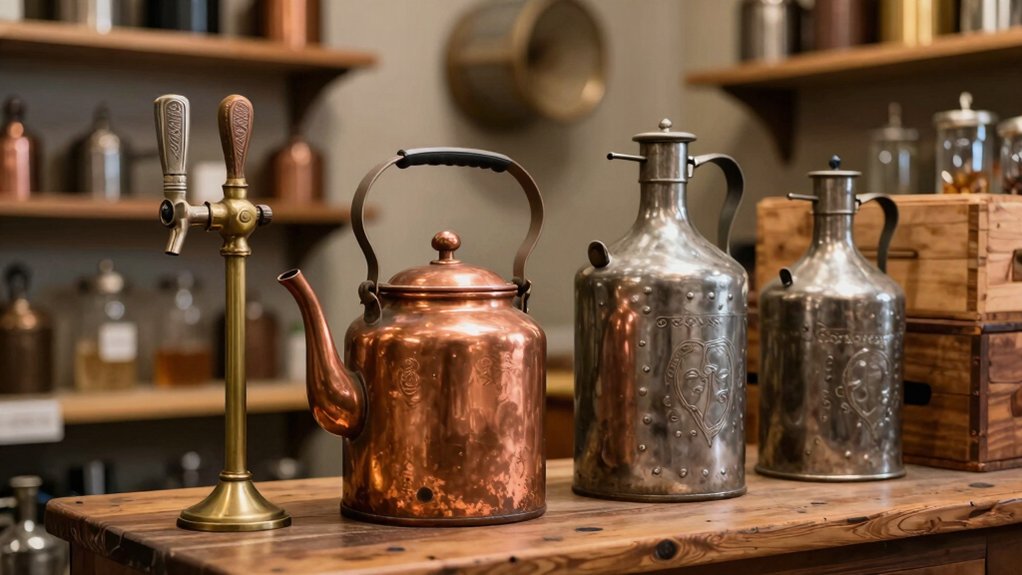
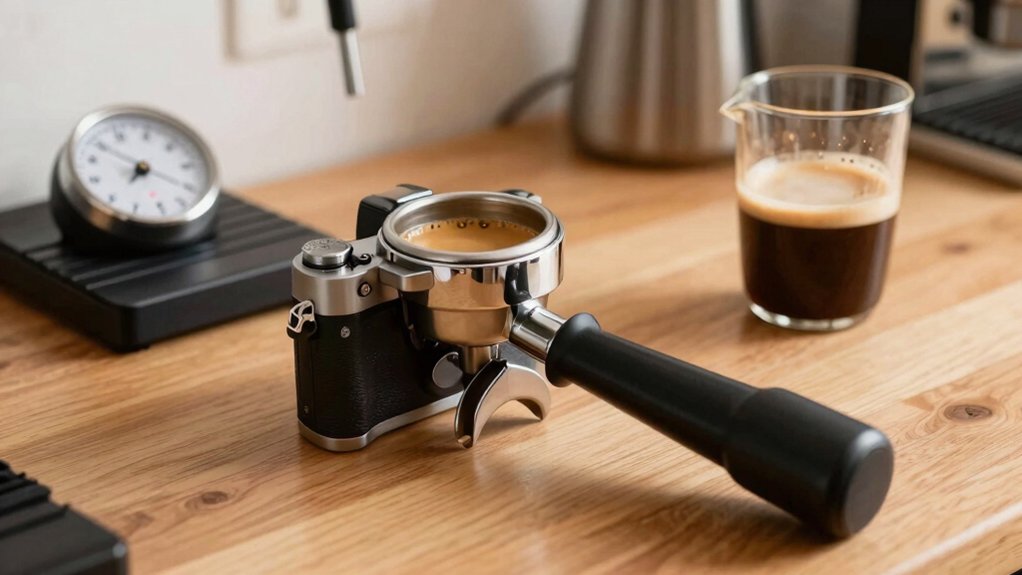
A shadow box or mantle display instantly turns an antique hydrometer into a striking relic. You’ll want a display case that frames the piece while keeping it safe, so choose a shadow box with a glass front and a sturdy backing. Line the interior with protective cushions—rubber or leather pads—to absorb bumps and prevent scratches on the glass jar and steel capper. Position the hydrometer on a wide plastic foot for stable handling, then add related items like vintage cappers and sample tubes in a curated, labeled layout. This arrangement tells a story, highlights the craftsmanship, and keeps each component secure when the display is accessed or moved.
Protect Patina and Safeguard Fragile Glassware
Ever wondered how to keep the delicate patina of your antique hydrometer intact while preventing the glass from chipping? Use a shadow box or mantle display to keep the piece out of reach, sealing the case against dust and humidity. Cushion the base with felt, leather, or rubber to absorb shocks and reduce vibrations. Pair the antique hydrometer with a modern, expendable one for daily use, so you rarely handle the fragile glass. When you need to store it, choose a wide, low‑profile plastic jar with a solid foot for extra stability. These steps protect patina and boost display safety, ensuring your vintage brewing gear stays pristine and secure. Regularly check the display seals and dust filtration to maintain a stable microclimate around fragile components.
Build a Sturdy, Adjustable Base for the Display
Start with a solid, adjustable base that has a wide footprint, preventing tipping on uneven floors.
Add a cushioned contact layer—rubber sheets or felt—to protect delicate glass hydrometers and gauges.
Secure the base to a sturdy bench or platform using clamps or bolts; this boosts stability during handling or dusting.
Integrate modular mounting brackets so you can reposition or swap items without creating an unstable cluster.
Design the base to hold the display at a controlled angle of 15–25 degrees, reducing glare and improving visibility of dials and labels.
enhanced stability by incorporating a low center of gravity design that helps keep the display steady on varied surfaces.
Label and Light Vintage Gear by Era and Function
You’ll start by adding era‑based labels that instantly tell visitors when each piece was made and why its construction matters. Pair those tags with function‑driven lighting that spotlights the gear’s role—like a capper or hydrometer—without washing out the original material. Grouping items in clearly marked zones lets guests see how style and purpose evolved together. 0.1 g precision
Era‑Based Labeling
Where does the story of your brewing collection begin? You start with era labeling that ties each piece of vintage brewing gear to its historical function. By grouping 1940s glass hydrometers with measuring tasks and 1960s metal capers with bottling, you create a clear visual timeline that fuels display storytelling. Place each item in a case that follows the brewery workflow—grain, mash, ferment, bottle—so visitors walk through the process as it evolved. Add concise placards that note provenance, missing parts, and typical uses, reinforcing the narrative. Protect fragile glass with shatter-proof mounts and secure caps in polished brass bells, preserving both safety and period aesthetics. This method makes history tangible and educational for viewers.
Function‑Driven Lighting Design
Ever wondered how a simple light can instantly reveal a vintage brewer’s workflow? You can use targeted lighting to spotlight each function, turning a static shelf into a dynamic display narrative. Warm spotlights hug the 1970s flywheel capper’s lever, while cool white LEDs emphasize the 1950s glass hydrometer and its test tube. Dim‑able, color‑accurate LEDs preserve glass and steel tones without glare, and era‑specific backdrops with labeled placards reinforce the story. The display can also incorporate energy‑efficiency considerations like 100–240V compatibility and smart temperature control indicators to mirror modern beverage equipment practices Battery longevity and charging and to ensure reliable operation during long showings.
Add Interactive Demo Stations for Hydrometers and Capper
How can you turn a static exhibit into a hands‑on learning experience? Set up interactive demo stations where visitors handle fragile glass hydrometers, use a labeled safety cubby, and practice rinsing and drying with a two‑hydrometer loaner system. Include a repurposed hydrometer tube as a sample jar on a solid base, plus a wide‑foot plastic jar for safer handling. Build a capper station that displays gear‑top and wing‑style antique cappers on cushioned bases, secured to a clamped bench. Offer a tactile guide for final gravity readings and carbonation checks using a well‑carbonated drink. A display board compares antique versus modern cappers and hydrometers, noting durability claims and maintenance tips. Sample jar
Maintain and Rotate the Exhibit for Safety and Freshness
You’ll set a seasonal rotation schedule so fresh gear swaps in regularly, keeping the exhibit lively and reducing wear. Additionally, ensure that the rotation plan accounts for weight distribution using anti-tip safety features and sturdy mounting, so even multi-tier racks remain stable during transfers anti-tip safety.
Seasonal Rotation Schedule
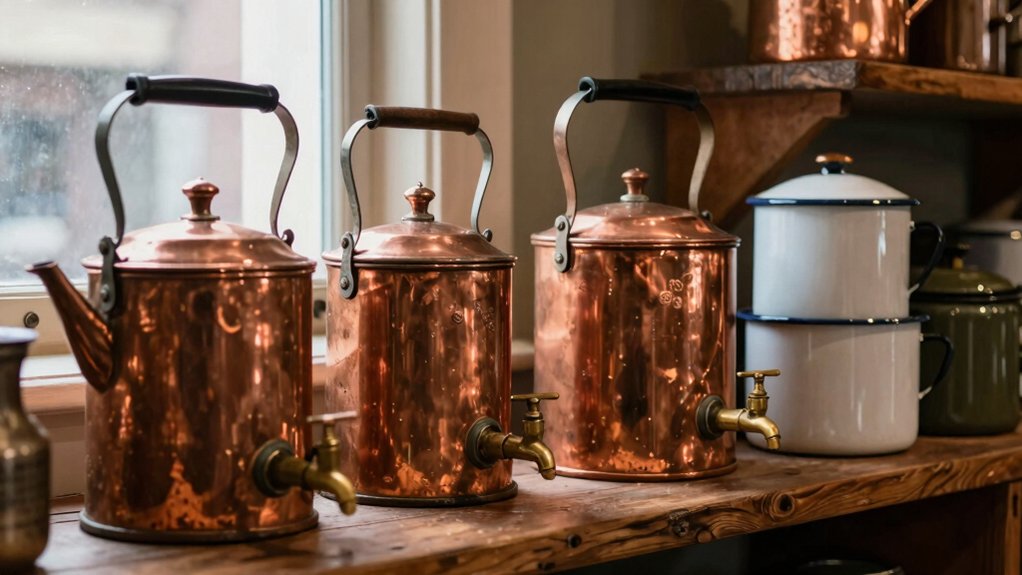
When the seasons change, swapping out vintage taps, kettles, and hydrometers keeps the exhibit feeling fresh and relevant. You’ll set a seasonal rotation that aligns each month with gear that evokes the current climate—bright brass taps for summer, ornate glass hydrometers for winter. Pair every piece with a laminated display label that notes its history, original use, and production year. Use a preservation scheduling calendar to ensure at least one centerpiece changes every 4–6 weeks, and schedule quarterly condition checks.
- Summer: copper kettle gleaming under warm lighting.
- Autumn: amber‑toned mash tun surrounded by harvest colors.
- Winter: iron gear encased in a frosted glass case.
- Spring: polished wooden barrel with fresh‑cut vines.
Protective Handling Procedures
Protective handling begins with a clear protocol that keeps every vintage piece safe while you rotate the exhibit. You’ll set a rotation schedule that moves fragile glass hydrometers to a guarded spot and keeps sturdier caps within reach. Apply protective cushioning—rubber washers, leather sheets, or cushioned bases—under bottles and capper contact points to absorb shock. Your handling protocol requires clean gloves, no tapping, and a two‑person handoff for delicate items. Keep temperature and humidity stable to preserve metal caps and glassware. Record each move in a trackable exhibit log, noting what’s on view, loaned, or under conservation. This systematic approach ensures safety, freshness, and longevity for your vintage brewing collection.
Frequently Asked Questions
What Are the 3 C’s of Beer?
You’ll find the three C’s of beer are Craft, Color, and Crispness—or, if you focus on flavor, they’re Carbonation, Crispness, and Complexity—each describing a distinct aspect of the brew.
What Is Beer Brewing Equipment Called?
You call it brewing equipment—kettles, mash tun, boil kettle, fermenters, hydrometers, capper, bottling tools—plus any stainless steel, glass, or BIAB vessels and temperature controllers you use.
What Equipment Is Needed in a Beer Factory?
You’ll need mash tuns, kettles, fermenters, heat exchangers, pumps, cooling jackets, grain mills, filtration units, carbonation tanks, cleaning systems, and automated controls to manage volumes, temperatures, and transfers.
What Are the Parts of a Brewing System?
You’ll need a mash tun, boil kettle, fermenter, wort chiller, pumps, hoses, andometers, grain filters, and a cooling system; all‑steel vessels and sturdy fittings are essential for vintage reliability.
In Summary
By picking the right display style, protecting the patina, building a sturdy base, labeling and lighting each piece, adding interactive demos, and regularly maintaining the exhibit, you’ll showcase your vintage brewing gear beautifully and safely. This approach keeps the gear’s history alive, engages visitors, and ensures the collection stays fresh and functional for years to come.

Leave a Reply