Testing your brewing water quality lets you control minerals, pH, and contaminants so every batch hits the intended flavor, stability, and safety. It catches off‑flavors and health risks early, helps you fine‑tune calcium, magnesium, sulfate, and chloride for style‑specific bitterness and mouthfeel, and ensures alkalinity and mash pH stay in the optimal range. Regular lab or reliable strip tests keep seasonal mineral shifts in check, and keeping the data handy lets you adjust salts confidently for consistent results. Keep going and you’ll discover how to build a custom water profile.
Why Brewing Chemistry Determines Consistent Beer Flavor
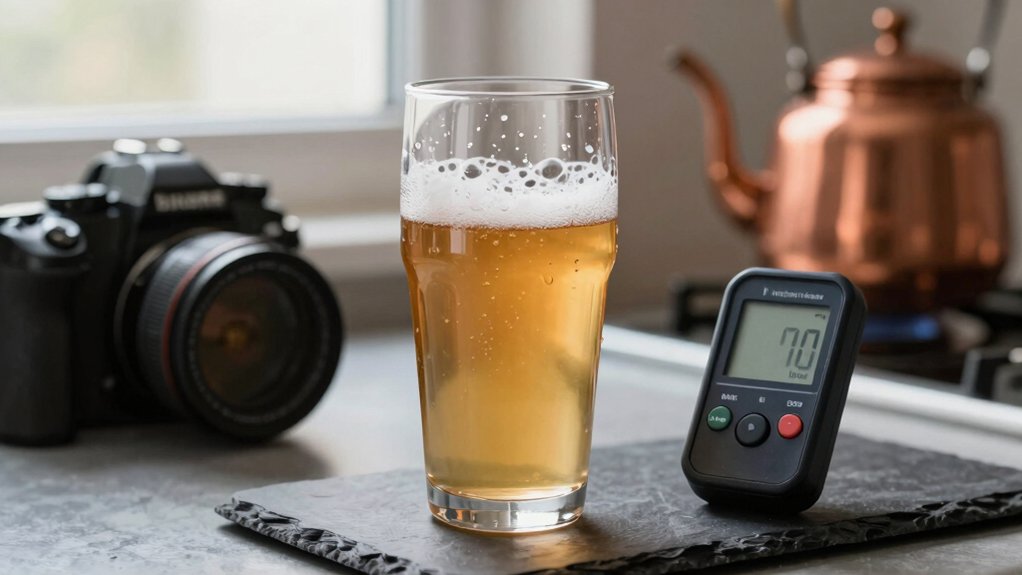
Ever wondered why the same recipe can taste different from batch to batch? You’ll find that brewing chemistry is the hidden driver of flavor consistency. When you control mash pH—aiming for 5.2–5.6—you set the stage for optimal enzyme activity, starch conversion, and hop extraction. Minerals like calcium play a pivotal role: they lower pH by reacting with malt phosphates, sharpen hop bitterness, and improve clarity. Magnesium, sulfate, and chloride each tweak mouthfeel and style expression, but calcium’s impact on pH is the most direct lever for repeatable results. By testing water regularly, you can adjust mineral levels precisely, keeping flavor profiles steady and aligning each batch with your intended style. Refractometer-based measurements—whether for TDS or Brix—make maintaining consistent brew chemistry more practical, especially when used alongside a scale in a comprehensive brewing kit. TDS measurements help you monitor extraction levels, while ATC-enabled instruments stabilize readings across temperature changes, supporting reliable recipe replication.
How Mineral Shifts Influence Brewing Water Testing Results
You’ll notice seasonal mineral variations can swing hop bitterness up or down, so you must track those changes to keep your beer’s profile steady. Water compatibility and its impact on flavor balance should be considered when adjusting mineral profiles.
Seasonal Mineral Variations
How do seasonal shifts in mineral content affect your water testing results? You’ll notice calcium, magnesium, sulfate, and chloride swing with rainfall, source blending, and treatment tweaks, so mash pH and flavor targets drift throughout the year. Winter or dry‑season water often feels maltier, while spring runoff can boost bitterness and brighten mouthfeel. Alkalinity and buffering capacity shift too, demanding new salt additions to keep your recipe on cue. Regular seasonal testing catches these changes before they ruin consistency, and comparing municipal reports with lab analyses lets you fine‑tune style‑specific water chemistry. Calcium and magnesium trends help stabilize mash pH during temperature fluctuations water hardness tracking and guide adjustments to maintain consistent extraction.
Impact on Hop Bitterness
When sulfate spikes above roughly 450 ppm without enough chloride to counterbalance, the hop bitterness you taste becomes sharper and more drying, a change you’ll notice immediately in the finished beer. You’ll also feel a crisper mouthfeel and stronger hop aroma because sulfates boost extraction during mashing. If your water leans toward coastal IPA profiles, the high sulfate‑to‑chloride ratio accentuates that bite, while East‑Coast or New England styles usually demand more chloride to soften the edge and let malt sweetness shine. Precise testing lets you measure sulfates and chloride, then adjust salt additions to hit the exact bitterness level you want. By tracking these minerals, you control the balance and keep each brew true to its intended style. Water chemistry awareness helps brewers tailor mineral tweaks for consistent results across batches.
Adjustments for Consistency
Sulfate spikes that sharpen hop bitterness also expose how even small mineral shifts can throw off your brew’s consistency. When calcium drops, mash pH climbs, and your hop bitterness may feel flat. If magnesium creeps above 75 ppm, you’ll notice an unwanted bite. Seasonal source changes or blending can swing sulfate‑to‑chloride ratios, so regular water testing becomes your safety net. By tracking these ions, you can fine‑tune salt additions and pH adjustments, keeping flavor profiles steady batch after batch. Regular monitoring with digital thermometers can help you correlate temperature-related extraction changes with mineral readings, aiding more precise adjustments. – Test calcium and magnesium quarterly to lock mash pH and prevent bitterness spikes.
- Monitor sulfate‑to‑chloride ratios to preserve hop character and dryness.
- Use water testing results to calibrate salt blends, ensuring repeatable mouthfeel and style accuracy.
pH, Alkalinity, and Their Role in Brewing Water Testing
You’ll want to keep your mash pH between 5.2 and 5.6, because that range drives proper starch conversion and hop extraction. Alkalinity acts as a buffer, so measuring its capacity tells you how much you’ll need to tweak the water with minerals or acids. By monitoring both pH and alkalinity, you can fine‑tune every batch for consistent flavor and fermentation stability. pH range provides a practical target for achieving optimal enzyme activity during mashing.
pH Target Range
How do you keep your mash in the sweet spot for enzyme activity and hop extraction? You target a mash pH of 5.2–5.6, because that range maximizes starch conversion and lets hop bitterness shine. Water quality drives this balance; even small shifts in pH can mute flavor or stall enzymes. By testing pH before you mash, you can adjust mineral additions and stay consistent across batches.
- Measure pH with a calibrated meter or test strip before mashing.
- Adjust with food‑grade acids or bases to land in the 5.2–5.6 window.
- Record results and tweak calcium, magnesium, or sulfate levels for future brews.
Sticking to this target range ensures reliable extraction, clean bitterness, and repeatable beer quality.
Alkalinity Buffering Capacity
Keeping mash pH in the 5.2–5.6 window isn’t just about adding acid; the water’s alkalinity determines how much acid you’ll actually need. Alkalinity buffering capacity, driven mainly by bicarbonate and carbonate ions, resists pH shifts when you add acid or base. If your water holds high alkalinity, you’ll need more acid to pull the mash into target range, which can affect enzyme activity and flavor extraction. Conversely, low alkalinity lets you reach the same pH with less acid, preserving delicate malt character. Calcium’s interaction with malt phosphates also nudges pH, so tracking alkalinity helps you anticipate those changes and fine‑tune treatments. Measuring alkalinity alongside pH gives you consistent, style‑specific adjustments and cuts batch‑to‑batch variability. Alkalinity buffering capacity can be monitored with simple test methods to predict how pH will shift during mashing and sparging.
Impact on Mash pH
Why does mash pH matter? You’ll hit your target conversion range (5.2‑5.6) when the mash pH is spot on, and you’ll extract hops cleanly without harsh a.
Alkalinity buffers the mash, so high‑alkalinity water can push the pH up and demand adjustments. Calcium reacts with malt phosphates, pulling the pH down, while sulfate and chloride shape flavor more indirectly. Regular testing lets you dial in the right mineral mix, keep mash pH consistent batch‑to‑batch, and tailor water to each style.
- Monitor alkalinity (HCO₃⁻) to gauge buffering capacity.
- Adjust calcium levels to fine‑tune mash pH acidity.
- Check overall mineral balance to maintain stable mash pH.
Testing for Harmful Contaminants in Brewing Water
Ever wondered what hidden hazards could be lurking in your brewing water? Water testing lets you spot metals, organics, and microbes before they ruin your brew. Iron and copper can give a metallic bite, while unseen organics may cause off‑flavors or health concerns. EPA reports give a broad snapshot, but they often miss flavor‑impacting, non‑regulated minerals that matter to you. By testing regularly, you catch contamination early, stay compliant, and protect beer stability. Direct, precise water testing beats relying on municipal data because it targets the exact harmful substances that affect your craft. Keep a schedule, use a reliable lab, and you’ll brew confidently, knowing your water is clean and safe.
Using Calcium, Magnesium, Sulfate, and Chloride to Adjust Your Water Profile
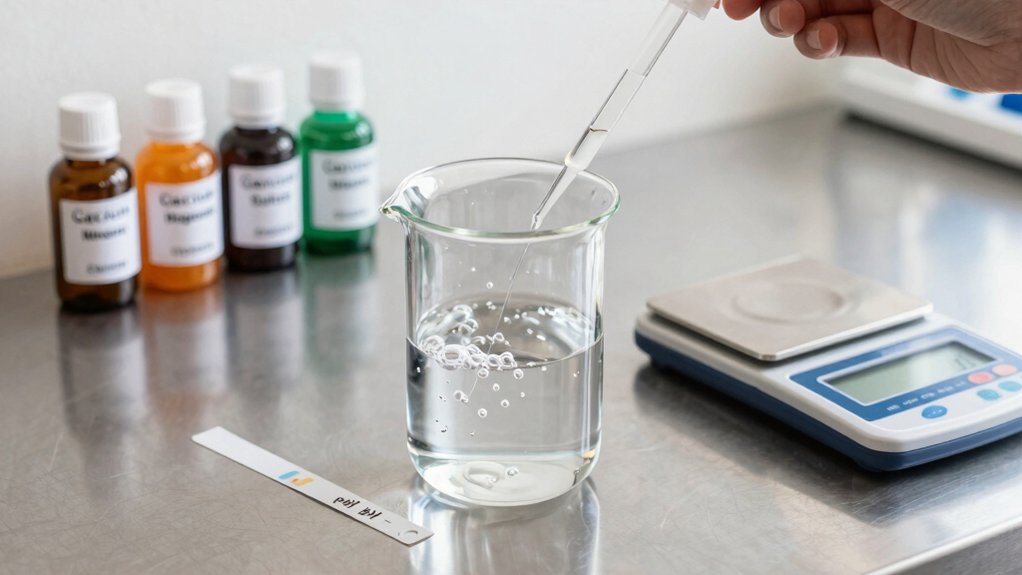
After confirming your water is free of harmful contaminants, you can start shaping its mineral balance to hit your target flavor profile. Calcium will drop mash pH, clarifying the brew and sharpening hop notes, so aim for 0–200 ppm. Magnesium supports yeast but only becomes taste‑active above 50 ppm, with noticeable impact past 75 ppm. Sulfate drives dryness and bitterness; keep it under 450 ppm unless you balance it with chloride, which adds malt richness, roundness, and perceived sweetness. Adjust the sulfate‑to‑chloride ratio to steer IPA style—coastal (high sulfate) versus New England (high chloride). Fine‑tuning these ions lets you craft the exact water profile you need.
- Add calcium to lower pH and boost clarity.
- Use magnesium sparingly for yeast health.
- Balance sulfate and chloride for desired bitterness and body.
Seasonal Water Changes & Why Quarterly Testing Matters
Ever wonder how a spring rainstorm can turn your brew’s flavor upside down? Seasonal shifts in Water chemistry—rain diluting sources, blending of reservoirs, and treatment tweaks—can swing calcium, magnesium, sulfate, chloride, alkalinity, and pH. Those swings ripple into flavor, clarity, and batch‑to‑batch consistency. By testing every three months you catch the drift early, then fine‑tune salt additions or filtration to keep recipes on target. Exact concentrations let you tailor Water profile for any style, while the Craft Pro Brewmaster Kit supplies 15 critical measurements and calculations, making quarterly checks effortless.
| Season | Typical Mineral Shift | Recommended Action |
|---|---|---|
| Spring | Diluted calcium & magnesium | Add brewing salts |
| Summer | Higher sulfate, lower pH | Adjust alkalinity |
| Fall | Increased chloride | Balance with sulfate |
| Winter | Variable alkalinity | Re‑measure pH |
DIY Test Strips vs. Professional Lab Analysis: Choosing the Right Method
Seasonal shifts can throw your water chemistry off balance, so keeping a close eye on it between lab tests is smart. DIY test strips give you instant readouts of chlorine, pH, alkalinity, and hardness, perfect for day‑to‑day brewing decisions. They’re cheap, quick, and let you spot trends before the next professional lab analysis. However, when you need exact mineral concentrations—calcium, magnesium, sulfates, chlorides—for precise recipe tweaks and salt calculations, a full lab report is irreplaceable. The best strategy blends both: use strips for routine checks and schedule periodic professional water testing to lock in consistency.
- Instant on‑brew‑day checks with strips
- Comprehensive mineral data from lab analysis
- Combined approach ensures reliable, repeatable beer profiles
Turning Your City’s Water Report Into a Brew‑Ready Profile
You’ll notice the city’s water report often paints a broad picture, while the water at your tap can differ dramatically. By comparing the reported mineral ranges to a fresh lab analysis, you can pinpoint exactly which ions need tweaking for your chosen beer style. Then you adjust calcium, magnesium, sulfates, and chlorides precisely, turning vague data into a brew‑ready profile.
Tap Data vs. Reality
How reliable is the water data your city publishes? You might trust the CCR, but it shows plant‑level ranges, not the exact chemistry that hits your tap. Reservoir shifts, seasonal flow changes, and pipe aging can alter mineral levels before the water reaches your kettle. Relying solely on that report can mislead your mash pH calculations and salt additions.
- City reports give broad trends, not precise concentrations.
- Local, laboratory water testing captures the real‑time profile you need.
- Combining municipal data with your own testing creates a brew‑ready, style‑appropriate water profile.
Adjusting Minerals for Style
Ever wondered how to turn a vague municipal water report into a precise, style‑specific brew profile? Start by treating the city’s water as a baseline, then adjust minerals to match your target beer. Because municipal reports give ranges, you’ll need a test kit to pinpoint calcium, magnesium, sulfates, and chlorides. Aim for 0–200 ppm calcium and watch mash pH at 5.2–5.6; magnesium follows suit. Use gypsum to raise sulfates for hop bitterness, calcium chloride for chloride to boost malt sweetness, and epsom salt for extra magnesium. Fine‑tune until the mineral balance fits the style’s profile. This water treatment approach lets you convert a generic report into a brew‑ready formula, ensuring consistent flavor and optimal yeast health.
Building a Custom Water Profile With Salts and Calculation Tools
Ever wondered how to fine‑tune your brew’s character with just a few grams of salt? Building a water profile starts with a water analysis, then you pick gypsum for calcium and sulfate, calcium chloride for calcium and chloride, and Epsom salt for magnesium. Use a calculator like BrewFather or Brü Water Tool to input target ppm and let the software suggest exact gram amounts. Adjust pH with a pinch of baking soda if needed, and double‑check with a test kit before mashing. This method lets you shape hop bitterness, malt sweetness, and clarity without guesswork.
- Choose salts that match your style’s mineral goals.
- Input current water data into a digital calculator.
- Verify pH and mineral levels with a test kit before brewing.
Maintaining Batch‑to‑Batch Consistency Through Regular Water Monitoring
Even if your recipe stays the same, the water you use can drift over time, so regular monitoring is essential for batch‑to‑batch consistency. Track mineral content—calcium, magnesium, sulfate, chloride, and alkalinity—each season, because rain, source blending, and treatment tweaks shift those levels. Quarterly lab reports give you exact concentrations, letting you fine‑tune salt additions to match your target profile every brew. Keep an eye on pH and mash pH (5.2–5.6) alongside mineral data; stable pH ensures reliable starch conversion and hop extraction. A consistent testing routine eliminates flavor surprises, stabilizes mash temperature, enzymatic activity, and yeast health, and ultimately lifts your beer quality.
Frequently Asked Questions
How Often Should I Test Water After Adding New Salts?
You should test the water after each salt addition, then again after 24 hours to confirm stability. If you notice any flavor shifts, repeat testing weekly until the profile stays consistent.
Can Bottled Water Be Used for Brewing Without Testing?
You can brew with bottled water straight away, but you should still check its mineral content and pH. Even bottled brands vary, and those differences can affect flavor, mash efficiency, and yeast health.
Do Water Filters Affect Mineral Content for Brewing?
Yes, water filters can strip minerals, reducing calcium and magnesium that contribute to flavor and mouthfeel. Choose a filter that retains essential ions or add brewing salts afterward to maintain your brew’s profile.
What Impact Does Water Temperature Have on Test Accuracy?
You’ll find that if the water’s too hot, your test strips or meters can give falsely low mineral readings, while cold samples may under‑react, so keep temperature within the kit’s specified range for accurate results.
Are There Quick Home Methods to Detect Chlorine Residuals?
You can use chlorine test strips or a few drops of liquid test solution; both give results in seconds, are inexpensive, and let you see residual chlorine levels instantly at home.
In Summary
By testing your brewing water, you’ll keep flavor consistent, avoid off‑notes, and fine‑tune your recipes. Regular monitoring catches mineral shifts, pH swings, and contaminants before they ruin a batch. Whether you use test strips or a lab, translate the data into a custom profile and adjust with salts. The result? Predictable, high‑quality beer batch after batch—no surprises, just the taste you intended.


Leave a Reply