First locate the mill’s brand by checking for stamps, casting patterns, or patent dates—common marks include Zassenhaus, Enterprise, Frary & Clark, and Parker Eagle. Measure the shaft diameter at the handle attachment and note whether it’s a press‑fit, threaded, or tapered connection. Gather a small screwdriver set, pliers, a rubber mallet, and food‑safe mineral oil, then carefully disassemble, preserving thread orientation and photographing each step. Clean the shaft, check for wear, and fit a compatible handle by gently tapping it into place, ensuring it rotates smoothly before reassembling and testing the grind. Continue for and you’ll discover detailed maintenance logs and troubleshooting tips.
Identify Your Antique Mill Model and Handle Size
Ever wondered how to pinpoint your antique mill’s exact model and handle size? Start by hunting manufacturer marks, patent dates, and casting patterns; Zassenhaus, Enterprise, Arcade, Landers, Frary & Clark, Parker Eagle, and Wells‑Index each leave distinct stamps and design cues. Measure the shaft diameter where the handle attaches, noting whether it’s a press‑fit, threaded, or tapered connection, and check for a set screw or horn‑sized bore. Cross‑reference decals, chrome/steel or wood construction, and typical square or round shaft dimensions to confirm the era and compatibility. Record the grinder mechanism type and shaft length, then create a parts map listing model, year range, shaft diameter, attachment method, and any known replacement parts from donor mills or catalogs. This precise identification ensures you select the correct handle and avoid mismatched replacement parts. You may also consult period catalogs or community forums to verify compatibility with replacement hardware and ensure a seamless fit with your particular mill.
Collect Tools and Materials for Antique Mill Handle Replacement
You’ll want to list every precision hand tool, food‑safe lubricant, and safety gear before you start.
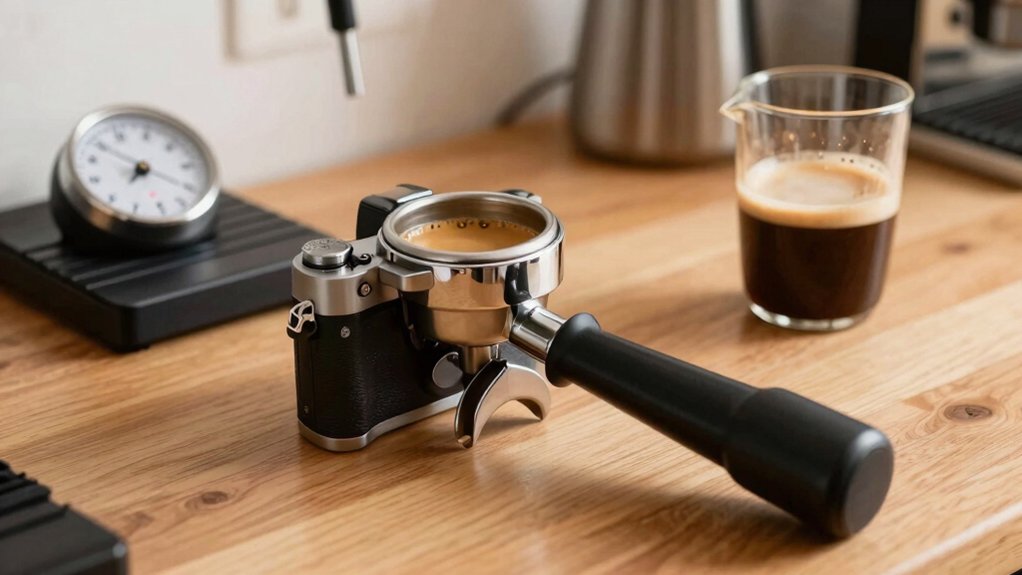
You’ll want to list every precision hand tool, food‑safe lubricant, and safety gear before you start. 58mm
Essential Tools Inventory
Where do you start when preparing to replace an antique mill handle? First, gather restoration tools: a small screwdriver set, pliers, a soft cloth, and a rubber mallet. Inspect the existing handle ferrule and shaft for wear, noting cracks or looseness that could affect alignment. Verify screw type, thread size, and length to guarantee hardware compatibility. If the handle is press‑fit, use the mallet for a gentle tap—never over‑tighten, or you’ll split the wood. Choose a replacement handle that matches the original mill’s geometry for a proper fit. Photograph each step to document the process and preserve provenance. This concise inventory ensures you have everything needed before you begin the actual restoration. When considering the replacement, prioritize compatibility with the ferrule design to minimize misalignment risks and ensure a stable, durable restore. Provenance tracking helps retain historical value while you work.
Safety Gear Checklist
After confirming you have all the restoration tools, turn your attention to safety gear. Proper PPE keeps you safe while you handle the delicate grinding mechanism and install the replacement parts. You’ll feel confident knowing each piece of gear shields you from sparks, dust, and sharp edges. Slip on safety glasses, secure a dust mask, and wear cut‑resistant gloves before you even pick up a screwdriver. This checklist ensures you stay protected, so you can focus on precision without worrying about injuries. Foam in milk frothers are designed with frothing mechanisms that can be delicate, so protect yourself accordingly.
Disassemble the Antique Mill While Preserving Threads
You’ll start by removing the handle and any decorative pieces, carefully noting each part’s orientation so the threads stay aligned. Photograph and mark the threads before you loosen any nuts, using just enough force to avoid stripping. If the threads show wear, apply a suitable repair method that preserves the original pitch and engagement. Consider documenting the temperature stability of related measurements as you work, drawing from the idea of maintaining consistent readings across conditions to guide restoration decisions ATC consistency.
Preserve Thread Integrity
Documenting each screw and its orientation before you start taking the mill apart is the quickest way to keep the threads intact. First, spray penetrating oil on every threaded component, letting it soak to loosen corrosion without forcing the threads. Then, use a torque‑controlled wrench, applying gradual pressure so you don’t strip the historic threads. Keep each fastener in a labeled container sorted by size and pitch, which prevents cross‑threading later. Before reassembly, hand‑thread the handle onto the shaft, feeling the smooth engagement, then finish with an even torque to preserve thread integrity and avoid galling. Paying attention to the precision of your measurements and the care for delicate components aligns with proper USB-C Charging and timer features that emphasize meticulous detail in precision tools.
Document Component Orientation
Preserving thread integrity starts with a clear record of every component’s position before you pull the mill apart. During disassembly, photograph each piece and note its orientation, then label the screws and brackets with their threading type. Use a simple spreadsheet or sketch to track the exact order you remove parts, marking which side faces up and which holes align. Inspect each thread for wear as you go, and write any damage on the same label. Store the components in separate containers, each stamped with its orientation and threading details. This systematic labeling prevents confusion later, ensuring you reassemble the handle with the original fit and function intact. Additionally, document how thread engagement varies with different surfaces and materials to anticipate any subtle alignment changes during reassembly thread integrity.
Use Appropriate Fasteners
Where should you start? Begin by labeling each fastener and photographing its position before you loosen anything. This preserves the original thread engagement and prevents mixing screws with different pitches. Remove external components first, noting any adjustment settings so the handle shaft and top cap nut align during reassembly. If a fastener is seized, apply penetrating oil and turn it gently both ways to protect the wood and metal threads. When you reassemble, hand‑thread the handle onto the shaft, then give each fastener a snug wrench turn—just enough to secure without stripping. Follow proper torque guidance to keep the mill operating smoothly.
- Feel the satisfaction of preserving history with each careful turn.
- Experience confidence knowing every fastener matches its original thread.
- Enjoy the pride of a flawless reassembly that respects the mill’s craftsmanship.
- Relish the peace of mind that comes from avoiding cross‑threading and damage.
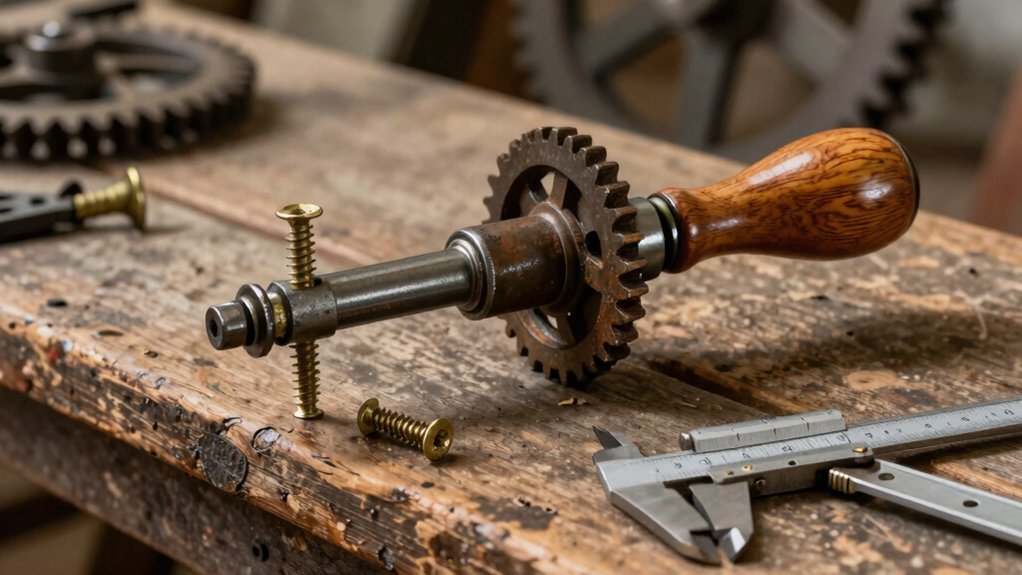
Clean and Inspect the Antique Mill Shaft and Burr
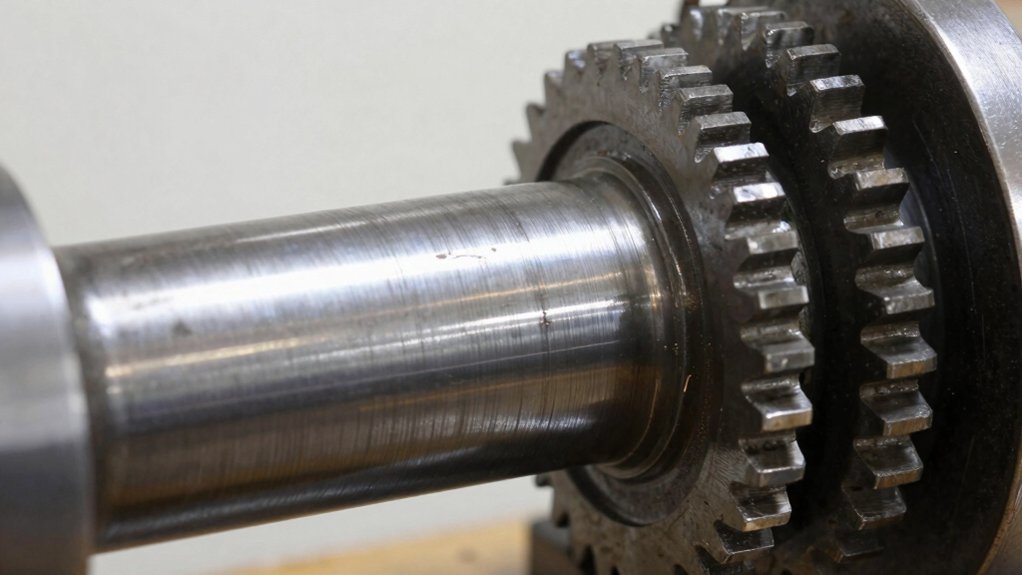
Holding the burr up and turning it by hand lets you quickly see whether the inner and outer burrs line up correctly; listen for a smooth, even contact and feel for uniform resistance. First, wipe the shaft with a soft rag and a mild solvent to remove rust and buildup. Then, rotate the burr slowly, checking burr alignment and listening for any irregular chatter. If the outer burr feels off‑center, adjust it until the contact feels uniform, then tighten the adjusting cam to achieve a secure burr lock. Finally, visually inspect both burr faces for even wear before reassembling the handle and top cap nut.
| Step | Action |
|---|---|
| 1 | Clean shaft with rag and solvent |
| 2 | Rotate burr, feel resistance |
| 3 | Adjust outer burr for alignment |
| 4 | Tighten cam for burr lock |
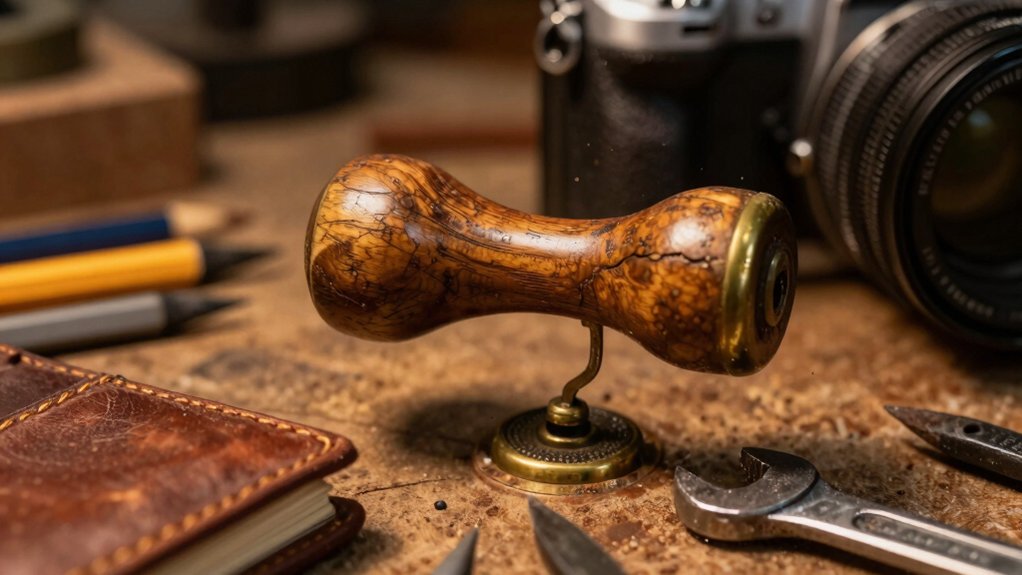
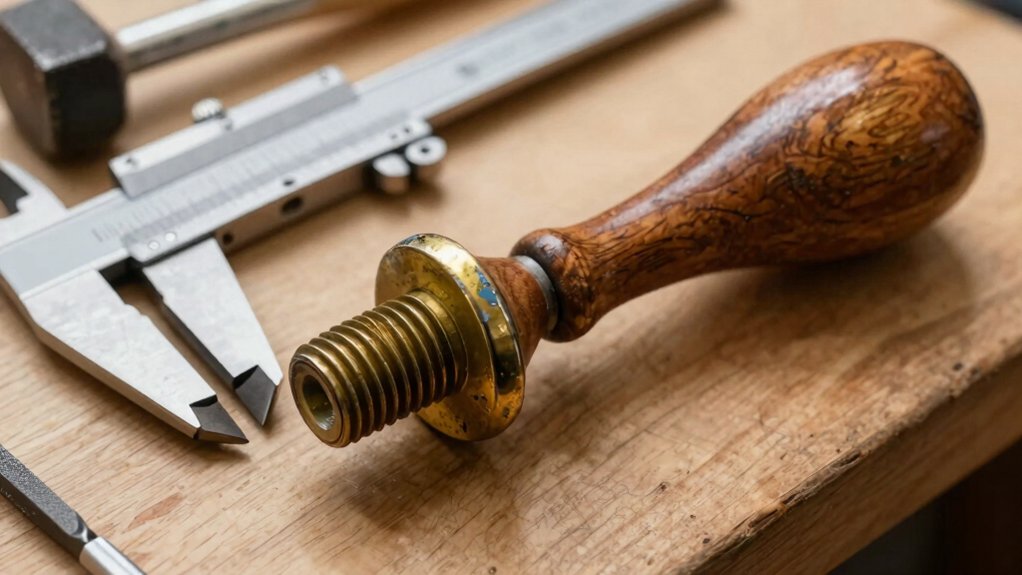
Fit the New Handle for Antique Mill Replacement
How do you secure the new handle so the mill runs smoothly? First, align the handle with the mechanism’s lever, checking that the handle fit matches the antique mill’s shaft. Press‑fit the handle gently, tapping with a rubber mallet until it seats fully against the ferrule. Apply just enough torque to reattach the wooden handle without cracking the wood or stripping screws. Verify that the handle rotates freely, with no wobble or jamming, before you finish the top‑cap. Lightly lubricate moving parts with food‑safe mineral oil if needed, then run a quick test grind to confirm proper assembly alignments and a successful restoration.
- You feel the satisfying click of a perfect fit.
- The wood’s grain stays intact under careful torque.
- The mill hums smoothly, free of wobble.
- You enjoy the pride of restoring a piece of history.
Reassemble, Align Burr, and Test Antique Mill Grind
Now that the handle sits snugly, turn your attention to the burrs and bottom bearing. Grease the bearing hole, slip the lower bearing strap loosely, and rejoin the axle shaft through the top bearing. Refit the top mechanism, checking burr alignment against your reference photos. Clear any glue or debris before tightening the cam. Set the adjusting cam about a half‑turn counter‑clockwise from the burr lock for a balanced start. Run a handful of peppercorns, observe grind consistency, then fine‑tune the screw until each setting yields uniform particles.
| Step | Action | Check |
|---|---|---|
| 1 | Grease bearing hole | No excess |
| 2 | Insert lower strap loosely | Free rotation |
| 3 | Rejoin axle shaft | Proper fit |
| 4 | Align burrs | Photo reference |
| 5 | Set cam half‑turn CCW | Balanced grind |
| 6 | Test with peppercorns | Uniform size |
| 7 | Adjust screw | Consistent grind across settings |
Document the Process and Plan Ongoing Maintenance
Ever wondered how a well‑kept record can keep your antique mill humming for years? Start with thorough documentation: photograph the old handle, nut, and shaft from every angle before you pry anything apart. As you disassemble, jot down part numbers, screw types, and orientation notes so the handle restoration can be reversed flawlessly. Record measurements—handle diameter, lever distance, thread size—to guide future antique mill parts replacements. Then build a maintenance log that captures lubrication intervals, cleaning steps, and any wear you spot, and schedule follow‑up checks every 3–6 months to confirm tightness and smooth rotation.
- Capture each component with clear photos
- Write down every part number and screw type
- Log lubrication dates and observed wear
- Set reminders for quarterly tightness checks
Frequently Asked Questions
How to Restore Metal Antiques?
You clean the metal gently with mild soap, dry it, then apply a rust remover or vinegar soak. Rinse, polish with a soft cloth, and finish with a protective wax or oil.
How to Clean a Hand Crank Coffee Grinder?
You should disassemble the grinder, soak metal parts in coffee cleaner overnight, scrub and rinse, remove rust with fine steel wool or vinegar, dry thoroughly, then reassemble and test with peppercorns.
In Summary
Now you’ve identified the model, gathered tools, stripped the mill, inspected the shaft, fitted the new handle, and reassembled everything. By aligning the burr and testing the grind, you’ve confirmed everything works smoothly. Keep a record of the steps and schedule regular maintenance, and your antique mill will stay reliable and true to its original performance for years to come.


Leave a Reply