Disassemble your pot, photograph each piece, and label them before you clean. Identify the metal—steel, aluminum, or pewter—using a magnet and note any corrosion or oxidation. Wash gently with warm,apy and a soft sponge, then dry quickly; for stubborn stains, apply a light Bar Keepers Friend paste or a brief lemon‑juice‑baking‑soda mix, rinsing thoroughly. Replace the rubber gasket with a matching silicone or cork ring sourced from vintage‑part shops. Reassemble in reverse order, tighten fittings, and run a water‑fill leak test, adjusting the pressure screw until steam flows evenly. Finally, store it dry and protect the finish, and the next steps will show you how to keep it shining and troubleshoot any post‑restoration issues.
Disassemble Your Vintage Moka Pot Completely and Document Every Piece
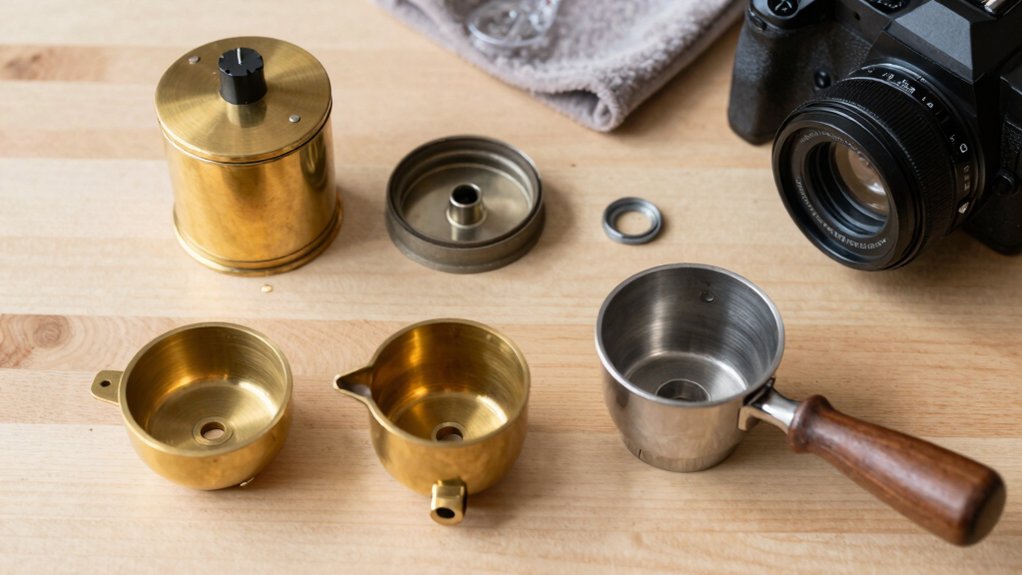
Ever wondered how to keep every detail of your vintage moka pot while you take it apart? Start by arranging a clean workspace and gathering small containers for screws, gaskets, and tiny parts. As you begin dismantling, remove each component—tank, gasket, filter, funnel, decorative bands—one at a time. Photograph every piece, then label the image with its name and position in the assembly. Keep a notebook for documentation: note corrosion, cracks, wear, and any missing items. Track the order of removal and the routing of any tubing to avoid confusion later. By organizing the parts and recording their condition now, you’ll streamline reassembly and preserve the pot’s original integrity. Foam texture
Identify Your Vintage Moka Pot’s Material and Spot Corrosion
A quick magnetic test tells you whether your vintage moka pot is steel or aluminum, which determines the cleaning approach you’ll need. Grab a small fridge magnet; if it clings, you have steel, otherwise it’s likely aluminum. Note any copper‑tinged bottom—this may be mineral buildup rather than a metal change. Spot white, powdery patches on aluminum; they signal oxidation that you’ll address during corrosion restoration. For pewter‑based handles, expect a duller sheen and treat them separately. This material identification step sets the stage for effective corrosion restoration, supported by IP-rated durability concepts such as IP67 waterproofing considerations when handling water exposure during cleaning. Copper‑tinted elements or deposits can indicate specific mineral buildup that may require targeted cleaning approaches.
| Observation | Likely Material | |
|---|---|---|
| Magnet sticks | Steel (or stainless) | |
| No magnetic attraction | Aluminum | |
| Copper‑colored base | Mineral deposit / mixed metal | |
| White powdery spots | Aluminum oxidation | |
| Dark, dull handle | Pewter alloy | Use gentle cleaners first, escalating only if needed, and keep abrasive pads away from steel and aluminum surfaces. This material identification step sets the stage for effective corrosion restoration. |
Clean and Polish the Vintage Moka Pot Metal Surface Without Removing Patina
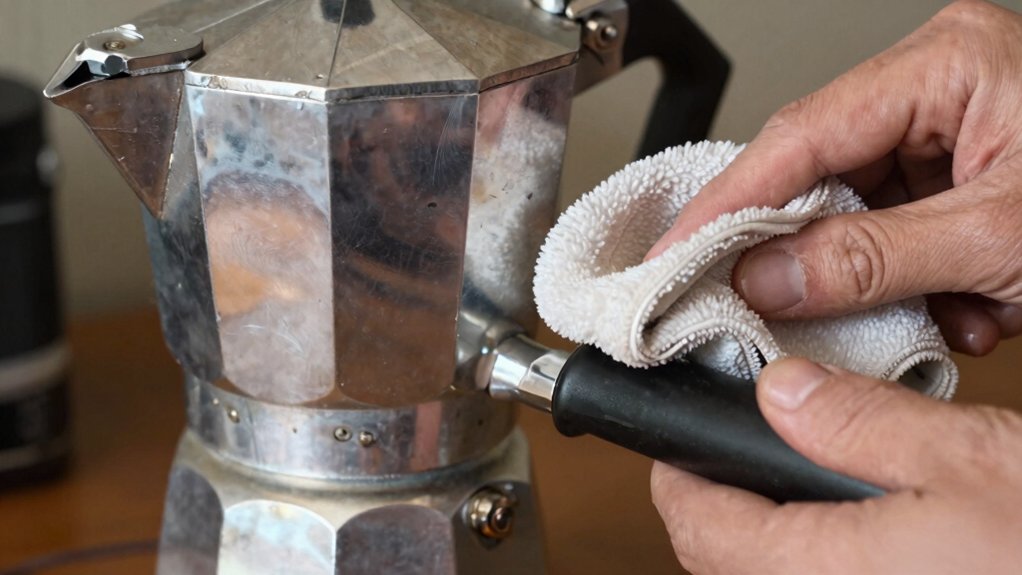
How do you keep the original patina while still making your vintage moka pot shine? Start by washing the pot with mild dish soap and warm water, using a soft sponge to lift surface grime. Rinse and dry promptly. For polishing, choose a non‑abrasive cleaner; a gentle application of Bar Keepers Friend on a soft cloth works well on aluminum or pewter, but press lightly to avoid stripping the patina. If stubborn oxidation remains, mix lemon juice with baking soda or use a vinegar solution, apply briefly, then rinse thoroughly and dry completely. After polishing, store the moka pot in a dry place and dry it after each use. This routine ensures oxidation prevention while preserving the cherished patina. 40 external adjustable settings
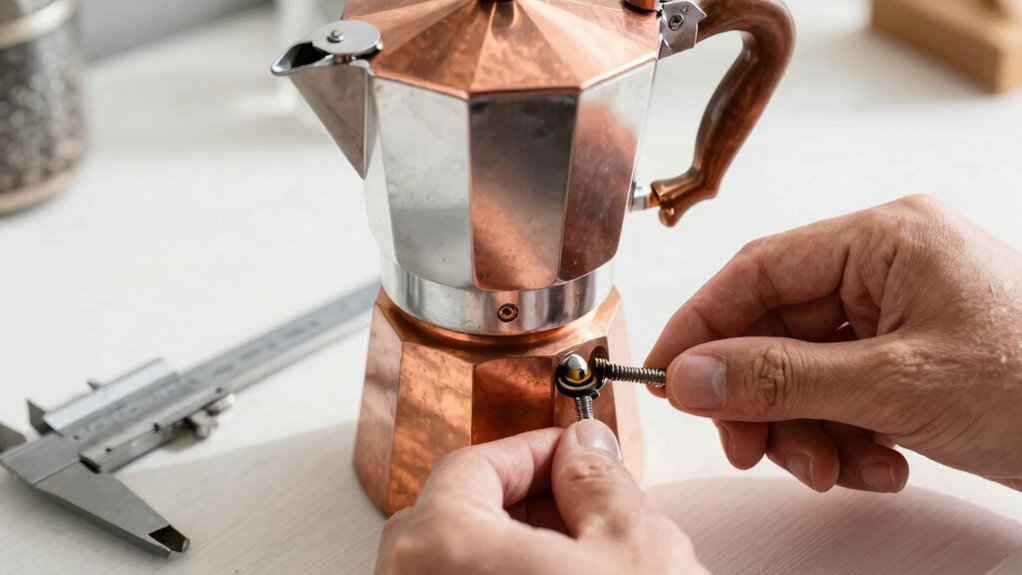
Restore or Replace the Rubber Gasket on a Vintage Moka Pot (Where to Find Parts)
You’ll want to weigh rubber, silicone, or even custom‑cut O‑rings based on the pot’s material and seal requirements. Start by checking specialty coffee shops, online vintage‑parts sites, or local hardware stores for exact‑size gaskets, and bring the old ring for a fit comparison if possible. If a perfect match isn’t available, cut a silicone sheet or use a generic O‑ring that matches the inner diameter, thickness, and groove width. Brand heritage and redemption flexibility matter when choosing where to source parts, as established brands often offer more reliable support and a broader range of compatible options. Geographic coverage ensures you can find suppliers with nationwide availability and consistent service across locations.
Gasket Material Options
Where can you find a gasket that will survive the heat and pressure of a vintage moka pot? You have three main material choices: rubber, silicone, and cork‑based substitutes. Rubber gaskets are the original design, but they can shrink or crack after years of use. Silicone offers superior heat resistance, flexibility, and a longer lifespan; you can buy thin silicone sheets and cut a precise ring to match the groove. Cork‑based options are less common but can work if you need a softer seal. When you’re unsure which to pick, bring the broken piece to a hardware or specialty gasket store for a fit‑check, or measure the groove and order a matching silicone or rubber gasket online. This ensures a tight, leak‑free seal for your restored pot. gasket options
Finding Replacement Sources
Looking for a gasket that fits your vintage moka pot can feel like hunting for a needle in a haystack, but several reliable routes exist. You’ll want to start with compatibility verification—measure the old gasket’s inner and outer diameters, then compare those numbers to any replacement you consider. Bring the broken piece to a hardware store for an exact size match, or use a gasket cutter to trim a fresh silicone sheet to the right dimensions. Online marketplaces often list vintage espresso parts, but filter by “Moka pot gasket” and read reviews for fit accuracy. Specialty espresso shops can also source authentic rubber, and many have forums where fellow restorers share part numbers.
- Search e‑bay or Etsy for “vintage espresso parts” listings.
- Visit local kitchen supply stores with the old gasket for size matching.
- Use a gasket cutter to trim a silicone sheet to the measured dimensions.
- Check specialty espresso parts shops for OEM‑style rubber gaskets.
- Join online restoration forums for part recommendations and compatibility tips.
Reassemble, Test for Leaks, and Adjust the Fit
Now that you’ve put the parts back together, run a quick seal‑check by filling the tank with water and watching for drips at every joint. If you notice any seepage, tighten the fittings and adjust the pressure‑switch screw until the flow steadies. Finally, fine‑tune the fit by aligning the safety valve and anti‑vacuum valve, adding a thermal blanket if needed, and confirming that the thermostat cycles cleanly. Also, verify that the filling lines and gaskets are made of heat‑resistant materials suitable for safe use with stovetop espresso systems shelf-stable packaging and ensure you follow any manufacturer guidance on initial testing before regular use.
Seal‑Check Procedure
Need to seal‑check your vintage stovetop espresso maker, start by reassembling the pump, safety valve, anti‑vacuum valve, thermostat, pressure sensor, and the two manometers exactly as they were laid out during disassembly, making sure each fitting lines up with the documented piping diagram. Then run a controlled water fill, pressurize, and watch for any drip. If you spot a leak, tighten the joint a little, inspect gaskets, and replace worn O‑rings under €10. Adjust the pressure‑switch side screw to hit the target brewing pressure, then repeat the leak test. Finally, wrap a thermal blanket around the tank to keep temperature stable during the seal‑check. Reconnect components in order and ensure the system remains compatible with your machine’s pressure guidelines active cleaning compatibility for optimal performance.
- Reconnect components in order
- Align fittings with diagram
- Perform initial water‑fill leak test
- Tighten and replace faulty seals
- Add thermal blanket for temperature stability
Pressure‑Adjustment Tips
Ever wondered how to fine‑tune your stovetop espresso maker’s pressure after reassembly? Start with a pressure test, watching the heat exchanger flange and pipe joints for any steam leaks. Wrap a thermal blanket around the tank to keep temperature steady, then crank the side pressure‑switch screw clockwise in tiny increments, testing after each turn. When steam flows evenly and the brew pressure holds, re‑tighten all fittings—especially the safety valve, anti‑vacuum valve, and pump connections. If a leak persists, inspect gasket sealing; reseat the heat exchanger flange and replace worn gaskets if needed. A quick re‑check after reseating ensures an airtight seal, letting you enjoy consistent pressure without over‑pressurization.
Fit‑Fine‑Tuning Guidance
How can you guarantee a flawless fit after reassembling your stovetop espresso maker? Follow the documented disassembly order in reverse, attaching the pump‑to‑brew‑group pipe first, then the hot water and steam lines. Tighten each fitting incrementally, especially the pressure switch side screws and hose clamps, to spot any minor leaks. Perform a full leak test by slowly pressurizing the system and watching for moisture or steam. Wrap the tank in a thermal blanket to boost heat retention, then verify electrical wiring against schematics before sealing the enclosure.
- Reattach pipe from pump to brew group first
- Connect hot water and steam lines next
- Incrementally tighten side screws and hose clamps
- Conduct a gradual leak test, checking all joints
- Apply thermal insulation and confirm wiring safety
How to Keep the Restored Finish Shining and Stop Oxidation
Wondering how to keep your restored vintage moka pot gleaming while halting oxidation?
First, take it apart gently and rinse each piece with warm, mild dish soap and water.
Dry everything thoroughly with a lint‑free cloth—moisture fuels tarnish.
For aluminum components, make sense of using Bar Keepers Friend: wear gloves, apply a thin paste, scrub lightly, rinse well, then dry.
If a stubborn stain appears, a fresh one of lemon juice mixed with cream of tartar works as a mild abrasive; rinse and dry promptly.
Store the pot in a dry, low‑humidity spot and avoid leaving coffee or water inside for long periods.
Occasionally polish with a soft cloth and non‑abrasive metal polish to preserve the original luster without stripping patina.
Troubleshoot Common Post‑Restoration Issues
Is your freshly restored moka pot leaking or delivering uneven pressure? First, run a pressure test on the tank and piping; any hiss means a loose joint or gasket. Tighten connections, replace worn seals (under €10 each), and re‑test with incremental pressure rises. If the brew group or pressure sensor behaves oddly, check wiring continuity and reseat connectors using your disassembly photos. Add a thermal blanket to cut heat loss, then verify steady‑state temperature and energy use. When problems persist, consult your photo‑based reassembly guide to confirm manometers and valves sit correctly.
- Perform a pressure test and seal any leaks.
- Verify wiring continuity and reseat connectors.
- Replace gaskets, testing with gradual pressure increases.
- Insulate with a thermal blanket and monitor temperature stability.
- Cross‑check manometer and valve placement against reference photos.
Frequently Asked Questions
How to Fix an Old Espresso Machine?
You should inspect the machine, replace any worn seals or gaskets, descale the boiler with vinegar, clean the group head with a brush, tighten loose bolts, and test pressure before using again.
What Is the Original Stovetop Espresso Maker?
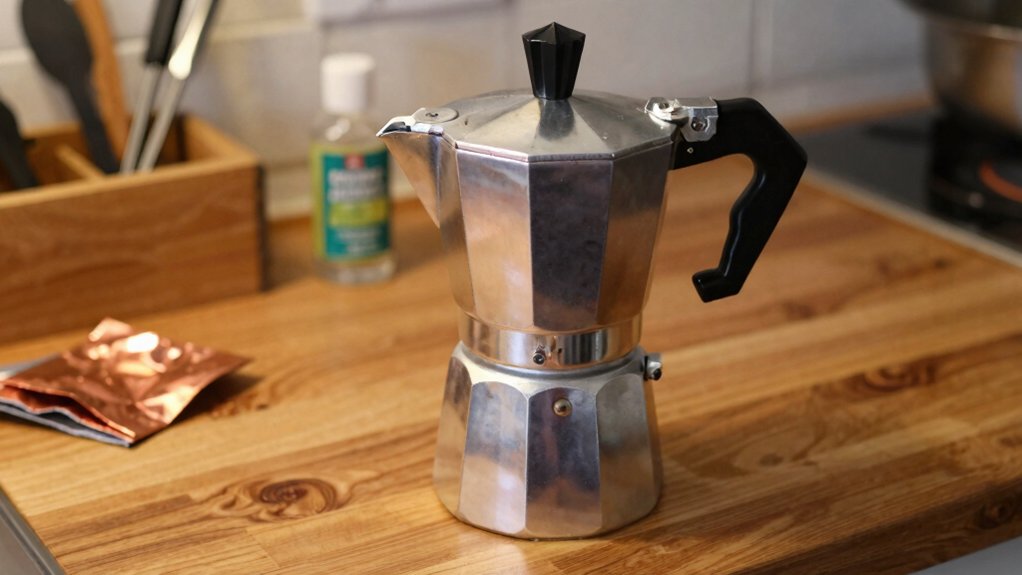
You’re looking at a classic stovetop espresso maker, a metal “Moka pot” with a bottom water chamber, middle brew filter, and top collecting pot, originally crafted from aluminum or pewter with rubber gaskets.
How to Get Crema on Stove Top Espresso?
You’ll get crema by using fresh, fine‑but‑not‑too‑fine grounds, pre‑warming water, sealing the pot tightly, heating on medium‑high until a gentle jiggle appears, then serving immediately in a preheated cup.
Is It Worth Repairing an Espresso Machine?
You should weigh the machine’s rarity, part availability, and repair cost against how much you’ll actually use it; if parts are scarce and expenses high, it’s probably not worth fixing.
In Summary
Enjoy your revived stovetop espresso maker, and remember that regular cleaning, gentle polishing, and occasional gasket checks keep it performing like new. Store it in a dry spot, avoid harsh chemicals, and replace worn parts promptly. With proper care, your vintage Moka pot will continue delivering rich, authentic coffee for years to come.


Leave a Reply