Define clear zones—sanitation, wort production, fermentation, preparation, and ingredient storage—then inventory every piece of gear. Hang tools on a pegboard at eye level, using color‑coded tags and magnetic labels for quick visual cues. Install vertical shelves or slat walls to keep bottles, jars, and bulk items off the floor, and repurpose filing‑cabinet drawers with custom dividers for finings, sanitizers, caps, and airlocks. Use reusable jars or Tupperware with clear labels for small supplies, and keep high‑use items within arm’s reach. Continue for, and you’ll discover detailed layout tips and DIY storage hacks.
Define Brewing Zones and Take Inventory of Your Gear
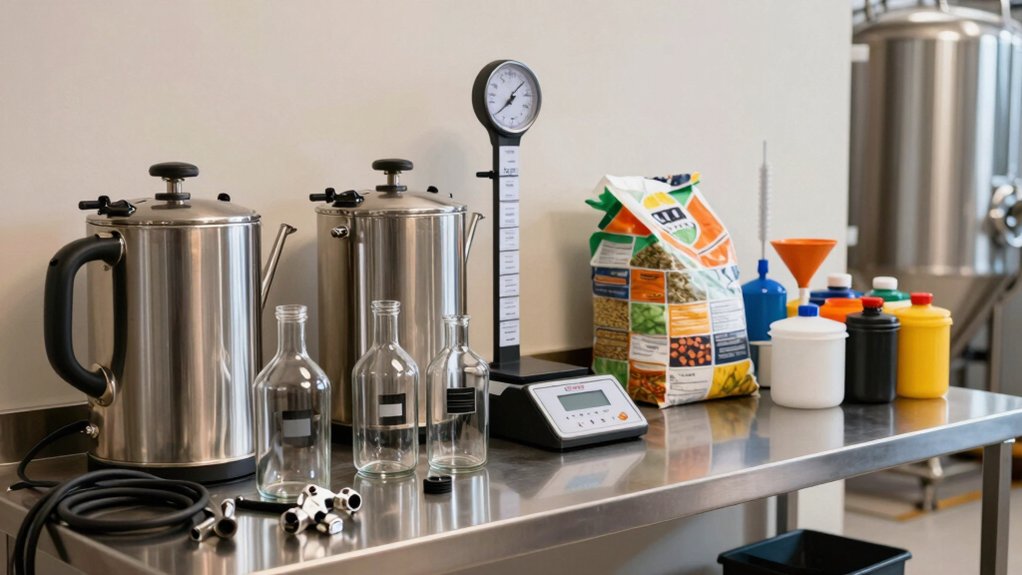
Where do you start? First, sketch your workflow and carve out brewing zones—Sanitation, Wort Production, Fermentation, Preparation, and Ingredient Storage—so each step lives in its own space. Then, tackle inventory management: list every hose, clamp, fining, cleaner, stopper, cap, and airlock, noting how often you use each. Assign a labeled storage spot for every item; mount pegboards for hoses, install slat walls or wire racks for bulk gear, and roll carts for mobile equipment. Group tools by function in small containers, and keep high‑frequency items within arm’s reach. By matching each brew‑day step to its designated zone and storage location, you cut movement, reduce clutter, and streamline the entire brewing process. Reusable, durable cloth filters are a practical, eco‑friendly option you can integrate into your gear plan to support cleaner brews with less waste Reusability and Durability.
Hang & Label Tools on a Pegboard for Your Home‑Brewing Station
Plan your pegboard layout so the most‑used tools sit at eye level, then hang each item on a dedicated peg for instant visibility.
Label each section or draw simple outlines to match the tool it holds, creating a clear, quick‑reference system.
Tailor pegs to oddly shaped equipment to keep everything in its proper place and eliminate misplacement.
Also consider organizing using a fall-themed set like WRAPAHOLIC 50Pcs Fall Paper Napkins to inspire seasonal labeling as a quick visual cue for related tasks. creative labeling
Pegboard Layout Planning
Hanging your brewing tools on a pegboard turns a cluttered wall into an organized workbench, letting you see and grab what you need in seconds. Map a pegboard layout that mirrors your brewing workflow: group spoons, canes, and brushes by function, then assign each a dedicated spot. Use tool labeling to draw outlines or attach small tags, so you never wonder where a piece belongs. Keep the most-used items at eye level for speed, and stash less‑frequent gear lower down. Pair the board with drawers or bins beneath for tiny components, and keep a rolling cart nearby for larger items. Visualize zones for stirring, racking, and cleaning. Label each zone with bold, waterproof stickers. Position high‑frequency tools within arm’s reach. Reserve lower sections for bulk or seasonal supplies. Aesthetic finishes can guide how you color-code or style the pegboard to match your coffee setup while staying practical.
Visibility and Access
A well-planned pegboard not only maps your workflow but also guarantees that every tool stays in sight and within arm’s reach. Hang stirring spoons, racking canes, bottle brushes, and similar items on sturdy pegs so they’re instantly visible. Draw outlines or add simple tags to each section, giving every piece a dedicated spot and preventing misplacement. Prioritize accessibility by positioning frequently used tools at eye level or in clearly marked zones; you’ll cut search time dramatically on brew day. For quick checks, include a dedicated area for a refractometer and scale so you can assess measurements without losing flow data tracking. For oddly shaped equipment, outline the silhouette on the board—this visual cue keeps the item from wandering. Consistent pegboard organization turns a cluttered wall into a streamlined, accessible workstation, letting you focus on brewing instead of hunting.
Labeling System Design
Ever wonder how a simple label can turn a chaotic pegboard into a brew‑day shortcut? You can transform your pegboard with clear pegboard labeling that instantly shows where each racking resides. By assigning a dedicated spot for every stirring spoon, racking cane, and bottle brush, you boost tool organization and slash search time. Keep everything at eye level and use removable labels so you can tweak the layout as your inventory grows. The result is smoother brew day efficiency and fewer interruptions.
- Color‑coded tags that instantly signal “grab me now.”
- Bold outlines around high‑use zones for quick visual cues.
- Magnetic or Velcro labels that slide with your gear changes.
- Simple icons that pair each tool with its function, reducing mental load.
Install Vertical Shelves to Free Floor Space in Your Home‑Brewing Station
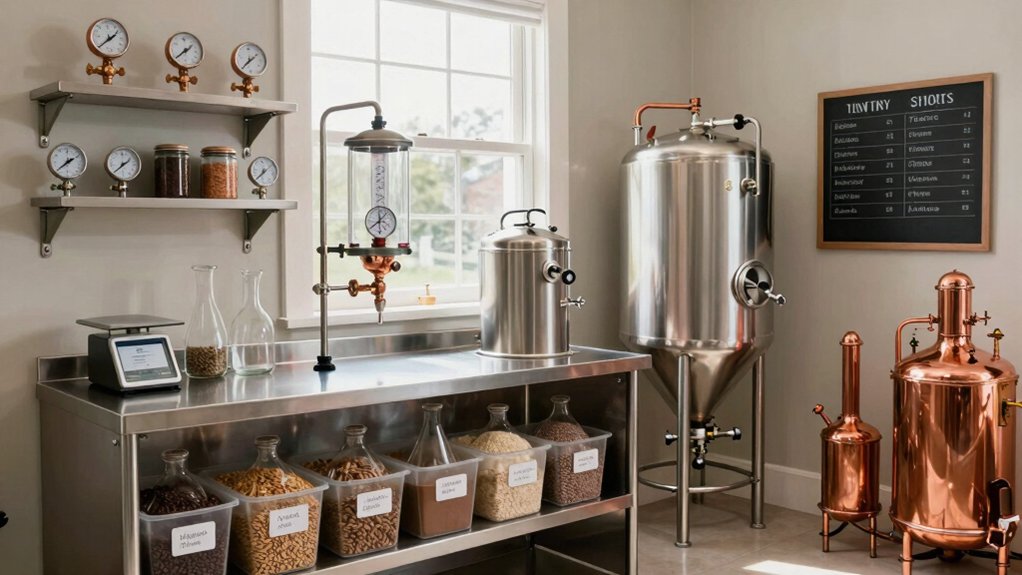
You’ll free up floor space by stacking your gear on vertical shelves, so you can keep the biggest bottles up high and the smaller tools within reach. Choose adjustable or wall‑mounted racks, letting you raise or lower shelves as your collection expands. Pair the shelves with labeled bins to keep everything organized and instantly accessible. The best digital coffee scales often feature a compact, one‑piece design or a heat‑resistant surface, helping maintain a clean, space‑efficient setup compact design.
Maximize Vertical Real Estate
Transform closets into vertical storage zones. This approach aligns with the idea of expanding your home-brewing setup by leveraging wall space and dedicated shelving to support a growing collection barista tips per card and keep equipment organized.
Use Adjustable Shelf Heights
Why settle for a static layout when you can reconfigure your brewing station in seconds? Adjustable shelves give you the freedom to shift vertical storage as your gear changes, keeping the floor clear for brewing tasks.
Use modular units or repurposed fermenter fridges, then set the height to match large items like full fermenters or keezer components. Position heavier, bulkier pieces on lower, sturdier shelves and lift lighter tools higher for quick reach.
Incorporate drip‑dry slots or route hoses above work cells to prevent moisture buildup and maintain hygiene. Assign each zone a specific height range, and you’ll see smoother workflow, less clutter, and overall brewing station organization that feels both efficient and adaptable.
Integrate Wall‑Mounted Racks
Ever thought how much floor space you could reclaim by moving gear onto the walls? Installing wall‑mounted racks turns unused vertical real into a powerhouse of vertical storage, letting you keep kettles, fermenters, and tools off the floor. When you hang odd‑shaped items—stirring spoons, racking canes, bottle brushes—on a pegboard, they stay visible and within reach, cutting search time and smoothing your brewing workflow.
Pair the racks with heavy‑duty rails for bins, hoses, and cords, then stack the biggest containers on top shelves to keep the workbench clear. Add a rolling cart nearby for mobility while keeping gravity‑fed components handy.
- See your space open up instantly
- Feel the calm of a tidy, organized station
- Experience faster brew days with everything at eye level
- Enjoy the pride of a sleek, professional‑looking setup
Convert Small Bags Into Labeled Jars or Tupperware for Compact Storage
A simple way to free up counter space is to dump your small bags—like bottle caps, DME, and priming sugar—into clear glass jars or sturdy Tupperware. Choose containers that nest or stack, then label each one with a waterproof marker or printed tag. Group jars by function—brew‑day, bottling, or all‑purpose—so you can grab what you need without rummaging. The clear view lets you spot low supplies at a glance, and the labels prevent cross‑use errors. When you store the jars together, they form a compact, tidy block that keeps your work surface clear for brewing.
| Item | Container Size | Label |
|---|---|---|
| Bottle caps | 250 ml jar | “Caps” |
| DME | 500 ml jar | “DME” |
| Priming sugar | 250 ml jar | “Priming” |
| Yeast starter | 1 L Tupperware | “Starter” |
| Hops pellets | 500 ml jar | “Hops” |
Create Custom Compartments for Finings, Sanitizers, Caps, and Other Supplies
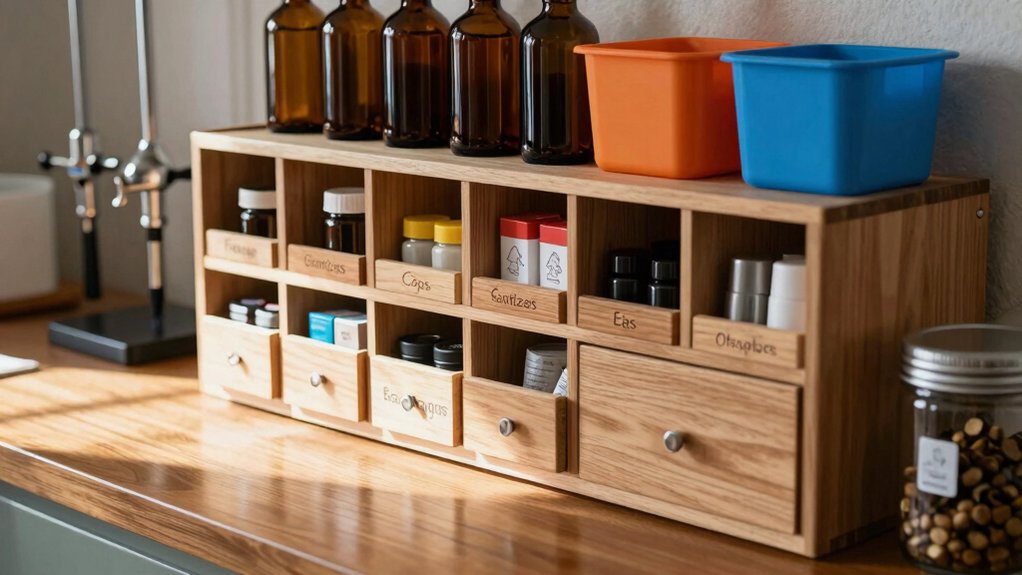
After moving small bags into clear jars, the next step is to give each supply its own slot inside a toolbox or tackle box. Design custom compartments that separate finings, sanitizers, caps, and other brewing supplies, so you never scramble for a jar while the kettle boils. Label each bin clearly, use a modular layout, and keep the most‑used items at eye level. This organization cuts cross‑contamination and speeds up every brew day.
- A shallow tray for finings like isinglass or gelatin, sealed with a lid.
- A dedicated pocket for sanitizers such as Star San, marked with a bright sticker.
- A small bin for rubber stoppers and airlocks, kept away from powders.
- A cap holder that slides into a drawer, keeping bottle caps sorted by size.
Repurpose a Filing Cabinet or Build DIY Units for Space‑Saving Solutions
How can you turn a neglected filing cabinet into a brew‑day powerhouse? Start by emptying each drawer and assigning a function—finings, cleaners, sanitizers, rubber stoppers, bottle caps, airlocks. Label the drawer fronts or add simple outlines so you know exactly where each item lives, cutting search time and clutter. Mount a pegboard beside the filing cabinet and hang frequently used tools within arm’s reach while keeping the drawers for smaller parts. If the old cabinet isn’t sturdy enough, build a DIY unit that mimics its vertical, space‑saving silhouette, adding adjustable dividers to tailor each compartment. This approach maximizes organization, frees floor space, and creates a streamlined workflow for every brew session.
Maintain a Consistent Labeling System to Keep Everything Easy to Find

Emptying the filing cabinet gave you a clean slate, so now you can turn it into a labeling hub that makes every ingredient and tool instantly recognizable. A solid labeling system fuels storage organization and streamlines inventory management. When you label pegboard sections or draw outlines for specific pieces, you assign a dedicated place for each item, ensuring easy visibility and access. Consistency across containers, totes, and drawers lets you quick‑identify contents like “Hops – Cascade 1/2 lb” or “Sanitizers – 1 gallon.” Keep a master inventory chart mapping names to exact locations, and store frequently used items at eye level near the brew area.
- Assign clear, uniform names to every label.
- Use color‑coded tags for categories (finings, cleaners, caps).
- Place high‑use items within arm’s reach, low‑use items higher or boxed.
- Update the inventory list weekly to catch shortages early.
Frequently Asked Questions
What Is the 3 30 300 Rule for Beer Storage?
You follow the 3‑30‑300 rule by keeping three container types, rotating stock every thirty days, and dedicating roughly three hundred square inches of visible label space for quick, clear identification.
What Are the Common Home Brewing Mistakes?
You often skip dedicated spots, leave shelves unlabeled, overload fixed‑height racks, ignore vertical space, and skip regular tidy‑ups, causing misplaced tools, cramped storage, and inefficient brew days.
Why Was Homebrewing Illegal?
You thought homebrewing was illegal because governments equated it with unlicensed alcohol production, fearing tax evasion, unsafe practices, and illicit distribution, so they banned it until modern regulations softened.
How to Set up a Brewing Station?
You’ll start by mapping every brew‑day step, grouping tools into work cells, arranging a triangle of sink, kettle, and mash tun under 23 feet, and placing frequently used items at eye level on pegboards.
In Summary
By zoning your space, labeling everything, and using vertical storage, you’ll keep your brewing gear within arm’s reach and your workspace clutter‑free. The pegboard, shelves, and repurposed containers turn chaos into order, while consistent labeling saves time and avoids mix‑ups. With these smart, space‑saving tricks, you’ll spend less time searching and more time brewing—making each batch smoother and more enjoyable.

Leave a Reply