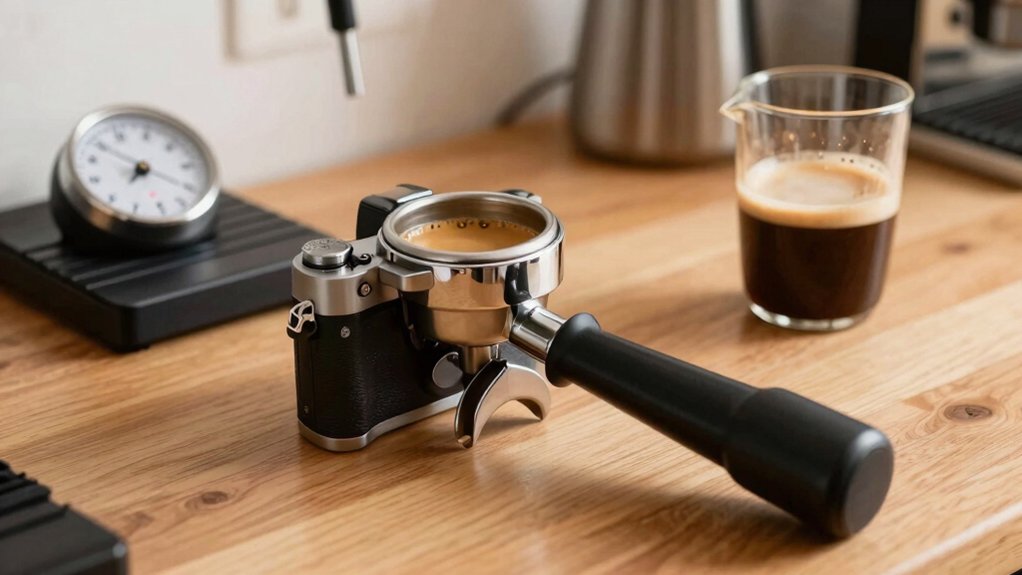
Pick fresh, whole‑bean espresso roasted within two weeks and store it airtight, away from light and heat. Heat the portafilter and machine to 195‑205 °F, then run a quick water burst to stabilize temperature. Grind exactly 20 g right before brewing, use a distribution tool, and tamp evenly with about 30 lb pressure. Watch for a steady, syrupy stream, amber‑to‑brown color shift, and a uniform golden‑brown crema while measuring a 30 g yield in 30 seconds. Adjust grind in tiny steps, log dose, grind, timing, and taste, and you’ll keep refining your shots.
Choose Fresh, High‑Quality Espresso Beans
Ever wondered why your espresso lacks that silky crema? You’re probably using beans that aren’t fresh enough. Choose whole bean espresso that’s been roasted within the last two weeks; the oils and aromatics are still vibrant, and the crema forms more readily. Grind the beans right before brewing with a quality burr grinder, which gives a uniform particle size and steady extraction. Aim for an 18–20‑gram dose for a balanced shot, and store the fresh beans in airtight storage away from light and heat to lock in flavor. By keeping your beans and grinder in top condition, you’ll consistently pull espresso with rich body, bright acidity, and that coveted velvety crema. This includes choosing storage canisters with features like one-way valves and date tracking to maintain freshness over time airtight canister features.
Warm Up Your Espresso Machine and Portafilter
You should heat the portafilter under hot water for about 30–60 seconds, then dry it before dosing.
Pre‑heat the machine until it reaches a stable 90–96 °C and the pressure steadies.
Finally, run a quick blank shot or a burst of hot water through the group head to purge oils and lock in temperature.
Heat Portafilter Properly
Why bother warming the portafilter? Because a preheat portafilter at about 200 °F (93 °C) locks in temperature consistency, stabilizes crema, and protects the espresso bloom from premature cooling. Run a blank shot or flush water through the group head for 10–20 seconds, then dry the portafilter before dosing. If the portafilter temperature drops, the coffee bed cools too fast, leading to channeling and a thin, unstable crema. Use hot water from the boiler or a dedicated warming tray to bring the portafilter up to temperature, then wipe away excess moisture. This simple step keeps pressure even, preserves crema stability, and ensures each shot extracts uniformly for a richer, smoother espresso. 0.1 g precision
Pre‑heat Machine Thoroughly
How long does it take for a machine to reach brewing temperature? You should give your espresso machine at least three to five minutes of steady operation before pulling a shot. During that time, run hot water through the group head and into the portafilter until the water flows steadily and the metal feels hot.
This preheat routine brings the entire workflow to thermal equilibrium, keeping the brewing temperature in the 195–205 °F (90–96 °C) window. Warm the grinder and scale, too, so every component stays at operating temperature when you dose.
A stable preheat prevents pressure spikes and puck temperature shock, ensuring consistent grind retention and extraction. Follow this habit each day for reliable, balanced espresso.
To further support consistent performance, consider adopting a periodic maintenance step using compatible descaler tablets to keep water flow and flavor stable over time water quality maintenance.
Run Water Through System
After the machine has warmed up for a few minutes, run a short stream of clean water through the group head and portafilter. This water purge clears residual oils and debris, ensuring a clean brewing path. Let the hot water flow for several seconds to preheat the portafilter and the cup you’ll use, stabilizing the brew temperature before any coffee touches the group. If your machine has a PID, wait until the display shows the target temperature—about 200 °F (93 °C)—so the system is fully stabilized. A quick, water‑only shot after preheating avoids sudden temperature drops, keeping the brewing environment steady and delivering consistency shot after shot. Regular maintenance and timely filter checks help maintain consistent water quality, which is essential for stable espresso flavor filtration considerations.
Grind 20 g of Coffee for a 20 g Basket
You’ll want to weigh the grounds to hit exactly 20 g every time, because that consistency drives the 1:1.5 ratio. Keep your grinder set to the same fine setting for each dose, so the extraction stays even. A precise scale and a steady grind will give you a uniform puck and reliable flavor. Using a high-quality milk frother with stable temperature control can help you craft better espresso-based drinks by ensuring consistent foam and heat for creamy lattes and cappuccinos foam quality and minimizing scorching during warming.
Scale Accurately
Ever wondered why a perfect espresso starts with a precise 20 g dose? You’ll need a reliable scale, a burr grinder, and a commitment to precision. Weigh the coffee before you grind, then dose exactly 20 g into the basket. This consistency aligns with the 1:1.5 ratio, aiming for a 30 g yield, and minimizes channeling. Record each dose and shot timing to build a repeatable baseline. For travel or on-the-go brewing, consider AeroPress models that deliver fast, less bitter results with micro-filtration to preserve flavor micro-filtration and keep cleanup quick.
Use Consistent Grind
Why does a consistent grind matter? It controls how water flows through the puck, shaping extraction time and flavor. When you grind 20 g for a 20 g basket, you lock in the dose, keep the grind size fine enough for a 25–30 second shot, and protect aroma by grinding fresh. Use a scale to verify the 20.0 g dose before tamping, then adjust in tiny increments if the shot drifts. Consistency eliminates guesswork and lets you fine‑tune the espresso profile. For long-term reliability, choose a consistent measuring tool like a 20 ml scoop that ensures uniform dosing across every shot measurement consistency.
Use a Weiss Distribution Tool to Even Out the Coffee Bed
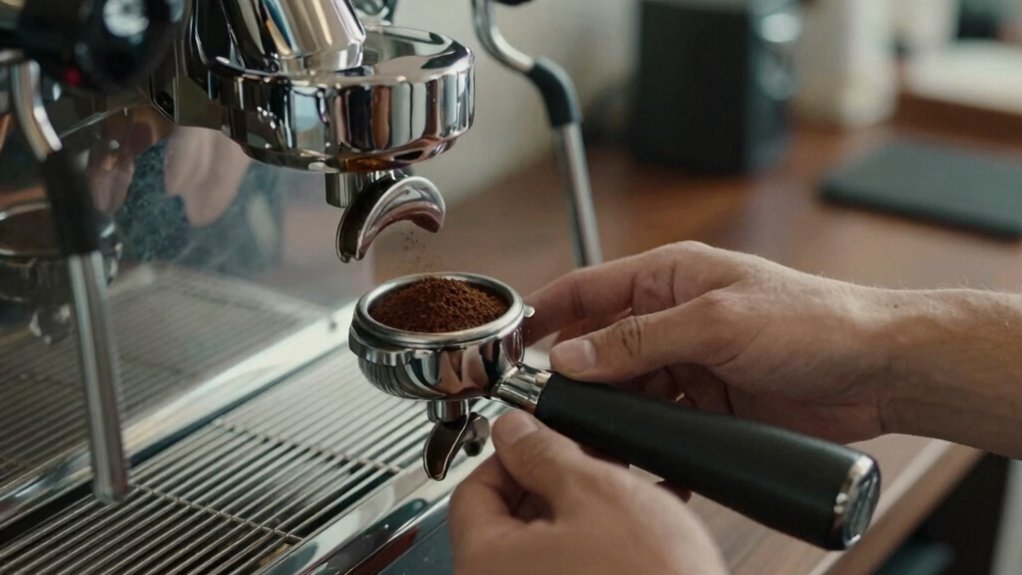
Curious how a simple tool can transform your espresso? Grab a Weiss distribution tool and, it into the freshly dosed coffee bed. Gently stir or pry the grounds, breaking up clumps and fluffing the puck in just a few seconds.
This action creates a uniform density, so when you later tamp, the resistance stays consistent across the entire bed. Even extraction follows because water can flow through without channeling. The technique is quick, inexpensive, and perfect for beginners who want reliable shot quality.
Tamp the Coffee Bed Level and Firmly
After using the Weiss Distribution Tool to break up clumps, you’ll notice a smoother, more uniform coffee bed ready for tamping.
Now focus on coffee bed leveling and applying the right tamping pressure. A level puck prevents channeling and guarantees even extraction, so treat this step like the foundation of your brew.
- Hold the tamper firmly, align it with the portafilter, and press down with about 30 lb of pressure.
- Keep your wrist level; a steady, horizontal push avoids rocking and creates a flat surface.
- Finish with a brief polish—twist the tamper slightly to smooth any edges and ensure the puck stays level.
Pull a 30‑Second Shot to Hit the 1:1.5 Ratio
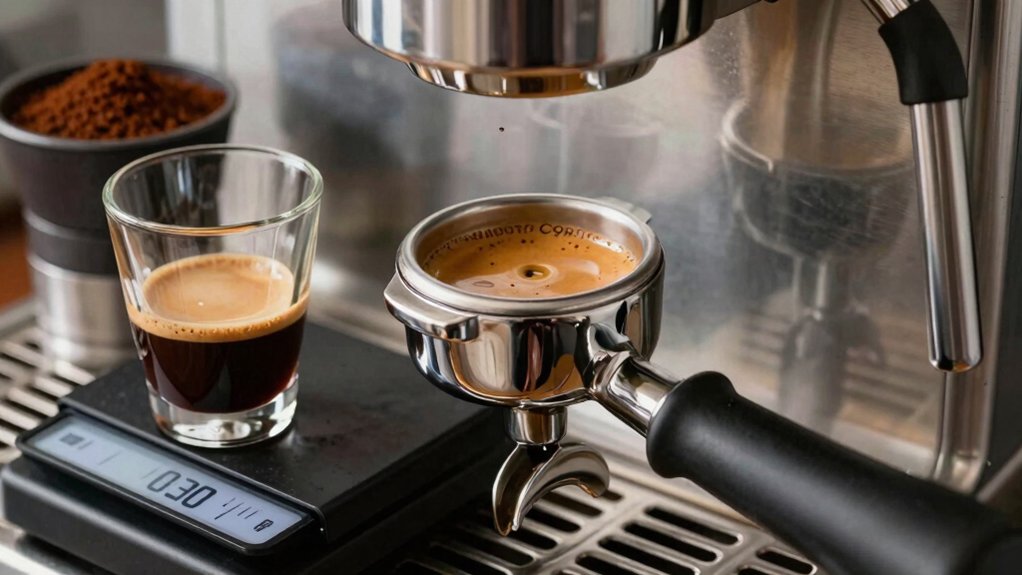
Ever wondered how to hit a perfect 1:1.5 espresso ratio in exactly 30 seconds? Start by setting a 20 g dose on the scale, then grind to a medium‑fine setting. Pull the shot, watching the timer and the weight. If the brew finishes early, tighten the grind or add a gram of coffee; if it lags, coarsen slightly. Keep the stream steady, and stop when the scale reads about 30 g yield. Consistent timing and precise measurements lock in the ratio, giving you a balanced shot every time.
| Step | Action | Target |
|---|---|---|
| 1 | Dose | 20 g coffee |
| 2 | Grind | Medium‑fine, adjust if needed |
| 3 | Yield | 30 g espresso at 30 s |
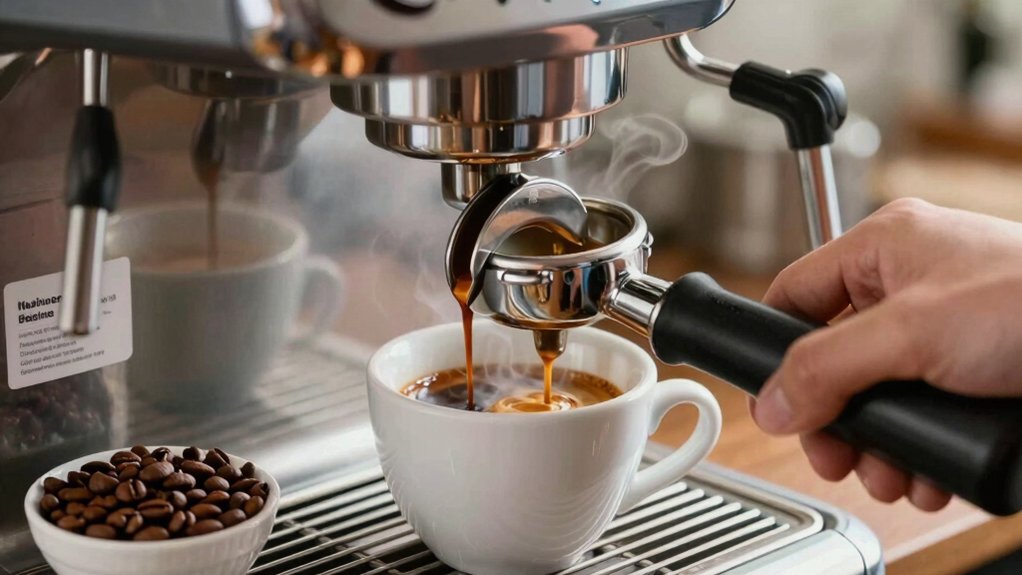
Watch Color, Stream, and Crema as the Shot Pulls
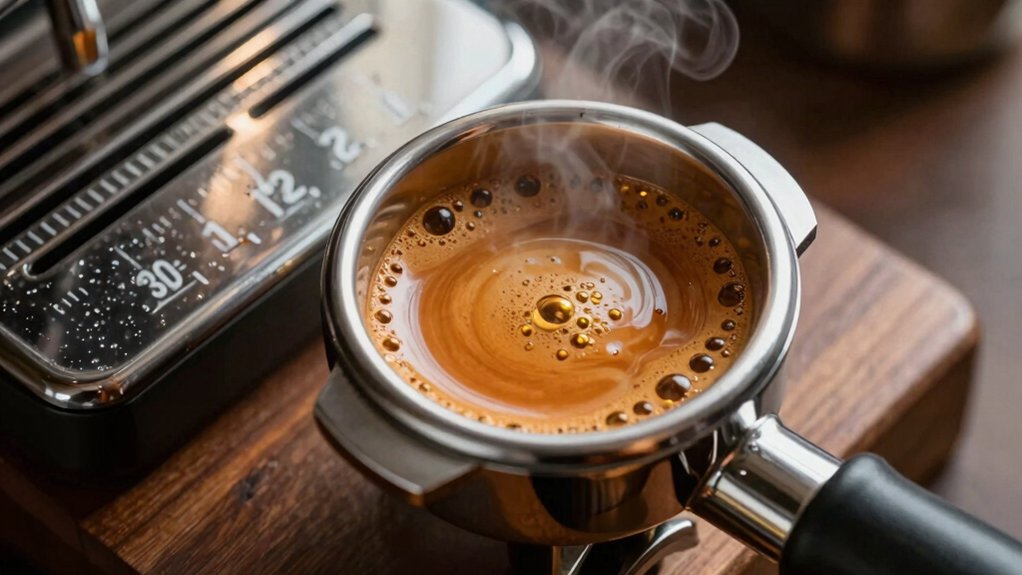
How can you tell if your espresso is extracting correctly while the shot is still pulling? Keep an eye on the stream, color, and crema from the moment the first drip hits the grounds. A steady, syrupy stream that stays thick signals a proper extraction, while a thinning flow warns you the yield is off. Watch the color shift from a light amber to a richer brown; a quick darkening means you’re nearing blonding and risk over‑extraction. Finally, assess the crema: a golden‑brown, uniform layer crowns a balanced shot, whereas pale or overly dark crema points to under‑ or over‑extraction.
Steady syrupy stream, deepening amber‑to‑brown color, and uniform golden‑brown crema signal perfect espresso extraction.
- Stream – steady, thick, and consistent.
- Color – gradual deepening, avoid rapid darkening.
- Crema – golden‑brown, even, and persistent.
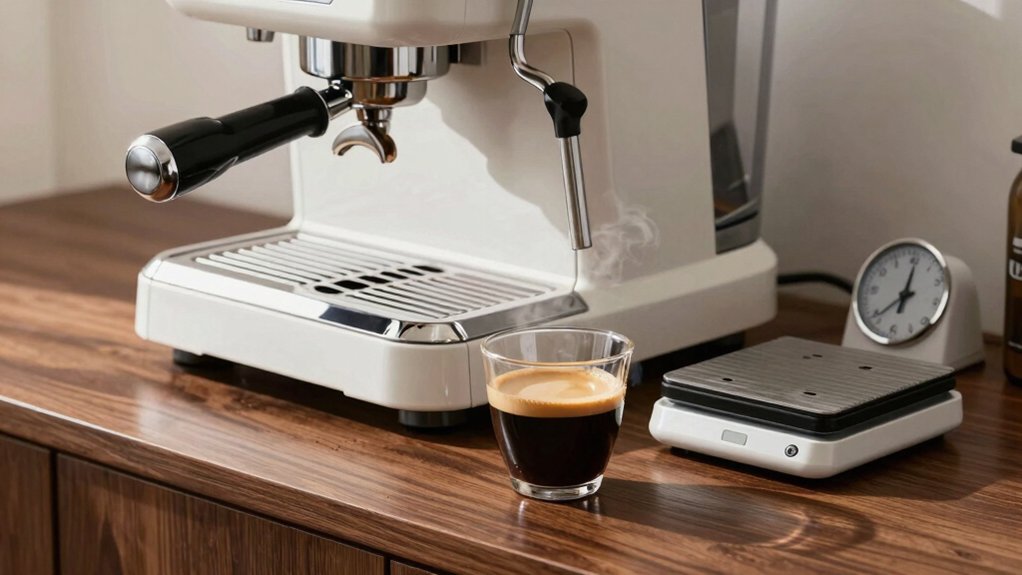
Measure Yield With a Scale to Reach a 1:1.5 Ratio
When the stream steadies and the crema looks right, grab a scale and start measuring. You’ll dose 20 g of coffee, then watch the scale as the yield climbs toward 30 g. That 1:1.5 ratio tells you the extraction is balanced; if the shot stops early, you’ll need grind adjustments or a slightly higher dose. Keep a log of dose and yield on the scale so you can fine‑tune each pull and chase consistent flavor.
| Step | Goal |
|---|---|
| 1. | Set dose to 20 g |
| 2. | Pull shot, watch scale |
| 3. | Stop at 30 g yield |
| 4. | Note any early stop |
| 5. | Apply grind adjustments if needed |
Adjust Grind Size Based on Yield and Timing
If your shot finishes too fast or drags past the 25‑35 second window, tweak the grind size in small increments until the yield settles near 30 g within that timeframe. A finer grind adds resistance, slowing flow and pulling the timing back into range; a coarser setting does the opposite. Watch the scale as you pull—if the yield overshoots, back off the grind, if it falls short, tighten it. Small, consistent grind adjustments let you dial in both yield and shot timing without over‑extraction.
- Measure the current yield and timing after each pull.
- Adjust the grind size by one notch, then re‑test.
- Repeat until the yield hovers around 30 g and the shot timing lands between 25 s and 35 s.
Taste, Log, and Refine Your Settings Continuously
You should log each shot’s dose, grind, time, yield, and tasting notes every day, then scan those entries for flavor patterns. When you spot a trend—like bitterness when the pull is too fast—you adjust the grind or dose systematically. This cycle of recording, analyzing, and tweaking keeps your espresso consistently on point.
Log Record Results Daily
Ever wondered how a simple daily log can turn a decent espresso into a consistently perfect one? You’ll notice patterns faster when you record dose, yield, grind setting, and taste notes after every pull. Use a notebook or app to log daily, noting bean origin, roast level, and freshness. Compare each shot’s acidity, sweetness, and bitterness to yesterday’s and tweak the grind or tamp accordingly.
- Record the basics – dose (20 g), yield (30‑40 g), extraction time (≈30 s).
- Capture the grind setting – note whether you went finer or coarser and why.
- Write taste notes – describe acidity, sweetness, bitterness, and any off‑flavors.
Analyze Flavor Trends
Your daily log becomes a flavor map, letting you see how each tweak reshapes sweetness, acidity, and body. Record dose, grind setting, extraction window, and tasting notes for every pull.
When you notice a drop in brightness, compare the grind setting and dose of that shot to previous entries; a finer grind or higher dose often pushes acidity higher.
Track roast freshness and note whether a bean roasted within two weeks yields a richer body or a flatter finish.
Plot flavor trends over a week to spot patterns—perhaps a 30‑second extraction window consistently produces balanced sweetness, while 35 seconds adds bitterness.
Use these insights to adjust one variable at a time, refining your espresso until the profile matches your palate.
Adjust Parameters Systematically
A disciplined log turns each espresso pull into data, letting you tweak one variable at a time and see its exact effect on taste. Start with a consistent dose—say 20 g—and a target yield of 30 g, then record the grind setting, extraction time, and flavor notes. When the time drifts outside 25–35 seconds, adjust the grind incrementally, re‑pull, and log the outcome. Over weeks you’ll spot patterns: finer grinds lengthen time, coarser shorten it, and each change shifts acidity, sweetness, or bitterness. By comparing each entry to the previous one, you converge on a stable, preferred profile.
- Note dose, grind setting, yield, and time for every shot.
- Change only one parameter per session.
- Review taste vs. logged data to refine the next pull.
Frequently Asked Questions
Are Cold Espresso Beans Need to Be Stored in a Refrigerator?
No, you don’t need to refrigerate cold espresso beans. Keep them in an airtight container at room temperature, away from light, heat, and moisture. Refrigeration can cause condensation, ruining flavor and freshness.
How Often Should I Replace My Espresso Machine’s Water Filter?
You should replace the water filter every 2–3 months or after 40–60 liters of use, whichever comes first, because buildup reduces flow, alters taste, and can damage the machine’s pump.
Can I Use a Different Coffee Dose if My Basket Is Larger?
Yes, you can adjust the dose for a larger basket; just increase it proportionally, keep the grind size consistent, and maintain proper tamp pressure to preserve extraction balance and flavor.
What Pressure Should the Machine Maintain During the Pull?
You should keep the pressure at roughly nine bars throughout the pull; most machines hit that automatically, but if you can adjust it, stay within the 8‑10 bar range for balanced extraction.
Is It Okay to Use a Metal Portafilter Instead of a Press One?
Yes, you can use a metal portafilter, but expect a hotter brew and faster extraction; you’ll need to adjust grind size and tamp pressure to avoid over‑extraction and maintain balanced flavor.
In Summary
By mastering these basics, you’ll consistently pull espresso shots that hit the perfect balance of flavor, body, and crema. Keep your beans fresh, grind precisely, and fine‑tune the grind and tamp until the shot runs the right time and yields the right ratio. Track each pull, note what works, and adjust as needed—your espresso will only get better with every cup.

Leave a Reply