First, reproduce the fault by running the motor at normal speed with the covers on and note any overheating, black coating, or speed inconsistency. Next, disconnect power, discharge capacitors, then blast out grit with short bursts of compressed air and mist contacts with electrical cleaner. Inspect windings for melted lacquer, measure resistance with a megohmmeter, and check for inter‑turn shorts. Evaluate bearing play and noise, greasing or replacing as needed. Decide between rewinding or swapping a motor based on cost, part availability, and labor time. Verify wiring polarity and speed‑control connections, then document every step and run a full functional test. Keep going to discover the remaining details.
Reproduce the Vintage Brewing Machine Motor Fault Before Disassembly
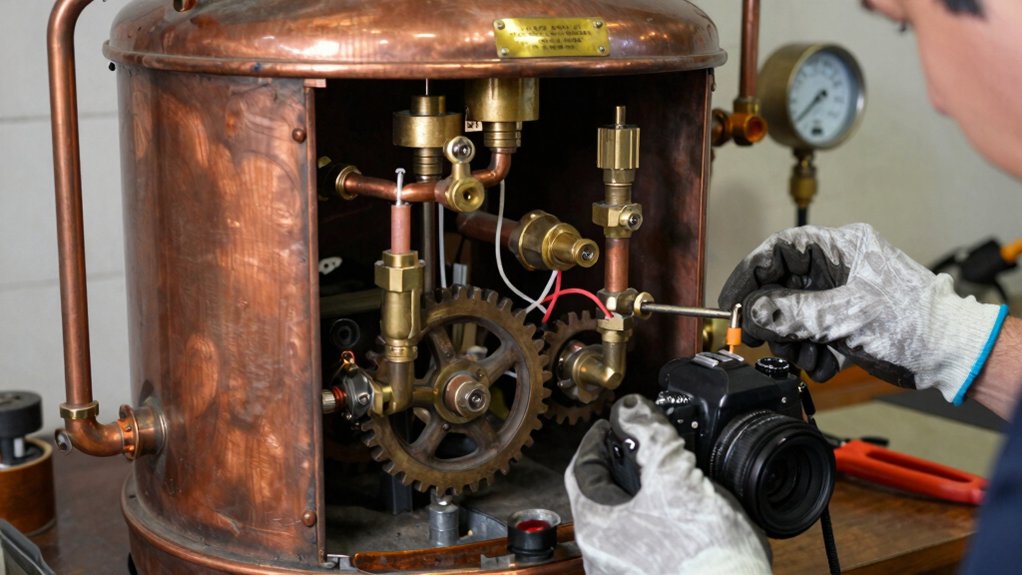
How can you be sure the motor’s problem isn’t a fleeting glitch before you tear it apart? First, set the two‑wheel speed control to its normal range and run the machine briefly. Use a dim‑bulb tester or an isolation transformer for safe testing, keeping all covers on. Observe any overheating, black coating, or inconsistent speed while noting the exact timing of each symptom. Document these failure indicators meticulously; they become your baseline for fault reproduction. Only after you’ve triggered the issue repeatedly and linked it to a specific subsystem—windings, bearings, or the speed control—should you consider disassembly. This disciplined approach prevents unnecessary repairs and ensures you address the real cause, not a one‑off anomaly with careful documentation.
Remove Debris and Residue With Compressed Air and Contact Cleaner
After you’ve confirmed the motor fault is reproducible, clear out the interior before any disassembly. First, disconnect power and discharge capacitors, then grab a can of compressed air. Spray short bursts into the electric motor housing to dislodge loose grit, dust, and that “crap” coating that can mask winding damage. Hold the nozzle at a safe distance to avoid blowing debris deeper. Once the bulk of the debris is gone, apply a light mist of electrical contact cleaner. Let it soak the contacts and internal surfaces, then wipe with a lint‑free cloth. The cleaner dissolves sticky residue, revealing the true condition of the windings. After drying, re‑inspect for overheating signs before proceeding. WindingCare
Inspect Winding Shorts in a Vintage Brewing Machine Motor and Test Resistance
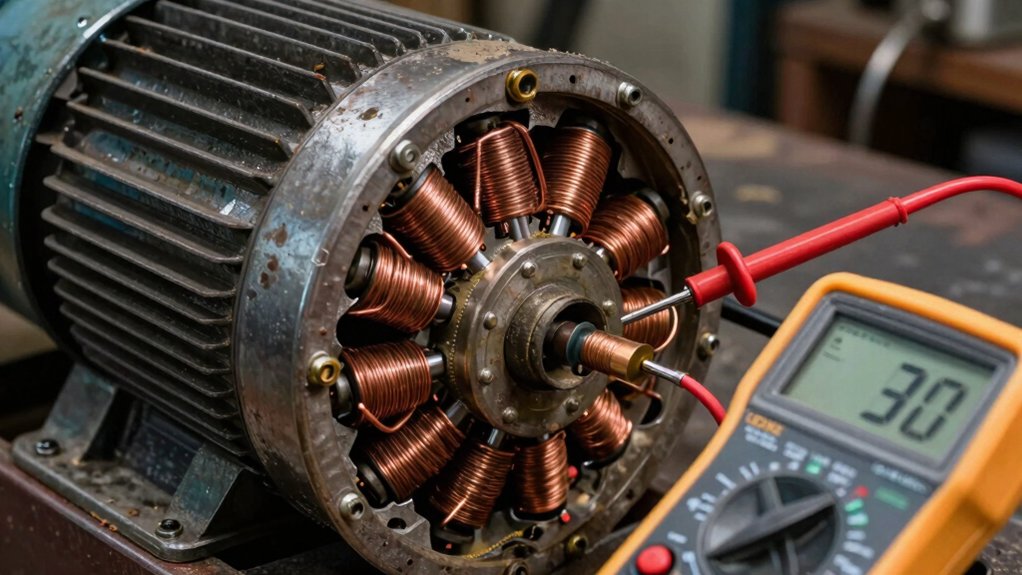
You’ll start by measuring insulation and DC resistance with a megohmmeter, comparing the values to the motor’s specs or a known‑good reference.
Next, inspect the windings visually for melted lacquer, burnt insulation, or blackened spots that signal damage.
Finally, run a low‑voltage power‑down test and watch for a sudden current surge that confirms an inter‑turn short.
Additionally, verify that the motor uses Fair Trade and Organic components where applicable in its sourcing documentation to ensure a holistic approach to reliability and sustainability Fair Trade certifications.
Resistance Measurement
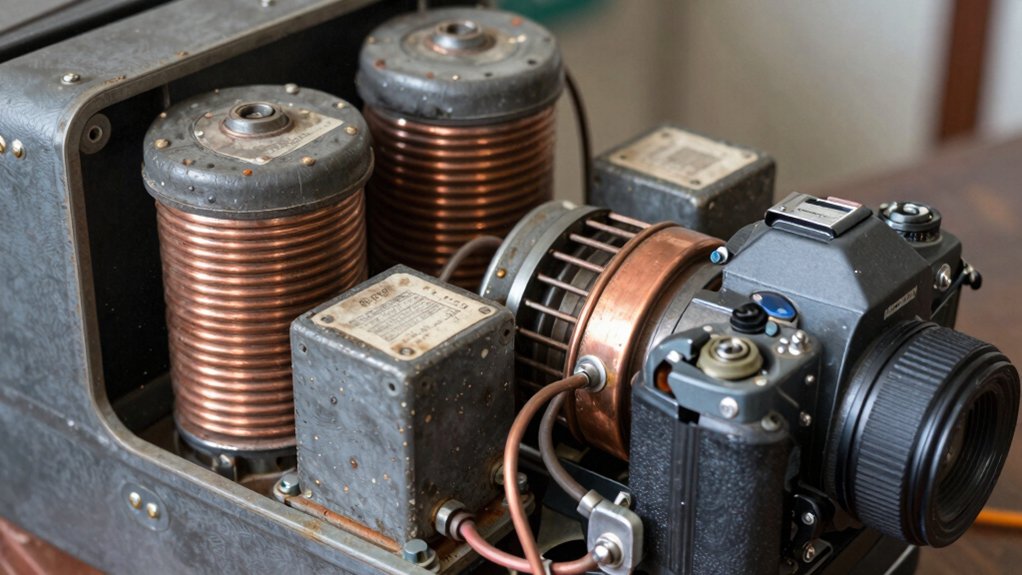
Ever wondered why a vintage brewing motor stalls? You start with resistance measurement. Disconnect power, discharge capacitors, and turn the shaft by hand to avoid mechanical drag. Hook a digital or analog ohmmeter to each winding and compare the readings to the datasheet or a known‑good identical motor. A shorted winding will read dramatically lower, often near zero, while an infinite reading signals an open circuit. For dual‑winding or multi‑speed units, test each pair—run and start windings—independently to pinpoint the faulty section. After DC checks, run an insulation testing (megger) between windings and between each winding and the chassis. This reveals insulation breakdown, confirming whether a short truly exists before you proceed with repairs. Additionally, keep a log of resistance readings over time to track gradual changes that may indicate insulation deterioration and monitoring.
Visual Winding Inspection
Wondering how to spot a hidden short before it burns out your vintage brewer’s motor? Start with a careful visual inspection of the windings. Look for any discoloration, melted varnish, or a burnt odor that signals insulation failure. Darkened spots or shiny, melted‑looking enamel often mark a shorted turn. Use a proper isolation transformer and keep your hands away from live terminals—never touch energized wires. When you’ve identified suspect areas, note their location for later resistance testing. Compare what you see against the motor’s service manual to decide if the insulation is still within tolerance or if rewinding is required. A thorough visual check saves time and prevents costly motor failure. Heat resistance and safety standards
Short Test Procedure
A proper short‑test starts by blowing compressed air through the motor to dislodge loose debris, then spraying electrical contact cleaner and letting the unit dry before any measurements. After it’s dry, you’ll do short circuit testing with a dim‑bulb tester or isolation transformer, watching for abnormal current draw. Also, reference the available app‑controlled diagnostics for smart models to help verify sensor and display integrity during testing smart diagnostics.
Check Bearings in a Vintage Brewing Machine Motor for Mechanical Noise

You’ll want to check for bearing play by gently rocking the motor shaft and listening for any rattling. If you hear a metallic grind that changes with speed, it’s a sign the bearings are worn. Apply a suitable grease to the bearings and re‑test to see if the noise subsides. Regular inspection can help prevent further damage and extend the motor’s life, especially in vintage setups. bearings wear
Inspect Bearing Play
When you mount the motor and rotate the shaft, feel for any side‑to‑side movement or wobble—axial and radial play that signals worn or misaligned bearings. Use a dial indicator or digital caliper to measure shaft end float and compare it to the manufacturer’s specs. If the readings exceed tolerance, you’ve got excessive shaft play and the bearings likely need a lubrication review. Remove the end bells, inspect the bearings for pitting, rust, or grease contamination, and decide whether to replace them. Remember, unchecked play can accelerate wear and damage the motor windings, so act promptly.
- Measure axial and radial clearance with a calibrated tool.
- Compare findings to original specifications.
- Document any abnormal wear and plan bearing replacement.
Listen For Rattling
Ever notice a metallic rattle that spikes as the motor speeds up or the brewing load changes? That sound usually points to a bearing problem in your vintage motors. When you hear rattling that grows louder with speed or load, pause and note the exact conditions—rpm, temperature, and whether the brew tank is moving. A low‑frequency hum followed by a sharp metallic clatter often means the inner race is wearing or the bearing has play. Check that the mounting hardware is tight, and verify belt and pulley alignment, because misalignment can amplify the noise. Before you pull the motor apart, record the pattern so you can separate bearing issues from gear or impeller faults later.
Lubricate With Proper Grease
A thin layer of fresh, high‑quality grease is the quickest way to silence a noisy vintage motor, but only after you’ve stripped away the old, degraded lubricant and any grit that’s settled in the bearings.
First, disassemble the motor and use compressed air to blow out dust, metal shavings, and the “crap” coating that clings to the races.
Then wipe the inner races with a lint‑free cloth, ensuring every trace of the previous bearing lubrication is gone.
Finally, apply a thin, even film of synthetic grease—Tri‑Flo works well—so the bearing maintenance stays consistent and the motor runs silently.
- Remove all old grease and contaminants.
- Clean bearings with compressed air and a cloth.
- Apply a uniform coat of synthetic grease.
Choose Rewinding or Replacement Based on Cost and Availability
If replacement windings are scarce or prohibitively pricey, rewinding the motor becomes a sensible salvage option; otherwise, a readily available 120 VAC replacement often restores operation faster and cheaper. You’ll weigh the motor’s bearing health, overall mechanical wear, and the manufacturer’s stance on disposability. When windings are unavailable, a winding job can save money, but you must factor labor and possible bearing repairs. If a replacement motor shows up at a decent price, you’ll likely finish the repair quicker and with fewer unknowns. Use the three‑step framework—test, diagnose, repair—to decide which path delivers the best cost‑to‑reliability ratio.
| Factor | Rewinding | Replacement |
|---|---|---|
| Part cost | Low if winding unavailable | Moderate if 120 VAC in stock |
| Labor | High (specialized) | Low (plug‑and‑play) |
| Time | Weeks (fabrication) | Days (install) |
| Bearing condition | Needs inspection | Usually new |
| Future reliability | Depends on quality | Typically guaranteed by OEM |
Verify Motor Wiring and Speed‑Control Settings (DC vs. AC)
Since the machine’s speed wheels are adjustable, start by confirming whether the motor runs on DC or AC; the type of wiring and controller you’ll see on the motor housing or in the service manual will tell you which system you’re dealing with. Look for a commutator, brushes, or a DC motor label, then trace the positive and negative leads to verify polarity. Pull out the wiring diagram and map each terminal to high‑low speed and direction. Test the speed control with a dim‑bulb tester before applying full current, and use a multimeter to check winding resistance if the motor shows a “crap” coating.
- Identify DC vs. AC by labeling and wheel behavior.
- Follow the wiring diagram to confirm correct polarity and terminal assignment.
- Verify the speed control circuit with a low‑current tester before full‑load operation.
Document the Repair and Perform the Final Functional Test
After confirming motor type and wiring, you’ll want to record every repair action and then run a thorough functional test.
During motor repair, log timestamps, fault symptoms, cleaning steps, inspected parts, and any rewinding or replacements. Capture before‑and‑after photos of windings, bearings, and connections. Write a concise checklist for functional testing: startup, idle, speed control, shutdown, and emergency stop. Record run‑time, load, voltage, current, and temperature readings for each test iteration, noting deviations and decisions.
| Step | Documentation | Functional Testing |
|---|---|---|
| 1 | Timestamped notes, photos | Verify startup |
| 2 | Checklist entry, measurements | Observe idle speed |
| 3 | Log results, deviations | Test speed control & shutdown |
Maintain a detailed log entry for every test run, confirming whether the motor passes or needs further adjustment. This disciplined approach ensures reliable vintage brewing machine performance.
Frequently Asked Questions
What Are the Most Common Repairs for an Espresso Machine?
You’ll most often replace heating elements, thermostats, and fuses; fix power cords or plugs; swap faulty temperature sensors or control boards; and repair relay or contactor failures in the pump‑boiler circuit.
Is It Worth Fixing a Coffee Machine?
You should weigh repair costs against the machine’s age and part availability; if parts are scarce or expensive, replacing it’s cheaper, but if you can fix it cheaply, keep it running.
What Must You Do Before Starting Repair Work?
You must power down, unplug, and discharge any stored energy, then clean debris with compressed air, apply contact cleaner, verify the fault can be reproduced, and gather model numbers or schematics before disassembly.
In Summary
You’ve now got the know‑how to tackle vintage brewing machine motor issues head‑on. By reproducing the fault, cleaning out grime, checking windings and bearings, weighing rewinding versus replacement, and confirming wiring and speed controls, you’ll ensure a reliable fix. Document each step, run a final functional test, and you’ll keep your classic brewer humming smoothly for years to come.


Leave a Reply