
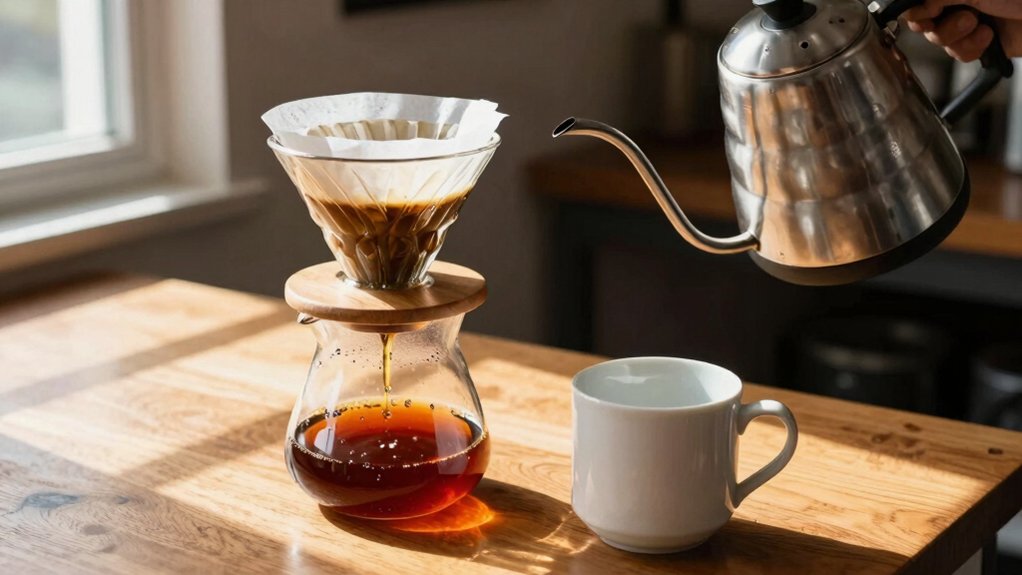
You’ll start by placing a rinsed paper filter in a Kalita Wave or Hario V60, then add a medium‑fine grind—about 1 gram of coffee per 16 grams of water. Heat the water to 195‑205 °F (90‑96 °C) and pour a double‑dose of water over the grounds to bloom for 30 seconds, letting gases escape. Follow with a steady, spiral pour that keeps the brew level between half and two‑thirds of the dripper, aiming for a total brew time of 3‑4 minutes. Continue and the next sections and you’ll discover finer tips.
What Is a Pour‑Over? (Beginners)
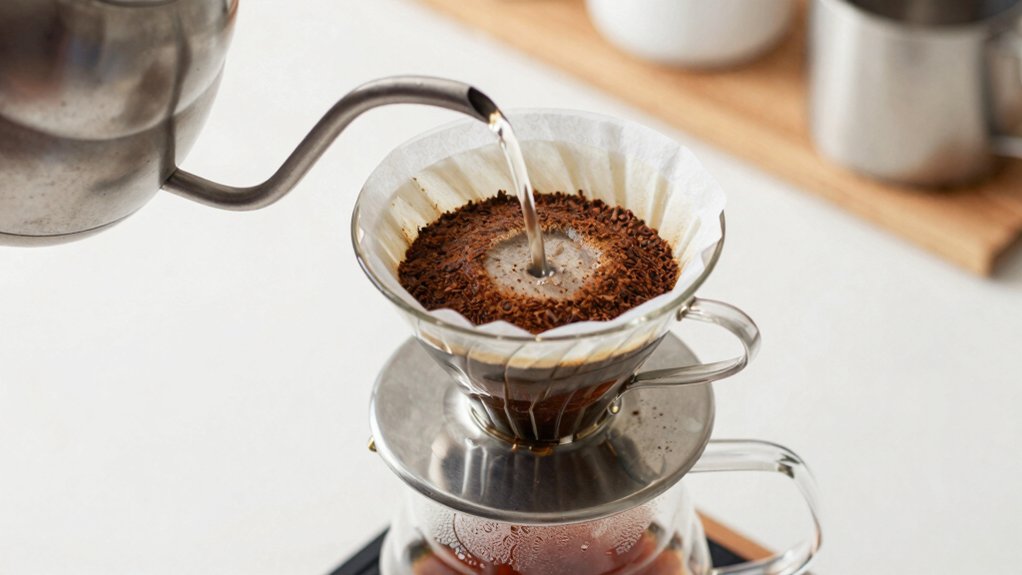
A pour-over is a handmade brewing method where you pour hot water over coffee grounds and let it filter into a mug or server. You start by placing a filter in the dripper, then add a measured dose of coffee grounds with the right grind size—medium‑fine for most devices. First, pour a small amount of water at the proper water temperature (around 195‑205 °F) to wet the grounds and trigger the bloom, letting gases escape for about 30 seconds. Next, use a steady pour technique to maintain a consistent coffee bed, controlling brew time and extraction. Adjust the flow to keep the water temperature stable and the grind even, ensuring balanced flavor and a clean cup. Strix temperature control helps monitor and maintain precise temperatures during the process.
Choosing a Pour‑Over Dripper & Essential Gear
Now that you’ve mastered the bloom and steady pour, the next step is picking the right dripper and gear. For consistency, start with a Kalita Wave; its flat‑bottom design yields even extraction and forgiving pour technique. If you crave bright clarity, try a Hario V60, whose conical shape highlights nuanced flavors. Pair either dripper with a gooseneck kettle—its precise flow control lets you adjust water temperature and rate on the fly. Use the correct filter type, rinse it well, and align it on a stable surface to curb paper taste. Match your grind size to the dripper’s flow rate, and you’ll lock in the sweet spot between body and brightness for every pour‑over. The choice of gear also includes temperature‑aware tools like ATC‑equipped refractometers in broader coffee testing workflows to ensure consistent extraction measurements across sessions TDS readings.
Step‑by‑Step Pour‑Over Brew: Grind, Bloom, Pour
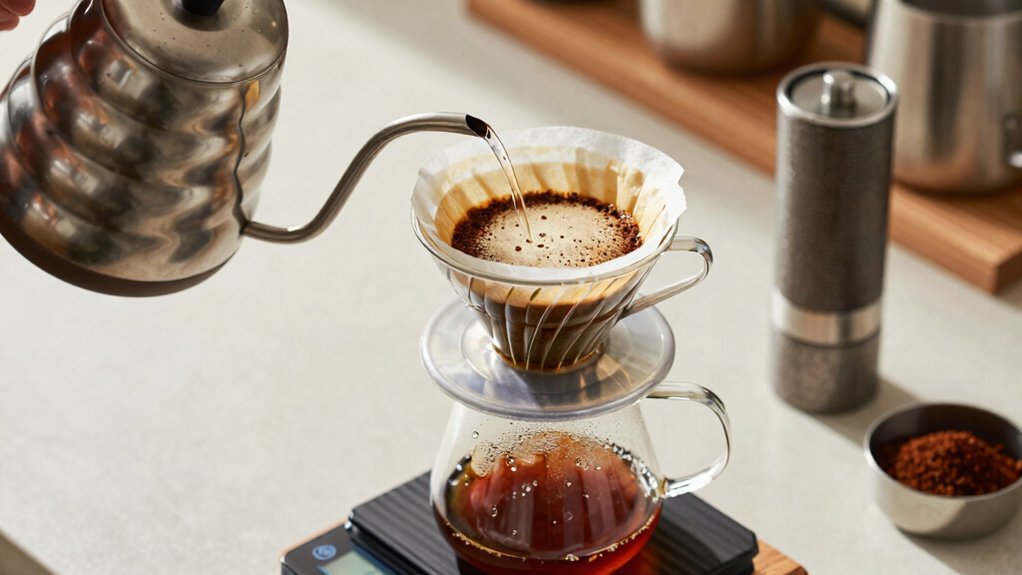
Ever wondered how a perfect pour‑over comes together? Start with a medium grind, then measure coffee and water. Place the conical brewer on your mug, add the grounds, and gently level them. Heat water in a gooseneck kettle to about 200 °F.
Begin the bloom by pouring roughly double the coffee weight in water, just enough to saturate grounds, and wait 30–45 seconds for bubbles to settle. Next, execute a spiral pour: pour the remaining water in 3–4 steady pulses, keeping the brew level between one‑half and two‑thirds of the brewer’s capacity. Aim for a total brew time of three to four minutes. This controlled grind, bloom, and pour sequence yields a balanced cup every time.
A0ABCD reheating capability and flavor preservation are noted across several Chemex models, ensuring you can enjoy repeatable results without flavor loss.
Frequently Asked Questions
How Does Water Temperature Affect Flavor Extraction?
You’ll find that hotter water (around 200‑205 °F) extracts more bitter compounds faster, while cooler water (≈195 °F) pulls out sweeter, nuanced flavors, so adjusting temperature lets you balance intensity and clarity.
Can I Use a Reusable Metal Filter Instead of Paper?
Yes, you can swap paper for a reusable metal filter, but expect a fuller body and slightly more sediment. Clean it thoroughly after each brew, and adjust grind size to avoid over‑extraction.
What Is the Ideal Coffee-To-Water Ratio for a 12‑Oz Cup?
You should aim for about 1 to 15 grams of coffee per 12 oz of water—roughly 20 grams total. That’s a 1:18 ratio, giving a balanced, flavorful pour‑over without bitterness.
Do Different Coffee Origins Require Different Pour Techniques?
Yes, you should adjust your pour technique for each origin. Light‑bodied Ethiopian beans benefit from a slower, spiraled pour to highlight acidity, while dense Brazilian beans need a steadier, faster flow for balanced body.
How Often Should I Replace My Dripper’s Rubber Seal?
You should replace the rubber seal every six to twelve months, depending on usage and wear. If you notice cracks, discoloration, or reduced water flow, swap it out promptly to maintain consistent brewing performance.
In Summary
Now you’ve got the basics, you can experiment with grind size, water temperature, and pour technique to fine‑tune your brew. Keep your equipment clean, measure consistently, and enjoy the ritual. With a little practice, every cup will taste richer, smoother, and uniquely yours. Happy pouring!


