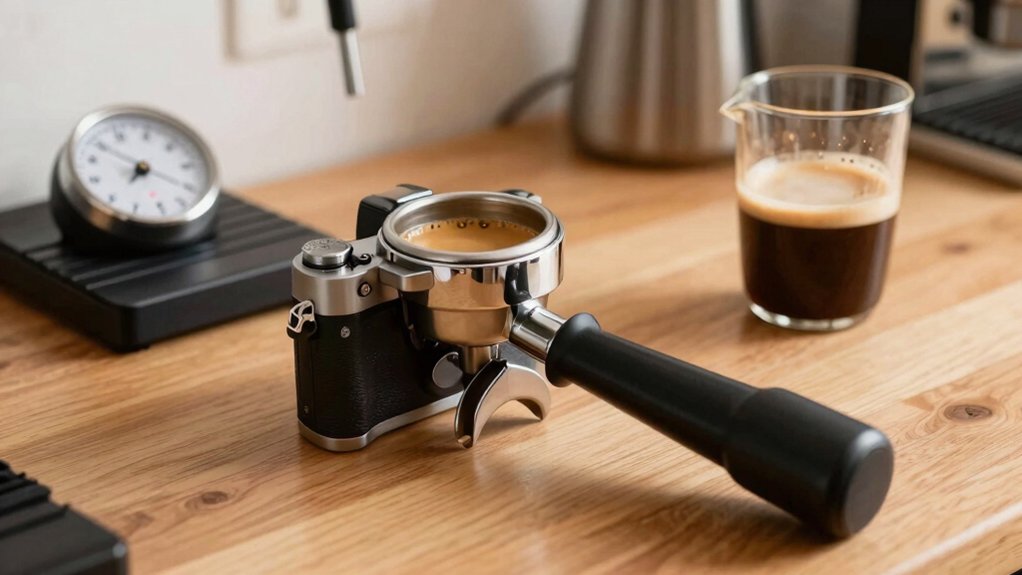
Start your timer the moment the pump fires, then count 8‑15 seconds of 1‑3 bar pre‑infusion before the first drip. This locks in a consistent soak, lets the puck saturate evenly, and prevents channeling. Adjust grind and dose to match the pre‑infusion length: finer grind for longer soaks, slightly coarser for shorter bursts. Light roasts thrive on the longer, gentler soak, while dark roasts need a brief burst. Fine‑tune pressure and timing, and you’ll see the balance improve dramatically.
How to Define Your Start Point: Button Press, Lever Pull, or First Drip
When you begin an espresso, the moment you choose to start the timer—whether it’s the button press, lever pull, or the first drop—sets the baseline for measuring pre‑infusion and total shot time.
Choosing when to start the timer—button, lever, or first drop—sets the baseline for pre‑infusion and total shot timing.
You’ll notice that most experts recommend starting the timer at pump activation, so the pre‑infusion period is baked into the overall duration.
If you prefer auto‑espresso modes or scales, you might wait for the first drip, recording the remaining time on the scale timer.
For a 30‑second target with a first drip at 10 seconds, you’d log 20 seconds.
Your start‑point choice—button, lever, or drip—directly influences how pre‑infusion is perceived, so align it with your machine’s pressure profile and workflow for consistent results.
ATC readings from refractometers can help standardize extraction targets across devices, aiding consistency in your brew data.
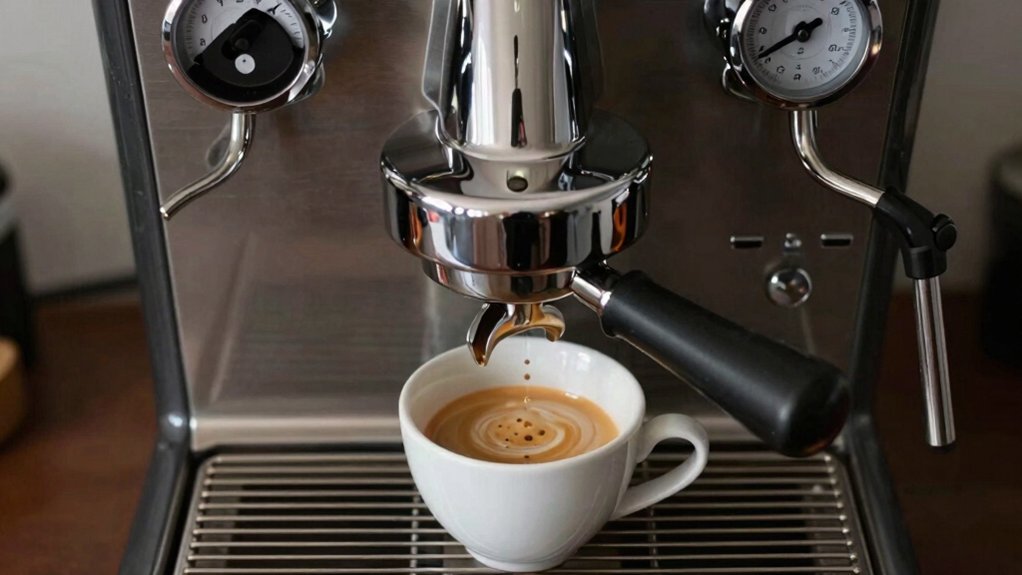
Why Pre‑Infusion Timing Matters for Extraction Consistency
A well‑timed pre‑infusion—typically 1–3 bars for a few seconds—ensures the coffee puck is uniformly saturated before the high‑pressure phase kicks in, preventing channeling and delivering consistent extraction. When you start the timer from pump activation, you control how long water soates the grounds, which directly influences flavor development and shot duration. A longer pre‑infusion stretches the total shot to 35–40 seconds, while a shorter burst keeps it near 25–30 seconds, letting you fine‑tune extraction consistency. Visual cues and weight‑over‑time graphs help you stop at the right moment and adjust grind for repeatable results.
- Feel the anticipation as the puck swells uniformly.
- Sense the balance when sweet aromatics emerge early.
- Trust the rhythm of a steady shot time.
- Celebrate the repeatability of perfect espresso.
Setting the Ideal Pre‑Infusion Pressure (1‑3 Bars) on Manual Machines
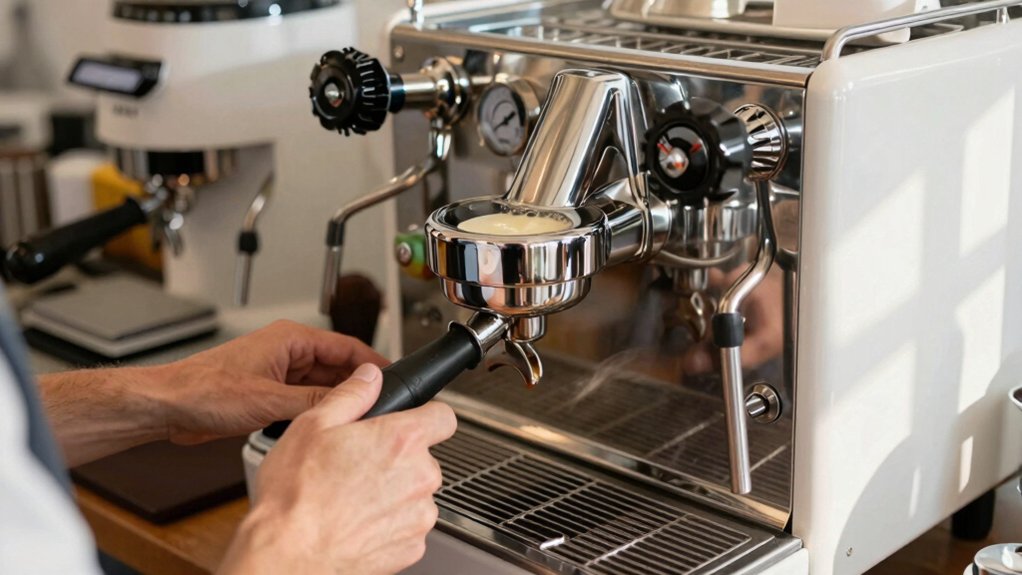
A well‑timed pre‑infusion sets the stage for pressure control, so the next step is dialing in the right pressure on a manual machine. Set the pre‑infusion pressure between 1 and 3 bars to gently saturate the puck before the pump ramps to full brewing pressure. Keep the pressure steady within this window; a consistent 1‑3 bar range so so the wets reduces channeling promotes extraction uniform extraction. Use a device like the Flair 58 Plus 2, which shows real‑time pressure feedback, letting you fine‑tune each shot. Start at 1 bar for brighter, quicker saturation, or push toward 3 bars for deeper sweetness and a gentler initial extraction. Apply the pressure gradually and watch the puck wet evenly, adjusting by taste and visual cues. Digital Milk Frothing Thermometer with Beep Alerts
How Pre‑Infusion Length Affects Grind Size and Dose
You’ll notice that extending pre‑infusion forces you to tighten the grind to keep the pressure balance right, while a shorter burst lets you go a bit coarser. As the pre‑infusion length changes, you must sync the dose so the total extraction timing stays on target. Start with your baseline grind and dose, then tweak each in small steps as you adjust the pre‑infusion duration. Filtration quality benefits during pre‑infusion can help minimize bitterness by reducing oils reaching the cup.
Grind‑Pressure Balance
Ever wondered how tweaking pre‑infusion time reshapes your grind and dose? Longer pre‑infusion lets you go finer because the low‑pressure soak cuts channeling, but it also pushes you toward a slightly coarser grind if the shot runs too slow once full pressure hits. You’ll need to balance grind size, dose, and infusion length to keep the shot in the 25‑30 second window. A well‑tuned grind‑pressure balance gives you silky body without bitterness. Feel the surge when the puck absorbs water evenly. Preinfusion balance
Dose‑Pre‑Infusion Sync
How long you let the puck soak before full pressure dramatically reshapes the grind‑dose relationship. When you extend the pre‑infusion, you’ll need a finer grind to keep the shot time on target because the low‑pressure saturation speeds up flow once pressure spikes. If you shorten the pre‑infusion, a slightly coarser grind works, as the puck stays less saturated before the high‑pressure ramp. Raising the dose can offset a longer pre‑infusion, preserving the desired output weight without sacrificing extraction balance. Consistently using the same pre‑infusion length lets you fine‑tune grind and dose together, delivering repeatable flavor and stable shot time. Adjust these variables together, not in isolation, for a harmonious espresso profile. Pre‑infusion helps set the initial extraction path, enabling more predictable timing across shots.
Adjusted Extraction Timing
Why does a longer pre‑infusion demand a finer grind? Because the water sits on the puck longer, so a tighter particle matrix slows flow and keeps the total shot within the 25‑30‑second window. If you stretch pre‑infusion from 5 seconds to 10 seconds, expect the extraction timing to shift upward unless you adjust grind size or dose. A finer grind compensates for the extra saturation, while a coarser dose can balance a shorter pre‑infusion. Remember that each roast reacts uniquely, so test incrementally and record results. Extraction Visibility Benefits Bottomless portafilters provide real-time visibility into crema development and shot speed, which can guide fine-tuning of grind, dose, and tamp. 1. Feel the pulse of the brew as finer particles tame a surge. 2. Notice the richer sweetness when pre‑infusion lingers. 3. Sense the crema fade if you over‑extract. 4. Celebrate the perfect balance after fine‑tuning dose and grind.
Choosing the Right Pre‑Infusion Duration for Light vs. Dark Roasts
Wondering how to dial in pre‑infusion for different roasts? Light roast level thrives on a longer, gentler pre‑infusion—8 to 15 seconds at 1–3 bars—to let water saturate evenly and coax out sweetness and aroma. For best results, consistent grind size and dosing are essential, and adjusting based on tasting notes can fine‑tune balance. A steady bloom indicates proper saturation bean profiles. Dark roast level, by contrast, needs a shorter burst—3 to 6 seconds—so you avoid over‑extraction and bitterness while keeping clarity. Start with the same grind and dose, then taste. If a light brew feels thin, extend pre‑infusion by a few seconds; if a dark shot tastes harsh, cut the time. Visual cues help: a steady bloom indicates proper saturation. Fine‑tune each roast level until the espresso balances body, sweetness, and brightness.
Using a Separate Pre‑Infusion Timer vs. Built‑In Shot Timers
You’ll notice that a dedicated pre‑infusion timer gives you pinpoint accuracy, letting you fine‑tune the 5‑15 second window without the machine’s sensor lag.
When you sync that timer with the built‑in shot timer, you can keep the pre‑infusion interval consistent while still tracking the overall extraction.
This balance helps you lock in flavor and repeatable results, whether you’re chasing sweetness or a richer crema.
Pre‑Infusion Timer Accuracy
Ever wondered how a dedicated pre‑infusion timer can sharpen your espresso consistency? When you set a separate pre‑infusion timer, you isolate the 1–3 bar soak from the main shot, so each brew starts from the same baseline. This accuracy lets you dial in a precise 8‑second soak for a light roast, then keep the total extraction time steady. You’ll notice fewer channeling spots and more uniform puck saturation, which translates into smoother flavor and repeatable results. Using data‑driven timing, you can link subtle taste changes to exact pre‑infusion lengths, fine‑tuning your recipe without fiddling with grind or temperature.
- Pinpoint the exact soak window.
- Eliminate guesswork on pump start.
- Capture consistent flavor profiles.
- Build confidence in every shot.
Synchronizing With Built‑In Sensors
How do you keep a separate pre‑infusion timer in sync with a machine’s built‑in shot timer? You’ll want to match the pre‑fusion duration to the pump’s pressure ramp. First, set the external timer for 8–15 seconds (or 1–3 bars) before you start the shot. Then watch the built‑in timer; if it begins on pump activation, pause the external timer until the first drop appears, or use the manual override on auto‑espresso modes. This synchronization ensures the puck saturates uniformly and the total extraction stays on target.
| Aspect | Action |
|---|---|
| Timer start | External timer begins before pump |
| Pump activation | Built‑in timer may start here |
| First drop | Pause external timer until sensed |
| Auto‑espresso mode | Use manual override for pre‑infusion |
| Desired outcome | Consistent pre‑infusion and extraction time |
Balancing Timing Consistency and Flavor
Why does flavor swing when pre‑infusion timing drifts? You’ll notice the sour‑sweet balance wobble because the low‑pressure phase controls how much coffee solubles dissolve before the high‑pressure surge. A separate pre‑infusion timer isolates that phase, letting you dial 1–3 bars for a steady 5–15 seconds while the main shot timer stays locked. This separation gives you clear, repeatable data and lets you tweak grind or dose without the built‑in timer’s interference.
- Precision – You lock in the exact pre‑infusion window, reducing guesswork.
- Control – Adjust longer or shorter bursts to taste the subtle flavor shift.
- Consistency – Keep dose and grind steady, so only timing changes affect the cup.
- Insight – Record timing, yield, and notes; each shot becomes a data point for future perfection.
Monitoring Visual Cues: When the Puck First Wets and How to React
Spot the instant the puck darkens and the water first kisses its surface—this is the cue that low‑pressure pre‑infusion is ending and pressure is about to climb. You watch the naked portafilter as a wetting front spreads from the rim toward the center. A uniform, matte sheen signals proper puck saturation; any dark spot or dry patch hints at channeling. When the bottom expands slightly and stays consistently wet, you know the pressure rise will be even. If you notice creased or dry areas after this moment, tweak the grind finer or lengthen the pre‑infusion to improve saturation. React quickly: adjust grind, dose, or pre‑infusion time before the pump pushes full pressure, ensuring a balanced extraction.
Balancing Extraction Time With Pre‑Infusion Overhead (25‑30 S Target)
When the puck first darkens and the wetting front spreads, you know low‑pressure pre‑infusion is ending, and it’s time to think about the total shot length. You still aim for a total time of 25–30 seconds, even though pre‑infusion adds a few seconds of overhead. If your pre‑infusion runs longer than five seconds, grind slightly coarser or cut the post‑infusion ramp to stay within the window. Use a timer that separates the pre‑infusion phase from the main flow, and adjust dose if the brew drags beyond 30 seconds. Consistency comes from balancing that extra saturation with a tighter grind or shorter finish.
- Feel the surge when the front finally breaks.
- Notice the subtle shift in pressure as pre‑infusion ends.
- Watch the crema bloom—your cue to halt the pump.
- Celebrate hitting the 25‑30 s sweet spot.
Adjusting Extraction Yield (1:2.5 Ratio) When Pre‑Infusion Extends Brew Time
You’ll notice the brew time stretching as pre‑infusion lengthens, so you need to fine‑tune the grind to keep the shot within the 1:2.5 ratio.
A slightly finer grind lets you extract the same weight in a shorter window, preserving balance while the longer soak adds sweetness.
Keep an eye on the extraction weight and TDS to confirm the yield rises without sacrificing flavor.
Balance Brew Time
If pre‑infusion stretches the shot, keep the extraction yield at the classic 1:2.5 ratio—about 18 g of coffee yielding 45 g of liquid—by monitoring weight instead of clock time. You’ll notice the total brew time creeping toward 35–40 seconds, but the weight cue guarantees consistency. Trust the scale, not the timer, and adjust your grind only if the crema thins or the mouthfeel turns syrupy. A shorter pre‑infusion or a finer grind can bring you back to the sweet spot, preserving the balance between acidity and body.
- Feel the anticipation as the coffee blooms.
- Watch the weight climb, feeling control.
- Savor the richer, smoother crema.
- Celebrate the perfect 1:2.5 harmony.
Adjust Grind Fineness
Balancing the 1:2.5 ratio after a longer pre‑infusion means tweaking the grind a touch finer than your usual setting. A finer grind raises resistance early, letting the pre‑infusion saturate the puck uniformly and curb channeling.
When you extend pre‑infusion, aim for a grind finer than your baseline to keep the shot weight on target and avoid a watery body. Watch the extraction weight; if it drifts low, adjust the grind in tiny increments.
Taste will confirm the change—if sweetness fades or bitterness spikes, fine‑tune a bit more. Small, measured steps let you preserve the 1:2.5 extraction profile while benefiting from the longer pre‑infusion’s smoother flow.
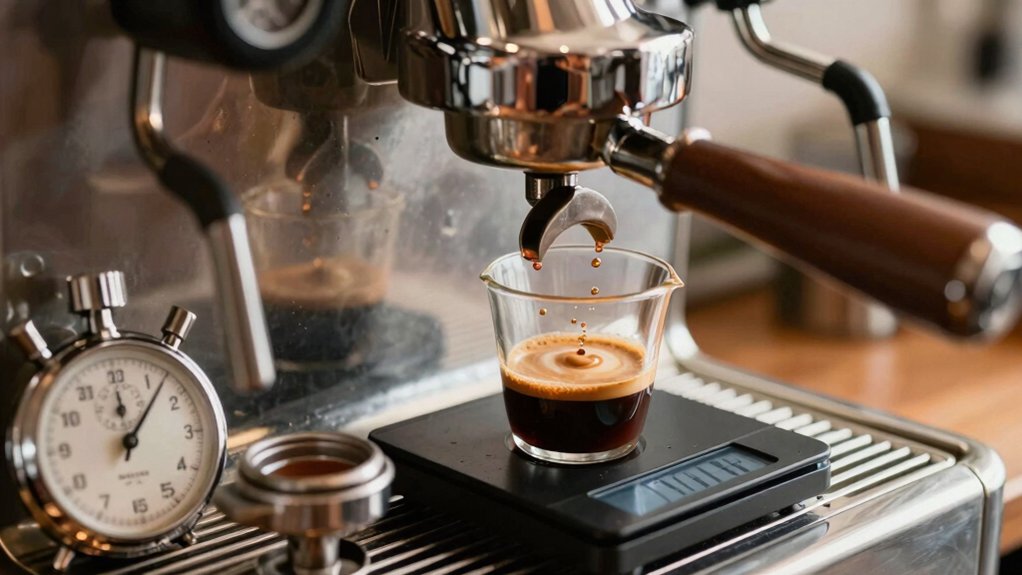
Pre‑Infusion Data Tracking: Weight, Flow, and Timing for Consistency
How can you guarantee each espresso shot mirrors the last? You start by measuring extraction weight over time, turning pre‑infusion into a data‑driven ritual. Record the exact timing of the pre‑infusion burst, then watch the weight curve rise. Pair that with a refractometer reading to see how higher extraction yield (EY) aligns with longer pre‑infusion. Visually check flow and bottom‑puck wetting, noting any shifts in weight or TDS. Compare baseline shots to experiments at 5‑10 s versus 15‑20 s, linking the numbers to crema, sweetness, and body.
- Log weight, flow, and timing for every shot.
- Capture TDS with a refractometer for objective quality.
- Correlate visual wetting cues with data spikes.
- Adjust grind and dose based on repeatable profiles.
Avoid Over‑Long Pre‑Infusion and Under‑Extraction
Ever wonder why a shot can taste flat or overly bitter despite perfect grind and dose? If you let pre‑infusion linger past 8–10 seconds at 1–3 bars, you waste time without flavor gain and risk pushing total shot time beyond 35–40 seconds, leading to over‑extraction.
Conversely, a too‑short or weak pre‑infusion—below about 1 bar—fails to wet the puck, causing early channeling when pressure spikes and resulting in under‑extraction.
Test increments of 8–15 seconds for light roasts and shorter windows for dark roasts, watching weight and flow rather than clock alone.
When the puck feels fully saturated and the brew weight matches your target, you’ve hit the sweet spot, avoiding both over‑long pre‑infusion and under‑extraction.
Fix Channeling and Bitter Notes With Timing Adjustments
If you’ve already trimmed the pre‑infusion window to avoid over‑extraction, the next step is to fine‑tune its timing to curb channeling and bitterness. Keep the pre‑infusion pressure between 1–3 bars and experiment with a slightly longer soak. This lets the puck saturate evenly, softening harsh channels and delaying aggressive solubles that cause bitter notes. Watch the shot’s total time stay around 25–30 seconds; if it creeps longer, tighten the grind or reduce dose. Small timing tweaks can shift the flavor from harsh to balanced without sacrificing crema.
- Extend pre‑infusion by 0.5 s, feeling the flow smooth out.
- Raise pressure to 2 bars, watching channel walls seal.
- Tighten grind a notch, noticing bitterness recede.
- Cut dose by 1 g, savoring a cleaner finish.
Pre‑Infusion Flavor Fine‑Tuning: Sweetness, Aroma, and Mouthfeel Optimization
A well‑tuned pre‑infusion can turn a decent espresso into a sweet, aromatic, and silky‑mouthed experience. You’ll notice longer pre‑infusion (8–15 s for light roasts) lifts sweetness and aroma while delaying bitterness, and keeping pressure at 1–3 bars ensures uniform saturation, reducing channeling. Real‑time pressure feedback lets you fine‑tune grind and weight, locking in the desired mouthfeel. Remember, a syrupy texture often grows with extended pre‑infusion, though crema may dip slightly, so balance depth against crema goals.
| Parameter | Light Roast | Dark Roast |
|---|---|---|
| Pre‑infusion time | 8–15 s | 4–8 s |
| Pressure (bars) | 1–3 | 2–4 |
| Sweetness boost | High | Moderate |
Use these settings to craft espresso that sings with sweetness, aroma, and a velvety finish.
Frequently Asked Questions
What Is the Ideal Pre-Infusion Time for Espresso?
You should aim for about eight to fifteen seconds of pre‑infusion, depending on roast and grind; lighter beans need the longer end, while darker roasts work best with a shorter burst.
What Is the 30 Second Rule for Espresso?
You aim for a total extraction of roughly thirty seconds—starting when water first contacts the coffee and ending at the desired yield—so you keep the brew balanced and avoid over‑extraction.
What Is the 80/20 Rule for Coffee?
You follow the 80/20 rule by concentrating on the 20 % of variables—grind size, dose, water temperature, and pre‑infusion pressure—that deliver roughly 80 % of the espresso’s flavor and consistency.
How to Use Pre-Infusion Espresso?
Set the pump to 1–3 bars, start the timer when water first contacts the puck, hold for 8–15 seconds, then ramp to 8–9 bars and pull the shot, adjusting grind and dose as needed.
In Summary
Mastering pre‑infusion lets you dial in consistency, flavor, and body every shot. By defining your start point, setting 1‑3 bars pressure, and timing the soak to match your grind, dose, and roast, you’ll avoid channeling and under‑extraction. Track weight, flow, and timing, then tweak for sweetness, aroma, and mouthfeel. With these adjustments, your espresso will consistently hit the perfect balance of richness and clarity.

Leave a Reply