You get total flavor control, letting you tweak sweetness, spice, and fruit ratios until they match your palate, and you can experiment with just a cup of spirit to avoid waste. Small batches let you taste and stop before bitterness sets in, while precise timing preserves delicate notes. Filtration removes oils and sediment for a smooth, crystal‑clear finish, and proper storage keeps the liqueur fresh and gift‑ready. Keep detailed notes and you’ll quickly build a reproducible recipe library, and the next sections reveal even more tricks.
Why Infused Liqueur Is Worth Making

Ever wondered why making your own infused liqueur is worth the effort? You get control over flavor extraction, tailoring sweetness and spice to your palate. Starting with just a cup of base spirit lets you experiment without blowing through pricey liquor. Add 1–2 tablespoons of sugar per cup, and the mixture thickens, helping flavors meld and stay suspended. Taste as you go; each sip tells you when the infusion has reached the perfect balance. When you’re satisfied, double‑strain or filter through a coffee filter to strip sediment, preserving a clean, smooth finish. The result is a personalized liqueur that captures the exact notes you crave, all while minimizing waste and cost. Filtration helps remove bitterness and oils to ensure a smoother final product.
Why Small Batches Give Better Flavor Extraction
Why do small batches work so well for flavor extraction? You control the infusion tightly when the batch size is just a cup. You taste, tweak, and stop before the flavors turn bitter, something impossible with a full 750 ml bottle. A tiny batch lets you gauge each ingredient’s strength, so you avoid over‑steeping potent spices or herbs. When the profile hits the mark, scaling up preserves the balance you’ve learned, because you already know the exact sugar and spirit ratios. This approach saves money—no need to waste pricey alcohol on a failed experiment. It also guarantees uniform flavor throughout the final liqueur, delivering a consistent, high‑quality product every time. With durable, well‑designed tools that support precise measurements and repeatable results, your small-batch experiments become more reliable and enjoyable precision measurement.
Timing Is Everything: Avoid Over‑Steeping and Bitterness
You’ll find that the longer you let the alcohol sit, the more likely it’s to pull out bitter compounds, so timing matters. The right blend also benefits from a steady, low-temperature infusion to preserve delicate flavors Keep Hot.
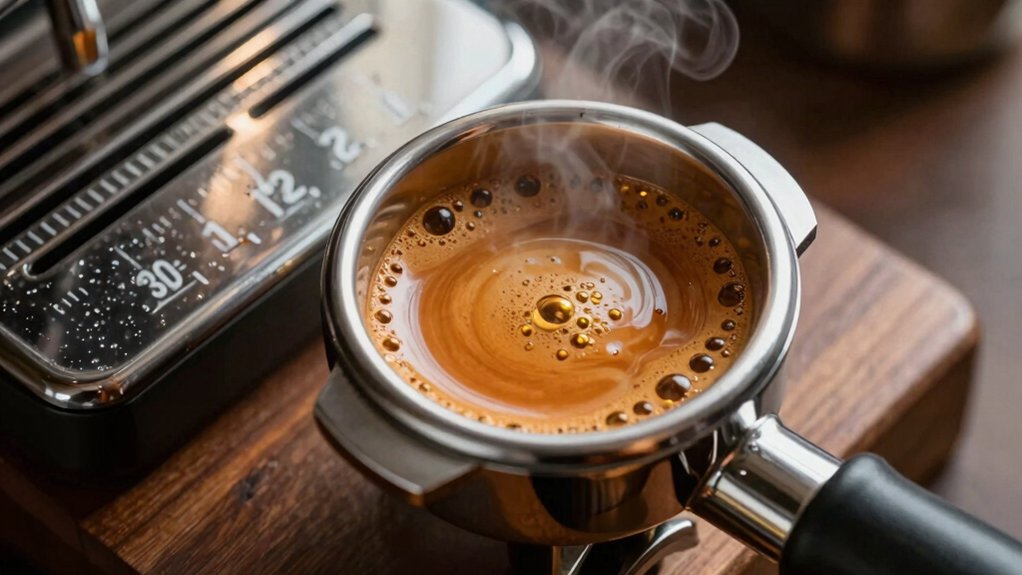
Flavor Extraction Timing
Because alcohol extracts flavors quickly, letting an infusion sit too long can turn a bright note into harsh bitterness—think cardamom turning sharp in rye after a week. You’ll notice that infusion timing matters more than you think; a few hours can give a clean spice, while days may push that same spice into a bitter edge. To keep control, treat each ingredient as a timer and check often.
2. Herbal blends – taste at day 2, day 4, day 6; peak around day 4. Origin focus
Taste Test Regularly
Regularly tasting your infusion lets you catch the exact moment flavor peaks before bitterness creeps in. Because alcohol extracts flavors efficiently, taste testing every few days reveals when the infusion hits its sweet spot. A baseline of about one week works for most recipes, but delicate ingredients like hot peppers or tea may need only an hour or two, while stronger botanicals can linger for weeks. During this process, consider how the infusion handles heat and storage, since high-temperature-safe vessels can help maintain consistent results temperature-safe mugs and help prevent unwanted flavor shifts. If the profile feels mild, extend the infusion duration another week and retaste; if you notice sharp or harsh notes, strain early to preserve balance. This disciplined schedule prevents over‑steeping, keeps bitterness at bay, and ensures your homemade liqueur stays vibrant and enjoyable.
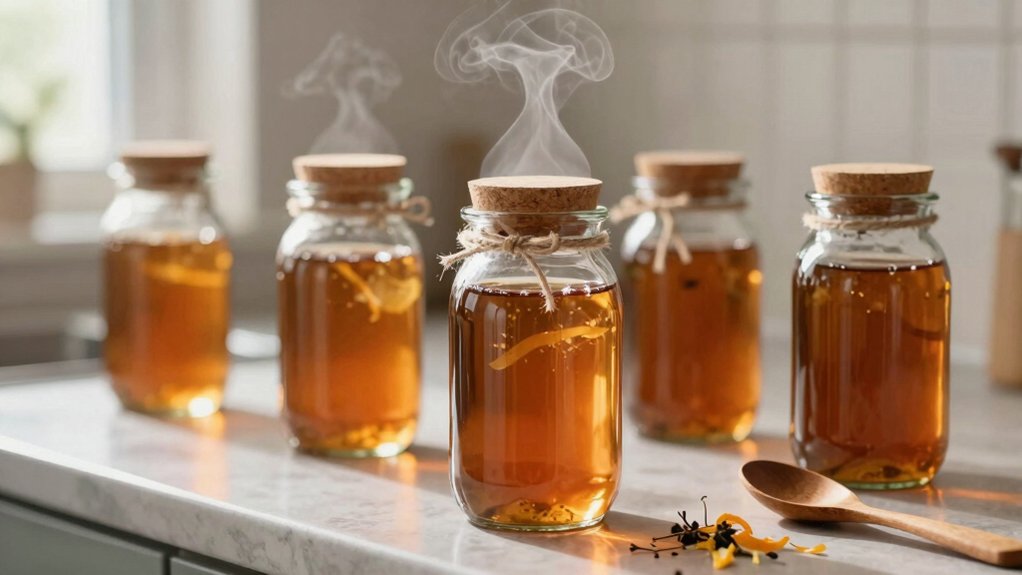
Filtration Techniques That Keep Your Infusion Crystal‑Clear
A crystal‑clear infusion starts with a solid filtration routine, and after the initial strainer you’ll want to pass the liquid through a finer barrier—first a cheesecloth, then a coffee filter or a stack of them—to catch the tiniest particles that could turn sour over time. You’ll notice how proper filtration boosts clarity and preserves flavor for weeks.
3. Use an IP67 waterproof coated container or jar for storage to protect the infusion from moisture and dust during aging.
How to Store Infused Liqueur for Maximum Freshness
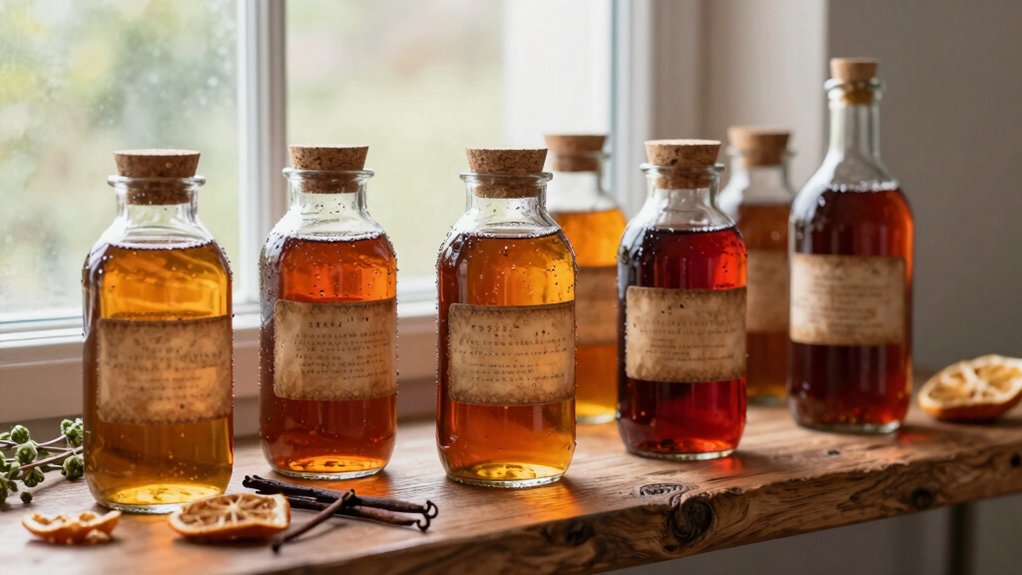
You’ll want to transfer your infusion into the smallest airtight container you can find, then tuck it away in a cool, dark spot. Keeping air out slows oxidation, while low light and temperature preserve the delicate flavors you’ve crafted. For best results, ensure the container is glass or high-quality stainless steel to avoid any taste transfer from plastic. SCA cupping standards
Airtight Small Containers
Because air accelerates oxidation, keep your infusion in the smallest airtight container you can find; this limits exposure, preserves flavor, and prevents off‑notes from developing. Choose a glass jar with a tight‑fitting lid, a stainless‑steel bottle, or a silicone vial that seals completely. Before sealing, double‑strain the liquid to remove sediment that could cloud the taste over time. Store the sealed container away from heat sources; a pantry shelf or cabinet works fine.
- Select a container that fits the batch size—no extra headspace.
- Check the seal by pressing the lid; it shouldn’t pop back.
- Label with date so you know when the infusion reaches its peak.
These steps lock in freshness and keep your liqueur tasting vibrant for weeks.
Cool Dark Storage
Where should you stash your infused liqueur for peak flavor? You’ll want a cool, dark spot—think a pantry shelf or cellar—where temperature stays steady and light never reaches the bottle. Pair that with the smallest airtight container you can find to limit oxidation. Refrigeration helps if you like a chilled sip or want extra safety, but it’s not mandatory. After two to three weeks, strain out the ingredients to stop bitterness; dried‑ingredient infusions can sit forever, while fresh‑ingredient blends last months in the fridge and even longer in proper cool dark storage. Watch for cloudiness or mold; those signs mean the infusion storage is spoiled and must be tossed.
| Condition | Recommended Action |
|---|---|
| Light exposure | Store in darkness |
| Temperature | Keep cool, steady |
| Air contact | Use airtight container |
| Duration | Strain after 2‑3 weeks |
| Spoilage signs | Discard if cloudy or moldy |
Document Every Tweak to Build a Reproducible Recipe Library
Ever wondered why some liqueur infusions taste identical batch after batch while others drift? You’ll discover that meticulous infusion notes are the secret sauce. When you log every tweak, you eliminate reliance on memory and guarantee consistency. A reproducible library captures ingredient swaps, steep times, tasting milestones, and stage‑based warmth controls. It also records sweetness adjustments—think 1–2 tablespoons sugar per cup base—so mouthfeel stays on point. Scaling from a cup test to a gallon becomes a matter of copying data, not guessing.
Meticulous infusion notes ensure batch‑to‑batch consistency, capturing every tweak, temperature, and sweetness detail.
- Ingredient substitutions and ratios
- Infusion duration and temperature checkpoints
- Sweetness levels and tasting notes
Personalizing Infused Liqueur Into Signature Gifts
How can you turn a modest cup of infused liqueur into a memorable, custom‑crafted gift? Start with a single cup, experiment, and scale only if the flavor clicks, sparing you from wasting premium spirit. Keep a notebook of every tweak—fruit ratios, spice swaps, timing—so you can reproduce the exact profile later. Taste the infusion every few days; stop at 1–3 weeks to avoid bitterness and match the recipient’s palate. Sweeten with 1–2 tablespoons of sugar per cup for a smooth, gift‑ready body. Filter through coffee filters or layered cheesecloth to eliminate sediment, then store in an airtight, dark bottle, refrigerating if desired. The result is a personalized, high‑quality infusion that feels like a thoughtful, handcrafted gift.
Frequently Asked Questions
What Is the Benefit of Creating Custom Infusions for Cocktails?
You get precise flavor control, matching any cocktail profile while cutting extra ingredients, and you can experiment quickly. Fresh infusions deliver brighter, more complex notes, and you can adjust strength or timing to suit your palate.
What Is the Queen of Liqueurs?
You’ll find the queen of liqueurs is a rich, sugar‑sweetened infusion—often brandy‑based—infused with vanilla, spice, and fruit, delivering a dessert‑like, complex flavor that lasts longer than straight infusions.
How Long Will Infused Liquor Last?
You’ll keep infused liquor fresh for two to three weeks before straining; after that, store the strained spirit in a sealed bottle, and it can last months, especially if you used dried ingredients.
What Alcohol Is Best to Infuse?
You’ll get the best results with high‑proof, neutral spirits—vodka or overproof grain alcohol—because they extract flavors efficiently, stay flavor‑neutral, and give you flexibility to adjust sweetness later.
In Summary
Now that you’ve mastered the basics, you’ll find homemade infusions far richer, more nuanced, and uniquely yours than store‑bought bottles. Small batches let you fine‑tune flavors, while careful timing and proper filtration keep bitterness at bay and the liquid crystal‑clear. Store them right, and you’ll preserve every aromatic note. Document each tweak, and you’ll build a personal library of recipes that turn every bottle into a signature gift.

Leave a Reply