
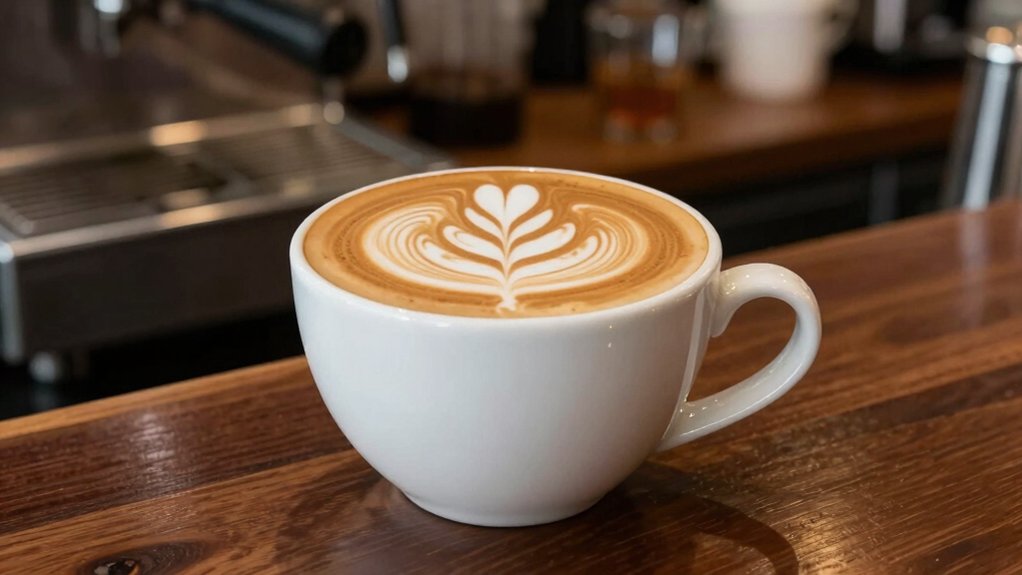
Set your steam wand to hit 150‑155°F (65‑68°C) for the sweet spot that gives you silky microfoam, stable bubbles, and crisp latte‑art designs. If you prefer a slightly sweeter, softer foam, aim for 140‑145°F, especially with whole dairy milk. Low‑fat dairy works well at 145‑150°F, while oat milk shines between 130‑150°F; almond and soy are best around 135‑150°F. Avoid pushing past 160°F to prevent foam collapse and flavor loss. Keep a fast, calibrated thermometer handy, watch for a glossy sheen and uniform bubbles, and you’ll nail consistent art every time—more tips await if you keep going.
Set the Ideal Milk Temperature for Latte Art (150‑155°F / 65‑68°C)
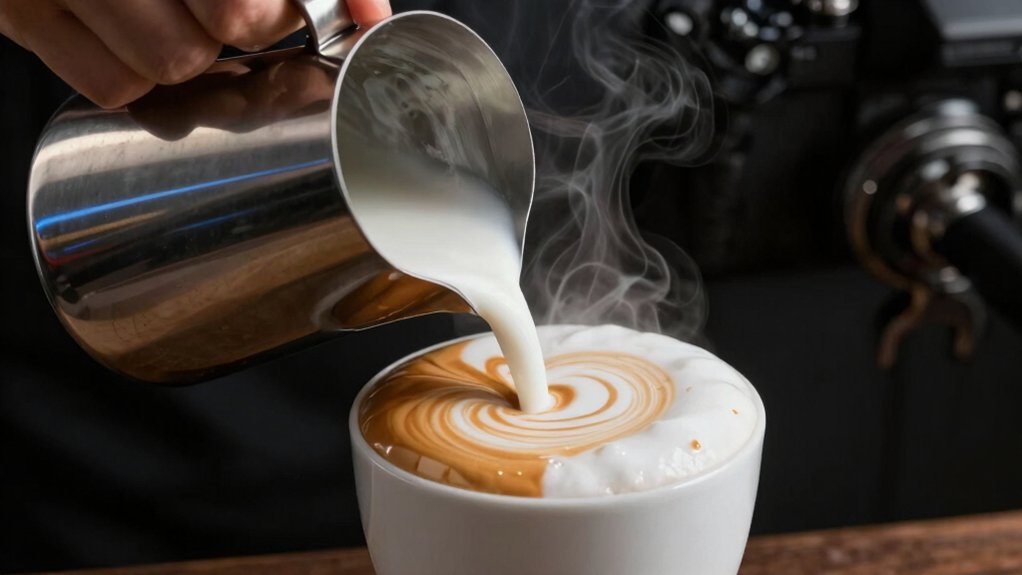
When you steam milk to 150‑155 °F (65‑68 °C), you hit the sweet spot where sweetness, silky texture, and stable microfoam converge—perfect for crisp latte‑art designs. This latte art temperature delivers the ideal steaming temperature that balances milk sweetness with microfoam stability, letting you pour smooth, glossy patterns. Keep a thermometer monitoring the process; a quick glance tells you when you’ve reached the range, preventing overheating that would thin the foam. Controlled steaming with precise temperature tracking supports consistent results across different batches and equipment temperature control and helps maintain the delicate balance between sweetness and structure.
How 140‑145°F Improves Sweetness & Foam for Latte Art?
Why settle for anything less than the sweet spot? At 140–145°F you hit the perfect balance of sweetness and microfoam stability, letting you craft latte art with razor‑sharp detail. In this window whey proteins denature just enough to lock air bubbles, creating a glossy, paint‑like milk texture that holds intricate designs. Lactose solubility peaks, so the milk tastes sweeter without drowning the espresso’s crema, and the foam stays velvety enough to pour rosettes, hearts, or tulips that stay defined. If you dip below, the foam lacks body; if you go above, sweetness fades and the microfoam destabilizes, blurring your art. Aim for 140–145°F and watch your latte art bloom with flavor and precision. Compatibility and proper temp control help ensure consistent results across different milk types and espresso profiles.
What Happens at 160°F: Latte Art Foam & Flavor Loss?
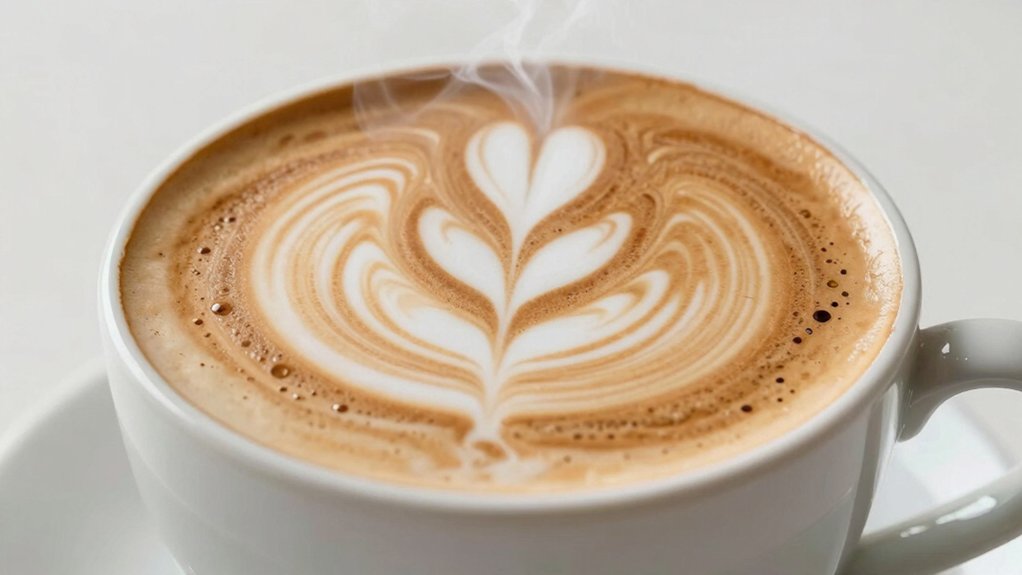
Ever wondered what happens once your milk hits 160°F? At this latte, microfoam stability drops dramatically; the foam flattens, making it hard to hold fine edges for rosettas or tulips.
Whey protein denaturation accelerates, so bubbles collapse faster and you lose the silky texture needed for precise patterns.
Flavor sweetness loss becomes noticeable—sugar’s natural sweetness fades, and caramelized notes start to surface, adding a bitter edge that dulls the visual contrast of your art.
This temperature also pushes the latte art temperature beyond the sweet spot, so you’re sacrificing both look and taste.
In short, 160°F compromises foam integrity and flavor, leaving you with flat designs and a harsher, less sweet cup.
The 4–8 hour freezing window referenced in some sets hints at how different materials can influence heat transfer and stability in foams ice cube shape and storage considerations for longevity.
Temperature Settings for Whole vs. Skim Milk in Latte Art
So, do you know how whole and skim milk differ in their ideal steaming windows for latte art? When you steam whole milk, aim for a milk temperature of about 140‑150°F (60‑65°C). The fat creates silky microfoam that holds intricate designs. If you push toward 150‑155°F, you gain extra stability for serving without sacrificing sweetness. Skim milk, lacking that fat, needs a slightly hotter range—roughly 145‑155°F (60‑68°C)—to build enough protein‑based microfoam. Keep the thermometer below 160°F; any higher risks scalding, dulling flavor, and blurring your latte art. By respecting these windows, you’ll produce glossy, well‑structured foam, whether you’re pulling a heart with whole milk or a rosette with skim milk. Steaming guidelines help baristas consistently hit the right texture across milk choices.
Oat Milk Steaming Temperature for Latte Art (130‑150°F)
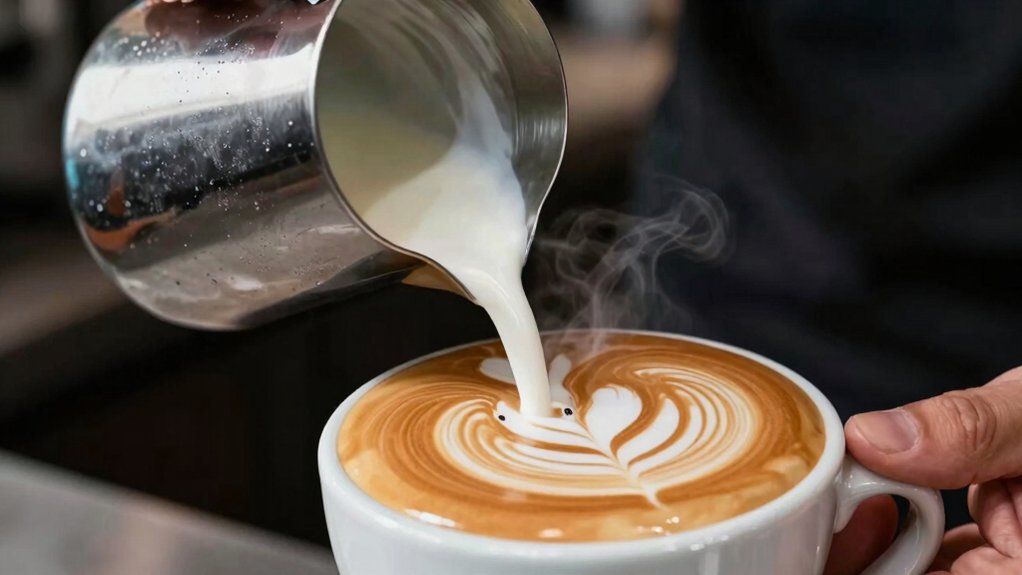
Curious about the sweet spot for steaming oat milk? You’ll find that a steaming temperature within the temperature range 130–150°F gives you the best microfoam for latte art. At 130‑135°F the milk stays light and smooth, perfect for delicate designs, while 145‑150°F adds creaminess and a velvety foam that holds more defined patterns. Keep the milk below 150°F to avoid scalding and thinning, which ruin stability.
- Heat to 130‑135°F for airy, subtle microfoam.
- Raise to 140‑145°F for balanced body and texture.
- Push to 145‑150°F for rich, sweet foam that holds intricate latte art.
- Stop before 150°F to prevent scalding and maintain foam integrity.
Almond & Soy Milk Steaming Temperature for Latte Art (135‑155°F)
You’ll find almond milk works best between 135‑145°F, giving you a creamy microfoam that holds intricate designs. A consistent temperature range helps ensure foam stability across different milk types and steams more reliably Cup-to-Mug Consistency. Soy milk needs a tighter window of 140‑150°F to keep the foam stable and prevent separation. Hitting these temperatures is the key to maintaining foam stability and sharp latte‑art patterns.
Almond Milk: Ideal Range
What temperature should you aim for when steaming almond milk for latte art? You’ll find the ideal temperature sits between 135 °F and 155 °F, a steaming range that balances sweetness and foam stability. Below 140 °F you’ll get a light, silkier microfoam perfect for delicate hearts and rosettas. Pushing toward 150 °F adds creaminess but can thin the foam if you over‑whisk. Keep an eye on your wand’s thermometer and adjust for the specific almond milk brand you use. A steady hand and attentive whisking let you sculpt consistent latte art without scorching the plant proteins. For best results, consider the product quality and formulation from trusted suppliers to maintain consistency across batches Keto-friendly, Non-GMO and ensure reliable texture.
- Heat to 135‑140 °F for airy, fine‑textured foam.
- Target 145‑150 °F for richer, creamier microfoam.
- Avoid exceeding 155 °F to prevent protein breakdown.
- Test foam stability by pouring a thin stream; adjust temperature as needed.
Soy Milk: Temperature Tips
Ever wondered how to nail soy milk foam for latte art? Aim for a steaming temperature between 135 °F and 155 °F. At 135‑140 °F the protein structure stays intact, giving you a stable microfoam that holds shape, though the sweetness is modest.
Push the heat to 150‑155 °F for richer creaminess and smoother texture, but watch closely to prevent scorching. Over‑heating past 155 °F thins the foam, making pour control difficult.
Adjust your steam wand’s power and duration to hit the sweet spot, especially when mixing almond and soy blends. When you reach that glossy, velvety microfoam within the 135‑155 °F window, you’ll pull clean, crisp latte art every time. Caffeine levels and protein content from protein coffee powders can influence foam stability in blends, so consider choosing protein sources with minimal artificial additives to maintain texture.
Foam Stability: Key Factors
After mastering the right temperature for soy milk, the next step is keeping the foam stable long enough to draw clean latte art. Foam stability hinges on microfoam quality, which plant milks and plant and protein content. Keep the temperature within the 135‑155°F window; a thermometer ensures precise temperature control and prevents overheating that collapses bubbles. Gradual heating and gentle aeration preserve the velvety texture, while higher protein levels in soy or fortified almond milks reinforce foam structure.
- Use a thermometer for accurate temperature control.
- Choose plant milks with higher protein content.
- Steam slowly, avoiding rapid boiling.
- Finish with a glossy, fine‑bubble microfoam before pouring.
Use a Thermometer for Precise Latte Art Steaming
Pick a fast‑response, food‑grade thermometer that snaps into the milk pitcher without lag. You’ll want to keep the probe just below the surface and watch the readout steady at 140–155°F, adjusting the steam wand as needed. Consistently checking the temperature each time you steam ensures the same microfoam quality and repeatable latte‑art results.
Accurate Thermometer Selection
How can you guarantee consistently silky microfoam? Choose a thermometer that delivers thermometer accuracy and sub‑3‑second response. An instant‑read probe gives 0.1 °F precision, letting you watch the milk hit the incubation temperature zone (140–150 °F). If you prefer non‑contact, an infrared thermometer works, but set the correct emissivity and keep the surface non‑reflective. Regular calibration and cleaning keep readings trustworthy, and pausing the steam to check temperature during batches prevents drift.
- Pick a probe with <0.2 °F error margin.
- Verify emissivity settings on infrared models before each use.
- Calibrate weekly using a known reference point.
- Clean the sensor after every steaming session.
Consistent Temperature Reading Practices
Ever wondered why your latte foam sometimes falls flat? You need consistent temperature reading practices. Grab an instant‑read thermometer and watch the milk hit 140‑155°F, the ideal steaming range for silky microfoam. When the pitcher surface feels too hot to hold (~120°F), you know the interior is near 140‑145°F, so you can stop before you overshoot. Use the same thermometer for every shot; this temperature control builds latte art consistency. If you prefer a contact‑free method, an infrared thermometer works—just mind emissivity and avoid shiny surfaces.
| Tool | Best Use |
|---|---|
| Instant‑read probe | Quick, 0.1°F resolution |
| Infrared gun | Non‑contact, surface checks |
| Hand cue | Rough 120°F surface check |
| Consistent timing | Aligns with steaming range |
Spotting Perfect Microfoam: Visual Cues for Latte Art
Ever wondered how to recognize microfoam that’s truly ready for latte art? You’ll spot it when the milk temperature sits between 140 °F and 155 °F, giving a silky texture that holds a glossy sheen. The foam should look like a thick, velvety lake with tiny, uniform bubbles that rise slowly. When you pour, the microfoam should blend seamlessly, forming a clear, defined pattern without breaking.
- Consistent sheen – a glossy surface indicates proper whisking/steam control.
- Uniform bubbles – tiny, consistent bubbles show ideal protein denaturation.
- Stable volume – the foam holds its shape as you swirl the pitcher.
- Smooth integration – the milk and foam merge without watery separation, ensuring crisp latte art.
Fix Common Temperature Mistakes in Latte Art Quickly
If you notice the milk heating past 155 °F, cut the steam and give it a quick shake or tap the pitcher to lower the temperature before the foam collapses. You can instantly correct common errors by watching the thermometer guidance and adjusting steam power. When the microfoam temperature spikes, pause the wand, swirl the pitcher, and let the surface cool to the 120‑140 °F cue. For plant milks, keep the target a bit lower and never exceed 165 °F to avoid separation. A quick tap, a brief pause, and a visual check keep your latte art technique on point.
| Issue | Quick Fix |
|---|---|
| Over‑steaming | Cut steam, shake pitcher |
| Temperature >155 °F | Pause, swirl, cool |
| Foam flattening | Reduce wand depth |
| Plant milk separation | Stay <165 °F |
| Inconsistent texture | Use thermometer, adjust power |
Reference Table: Milk Type, Target Temp, and Foam Consistency for Latte Art
After fixing temperature mishaps, you’ll want a quick reference that matches each milk to its ideal steaming range and the foam quality it yields. Use this table to lock in the perfect milk temperature for microfoam that supports precise latte art.
Quick reference: match each milk to its ideal steaming range for perfect microfoam and precise latte art.
- Whole dairy milk – 140‑145°F (60‑63°C); silky, stable microfoam, sweet flavor.
- Low‑fat dairy – 145‑150°F (63‑65°C); slightly firmer foam, still good for art.
- Oat milk (plant) – 130‑155°F (54‑68°C); creamy foam, reliable for latte art.
- Almond/soy milks – 135‑160°F (57‑71°C); foam varies, aim for mid‑range for consistency.
These milk types each have an ideal temperature window that balances sweetness, foam consistency, and stability, letting you pour flawless latte art every time.
Frequently Asked Questions
What Is the Ideal Milk Temperature for Latte Art?
You should steam milk to about 140‑155 °F (60‑68 °C) for latte art; this sweet spot creates stable microfoam and lets you pour crisp designs without scalding or flattening the foam.
Is 44 Degrees Cold Enough for Milk?
No, 44 °F is far too cold for latte art; you’ll struggle to create microfoam, and the milk won’t blend with espresso crema, leaving weak, watery textures instead of smooth, glossy designs.
What Temperature Should Milk Be to Make a Latte?
You should steam milk to about 140‑155 °F (60‑68 °C); this range gives sweet flavor and stable microfoam, letting you pour smooth, detailed latte art without the foam collapsing.
How to Get Perfect Milk for Latte Art?
Steam your milk to 140‑155°F, aiming for 150‑155°F with dairy. Use a thermometer, stop before it hits 160°F, and pour immediately while the microfoam stays silky and glossy.
In Summary
Mastering milk temperature lets you consistently craft beautiful latte art. Aim for 150‑155 °F (65‑68 °C) for velvety microfoam, adjust lower for sweeter, silkier foam, and avoid overheating, which destroys texture and flavor. Different milks have their own sweet spots, so use a thermometer and watch the visual cues. Fine‑tune your steam, and you’ll pull perfect designs every time.


