

Unplug the machine, let it cool, and fully depressurize it before you start. Locate the group‑head solenoid valve behind the group head, photograph or label the wires, then disconnect the fittings. Test the coil resistance with a multimeter and inspect the O‑rings and valve seat for wear, replacing any damaged parts. Clean the valve body, reapply Teflon tape to threads, and reconnect the wires exactly as labeled. Power up, verify the coil clicks and water flows correctly, and you’ll discover the next steps.
First, Unplug and Depressurize the Espresso Machine
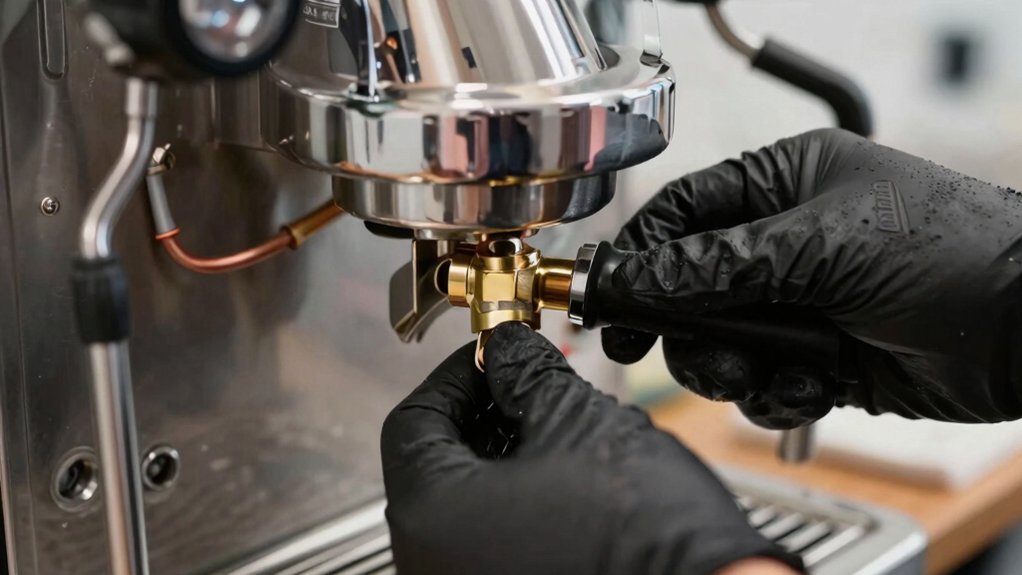
Before you begin, make sure the machine is completely powered down and unplugged so no electricity can flow. Pull the plug, then verify the switch is dead and all lights are off. Let the unit cool; a hot boiler can burn you and damage the solenoid valve. Open the pressure‑relief valve or follow the manufacturer’s steps to bleed any remaining steam or water from the boiler and lines. Check that no pressure remains by gently pressing the group‑head lever; it should move freely without resistance. Clear the area around the group head, removing any tools or accessories that could obstruct access.
With the machine safe, powered down, and depressurized, you’re ready to inspect and replace the solenoid valve.
Locate the Group‑Head Solenoid Valve and Document Connections
Where exactly is the group‑head solenoid valve? It sits just behind the group head, attached to the water line with a coil and inlet/outlet fittings. First, turn the machine off, unplug it, and let it cool so you avoid burns. Then locate the solenoid valve and examine its connections. Take a clear photo or label each wire before you disconnect anything; this preserves the original wiring order for reassembly. Grab a wrench, loosen the water inlet and outlet fittings, and carefully remove the valve from its mounting. Inspect the mating surfaces for debris, noting any worn seals or O‑rings you’ll need to replace later. Document everything before proceeding. Also, consider checking for compatibility notes on grouphead cleaning tools that may affect reassembly, such as the option for universal or 58mm/54mm fittings grouphead compatibility.
Test Coil Resistance and Inspect Electrical Connections
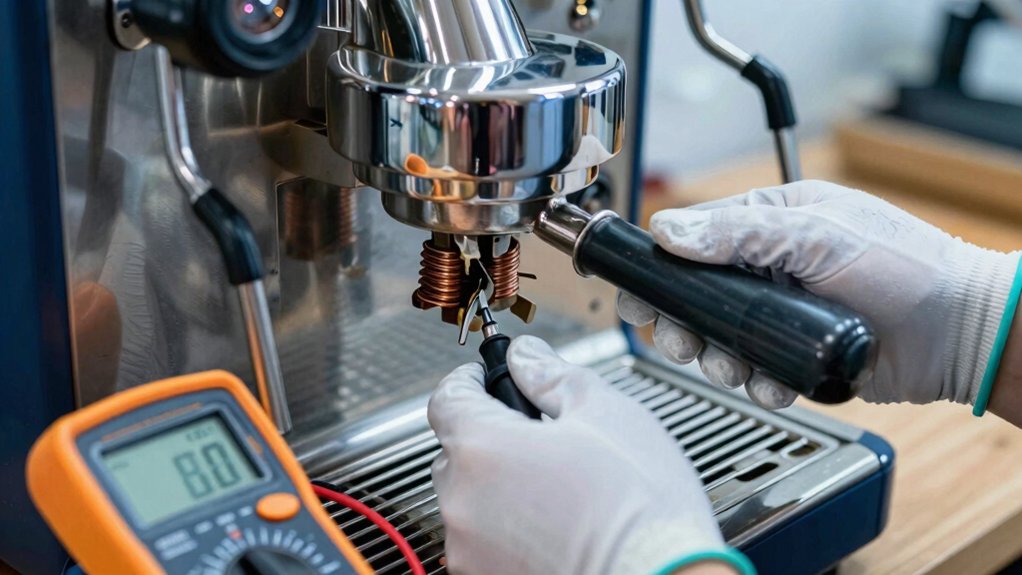
Now that you’ve documented the valve’s wiring and removed it, grab a multimeter and check the coil’s resistance across its two terminals while the machine is unplugged and the coil is de-energized. Additionally, verify that the coil’s resistance remains within the manufacturer’s spec after reassembly, since objective measurements help confirm electrical health solenoid resistance.
Disassemble, Clean, and Replace O‑Rings or the Valve Seat
Remove nut 5 and the drain tube to expose the solenoid coil, then loosen the coil‑holding nut and slide the coil off the valve body. Soak the cylinder and plunger in hot coffee detergent (or white vinegar) to dissolve mineral buildup, then rinse thoroughly. Inspect the O‑rings and valve seat for cracks or wear; replace any damaged seals to guarantee a watertight fit. Finally, wipe the mating surfaces and mounting area clean, ensuring smooth plunger travel and no leaks when you test the system.
- Feel the relief of a spotless valve ready for fresh seals.
- Enjoy the confidence that new O‑rings prevent drips and pressure loss.
- Celebrate the success of a flawless solenoid valve reassembly. Valve maintenance
Reinstall the Valve and Seal Threads
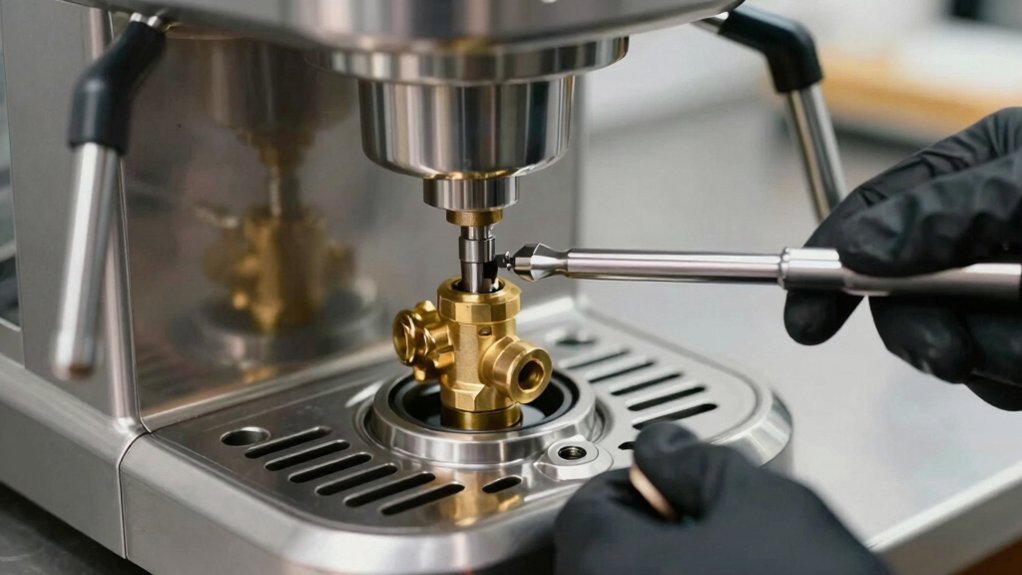
After you’ve scrubbed the cylinder and plunger clean and inspected the O‑rings, line the valve back onto its mounting surfaces, making sure the inlet and outlet ports line up perfectly. Then start valve reinstalling by wrapping Teflon tape around each threaded connection; this creates a watertight seal and stops drips. Tighten the inlet and outlet fittings firmly, but don’t over‑torque—just enough to eliminate play. Reconnect the solenoid wires exactly as labeled, confirming polarity and secure contact. Finally, run a short pump test with the boiler depressurized, watching the valve seat for smooth motion and checking for any leaks at the threads or seals. Airtight seals help preserve freshness and prevent moisture intrusion, which is also important when considering storage solutions for dry goods like coffee and tea in kitchen canisters.
| Step | What to Do |
|---|---|
| 1 | Apply Teflon tape |
| 2 | Tighten fittings securely |
| 3 | Verify electrical connections |
Power Up and Verify Solenoid Valve Operation
Turn the machine on safely and listen for the click that tells you the coil is receiving power.
Use a multimeter to check the coil’s resistance against the spec, making sure it isn’t open or shorted.
Finally, run a quick water‑flow test to confirm the valve opens and closes cleanly without leaks.
Additionally, ensure your cupping spoon design and compatibility considerations are kept in mind if you’re testing with sample fluids to avoid contamination and maintain consistent evaluation SCA standards.
Check Power On Safely
Ever wondered how to confirm your espresso machine’s solenoid valve is working safely before you brew? First, unplug the unit and let it cool—this prevents burns and shock while you inspect. Once it’s cool, reconnect power and listen for a crisp click; that’s the coil energizing and the valve opening the water path. Watch the brew cycle for smooth refilling and any “solenoid valve symptoms” like arcing, overheating, or a burning smell. If anything feels off, stop immediately and re‑check connections.
- Verify the audible click and water flow.
- Observe for abnormal odors, heat, or sparks.
- Ensure the machine refills without hiccups or leaks.
Check Coil Resistance
Measuring the solenoid coil’s resistance is the quickest way to spot a faulty valve before you power up the machine. Turn the espresso maker off, disconnect power, and place a multimeter across the two coil terminals. Compare the reading to the manufacturer’s specified range; a markedly higher or infinite value means the windings are open, while a near‑zero reading indicates a shorted coil—both point to a bad solenoid valve. Once you’ve verified the static resistance, re‑apply the rated voltage while the machine runs and watch the coil’s resistance stay within spec, confirming it isn’t overheating or arcing.
If the valve doesn’t click or opens intermittently, recheck wiring continuity and ground connections for corrosion or looseness. Record all measurements and discrepancies; they’ll tell you whether to repair the coil, replace the valve, or inspect the control board. Valve specifications provide the expected resistance ranges you should reference during testing to ensure the readings align with the manufacturer’s design.
Observe Water Flow
When you power up the espresso machine with the solenoid valve still attached, watch the water stream to see if it starts flowing the moment the coil energizes; a clear, steady flow confirms the valve is opening correctly, while a missing or weak stream signals a coil or control‑circuit problem. Listen for the distinct click of the solenoid coil; if you don’t hear it, the coil may be dead or the wiring loose. Compare the timing of the flow to the brew cycle—consistent bursts mean the valve opens and closes on schedule. Finally, pull a short test shot to see the boiler refill smoothly, proving the solenoid valve can handle load. Feel relief when the water rushes out instantly. Sense frustration if the stream sputters or stalls. Gain confidence after the test shot confirms reliable operation. Valve behavior is a practical indicator you can observe during this verification process.
Frequently Asked Questions
Is It Easy to Replace a Solenoid Valve?
Yes, you’ll find it pretty easy if you have basic tools and a little patience. Just drain the machine, disconnect the lines, swap the valve, replace gaskets, and reassemble—no specialist required.
How to Replace a Solenoid Valve on a Coffee Machine?
You’ll turn off and unplug the machine, remove the panels to expose the valve, label and disconnect the wires, unscrew the fittings, swap in the new valve, re‑tape threads, reconnect wires, reassemble, then test for leaks.
Can I Replace a Shift Solenoid Myself?
Yes, you can replace a shift solenoid yourself if you have basic tools, turn off power, label wires, match coil resistance, reseal fittings, and test for leaks before re‑energizing the machine.
How Do I Know if My Solenoid Valve Is Bad?
You’ll know it’s bad if water drips after brewing, the coil shows no continuity or abnormal resistance, the plunger sticks, you hear buzzing or see leaks, or the machine trips thermal protection.
In Summary
Now that you’ve unplugged the machine, tested the coil, swapped out any worn O‑rings or the seat, and re‑installed the valve with proper sealing, you’re ready to power it up. Turn the espresso machine back on, watch the water flow, and make sure the solenoid clicks and releases correctly. If everything runs smoothly, you’ve successfully replaced the solenoid valve and your espresso machine should be back to brewing perfectly.


