

You can curb espresso temperature swings by calibrating the boiler thermostat and letting the kettle hit its set point before you start. Install a brew‑temperature probe to see the real extraction temperature, then fine‑tune pre‑infusion and surf timing for smoother heat flow. Upgrade to a high‑precision sensor or PID, adjust grind size and dose to balance heat loss, and follow a consistent warm‑up routine while logging baseline settings. Regular descaling and professional maintenance keep the system stable, and the next steps will show you how to fine‑tune each variable for perfect consistency.
Why Stable Temperature Is Critical for Consistent Espresso Flavor
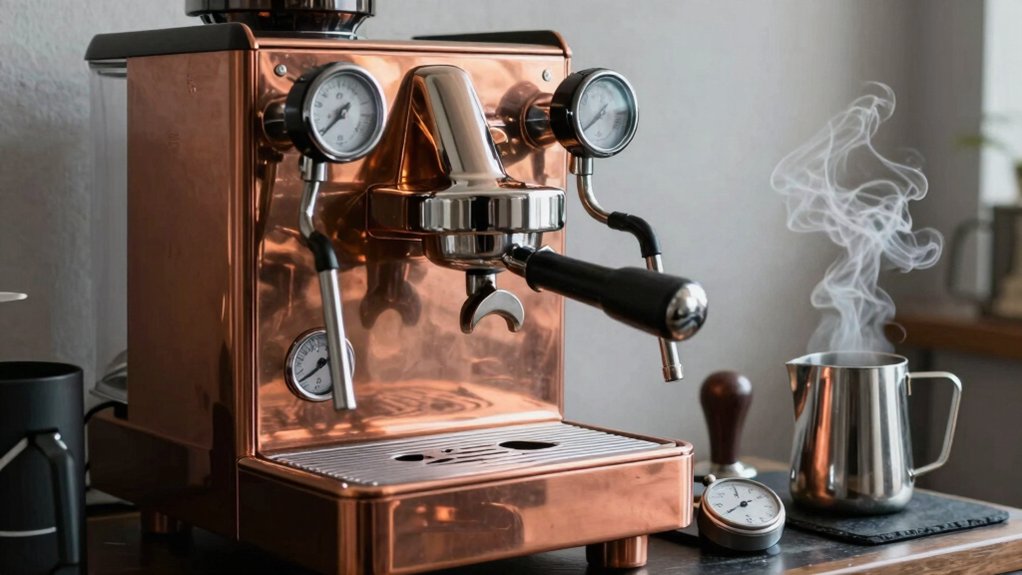
Why does temperature matter? You need a stable Temperature because it directly controls the Extraction time and the balance of compounds that define espresso flavor. When the water sits at 90‑96 °C, acids dissolve quickly while bitters stay restrained, giving a smooth cup. A few degrees off can shift the chemistry: under‑temperature leaves sour, over‑temperature burns, and both ruin consistency. Proper kettle and machine maintenance, including understanding how large boilers like the Ascaso Duo can drift during purge, waiting, and shot pull, helps keep extraction time predictable and ensures each shot mirrors the last. temperature stability
Identify Main Sources of Espresso Temperature Fluctuations
What causes espresso temperature to wobble? A dead‑band thermostat that swings wide open and closed creates abrupt on/off heating, producing audible “boils” even when the display shows a steady reading. Scale buildup on the boiler or thermoblock insulates the metal, slowing heat transfer and letting the water temperature drift between shots. Worn sensors and aging heating elements lose accuracy, so the machine can’t hold a target under load. Large boilers need extra time to ramp up, making early shots vulnerable to purge timing and heat‑recovery delays. Finally, inconsistent purging and surf techniques—especially the pause between purge end and extraction—can momentarily under‑ or over‑heat the brew, amplifying temperature fluctuations. Bor osilicate glass and double spout designs from the best espresso shot glasses emphasize heat resistance and control in pouring, which mirrors the need for stable heat management in brewing devices.
Calibrate Boiler Thermostat to Reduce Espresso Temperature Fluctuations
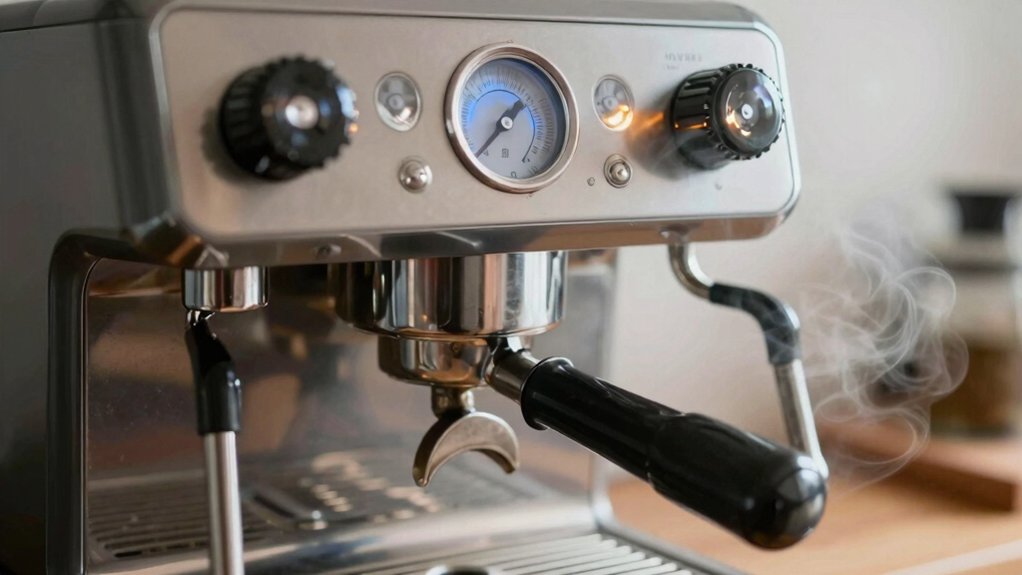
The wobbling temperatures you saw stem from the dead‑band thermostat’s on/off cycling, so tightening that control is the next step. Start by letting the boiler reach its normal “on” temperature, then use a precise external thermometer to note the actual brew temperature when the indicator light is on. Adjust the thermostat screw a fraction at a time, re‑checking after each tweak until the temperature stays within a narrow band during the on/off cycle. Consistent thermostat calibration reduces temperature fluctuations, gives you a reliable starting point for each shot, and works hand‑in‑hand with proper purging and regular maintenance.
| Step | Action |
|---|---|
| 1 | Heat boiler, watch indicator |
| 2 | Measure brew temp with external probe |
| 3 | Adjust thermostat screw slightly |
| 4 | Verify temp stability after each change |
| 5 | Repeat until fluctuations are minimal |
Use a Brew‑Temperature Probe for Precise Espresso Temperature Control
Ever wondered how to keep your espresso temperature steady despite boiler cycling? A brew‑temperature probe gives you real‑time readings of the actual shot, letting you separate boiler gauge swings from true brew temperature at the cup. Hook the probe to the portafilter and watch the extraction temperature stay within the optimal 90–96 °C range, even when the boiler dead‑band cycles. This helps you correlate temperature changes with surf events like purges or pauses after purge, enabling you to fine‑tune grind, dose, and yield based on measured data instead of unreliable gauges. The probe also highlights discrepancies between top‑boiler readings and actual brew temperature, pointing you toward needed maintenance or calibration. This direct feedback loop stabilizes your espresso, ensuring consistent flavor and performance. Real espresso temperature tracking can further confirm that your extraction stays within the ideal window during varied brew conditions.
Fine‑Tune Pre‑Infusion and Surf Timing to Minimize Heat Swings
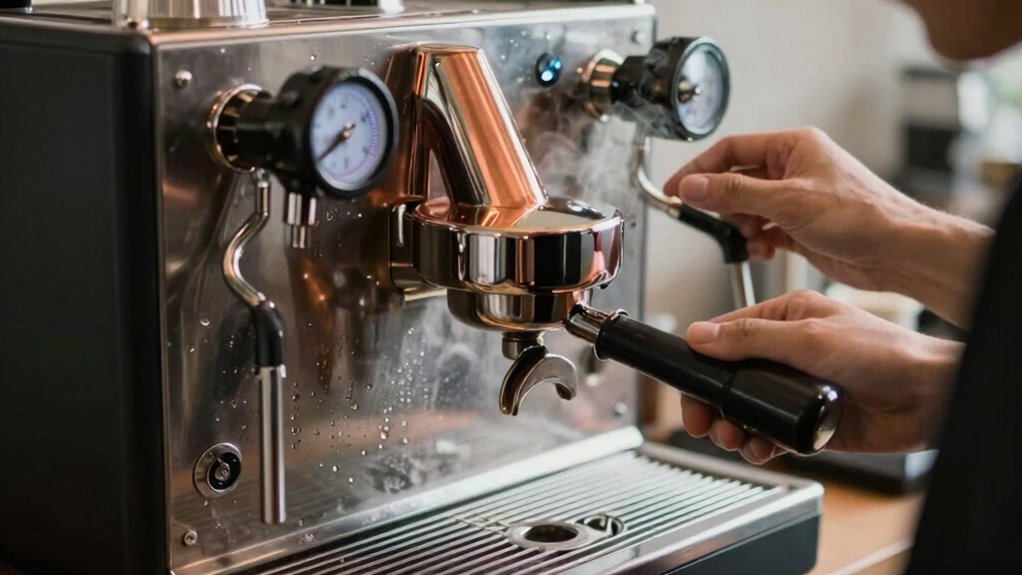
You can lock in a steady brew temperature by tightening your pre‑infusion length and keeping surf timing consistent. Start each shot right after the boiler indicator returns, then count the seconds from the end of purge to the pull, adjusting in small steps until the taste stays the same. Trust the flavor and timing cues over the gauge, especially with larger boilers that need extra warm‑up time. Extraction Yield Calculator can help you quantify how changes in pre‑infusion affect overall brew strength and consistency.
Pre‑Infusion Length Control
Why let temperature spikes ruin your espresso? Master pre‑fusion length to keep temperature control tight. Start by purging until the heater indicator lights again, then pause a brief dwell before you pull. That short wait lets the top‑boiler settle, preventing the heating element from cycling mid‑shot. Extend the pre‑fusion just enough—within your machine’s limits—to saturate the coffee bed evenly. A longer soak reduces sudden pressure jumps, which otherwise cause heat spikes at the surf and shot start. Align this soak time with the boiler’s dead‑band so the element doesn’t kick in or off abruptly. By fine‑tuning the pre‑fusion, you’ll see a smoother temperature curve, a steadier extraction, and a more balanced espresso flavor. Heat management supports achieving consistent shots across variable brews.
Surf Timing Consistency
After mastering pre‑fusion length, the next step is locking in surf timing. When you finish purging, wait until the heating light re‑illuminates, then pause a couple of seconds before water starts flowing. Count those seconds consistently; the interval between purge end and flow start directly sets the extraction temperature. Because a 325 cc boiler heats slowly, even a one‑second shift can cause a noticeable swing. Trust your palate and cupping notes more than the top‑boiler gauge—those readings often diverge from the shot’s actual temperature. Ignore bubbling noises; they’re not reliable cues. Focus on the light’s behavior and the heater’s cycling to confirm stability, and you’ll keep surf timing tight, minimizing heat fluctuations shot every pull. Stainless steel bases offer durability and heat retention, which supports more consistent temperatures during extraction.
Descale Boiler and Thermoblock Regularly to Stabilize Espresso Temperature
Ever notice how your espresso temperature swings after a few weeks of use? That’s often scale building up inside the boiler or thermoblock, insulating the walls and throttling heat transfer. To keep temperature steady, descale both components regularly. Use a solution that’s safe for your machine’s materials, follow the manufacturer’s cycle, and avoid harming sensors or heating elements. After the run, purge and brew a shot, then check for temperature stability; you should see fewer spikes. Set a schedule—every one to three months, depending on water hardness and usage—to prevent mineral buildup before it messes with your brew. Consistent descaling means the boiler reaches its target heat quickly and maintains it, giving you reliable espresso shots every time. Regular descaling also helps maintain optimal flavor and temperature consistency across brews, reducing unwanted fluctuations temperature stability.
Upgrade to a High‑Precision Espresso Temperature Sensor or PID
Keeping your boiler clean is only half the battle; the next step is to give it a brain that can read temperature accurately and react smoothly. Upgrading to a high‑precision temperature sensor or a PID controller tightens control and stops the on/off cycling that creates hot‑cold swings. A PID keeps the target within a narrow band by modulating the heater instead of flipping it on or off. Precise sensors should sit where the brew water actually passes, not just at the boiler top, so the reading mirrors shot quality. Replacing a drifting sensor eliminates latency, and after installation you’ll retune the 90–96 °C range to avoid sour or bitter flavors.
Upgrade to a precise sensor and PID for stable, accurate boiler temperature and consistent shot quality.
- Choose a sensor with ±0.1 °C accuracy.
- Mount it in the brew path.
- Pair it with a PID that supports fine‑tuned curves.
- Calibrate targets after each upgrade.
Tweak Grind Size and Dose to Balance Small Espresso Temp Shifts
How can you tame those subtle temperature swings without overhauling your machine? Start with grind size. If your shot tastes sour or thin, grind finer to slow extraction and let the water stay hotter longer. Make tiny adjustments—one click at a time—and pull a shot. each change, keeping the yield fixed at a 1:2 ratio so you isolate temperature‑related flavor shifts. Once the grind feels stable, tweak the dose. A higher dose deepens the puck, adds resistance, and further moderates flow, which can smooth lingering temp fluctuations. Remember to clean your grinder regularly; fines or oil buildup can mimic instability. Record each setting and taste note, then repeat until the temperature curve flattens.
Implement a Consistent Warm‑Up Routine and Document Baseline Settings
You should set a standard warm‑up timing, let the boiler hit the target temperature with the heating light off, then purge until the light reactivates and wait a moment before pulling. Record the baseline temperature settings—purge duration, post‑purge wait, and the shot temperature window—so you can spot drift. Treat those minute‑to‑second adjustments as critical for keeping flavor consistent.
Standard Warm‑Up Timing
Ever wonder why your espresso shots taste inconsistent? A reliable warm‑up timing cuts the guesswork. First, keep the heating element off, then switch it on and watch the indicator. Note how long the 325 cc boiler takes to hit the target temperature—this ramp is slow, so patience matters. Next, purge until the heating light re‑lights, then pause a recorded interval before pulling a shot. Finally, log the purge duration, wait time, and cup temperature so you can spot drift later.
- Turn on the element, start the timer.
- Stop when the indicator signals target temperature.
- Purge, then wait the recorded interval.
- Record all three values for future reference.
Record Baseline Temperature Settings
Why would you skip a baseline log before every session? Skipping it leaves you guessing why the boiler temperature drifts. Instead, start each warm‑up with a quick checklist, then record the exact purge time, initial fill temperature, and the moment the heating light re‑activates. Use the front boiler gauge only for trend spotting, but note the actual brew temperature in your log. Track the interval from purge end to shot pull and link it to taste outcomes. Update your template after service or scale removal to keep performance steady.
| Metric | Value | Notes |
|---|---|---|
| Ambient Temp | 22 °C | Room condition |
| Grinder Temp | 24 °C | Pre‑heat |
| Machine Load | Medium | Daily usage |
| Initial Purge Length | 12 s | Consistent |
| Boiler Temp (post‑purge) | 93 °C | Target |
Schedule Professional Maintenance for Elements and Seals
Wondering why your espresso temperature spikes? You’ve probably ignored the hidden culprits: worn elements and seals. A professional can restore precise thermal control with a thorough maintenance visit. You’ll get a calibrated boiler, cleaned thermoblocks, and verified sensors, so each shot hits the target temperature without drift.
- Inspect and recalibrate the boiler, thermoblocks, and control board.
- Descale and remove scale to keep heat transfer steady.
- Replace worn gaskets, seals, and heating elements for consistent pressure.
- Verify sensor accuracy and conduct resistance checks.
Don’t let mineral buildup sabotage your brew. Install filtration or water treatment if needed, and schedule regular check‑ups. This disciplined maintenance routine locks in stable temperature, letting you pull perfect espresso every time.
Frequently Asked Questions
What Is the 30 Second Rule for Espresso?
You wait thirty seconds after the purge, then start the shot; that pause lets the boiler stabilize, reducing temperature swings, so you pull a more consistent espresso.
What Is the 80 20 Rule for Coffee?
You’ll find that 80% of your coffee results come from 20% of your actions—mainly grind size, dose, and yield—so focus on those variables first to stabilize extraction and improve flavor.
Does Espresso Raise Cholesterol?
You’ll find that moderate espresso consumption doesn’t markedly raise cholesterol, but the milk or sugary syrups you add can increase saturated fat and sugar, which may affect your lipid profile over time.
What’s the Average Lifespan of a Coffee Maker?
You can expect a typical coffee maker to last around eight to twelve years, depending on usage, maintenance, and build quality, so regular cleaning and timely repairs will help you reach the higher end of that range.
In Summary
By keeping your espresso machine’s temperature steady, you’ll lock in the flavor you crave. Identify the culprits, calibrate the boiler, and use a probe or PID for precision. Fine‑tune pre‑infusion, grind, and dose, then stick to a consistent warm‑up routine. Regular maintenance seals the deal, ensuring every shot delivers the same rich, balanced taste—every single time.


