
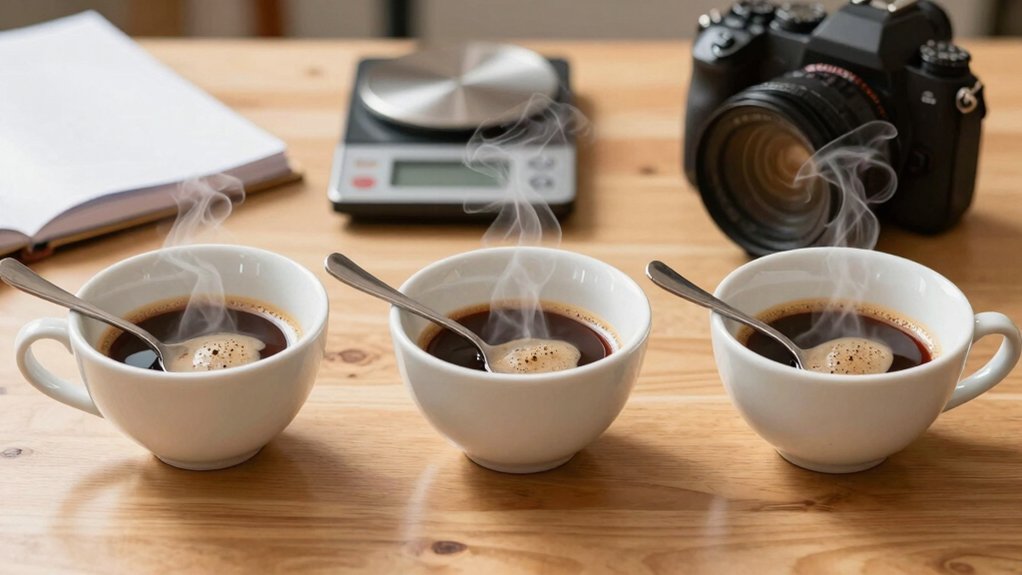
First, set up a quiet, aroma‑free space and gather your cupping gear—pre‑warmed bowls, spoons, a spittoon, and a scale—then pull fresh beans and grind them uniformly right before brewing. Next, brew with precise measurements: pour 150 g of water at 200 °F over 9 g of grounds, start the timer, break the crust at four minutes, skim, and let it steep until 13‑15 minutes. Finally, slurp deliberately, note aroma, flavor, acidity, body, and mouthfeel, and record everything in a standardized form; keep going and you’ll discover even deeper techniques.
Gather Coffee Cupping Gear & Prepare a Quiet, Aroma‑Free Tasting Space
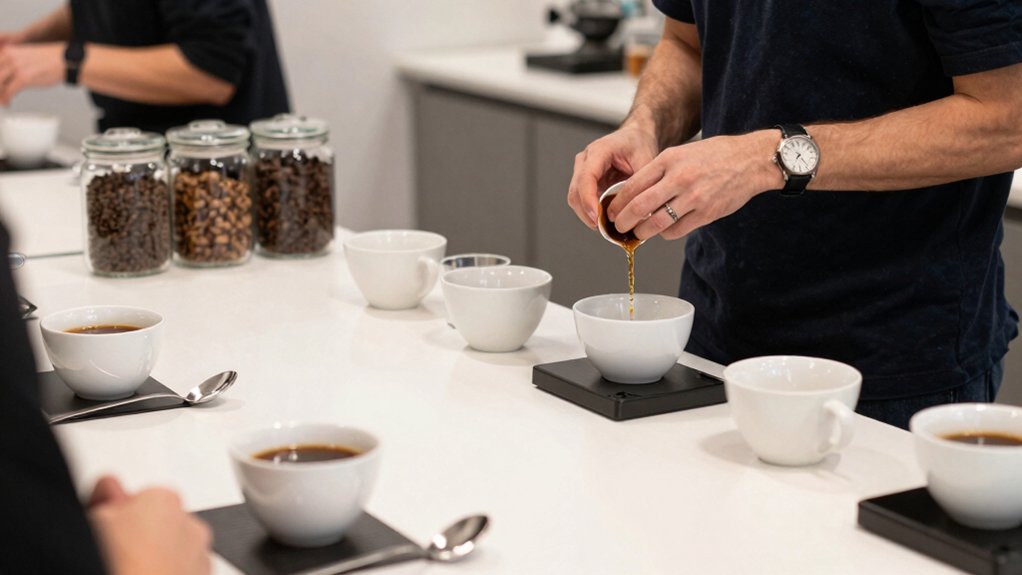
How do you set the stage for a flawless cupping session? First, create an aroma‑free tasting space: quiet, well‑lit, and free of lingering scents that could mask coffee nuances. Lay out cupping bowls, cupping spoons, a spittoon, and tasting forms within arm’s reach. Pre‑warm bowls with hot water at 195–205°F (90–96°C) to lock in temperature, then discard the water. Pull fresh beans roasted within the past one to two weeks and grind them just before brewing using a burr grinder for uniform particle size. Weigh each dose on a scale, ensuring consistent brewing conditions across samples. This disciplined setup lets you focus on the coffee’s character without distraction. For added consistency, consider using a refractometer to monitor extraction levels and calibrate your grind and brew recipe accordingly temperature compensation.
Brew Coffee for Cupping and Break the Crust at the Exact Times
Ready to lock in the coffee’s aroma? You’ll pour 150 g of water at 200 ± 2 °F onto 9 g grounds in each cup, then start the timer. The crust forms, you break it at exactly 4 minutes, and you skim the grounds out. After breaking, let the brew steep until it hits tasting temperature at 13–15 minutes. Consistent timing and technique keep every cupping sample comparable. Additionally, ensure your cupping setup reflects a consistent gallery of tasting notes and reference materials to support precise comparisons coordinated presentation.
Pour 150 g water at 200 °F over 9 g grounds, break crust at 4 min, steep to 13‑15 min.
- Heat water – aim for 200 °F ±2 °F.
- Pour & start timer – 150 g water over 9 g grounds in each cup.
- Break crust at 4 min – use a spoon, rinse, skim grounds.
- Steep to 13–15 min – reach optimal tasting temperature before cupping.
Taste, Slurp, and Record Detailed Coffee Cupping Notes
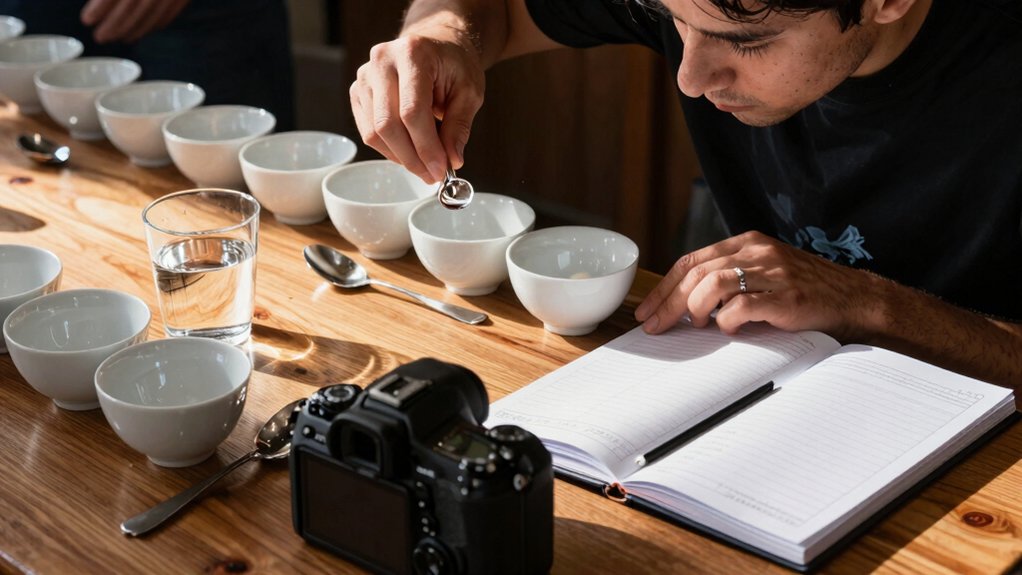
Ever wondered how a single slurp can turn a coffee cupping into a sensory map? You’ll slurp deliberately, letting the coffee aerosolize across your palate. That burst amplifies aroma perception, letting you compare dry aromatics with the wet aroma that follows crust breaking. As you sip, note mouthfeel, acidity, sweetness, and body. Use the flavor wheel to tag each impression—fruity, nutty, floral, cocoa, spice—then record tasting notes in a consistent format. Keep intervals uniform, separate observation from discussion, and track changes across sessions to sharpen your vocabulary. Foam stability plays a subtle yet crucial role when evaluating milk-forward beverages, ensuring your comparisons remain accurate across different creaminess levels.
Frequently Asked Questions
How Does Water Mineral Content Affect Cupping Flavor?
You’ll notice that high mineral water—especially calcium and magnesium—enhances body and sweetness, while low‑mineral water can make the cup taste flat, emphasizing acidity and subtle aromatics.
Can Alternative Brewing Devices Replace the Standard Cupping Kettle?
You can replace the standard cupping kettle with a precision‑controlled electric kettle or a temperature‑stable immersion heater, but you must ensure consistent temperature, uniform water flow, and repeatable brew ratios for reliable cupping results.
What Temperature Range Is Ideal for Grinding Coffee Beans?
You should grind coffee beans at 195‑205 °F (90‑96 °C); this range preserves aromatic oils while avoiding scorching, ensuring balanced extraction and consistent flavor in every cup.
How Many Samples Can Be Cupped Simultaneously Without Compromising Accuracy?
You can cup up to four samples at once without sacrificing accuracy; beyond that, flavors blend and you’ll miss subtle differences, so keep it limited to maintain precise, reliable evaluations.
Do Different Cup Materials Influence Aroma Perception?
Yes, you’ll notice that porcelain, glass, and metal cups each affect aroma differently; porcelain preserves subtle notes, glass highlights acidity, and metal can mute delicate scents, so material choice matters.
In Summary
Now you’ve got the gear, the brew, and the notes—so you can cup like a pro. Keep the space quiet, break the crust on time, and slurp with purpose. Your detailed observations will sharpen your palate, help you spot subtle flavors, and guide better coffee choices. Master these steps, and every cup will reveal its true character, turning routine tasting into a refined, repeatable craft.


