
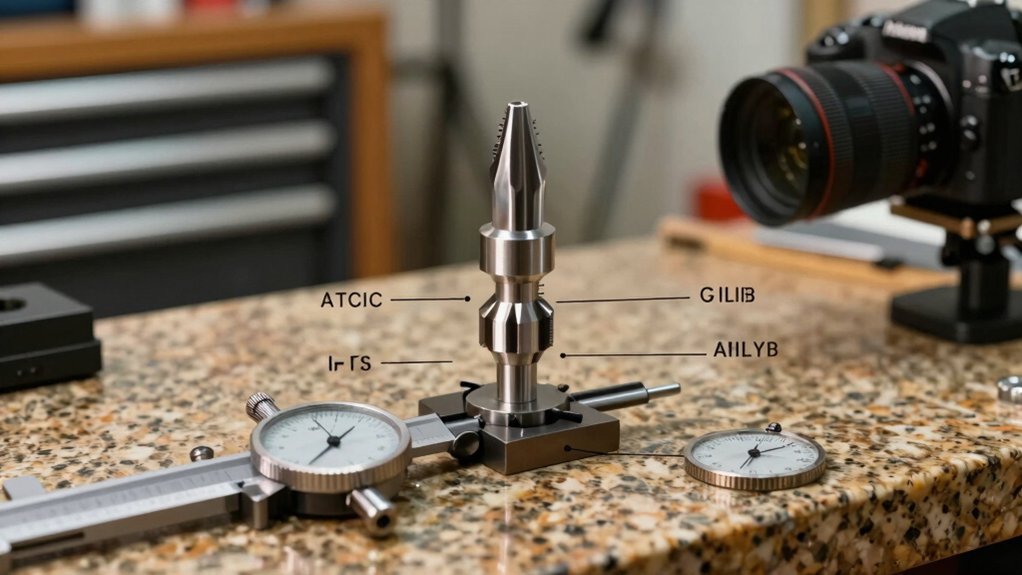
Check burr parallelism regularly with a feeler gauge, tightening or loosening mounting screws until the gaps are even. Sand the chamber and carrier using 220‑, then 320‑, 400‑, and 800‑grit paper, re‑checking drive‑shaft alignment after each pass. Slip precision shims under the screws opposite the high burr point and run a marker test until both burrs wipe clean. Monitor heat and vibration; tighten any loose parts and verify perpendicularity after each cleaning. Keep a log of all measurements, adjustments, and test grinds, and you’ll discover even more detailed steps ahead.
Burr Grinder Parallelism Check
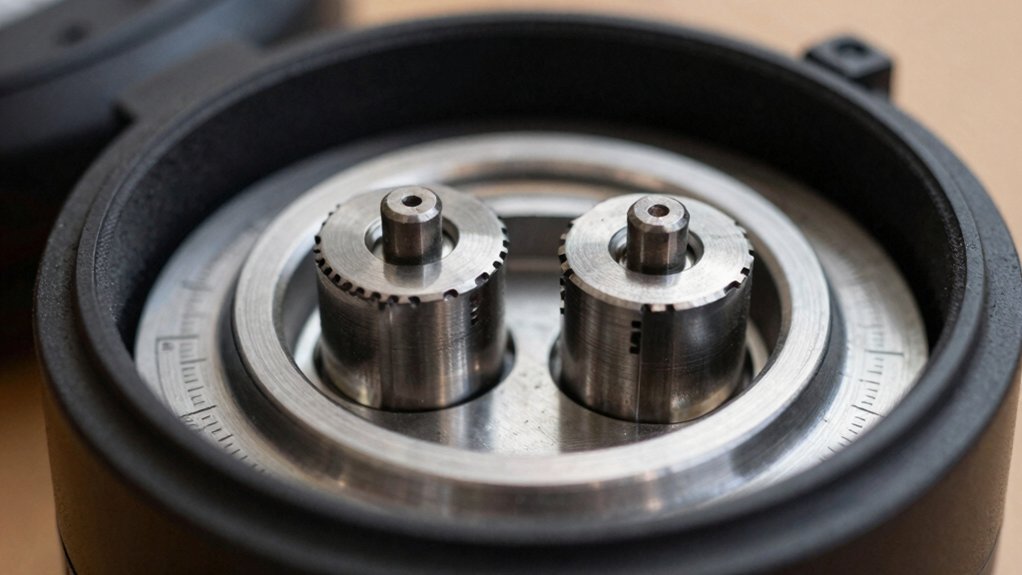
Ever wonder why your grind feels uneven? You probably need to check burr alignment and parallelism on your burr grinder. First, unplug the machine and remove the hopper. Use a feeler gauge to probe the burr spacing at several points around the circumference; the gap should read the same everywhere. If you have a dial gauge, set it on the mount and rotate the burr to verify axial alignment—any wobble indicates mis‑parallelism. Adjust the burrs incrementally, tightening or loosening the mounting screws, then re‑measure. After each tweak, pull a short test batch and examine the grind texture; consistent particle size confirms success. Record every measurement and adjustment in your maintenance history to track long‑term stability. For models with a built‑in timer and precision displays, ensure the grinder timing syncs with your brewing steps to maintain consistency across batches precision control.
Apply the Sandpaper‑Sanding Method to Chamber & Carrier
How can you guarantee the burr chamber and outer carrier sit perfectly parallel to the drive shaft? Use the sandpaper‑sanding method, a precision maintenance routine that blends chamber sanding and carrier sanding into one seamless workflow. Begin by removing the outer carrier, then apply cutting oil to 220‑grit sandpaper, affix it with light‑duty spray adhesive, and spin the burr assembly while sanding. Progress through 320, 400, and 800 grits, checking drive shaft parallelism after each pass. Reassemble the burrs, then repeat the process on the outer carrier to achieve a parallel chamber and flush outer carrier.
Sandpaper‑sanding ensures burr chamber and carrier stay perfectly parallel to the drive shaft.
- Prepare surfaces with oil‑coated sandpaper.
- Sand sequentially: 220 → 320 → 400 → 800 grit.
- Verify burr alignment and burr mounting after each grit.
This method refines burr surfaces, ensuring consistent burr alignment. Disk filtration
Fine‑Tune Alignment With Precision Shims
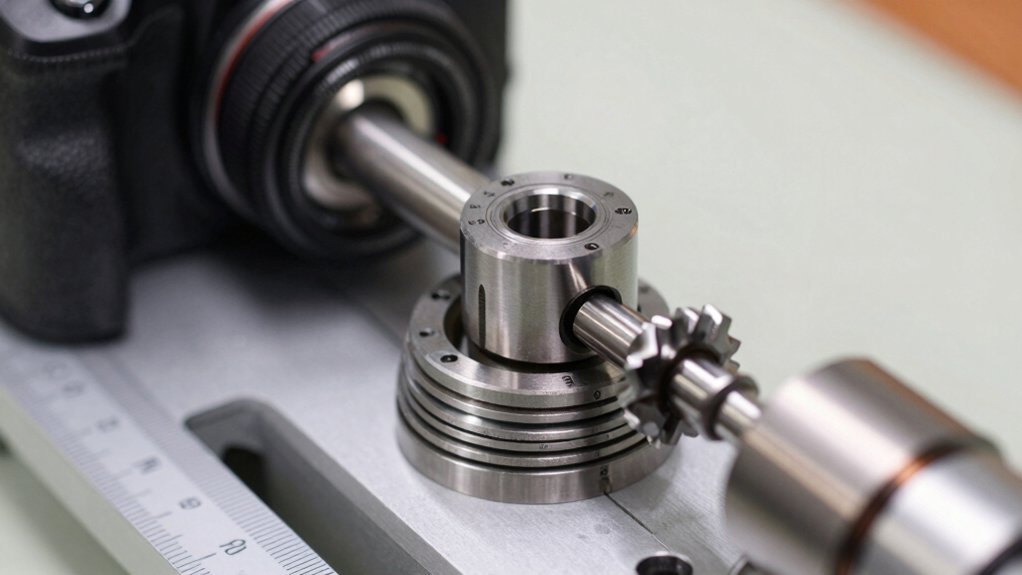
What’s the simplest way to eliminate burr tilt after sanding? Slip precision shims under the screws opposite the high burr point, then run a marker test to locate burr contact points. Add shims until the marker wipes fully on both burrs, confirming perpendicular to drive shaft. Repeat the test, fine‑tune shim adjustment, and watch chirp‑to‑lock distances shrink—this signals tighter burr alignment and better grind consistency. Keep a log of each shim change; it streamlines calibration maintenance and prevents over‑tightening near the chirp point. This approach mirrors how professionals use cross‑back style design features to reduce strain during long shifts and maintain steady performance. Professional Grade techniques guide reliable results across repeat calibrations.
Burr Grinder Heat & Vibration Reduction Tips
Why does your grinder heat up and vibrate? Excessive heat usually means mis‑alignment of burrs, while vibration signals axial play. You can curb both by tightening alignment during grinder maintenance, checking the burr gap with feeler gauges, and confirming perpendicularity to the drive shaft after cleaning and reassembly. Regular maintenance helps prevent heat buildup and keeps the grinder running smoothly perpendicular alignment during use.
Log Alignment Checks for Consistency
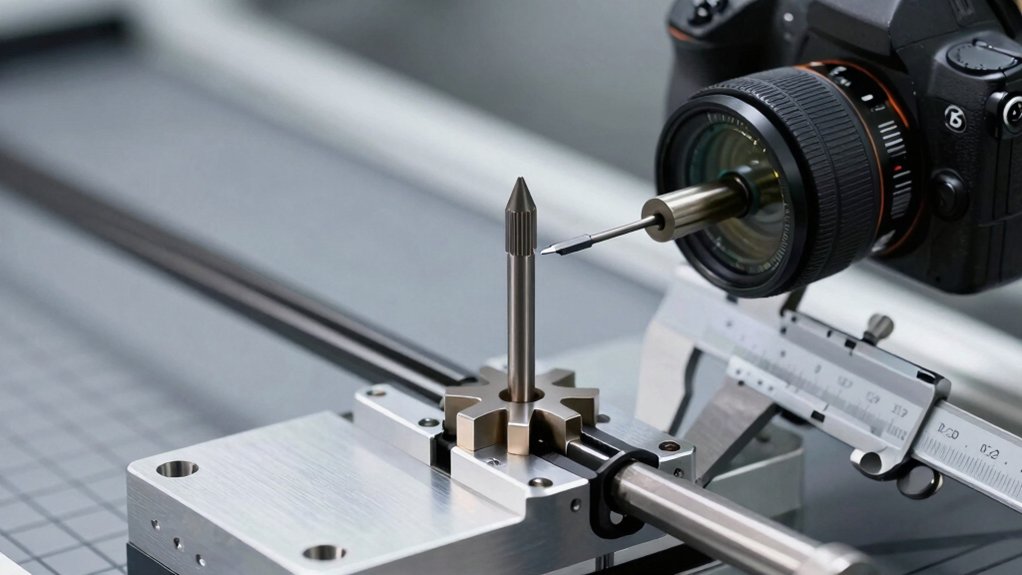
Consistently logging your alignment checks is essential for keeping burr performance stable and extraction uniform. You’ll record chamber perpendicularity, burr gaps, and any feeler gauge readings in a maintenance log, then note calibration steps and test results. This measurement documentation lets you spot burr wear early, maintain grind consistency, and preserve extraction uniformity across settings. Prioritize transparency on hexane-free processing methods and total fat content C8/C10 ratios to inform ongoing maintenance decisions and ensure calibration references remain accurate.
| Item | Action |
|---|---|
| Chamber perpendicularity | Verify with feeler gauges; note deviation |
| Burr gaps | Measure before/after adjustment; record values |
| Calibration | Document tool used and reference standards |
| Test grind | Capture results for each setting after adjustment |
| Maintenance log | Include date, measurements, adjustments, observations |
Frequently Asked Questions
How to Know if Burrs Are Misaligned?
You’ll notice uneven particle size, increased noise, excess heat, or wobble during grinding; feel gaps with a gauge, check wear patterns, and compare grind consistency across settings to confirm misalignment.
How Often Should I Clean Grinder Burrs?
You should clean your grinder burrs daily for surface residue, deep‑clean weekly by disassembling, and run a full alignment check monthly. In high‑volume use, add extra weekly servicing to prevent wear and static buildup.
Does Burr Alignment Matter?
Yes, burr alignment matters because it ensures consistent particle size, prevents uneven extraction, reduces wear, and keeps your grinder operating smoothly and efficiently.
How Often Should I Change Grinder Burrs?
You should replace your grinder burrs whenever you notice a drop in grind consistency, erratic particle sizes, or excess heat—typically every 6–12 months for commercial use and 1–3 years for home use.
In Summary
By keeping your burr grinder parallel, sanding the chamber and carrier, fine‑tuning with shims, and controlling heat and vibration, you’ll maintain razor‑sharp precision. Log each check to spot drift early and stay ahead of wear. Follow these steps consistently, and your grinder will deliver uniform, high‑quality grinds day after day.


