

Pick a flat‑bottom or conical brewer, then calibrate your scale and gooseneck kettle. Rinse a bleached paper filter to remove papery notes and preheat the dripper. Weigh coffee (20‑27 g) and water (1:17 ratio) with 0.1 g precision, and set grind size—medium for flat‑bottom, finer for V60. Bloom with twice the coffee weight, wait 45 seconds, then stir gently. Keep water at 93 ± 3 °C and pour in a steady 360‑degree spiral, using 3‑4 pulses to hit a 2:30‑3:30 minute brew. Clean the dripper after each brew, and you’ll discover even more details as you continue.
Select Your Pour‑Over Brewer and Calibration Tools
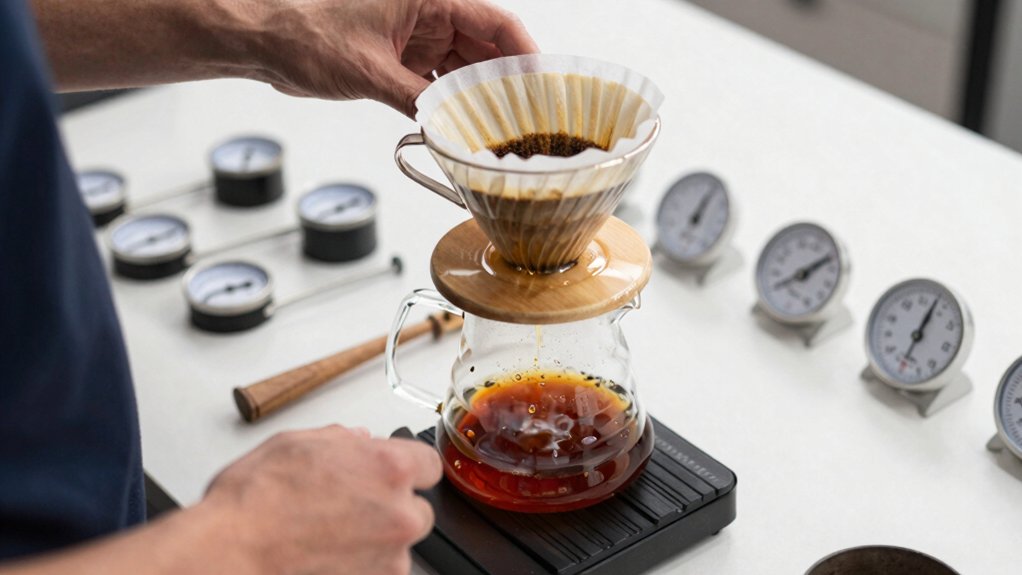
Which brewer will you choose, and how will you calibrate it? If you pick the Kalita Wave, you’ll benefit from its flat‑bottom design that steadies flow, but you still need precise grind size and a consistent pour. Start by weighing 20 g of coffee on a digital scale, set a timer, and use a gooseneck kettle to control the stream. Adjust the grind until the brew lands in the 3‑4‑minute window, then note the setting as part of your calibration routine. Keep calibration tools—scale, timer, kettle—within arm’s reach, and record each variable so you can replicate the exact extraction every time you brew. This systematic approach ensures repeatable flavor and confidence behind the counter. Consistency in filtration also influences how evenly the water engages the coffee bed, aiding repeatable extractions across sessions.
Pick and Rinse Your Pour‑Over Filter Properly
Why bother rinsing your pour‑over filter? Because a quick rinse removes papery notes and pre‑wetting the filter acts as a brewing starter, eliminating unwanted filtration flavor. First, pick a bleached pour‑over filter that matches your dripper—bleached paper avoids taints that brown paper can impart. Make sure the filter sits flat, especially in a Kalita Wave or flat‑bottom dripper, so water flows uniformly. Then, pour hot water over the filter, let it soak for a few seconds, and discard the rinse water. This pre‑wet step warms the brewer and wipes away any residual paper taste. After the rinse, you’re ready to grind and dose, keeping extraction consistent and flavor clean. The long‑handle design of certain scoops in the referenced sets can help you measure consistently during dosing and aid organization in a busy cafe or home setup.
Measure Coffee and Water Accurately With a Digital Scale
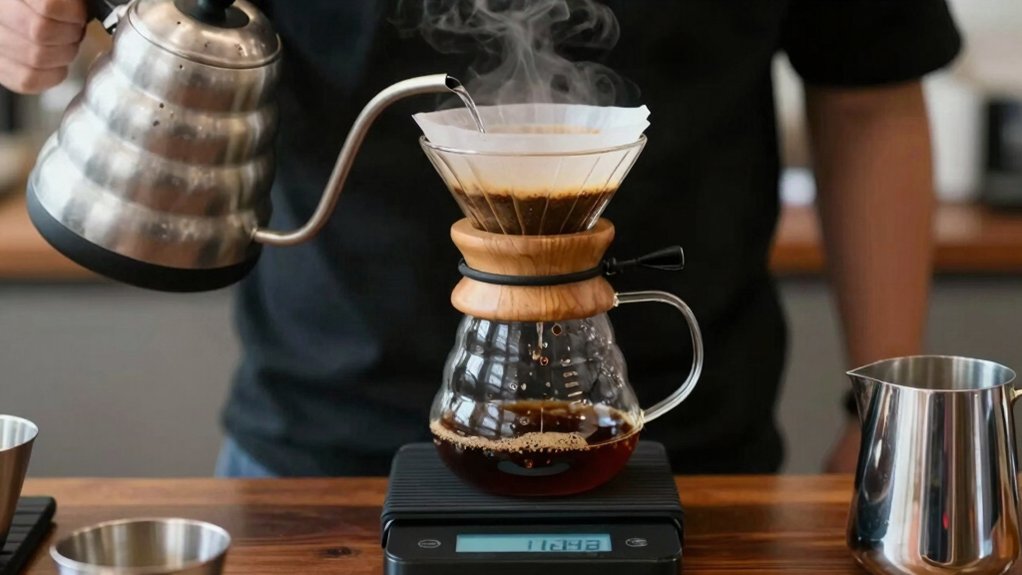
You’ll start by calibrating your scale so it reads exactly zero before you add anything, guaranteeing every dose is spot‑on. In addition, ensure you use a reliable digital scale with 0.1 g precision for consistent measurements across brewing methods auto-tare and timing features are common in pour-over scales. Weigh the coffee in grams and then measure the water in matching increments, keeping the ratio consistent—say 1 g coffee to 17 g water—for the brew you want.
Accurate Scale Calibration
Ever wondered how a simple digital scale can turn a decent pour‑over into a consistently great cup? Proper scale calibration is the backbone of brew precision. Before you start, tare the empty vessel so the display reads zero, then confirm measurement accuracy with a known‑mass test (100 g should read within ±0.1 g). This quick check guarantees that every gram of coffee and water you log reflects reality, letting you hit your target ratios—whether 20 g coffee to 350 g water or any other brew.
- Tare the scale with the brewing vessel.
- Weigh a calibrated 100 g weight to verify accuracy.
- Adjust the scale if the reading drifts beyond ±0.2 g.
- Record the calibrated reading before each brew session.
A newer, aligned practice from 2026 emphasizes using specialized formulas for targeted stains in related cleaning contexts to ensure precise outcomes, which underscores the importance of exact measurements and consistency across tasks like calibrating your scale for coffee brewing. scale accuracy
Consistent Dose Measurements
After calibrating your scale, the next step is to use it for exact coffee and water measurements. Place your brewing vessel on the scale, press tare, then add the desired coffee dose—typically 20–27 g for a 350 ml brew. Record the weight, then pour water in measured increments, watching the display for each 50–100 g pour. Use the same scale for the bloom, adding roughly double the coffee weight in water and timing the pause. By zeroing (tare) before each stage, you keep the ratio consistent, whether you aim for 1:14 or 1:20. This disciplined approach eliminates guesswork, ensures repeatable extraction, and lets you fine‑tune grind and brew time without sacrificing precision Precise Measurements.
Precise Water Ratio
How precise is your water‑to‑coffee ratio? You’ll hit the sweet spot only when you weigh both inputs on a digital scale and stick to a 1:14‑1:20 range. A 1:17 baseline works for flat‑bottom and conical brewers, giving balanced body and clarity. Drop to 1:14 for a stronger cup or rise to 1:20 for a lighter brew, but keep grind consistency and brewing temperature steady. Watch brew time—about 3–4 minutes—to avoid under‑ or over‑extraction.
- Weigh coffee first – use a consistent grind.
- Add water by weight – aim for the chosen water-to-coffee ratio.
- Monitor brew time – adjust pour‑over technique if needed.
- Check brewing temperature – stay within the optimal range.
By selecting the appropriate organizer layout, you can keep your coffee accessories organized to support a precise workflow stability features.
Choose the Right Grind Size for Your Pour‑Over Brewer
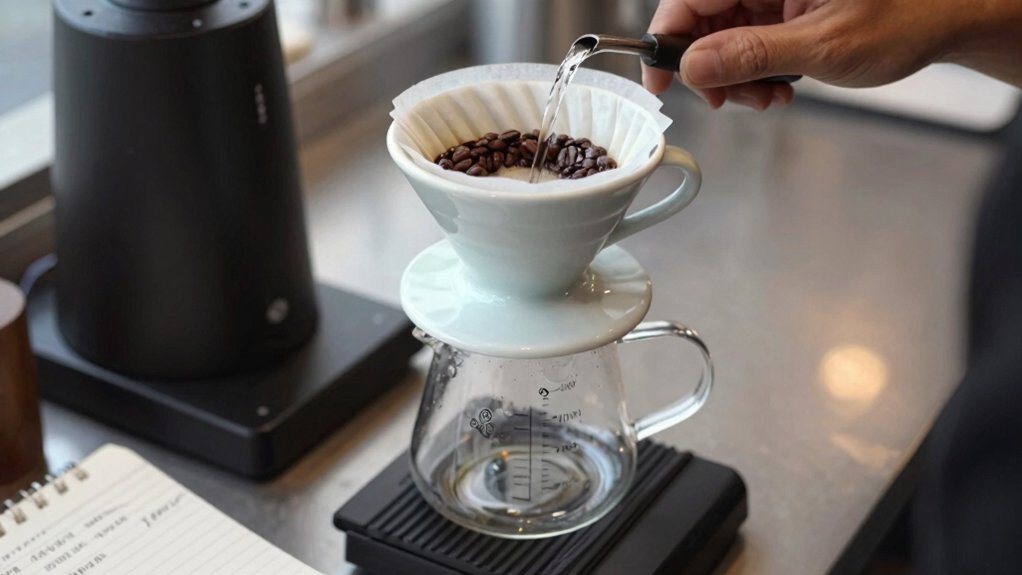
You’ll start with a medium grind and tweak it based on the brewer you’re using—finer for V60 or other conical drippers, coarser for Chemex or flat‑bottom pots. Small adjustments let you keep the brew time around 3–4 minutes and avoid over‑ or under‑extraction. A burr grinder gives the consistency you need for repeatable results. In addition, selecting the right storage approach, such as Airtight Coffee Canister options with smart features or decorative jars, can help preserve freshness and organization across your brew station Airtight storage and keep your setup visually appealing for service.
Grind Size Guidance
Wondering which grind will give you a perfect pour‑over? Your grind size directly controls brew time and extraction balance, so you’ll need consistency to avoid channeling. Start with a medium setting, then fine‑tune: finer for V60 cones to speed flow, coarser for Kalita flats to slow it. Paper filters benefit from a slightly finer grind for body, while metal or cloth filters call for coarseness to cut sediment. Keep a 1:15‑1:17 water‑to‑coffee ratio and aim for a 2.5–4‑minute total brew time. A quality burr grinder ensures uniform particles, delivering even saturation and a smooth, balanced cup. For best results, maintain consistent grind size using a burr grinder to avoid variable extraction.
Brewer‑Specific Adjustments
After nailing a medium grind as your baseline, fine‑tune it to match your brewer’s shape. Flat‑bottom devices like the Kalita Wave demand a slightly coarser grind to keep the flow rate steady, lengthening brew time to 3–4 minutes and preserving body.
In contrast, conical brewers such as the Hario V60 or Chemex thrive on a finer or medium‑fine grind; the narrower channel geometry speeds water temperature,, brew time to into 2 of30–3:00 minutes for crisp clarity.
Adjust grind size up or down until the target brew time aligns with your water temperature and desired extraction. Remember, each device geometry dictates how quickly water moves, so calibrating grind size ensures consistent flow, even saturation, and minimal channeling.
Bloom the Grounds for Optimal Degassing and Extraction
When you start the pour‑over, bloom the grounds by pouring roughly 75 g of water over 25 g of coffee, letting the bed sit for about 45 seconds until the bubbles cease. The bloom stage triggers degassing, releasing trapped CO₂ that would otherwise block water channels and stunt extraction. Keep the bed level, then gently stir to promote agitation and uniform saturation. A solid bloom sets the foundation for body, balance, and sweetness as you continue the pour‑over.
- Measure 75 g water accurately.
- Pour in a slow, circular motion to avoid channeling.
- Wait 45 seconds; watch bubbles subside.
- Lightly agitate the bed before the next pour.
Master the Spiral Pour Pattern for Even Saturation in Pour‑Over
You’ll start the spiral from the center and expand outward, keeping the brew bed about half to two‑thirds full for even saturation.
By pouring in steady, 3‑4 pulses you prevent channeling and maintain consistent contact time across the grounds.
This method balances extraction, giving you a smooth body and bright sweetness.
Spiral Pour Technique
Ever wondered how a smooth, balanced cup comes from a single pour? The spiral pour technique lets you achieve even saturation by moving water in a continuous 360‑degree pattern from the center outward. Start with a bloom that centers the bed, then shift into a controlled spiral to wet the grounds uniformly. Keep the flow rate steady and gentle, letting the vessel stay half to two‑thirds full. Use short, controlled pours—typically three to four pulses—to build body and sweetness while preventing hotspots.
- Begin with a centered bloom.
- Initiate a smooth 360‑degree spiral.
- Maintain a consistent flow rate.
- Finish with short, controlled pours.
Even Saturation Method
The Even Saturation Method builds on the spiral pour by keeping every coffee particle uniformly wet, which eliminates dry spots and prevents channeling. You start with a bloom that fully saturates the bed, then pour in a smooth center‑to‑spiral motion, maintaining the water level at half to two‑thirds of the dripper. Aim for three to four steady pulses after the bloom, keeping the brew time around 2:30–3:30 minutes. Consistent grind size and water at 195‑205 °F (93 ± 3 °C) help the spiral pour achieve even saturation and uniform extraction. Watch the flow; if it slows or spikes, adjust the pulse timing. This disciplined pattern yields a balanced pour over, minimizing channeling and delivering consistent flavor.
Set Precise Water Temperature With a Gooseneck Kettle
How can you nail the perfect brew temperature with a gooseneck kettle? You’ll need a gooseneck kettle that lets you fine‑tune water flow and a thermometer for reliable water temperature control. Aim for 93 ± 3°C; let boiled water sit a few seconds to settle into that window before you pour. If your kettle lacks a built‑in sensor, use a separate thermometer and briefly cool between pours to stay within range.
- Boil water, then remove from heat.
- Check temperature with a thermometer; wait until it reads 93 ± 3°C.
- Adjust by stirring or letting it cool a few seconds if needed.
- Begin pouring, maintaining the precise temperature throughout the brew.
Adjust Brew Time and Ratio for Perfect Pour‑Over Strength
A solid starting point is a 1:17 water‑to‑coffee ratio—about 20–27 g of beans to 340–459 g of water—then tweak the grind and timing to hit your preferred strength. You’ll notice that a 3‑minute brew with medium grind yields balanced extraction; shorten brew time by grinding finer, or lengthen it by coarsening. Keep the bloom at double the coffee weight, then pour the rest in 3‑4 pulses to fine‑tune strength. Watch the brew time: 2:30–3:30 min signals a good extraction balance, while 2 min calls for finer grind and 5 min for coarser. Adjust the water‑to‑coffee ratio within 1:14–1:20 to perfect body and flavor.
| Brew Time | Grind Size | Water‑to‑Coffee Ratio |
|---|---|---|
| 2 min | Fine | 1:14 |
| 2:30 min | Fine‑Medium | 1:15 |
| 3 min | Medium | 1:17 |
| 3:30 min | Medium‑Coarse | 1:18 |
| 5 min | Coarse | 1:20 |
Tweak Agitation and Pulse Timing for Consistent Flavor
When you master the three‑phase agitation method—bloom, agitation, then percolation—you’ll lock in a clean, long aftertaste while keeping channeling at bay.
Master the three‑phase agitation—bloom, stir, percolate—for a clean, lasting aftertaste and no channeling.
Focus on Blooming with twice the coffee weight, pause until bubbles cease, then execute controlled Agitation: two gentle stirrups followed by a 10‑second rest.
After that, use a spiraling pulse timing of three to four short pours, keeping the dripper half‑full to two‑thirds full. This rhythm steadies percolation, preserves flavor layers, and drives consistency across brews.
- Measure water for bloom precisely.
- Stir twice, then rest 10 seconds.
- Apply 3‑4 spiral pulses.
- Monitor percolation speed and adjust as needed.
Clean and Maintain Your Pour‑Over Setup for Consistent Quality
Consistent flavor starts with a clean setup, so after mastering agitation you should rinse the paper filter until it’s no longer papery, then flatten it to create an even bed. Next, rinse the filter again with hot water to remove any lingering papery taste, and set your gooseneck kettle for a steady 195‑205°F pour.
Keep the pour‑over setup half‑full during bloom, then pour the remaining water in a controlled spiral. After brewing, immediately wash the dripper and carafe with hot, soapy water, scrubbing any coffee oil that could taint the next cup.
Compost the grounds, dry the components, and store them airtight. Regular maintenance of filters, kettle, and scale ensures each grind delivers the same bright, balanced flavor.
Frequently Asked Questions
How Does Water Hardness Affect Pour‑Over Extraction?
You’ll notice that hard water extracts more bitter compounds, so the brew tastes harsher; soft water highlights acidity and sweetness, giving a cleaner cup. Adjust grind size and brew time to balance those effects.
Can I Use a Regular Kettle Instead of a Gooseneck Kettle?
Yes, you can use a regular kettle, but you’ll lose the precise control a gooseneck offers. Try a narrow spout, pour slowly, and watch the flow to maintain consistent extraction.
What Impact Does Ambient Room Temperature Have on Brew Time?
You’ll notice that higher ambient room temperature speeds up extraction, so brew time shortens, while cooler rooms slow the water’s cooling, lengthening brew time and potentially under‑extracting if you don’t adjust.
Should I Pre‑Wet the Coffee Grounds Before the Bloom?
Yes, you should pre‑wet the grounds before the bloom. It releases trapped gases, guarantees even extraction, and prevents channeling, giving the coffee a smoother, more balanced flavor profile.
How Often Should I Replace My Pour‑Over Filters?
You should replace your pour‑over filters after each brew, or at least once a week if you reuse them, because coffee oils build up and can affect flavor and flow consistency.
In Summary
Mastering pour‑over is all about consistency and control. By selecting the right brewer, calibrating your tools, and measuring precisely, you set a solid foundation. Fine‑tune grind size, bloom timing, water temperature, and agitation to extract the flavors you want. Keep everything clean, and you’ll deliver a perfect cup every time—making you a barista who truly understands the art and science of pour‑over.


