

Pick fresh, whole‑bean coffee and grind it just before brewing. Weigh beans and water on a digital scale, aiming for a 1:16 ratio (e.g., 20 g coffee to 320 g water). Heat water to 195‑205 °F and pre‑rinse your filter and dripper. Bloom for 30‑45 seconds using double the coffee weight in water, then pour in steady, circular motions to keep the bed evenly saturated. Finish the brew in 3‑4 minutes, storing beans in airtight, one‑way‑valve containers. Keep these habits and you’ll discover even more tricks.
Choose Fresh, Whole‑Bean Coffee and Grind Just Before Brewing
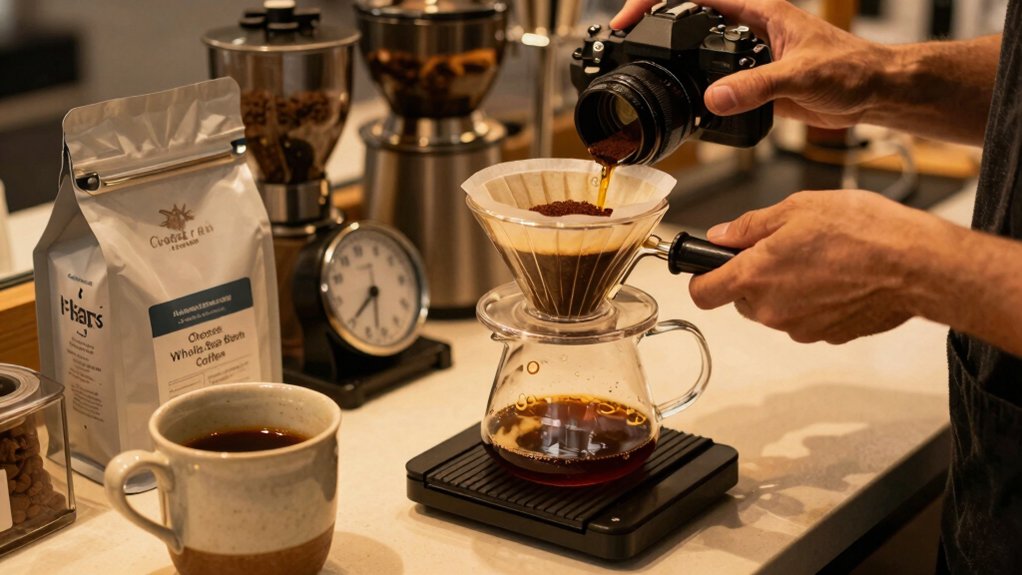
When you buy coffee, aim for beans roasted just two to four weeks ago and keep them whole until you’re ready to brew. Freshness drives flavor, so choose whole beans and store them in an airtight container away from light and heat. Split larger bags into sealed portions with one‑way valves to lock in aroma. Right before brewing, measure the exact grind size for your method and grind the beans on demand; this preserves volatile oils that evaporate once ground. Buying from a local roaster lets you verify the roast date and supports small‑batch consistency. By treating each bean as a fresh ingredient, you control extraction and ensure every cup delivers the intended profile. Long‑handle coffee spoons can also elevate the ritual of stirring and serving, adding a touch of elegance to the brewing process.
Measure Coffee and Water for Pour‑Over With a Digital Scale
You’ll start by weighing out the exact coffee dose, then add water to the scale until you hit your target ratio. The digital scale lets you adjust the water weight on the fly, keeping the brew consistent every time. Including a thorough rinse cycle after cleaning helps maintain flavor stability and machine performance portafilter cleaning.
Accurate Dose Measurement
How precise can your pour‑over be without a digital scale? You need a scale that reads to 0.1 g to nail the dose and water you. Start by weighing the roasted beans before grinding; this accounts for moisture and roast variability, preventing miscalculations. Set your target brew ratio—say 20 g coffee to 300 g water (1:15)—and tare the vessel each time. As you pour, watch the scale so the water input matches the desired amount, keeping extraction consistent. Adjust the ratio in small increments, recording each change to see how grind size or pour rate affects flavor. Regular calibration of the scale ensures every measurement reflects only the coffee or water you add, not the container’s weight. This disciplined approach yields reproducible, high‑quality pour‑overs. Scale precision is a cornerstone of consistent results, just as consistent sourcing and quality control underpin reliable honey stick options for coffee lovers.
Consistent Water Weighing
A digital scale that reads to 0.1 g is essential for weighing both coffee and water in a pour‑over, letting you hit precise 1:15–1:17 brew ratios—like 20 g coffee with 300–340 g water—every time. Additionally, using a scale supports maintaining an energy‑efficient, consistent brew by minimizing waste and enabling repeatable measurements across batches with stable 1:15–1:17 ratios.
Real‑Time Ratio Adjustments
Having weighed your water precisely, you can now fine‑tune the brew as you pour. Start by taring the scale after you pre‑wet the filter and add the grounds, then watch the numbers as you begin the pour sequence. If you notice the aroma or extraction timing drifting, you can adjust within the 1:15–1:17 ratio control window to maintain consistency, while keeping an eye on the target temperature range for optimal extraction automatic shutdown below 10.5V.
Set a 1:16 Brew Ratio for Consistent Extraction
Ever wondered why your pour‑over sometimes tastes flat or overly intense? You can nail consistency by setting a 1:16 brew ratio. We 20 g of coffee with 320 g of water, then weigh both on a digital scale. The scale removes guesswork: even a few grams shift extraction dramatically.
If the cup feels weak, bump the coffee dose toward 1:16; if it’s too strong, lean toward 1:17 while keeping water constant. Pair this ratio with the right grind size—medium‑fine for pour‑over—to ensure water flows evenly.
Consistently applying the same coffee, brew ratio, and grind size gives you repeatable flavor, eliminating the guesswork and keeping each brew reliably balanced. Brew-Consistency
Keep Water 195‑205 °F for Optimal Flavor
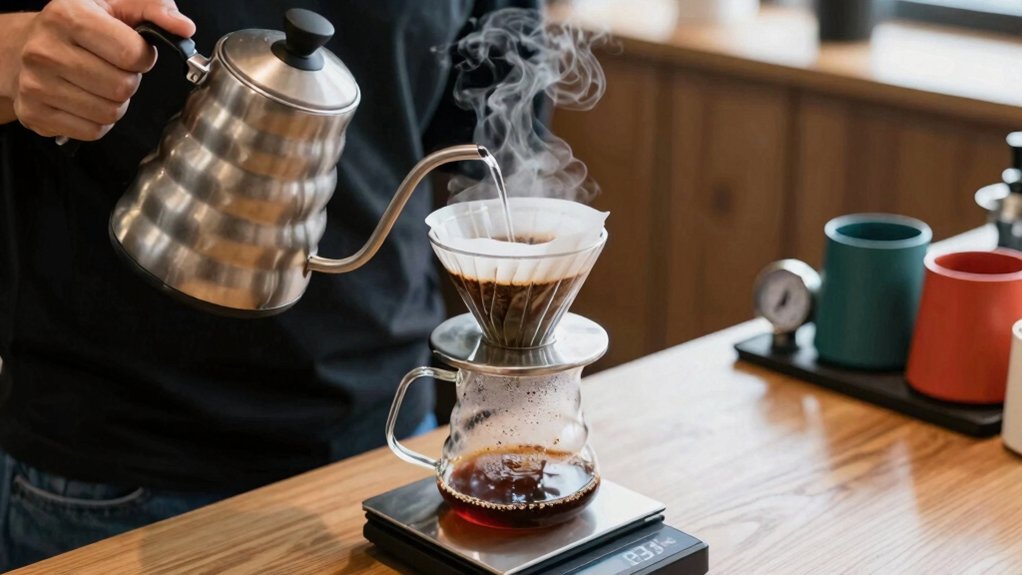
Your 1:16 brew ratio sets the foundation, but the water’s temperature determines whether that foundation holds up. Aim for 195–205 °F (90–96 °C) to hit the sweet spot between sour and bitter. If your kettle overshoots, let it sit 30 seconds to a minute before you pour; the temperature will settle back into range, preserving flavor. Use filtered or bottled water with 50–150 ppm TDS—clean water quality prevents off‑notes and promotes brewing consistency. A gooseneck spout lets you pour steadily, keeping the temperature stable as it contacts the grounds. Power outlets and control features can help you manage accessories like pumps or timers without moving the unit.
Pre‑Rinse and Pre‑Heat Your Filter and Dripper
Rinsing the filter and pre‑heating the dripper are quick steps that lock in temperature and eliminate paper taste. You pour hot water over the paper filter, swirl it around, and discard the rinse. This preheat pass warms the filter, dripper, and even the carafe, keeping the brewing temperature steady at 92–96 °C (197–205 °F). By removing paper residues, you avoid off‑flavors and ensure a clean cup. The hot‑water rinse also eliminates any dust that could clog the dripper, promoting an even flow. After discarding the rinse water, you’re ready to add coffee grounds and start the pour. Consistently applying this preheat routine yields repeatable extraction and a smoother, more balanced brew.
Adjust Burr Grinder to a Uniform Medium‑Coarse Grind
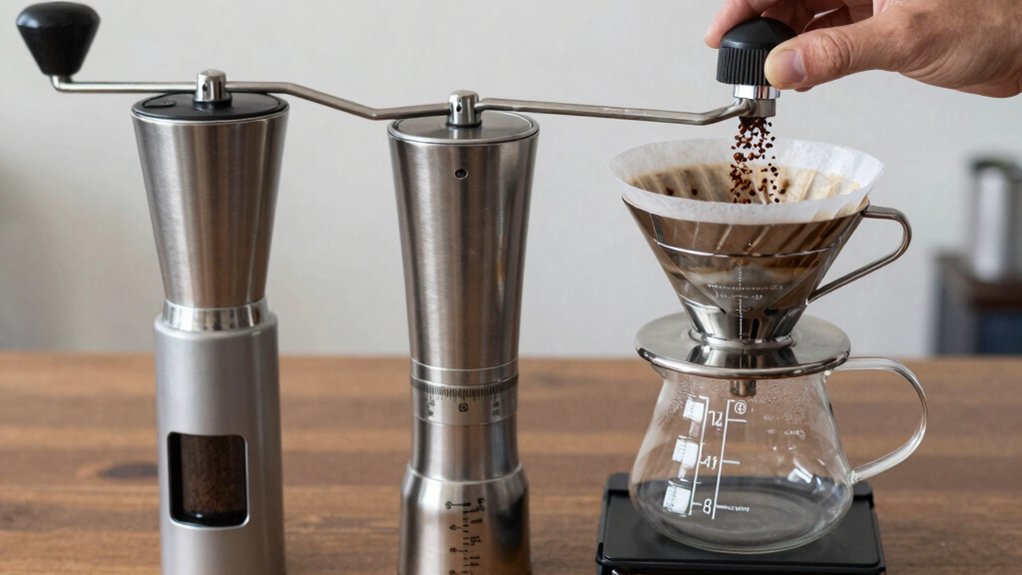
How can you lock in a consistent extraction for every pour‑over or AeroPress? Start by setting your burr grinder to a uniform medium‑coarse grind size. A burr grinder creates consistent particles, while a blade grinder leaves you with fines that cause uneven flow and bitter or weak notes.
Aim for a brew time of 2.5–4 minutes and a 1:15–1:17 coffee‑to‑water ratio; if the cup feels muddy, dial the grinder a touch coarser to reduce fines. After each tweak, brew a cup, taste, and note the setting—small adjustments shift flavor dramatically. Document every change so you can reproduce the same grind size and uniformity day after day, keeping your manual brews reliably balanced.
Master the Bloom: 30‑45 seconds at Double the Coffee Weight
Ever wondered why a short, vigorous bloom makes all the difference? You’ll notice the coffee erupts, releasing CO₂ and revealing aroma. For a 20 g dose, aim for 40–60 g water, timing it 30–45 seconds. Keep the pour rate steady to avoid channeling and to achieve a uniform coffee‑to‑water ratio. Starting the brew timer after the bloom improves repeatability.
- Measure coffee and water precisely.
- Pour water equal to twice the coffee weight.
- Maintain a gentle, constant pour rate.
- Stop at 30–45 seconds, then continue the brew.
Pour in Controlled, Circular Motions for Even Saturation
You should start the pour with a steady, low‑height stream and move in small, circular motions to keep the grounds evenly wet. By controlling the pour speed, you maintain a consistent flow that prevents channeling and excessive agitation.
Keep the motion uniform until the entire bed is saturated before any mid‑brew pour.
Even Circular Pour Technique
Ever tried to keep every coffee ground wet while you pour? Master the even circular pour with a gooseneck kettle, and you’ll achieve uniform extraction without channeling. Start with a tiny bloom, then trace a shallow circle outward, keeping the flow steady. Watch the bed for consistent wetness and tiny bubbles; any dry ring signals a problem.
- Set the bloom – pour just enough water to wet the grounds, pause briefly.
- Begin the circle – move the kettle in a tight, clockwise loop from the center.
- Expand gradually – as the water level rises, widen the loop to the edge, then back.
- Maintain rate – keep the stream constant; avoid splashing or sudden stops.
Control Pour Speed
After mastering the even circular pour, the next step is controlling the speed of that motion. You’ll notice that pour speed directly shapes pour over kinetics, so a steady rhythm prevents channeling and balances extraction. Use a gooseneck kettle to keep the flow smooth, and time the bloom for 30–45 seconds before you resume. Aim for a uniform water sheet that sweeps from the center outward, avoiding splashes that create dry spots. Practice with a timer and repeat the same narrow spiral until muscle memory locks in the right control. Consistency in this phase lets the coffee bed stay evenly saturated, setting the stage for a perfect brew.
| Phase | Action | Goal |
|---|---|---|
| Bloom | Slow, centered pour | Develop gases |
| Main | Controlled circular motion | Uniform saturation |
| Finish | Gentle outer sweep | Prevent edge over‑extraction |
Maintain Consistent Flow
A steady, circular pour is the backbone of even saturation, keeping the water sheet smooth and the coffee bed uniformly wet. You’ll notice that a smooth pour and flow water flow prevent channeling and keep the grind evenly extracted. Follow these steps:
- Start with a 30‑45 second bloom, letting the grounds swell before the main pour.
- Keep the kettle nozzle just above the slurry, maintaining a gentle, consistent water flow.
- Use slow, controlled circular motions, pausing briefly between circles to let the bed level.
- Finish when the total brew time hits 3‑4 minutes, ensuring no dry spots or pooling.
Time the Total Brew: 3‑4 Minutes From First Pour to Final Drip
Wonder how you can nail a balanced extraction every time? Aim for a total brew time of three to four minutes from the first pour to the final drip. Start the timer as soon as water hits the grounds, then watch the bloom—use roughly the same weight of water as coffee, or double it, to suspend fine particles. Adjust grind size and pour control to stay inside the window: a finer grind or a slower pour can stretch the time, while a coarser grind or faster pour shortens it. Keep water temperature steady at 92‑96 °C (197‑205 °F) and ensure even saturation. If you finish early, coarsen the grind or speed up the pour; if you run long, fine‑tune the grind finer or slow the pour. Consistent timing yields repeatable flavor.
Preserve Your Pour‑Over Beans in Airtight, One‑Way‑Valve Containers
You’ll keep your beans fresher longer by using airtight containers with a one‑way valve that lets CO₂ escape but blocks oxygen. Store those containers in a cool, dark spot away from sunlight, and if you have a big bag, split it into sealed portions to reduce staleness.
One‑Way Valve Benefits
Ever wondered why your pour‑over beans stay aromatic longer in a one‑way valve container? The valve lets CO₂ escape while sealing out oxygen, so you lock in freshness and protect flavor. When you store beans in a valve‑enabled jar, you prevent oxidation and moisture intrusion, extending peak aroma for 2–4 weeks. Keep the container upright, away from light, and consider portioning large batches into multiple valve units to avoid repeated opening.
- CO₂ release – lets excess gas exit, preventing pressure buildup.
- Oxygen barrier – blocks air, slowing oxidation.
- Moisture guard – keeps humidity out, preserving crunch.
- Consistent pressure – maintains stable environment for each brew.
These storage benefits keep your coffee tasting vibrant, sip after sip.
Airtight Storage Practices
Keeping beans fresh starts with the right container, and a one‑way‑valve canister does exactly that. You’ll want airtight storage that lets CO₂ escape while sealing out oxygen, light, and heat—these three enemies sap freshness and diminish aroma. Choose an opaque, vacuum‑seal canister rather than a glass jar; the dark walls block sunlight, and the seal prevents ambient air from entering. When you buy in bulk, split the beans into smaller, sealed portions so each batch sees minimal exposure. Store the canisters in a cool, dark pantry, away from stovetops or windows. Whole beans stay richer longer than pre‑ground coffee, so grind just before you brew. By following these steps, you protect aroma preservation and keep every pour‑over tasting like it’s straight from the roaster.
Optimal Container Placement
Where should you stash your beans for peak freshness? You’ll want a spot that keeps airtight containers cool, dark, and stable. Position them on a pantry shelf away from the stove, oven, or windows. Avoid places that swing temperature, like near a refrigerator door. A consistent environment preserves roast freshness and lets the one‑way valve work without interference.
- Choose a low‑traffic cabinet to limit vibrations.
- Store containers on a solid shelf, not on a door that opens frequently.
- Keep them away from direct sunlight; use opaque or tinted containers for light protection.
- Label each jar with the roast date and rotate stock to use the oldest beans first.
Frequently Asked Questions
How Does Altitude Affect Brewing Temperature Recommendations?
At higher altitudes, water boils at lower temperatures, so you should lower your brewing temperature by about 1 °C for every 300 m (≈1 °F per 1 000 ft) to maintain extraction balance.
Can Water Mineral Content Be Adjusted for Better Extraction?
You can tweak mineral content by adding or removing calcium and magnesium salts; aim for 150‑200 ppm total hardness, then adjust brew ratio and temperature to fine‑tune extraction and flavor balance.
What Impact Does Coffee Bean Age Have on Flavor Consistency?
You’ll notice that as beans age, their oils oxidize and sugars degrade, so flavors become flatter and more inconsistent. Fresh beans retain bright acidity and nuanced notes, while older beans often taste stale, dull, and uneven.
Should I Use a Different Pour‑Over Method for Dark Roasts?
Yes, you should switch to a slower pour‑over method for dark roasts. Use a coarser grind, lower water temperature, and a gentle, steady pour to avoid over‑extraction and preserve the roast’s nuanced flavors.
How Often Should I Calibrate My Grinder Burrs?
You should calibrate your grinder burrs every two to three weeks, or whenever you notice a shift in grind size, taste inconsistencies, or after cleaning. Consistent checks keep extraction stable and flavor predictable.
In Summary
By following these steps, you’ll consistently pull a balanced, flavorful cup every time. Fresh beans, precise measurements, proper temperature, and controlled pouring all work together to extract the sweet spot. Keep your gear clean, your water steady, and your beans sealed, and you’ll enjoy barista‑level pour‑overs without the guesswork. Consistency isn’t magic—it’s routine, and you’ve got the routine down.


