

Raise your charge temperature and keep the RoR steady through first crack to avoid flat, baked flavors. If the cup is grassy, boost early heat or extend post‑crack development so the core caramelizes. For char‑like notes, lower the charge temp, add a short soak, and balance airflow to prevent scorching while the shell dries. Adjust development time—shorten for sharper acidity or extend for mellow sweetness—while matching end‑temperature targets to batch mass. Continue and you’ll discover deeper troubleshooting steps.
Identify Roast‑Profile Flavor Problems in Your Roast
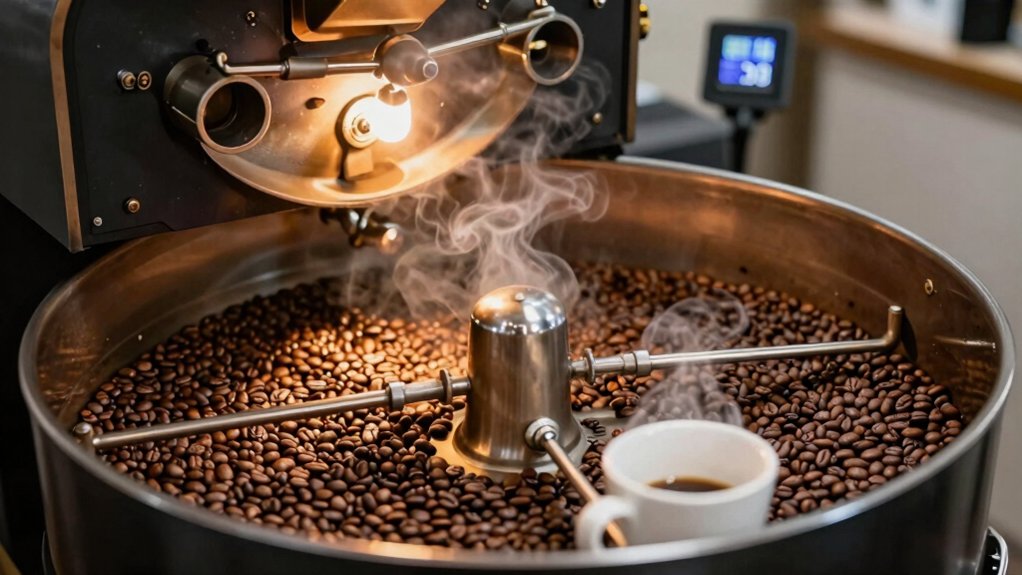
When you taste a cup that’s overly bitter or astringent, it’s usually a sign that your roast profile isn’t managing temperature correctly—either you’re staying too long at moderate heat or you’re hitting the first crack too early. You’ll notice astringency or baked flavors when the Rate of Rise (RoR) stays flat too long, letting the bean sit in a thermal plateau. RoR guidance helps you refine your curve and avoid these issues. If the cup feels grassy, the roast is under‑developed; you need higher end temperatures or a longer development time to push caramelization. Check texture: excessive fines or uneven extraction often mean the bean’s porosity suffered from a suboptimal curve. Track each variable, note the cupping results, and align the profile with your brew method to pinpoint the exact flavor fault.
Read Roast‑Profile Curves to Spot Flat RoR and Over‑Development
You’ll notice a flat roast‑rate curve when the bean temperature stalls after development, which often leaves the center under‑cooked and the flavor flat. Inconsistent heat application can also mask delicate aroma compounds that emerge during the later stages of roast temperature stability. If the curve keeps climbing past the ideal end temperature, you’re over‑developing, producing burnt or charred notes. Adjust the timing of your energy input—raise it early for a flat RoR and pull back or extend development after first crack to avoid over‑development.
Flat RoR Indicators
Ever wondered why your roast curve flattens just after the first crack? A flat RoR usually means the drum isn’t getting enough heat early on, so the temperature rise stalls. Look for a barely sloping early arc and a near‑zero change in RoR around first crack. That shape often produces dull, baked flavors and uneven bean development—some beans stay under‑cooked while the surface darkens. To diagnose, compare the roast curve to cupping notes and check post‑roast rest results. If the slope stays flat across batches, adjust charge temperature, tweak airflow, or modify drum speed and batch size to boost heat transfer. Re‑accelerating the curve after pre‑crack phases restores momentum and prevents flat‑development issues. Battery/Power and process control elements can influence heat delivery during the roast, underscoring the importance of consistent equipment setup.
Over‑Development Signs
Why does a roast that looks perfect on the curve end up tasting flat and over‑developed? When the RoR flattens right after First crack, the bean’s interior stops gaining flavor while the surface keeps darkening. You’ll see a flat curve with little movement post‑FC, indicating internal heat is building without useful development. The beans may look too dark for the intended roast level, yet the acidity feels muted and the cup tastes dull or baked. If you keep extending development time while the RoR stays low, heat concentrates and pushes the profile into over‑development. To prevent this, cap end‑temperature targets, ensure even energy distribution, and match development time after First crack to your flavor goals. Additionally, monitoring extraction consistency with a TDS refractometer can help align brew strength with roast development outcomes extraction consistency.
Adjust Development Timing
How can you spot a flat RoR and avoid over‑development? Look at the roast‑profile curve right after first crack. If the RoR (Rate of Rise) stalls, you’re likely under‑developed; if it drops too fast, you risk excessive acidity or burnt notes. Adjust your development timing by tweaking charge temperature or extending the post‑crack phase, but do it in small, measured steps. Track each batch’s curve and taste to separate timing effects from color changes. Acknowledge that multiple controls—such as strain on heat input and precise temperature management—play a role in achieving consistent results Strix temperature control.
- Identify the flat RoR segment on the curve.
- Raise charge temperature slightly to sustain energy input.
- Extend development time modestly after first crack.
- Compare sensory results to confirm balanced sweetness and reduced acidity.
Decode Baked, Grassy, and Char‑Like Flavors in Your Roast
What’s causing those flat, grassy, or burnt notes in your roast? A baked flavor usually means your roast profile has a flat rise rate or you stopped developing too early, so you need to boost energy before first crack and keep it steady afterward.
Grass‑like notes point to an under‑developed core or too little start energy; crank up the heat a bit or extend the post‑crack development to let the interior catch up.
Char or burnt flavors arise from tipping, scorching, or excessive temperature—lower your charge temperature and add a short soak to protect the surface. Balance airflow so you don’t dry the bean out while still removing smoke. Check cupping results, adjust RoR, heat distribution, and end‑temperature, and you’ll suppress those unwanted notes. Additionally, consistent cleaning of your grinder with recognized compatible tablets helps maintain flavor integrity by preventing cross‑contamination and stale residues that could affect your post-roast tasting notes grinder cleaning.
Tune Heat and Airflow to Shape Your Roast‑Profile and Eliminate Char
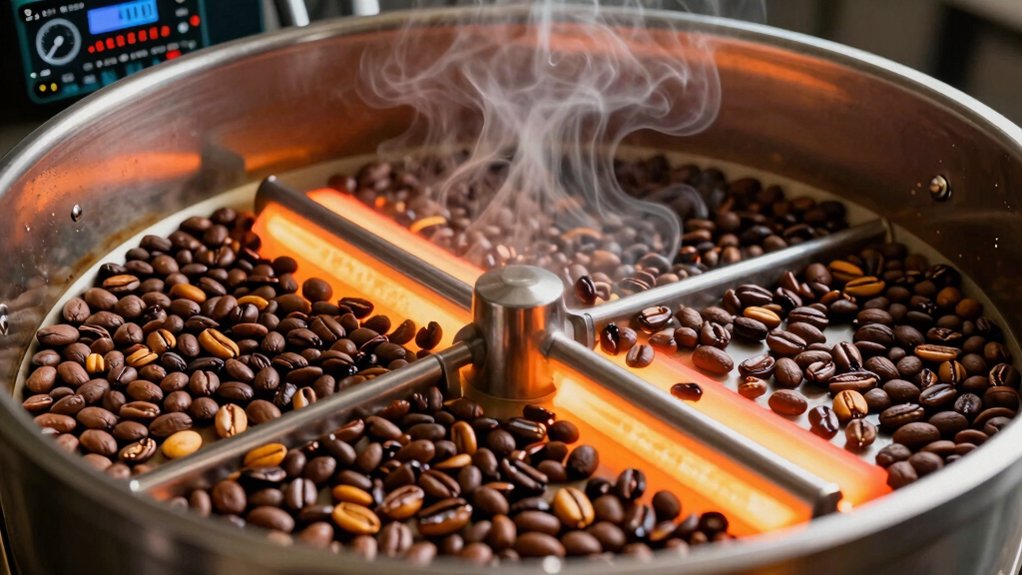
After identifying the flat, grassy, or burnt notes, turn your attention to the heat‑airflow balance that shapes the roast after first crack. Adjusting heat transfer and airflow lets you fine‑tune development without sacrificing energy. Increase airflow to whisk smoke and chaff away, keeping the bean surface clean while preserving internal heat. If you spot scorching—tipping, dark spots, or oil beads—lower the charge temperature or lengthen the soak to prevent char. Extend development time or set a near‑zero RoR after first crack to marry surface color with internal sweetness. Document each change, then compare cupping notes to isolate the effect of each tweak. Tracking your brew’s consistency with precise filters like 800‑count Laicky unbleached filters can help you measure how adjustments influence bitterness and body filter performance.
Adjust RoR for Kenyan, Ethiopian, Colombian, and Rwandan Beans
Fine‑tune the rate of rise (RoR) after first crack to match each origin’s quirks: Kenyan beans thrive on a higher RoR, Ethiopian beans need a balanced, moderate RoR, Colombian beans benefit from a slightly lower RoR, and Rwandan beans require a cautious RoR paired with precise final‑out temperature control. For Kenyan beans, push RoR up just enough to keep the surface bright while the interior catches up; watch for a light outer shell and under‑development if you overshoot. Ethiopian beans respond best to a middle‑ground RoR—enough to avoid a dark, plain exterior but not so fast that the core stays raw. Colombian beans need a modestly reduced RoR, allowing the heat to penetrate evenly for consistent development. Rwandan beans demand a gentle RoR and tight temperature control, preventing over‑darkening and ensuring the inner bean reaches full development without sacrificing surface clarity. Adjust RoR timing and duration per batch size to keep surface color aligned with internal development.
Match Surface Color With Internal Development Across Batch Sizes
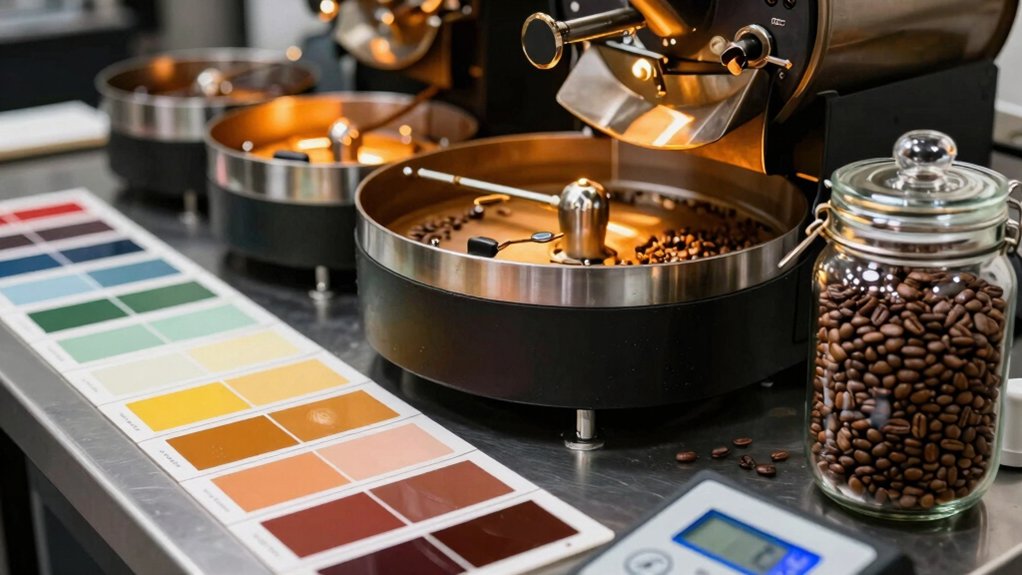
How can you keep the bean’s outer hue in step with its inner sweetness when you scale up or down? You must watch surface color and internal development as a single system, not two separate tasks. When a batch grows, heat and airflow shift, so a dark crust can hide a pale core. Visual checks let you spot mismatches instantly, and documenting RoR curves ties those looks to real temperature profiles. By aligning end temperature and development time to bean density and batch size, you keep the exterior and interior moving together, ensuring each sip reflects the same sweetness you see on the surface.
- Observe a uniform brown coat across the whole batch.
- Notice the same shade on the bean’s interior after cracking.
- Adjust airflow to prevent a scorched shell while the core lags.
- Match end‑temperature targets to the batch’s mass for consistent development.
Test Ror Adjustments With Sample Roasts and Validate Using the SCAA Flavor Wheel
You’ll start by tweaking the RoR in a handful of small sample roasts, watching how each change influences acidity, sweetness, and body.
Then you’ll cup the results with the SCAA flavor wheel, noting shifts from the central notes outward to see if the adjustments improve balance.
Finally, compare the documented RoR trajectories and blind‑cupping scores to isolate the impact of your tweaks and build a repeatable framework.
Sample RoR Adjustments
Ever wondered how a single tweak in your rate of rise can reshape a roast’s flavor map? You can isolate RoR effects by running controlled sample roasts, adjusting only the post‑first‑crack development. Keep charge temperature and heat‑application steady, then plot RoR versus time to see surface color versus internal development. Document each batch’s charge temp, development length, final color, and cup notes anchored to the SCAA wheel. Compare those notes to a control roast to spot acidity, sweetness, or body shifts. Use blind cupping for objectivity and build repeatable guidelines.
- Shorten development after first‑crack to sharpen acidity.
- Extend development after first‑crack to mellow acidity, keep sweetness.
- Drop RoR to near zero post‑first‑crack for longer development without scorching.
- Plot RoR curves to visualize surface versus internal changes.
Validate With Flavor Wheel
Curious about turning RoR tweaks into measurable flavor shifts? You start by cupping paired sample roasts that share bean, batch size, and grind, then alter a single Roast Profile parameter—say a steeper rise after first crack. Blind cupping isolates aroma, taste, and aftertaste, while you log each observation against the SCAA Flavor Wheel. Begin at central descriptors—sweet, sour, bitter—then work outward to citrus, caramel, smoky, noting any deviation tied to the RoR change. Track extraction cues like brew strength and yield to rule out confounding factors. Record degassing time, tasting windows (day‑of vs. day‑7+), and environment. This repeatable protocol lets you validate flavor improvements across multiple roasts with confidence.
Optimize First‑Crack Timing for Desired Acidity in Roast‑Profile
How can you fine‑tune first‑crack timing to hit the acidity you want? You control the roast curve, watch the first crack, then decide how long the development time should be. A quick crack and short development keep acidity bright; a slower crack with extended development mellows it. Balance the rate of rise (RoR) after first crack to avoid over‑development while shaping flavor.
- Heat ramp – increase temperature just enough to trigger first crack at your target minute mark.
- RoR adjustment – dial back the ramp after crack to near zero, extending development without burning.
- Color cue – monitor surface color; a medium‑brown hue signals ideal development time for moderate acidity.
- End‑temp target – align final temperature with the desired acidity level, stopping before the beans turn too dark.
Rest, Degas, and Track Flavor Evolution for Espresso vs. Pour‑Over
Why does the same roast taste so different in espresso versus a pour‑over after a few days? After a 24‑hour rest, the bean’s degassing shifts the balance between bitterness, acidity, and sweetness. Espresso often improves from day‑3 onward as the grind becomes more soluble, while pour‑over may lose brightness if you wait too long. To manage this, schedule tastings on day‑1, day‑3, and day‑7, noting each cup’s body, clarity, and aroma. Record sensory impressions alongside extraction ratios, then compare the flavor evolution across windows. Adjust development time and roast‑rate for espresso to boost body, and tweak grind size for pour‑over to keep brightness. By tracking these changes, you’ll know exactly when each brew method hits its sweet spot.
Document, Share, and Iterate Your Roast‑Profile Results
You’ll start by logging each batch’s key metrics—RoR, charge and end temperatures, crack times—and noting the resulting flavor shifts. Then you share those notes and the adjusted curves with your team, using consistent cupping formats to keep the data comparable. Finally, you use the feedback loop to make single‑variable tweaks, record the outcomes, and iterate until the profile consistently hits your target taste.
Roast Metrics
Ever wonder why some roasts taste great on the outside but fall flat inside? You need concrete roast metrics to bridge that gap. Record RoR curves, charge temperature, development time, and end temperature for every batch. Then compare surface color to internal development, noting any misalignment. Use single‑variable changes and log cupping notes, extraction behavior, and flavor outcomes so you can pinpoint the culprit. Share standardized metrics—FC around 208–215 °C, final drop timing, post‑crack development—so the team builds reproducible profiles. Track humidity, altitude, roaster aging, and batch size as context that shifts RoR and flavor.
- Capture raw data in a spreadsheet.
- Plot RoR vs. development time.
- Annotate sensory notes alongside each curve.
- Review trends weekly and adjust parameters.
Flavor Tracking
Linking the raw roast metrics you just recorded to concrete flavor observations turns data into actionable insight. You document batch‑specific notes, tie them to Roast timing, end temperature, and development time, then use standardized cupping forms to capture grind behavior, extraction yield, and brew strength. Sharing roast curves with time stamps lets teammates spot which segments shift flavor. A single‑variable‑at‑a‑time log isolates cause‑and‑effect, while tasting windows (day‑of, day‑1, day‑7+) reveal evolution.
| Parameter | Observation | Action |
|---|---|---|
| Roast timing | Bright acidity | Reduce early heat |
| End temp | Flat body | Extend development |
| Development time | Sweet notes | Increase RoR |
| Grind behavior | Fast extraction | Adjust burr setting |
| Brew strength | Weak cup | Raise dose |
Flavor tracking becomes a repeatable loop that sharpens every roast.
Iterative Adjustments
How can you turn a single roast tweak into a reliable recipe for flavor success? Document each variable you change, then test a new batch while keeping everything else constant. Record cupping notes, grind behavior, extraction yield, and timing. Link those sensory results to the specific roast curve and heat application you used. Create a feedback loop: let the tasting guide your next adjustment to roast, rate of rise, development time, or airflow. Share your curve and notes with teammates so the whole team builds a common reference. Remember to factor in humidity, altitude, and equipment age when you interpret the data.
- Adjust heat application by 5 % and note the curve shift.
- Tweak the rate of rise for 10 seconds, then cup.
- Extend development time by 15 seconds, record extraction.
- Compare results across batches and refine the next test.
Frequently Asked Questions
Why Does My Roast Color Look so Uneven in Home Coffee Roasting Issues?
Your roast looks uneven because heat isn’t reaching all beans equally—check airflow, drum speed, and bean density; adjust temperature or extend drying to balance exposure and eliminate mottling.
What Is the 15-15-15 Rule for Coffee?
You follow the 15‑15‑15 rule by keeping development after first crack at exactly fifteen seconds, aiming for a total roast time around fifteen minutes, balancing heat and roast‑rate to preserve sweetness and body.
Why Does Coffee Taste Funny All of a Sudden?
You’re getting weird flavors because the roast profile shifted—uneven bean development, altered first‑crack timing, or inconsistent heat and airflow can create off‑notes, and changes in degassing or environment amplify the effect.
Why Does My Roast Taste Bitter?
Your roast tastes bitter because you over‑developed after first crack or applied too much heat, scorching the beans. Slow the post‑crack development, aim for a near‑zero RoR, and let the beans rest longer.
In Summary
By mastering your roast‑profile curves, spotting flat ROR or over‑development, and tweaking heat and airflow, you’ll eliminate baked, grassy, or char‑like notes. Tailor ROR for each origin, test with sample roasts, and validate using the SCAA flavor wheel. Fine‑tune first‑crack timing for the right acidity, then rest and degas beans before evaluating espresso versus pour‑over. Document every change, share results, and keep iterating for consistently perfect coffee.


