

You control roast speed and flavor by tweaking airflow and temperature together. Airflow decides how much heat reaches beans by convection versus conduction, while temperature sets the overall energy level. Increase airflow to boost convective heat and raise RoR, then dial it back before first crack to let conduction deepen caramelization without scorching. Lower airflow with a higher temperature shifts the balance toward slower, more even surface heating. Adjust these knobs gradually, monitoring pressure gauges to keep the curve smooth and the beans balanced. Keep going for deeper strategies.
Convection vs. Conduction: Heat Transfer Basics in Coffee Roasting
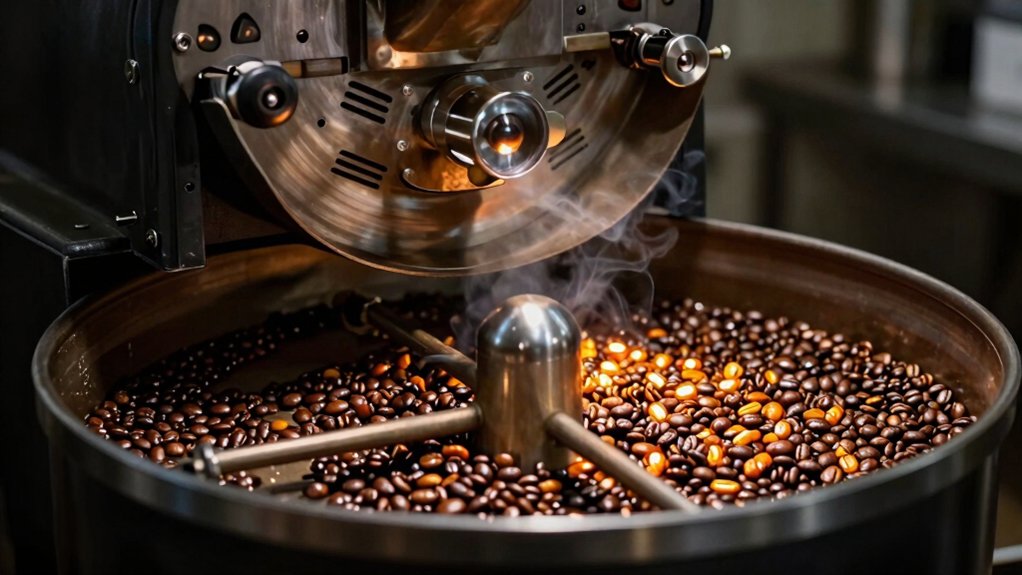
Conduction heats them through direct contact with the hot drum surface, while convection transfers heat via hot air moving over and through the bean mass. You control convection by adjusting airflow; higher airflow pulls more heat‑laden air through the drum, boosting convective heat transfer and accelerating RoR (rate of rise). Reducing airflow shifts the balance toward conduction, delivering heat more slowly and evenly across bean surfaces. This balance shapes your roast profile: more convection yields a faster, brighter development, whereas more conduction promotes deeper, uniform browning. burr.
Airflow & Temperature: Shaping the Roast Curve
Convection and conduction set the stage, but it’s the interplay of gas temperature and airflow that actually sculpts the roast curve. When you open the damper, you boost convection, raise RoR, and steepen the curve; closing it does the opposite, flattening the rise. A higher temperature with fixed airflow pushes heat transfer toward conduction, slowing the ascent and deepening the roast’s interior development. Early on, balance energy input with moderate airflow to carry the bean through drying to first crack, then trim airflow to protect the surface from scorching. Watch the RoR peak and turning point—rapid rise followed by a smoother climb signals a well‑tuned balance. Consistent tweaks to temperature and airflow keep your roast curve reproducible despite chaff, exhaust pressure, or drum variations. Introducing a controlled Terra Kaffe/Smart Connectivity approach can help synchronize settings across multiple roasts and devices, enabling more reliable repeatability in home coffee workflows.
How to Measure and Monitor Airflow During a Roast
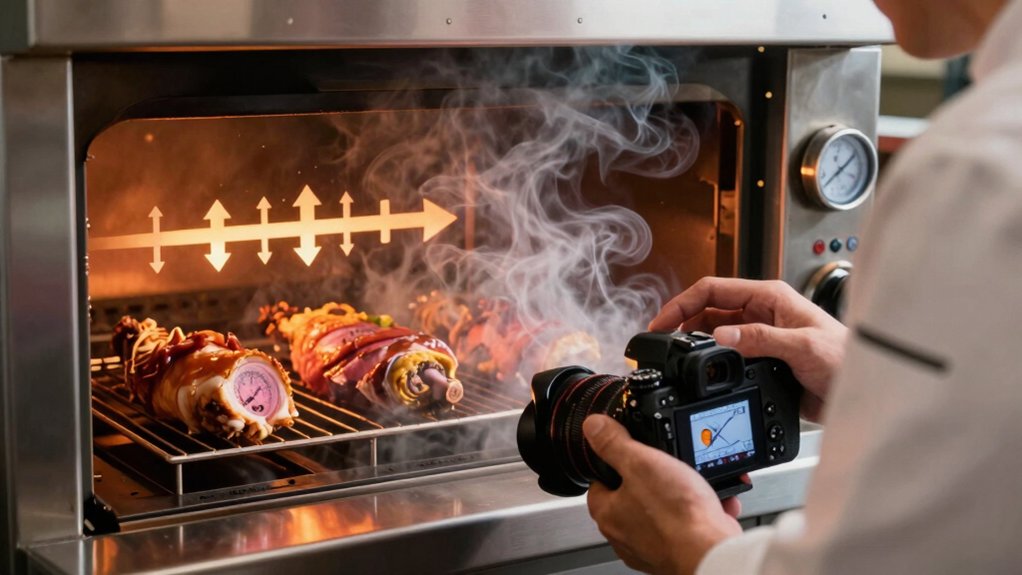
You’ll start by checking the pressure gauge reading on the drum to see the current airflow.
Then you’ll set up real‑time differential monitoring so any shift in pressure triggers an immediate adjustment.
Finally, you’ll run a quick manometer calibration check before each batch to keep the measurements accurate.
Regular maintenance of the drip tray setup ensures consistent airflow management and helps prevent contamination or spills during roasting. drip tray maintenance
Pressure Gauges Reading
Ever wondered how to keep your roast’s airflow steady? You’ll read differential pressure on pressure gauges to spot exhaust obstruction before it wrecks your roast curves. A digital manometer shows the pressure gap between the exhaust and a reference point, letting you gauge air flow instantly. When the reading climbs, debris or a clogged filter is likely reducing airflow, so you can intervene. Set a target differential pressure and let automatic adjustments compensate, preserving the same airflow batch‑to‑batch despite humidity or chaff load. Regular checks also reveal leaks or blockages that could cause overheating. By trusting the gauge, you maintain consistent heat transfer and keep your roast on track. Environmental and packaging considerations
Real‑Time Differential Monitoring
When you hook a differential pressure gauge or a digital manometer to the exhaust and a reference point, you instantly see whether airflow is clear or blocked, letting you keep the pressure steady throughout the roast. You then watch how differential pressure changes affect RoR and bean temperature, noting stalls or spikes as exhaust resistance shifts. By applying DP control you keep airflow constant even when chaff builds up. Strategic probe placement—one at the bean pile and another at the exhaust—captures true environmental conditions, so your logged data stays reliable for repeatable curves. Additionally, the 36-pod and larger-capacity drawers described in the reference storage options illustrate how space and organization can indirectly influence workflow efficiency and consistency in a busy roasting setup storage organization while you optimize airflow patterns for repeatable roasts.
Manometer Calibration Checks
After setting up differential pressure (DP) monitoring, the next step is to verify that your manometer is accurate. You’ll start by comparing the exhaust gauge reading against a known reference, such as a calibrated test rig or a sealed‑room method. Adjust the manometer until the measured differential pressure matches the reference within ±0.05 in‑H₂O. Record the baseline, then run a short roast to see if the airflow stays steady. Any drift signals a calibration issue that could jeopardize roast stability. Schedule checks before each batch, especially after cleaning the drum or replacing dampers. By keeping the manometer calibrated, you maintain consistent airflow, prevent exhaust blockage, and ensure repeatable roast curves. Regular calibration ensures your readings reflect true airflow conditions, enabling reliable roast profiling. Differential pressure readings should be treated as the backbone of your control strategy to maintain consistency.
Controlling Ror With Airflow, Not Burner Settings
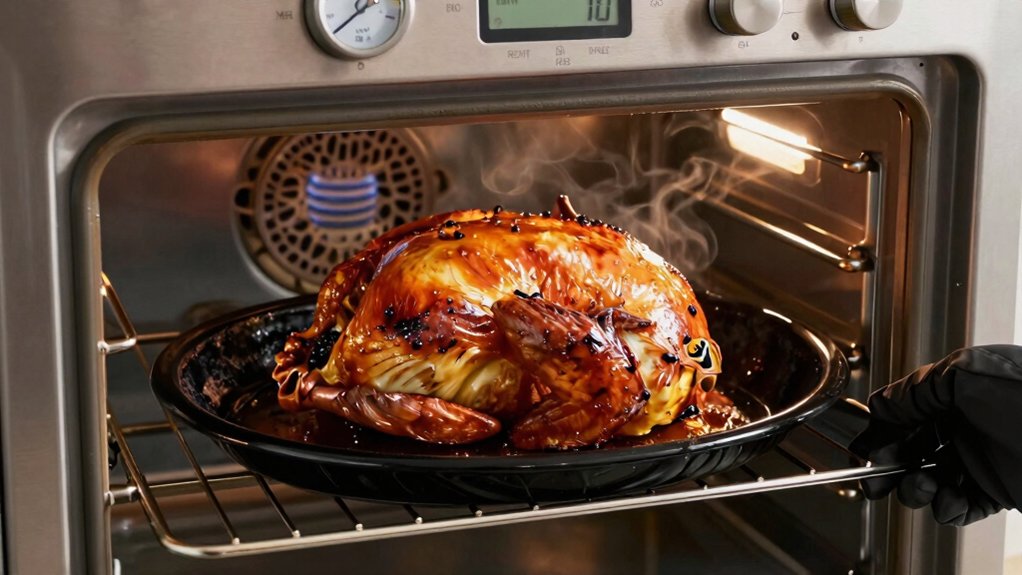
The key to mastering RoR lies in tweaking airflow rather than fiddling with burner settings; opening the damper injects more convective energy, accelerating the bean‑mass temperature rise without altering gas input. You’ll notice that increasing airflow boosts convective heat transfer, raising the roast rate (RoR) instantly, while dialing it back slows the curve and lets conduction dominate. Keep an eye on differential pressure; it tells you exactly how much air is moving despite debris or ambient shifts. Balancing airflow with the current burner output maintains a steady environmental temperature in the drum, preventing spikes or flat spots that would otherwise ruin consistency. Open the damper to raise RoR quickly. Close it slightly to smooth the curve. Monitor differential pressure for real‑time airflow feedback. Adjust only airflow, leaving burner settings unchanged. Airflow fundamentals underpin reliable, repeatable roasts across setups.
Profiling Airflow During the Drying Phase for Even Moisture Removal
How can you keep moisture moving evenly through the beans during the drying phase? You set a moderate‑to‑high airflow that supplies enough convective energy to carry latent heat across the bean mass while avoiding over‑cooling. Open the damper just enough to boost the RoR (rate of rise) without letting the pile temperature drop, so moisture migrates uniformly. Pair this airflow with a strong initial burner burst to prevent hot spots in dense beans, like high‑density washed Ethiopian.
The steady stream also flushes chaff and by‑products toward the exhaust, keeping the roasting environment clean. By balancing airflow and heat, you achieve consistent moisture removal, uniform drying, and a smooth transition to the next roast stage.
Adjusting Airflow Before First Crack to Preserve Surface Sweetness
You’ll notice that pulling back the damper just before first crack keeps the bean’s surface sugars from burning, letting the glaze stay glossy and sweet.
By moderating airflow while maintaining heat, you shift more of the heat transfer to conduction, which promotes even caramelization without scorching.
This gentle RoR rise ensures the beans retain their natural sweetness before the deeper flavor layers develop.
First‑Crack Airflow Reduction
Ever wondered why a slight airflow dip just before first crack can lock in that caramel‑sweet finish? You can smooth the RoR curve by dialing back the damper 5–10 % as the beans approach the turning point.
The reduction curbs convection, letting heat travel more by conduction, which keeps the surface temperature high enough for Maillard reactions without scorching.
You’ll notice steadier surface development and clearer origin notes while internal beans accelerate.
- Reduce airflow in small steps just before first crack.
- Watch the RoR flatten and avoid sudden spikes.
- Let conduction dominate to preserve surface sugars.
- Keep the beans in the “sweet spot” for balanced flavor.
Surface Sweetness Preservation
Why does a subtle airflow dip right before first crack preserve the bean’s surface sweetness? You lower the airflow just enough to slow convective cooling while keeping burner power steady. This shift lets heat transfer favor conduction, which deepens caramelization without scorching.
The reduced airflow also curtails rapid evaporation, so surface sugars don’t collapse or dry out. As a result, the bean’s exterior retains its natural sweetness, and the browning stays even. You’ll notice a brighter, more pronounced sweet note in light‑to‑medium roasts when you maintain a stable, slightly lowered airflow around first crack.
This technique balances heat, moisture, and sugar development for a cleaner, sweeter cup.
Keeping Airflow Smooth During Development to Avoid Stalls
When you keep the airflow steady during development, you prevent the RoR from spiking or dropping, which eliminates stalls and crashes. A smooth airflow lets the roast curve rise predictably, letting convection do its job without over‑ or under‑driving the beans. You’ll notice a steadier bean temperature, fewer hot‑spot surprises, and a more consistent flavor foundation. Real‑time pressure checks help you fine‑tune the damper, matching burner power to the bean mass and keeping the RoR in the sweet spot.
Steady airflow keeps RoR stable, preventing stalls and delivering consistent, balanced flavor.
- Open the damper just enough to boost convection when the bean temperature lags.
- Close it slightly when the RoR climbs too fast, preventing scorching.
- Monitor differential pressure constantly to catch airflow drift early.
- Adjust in small increments; abrupt changes cause stalls and ruin the development curve.
Airflow’s Impact on Acidity, Sweetness, and Brightness in Light Roasts
How does airflow shape the acidity, sweetness, and brightness of a light roast? You’ll notice that a gentle increase in airflow during drying and early development lifts the acidity, keeping it clean and pronounced. The extra convective energy removes moisture evenly, letting the bean’s natural brightness shine through. At the same time, a modest airflow boost can amplify perceived sweetness, letting caramel‑like notes emerge without overwhelming the delicate floral profile. However, too much airflow flattens those nuances and can mute the origin’s character. Managing the Rate of Rise with precise airflow tweaks prevents early stalls, preserving both bright acidity and precise sweetness. In light roasts, fine‑tuning airflow is the key to a balanced, lively cup.
Airflow Strategies for Medium & Dark Roasts in Coffee Roasting
Ever wondered how to keep a medium or dark roast from turning bitter while still hitting that deep, caramel‑sweet finish? You’ll start the drying phase with a strong airflow pulse to strip moisture evenly, then dial it back just before first crack so the surface develops without scorching. As the roast profile deepens, maintain steady convection to keep drum temperature stable and avoid smoky notes. Watch differential pressure and keep the exhaust clean; this guarantees consistent airflow and prevents chaff buildup that could mask sweetness. Finally, taper the airflow during development time to preserve the caramel‑sweet finish and control the roast‑rate‑rise.
- Strong initial airflow for drying
- Slight reduction before first crack
- Steady convection during dark development
- Monitor differential pressure & keep exhaust clean
Airflow Design for Clean Smoke & Chaff Removal in Coffee Roasting
Ever notice how a well‑designed airflow path can keep your roaster smoke‑free while whisking chaff straight to the collector? You want fresh air to sweep across the drum from the burner toward the exhaust, creating a single, consistent flow that pulls chaff through the bean mass. Proper vent paths and exhaust management stop debris from clogging and keep smoke out of the roast chamber. By monitoring differential pressure, you can spot obstructions early and tweak dampers before chaff builds up. This maintains a clean temperature profile, prevents ignition, and preserves flavor clarity. Keep the chaff collector positioned downstream of the vent paths, and the system will continuously purge smoke and debris without compromising roast quality.
Top 5 Airflow Mistakes in Roasting and How to Fix Them
You might notice your roasts turning flat when airflow is too low, yet become overly dry if you over‑ventilate.
Both extremes throw off bean temperature and development, making it hard to hit your target roast curve.
Let’s pinpoint the five common airflow errors and show you how to correct each one.
Insufficient Airflow Leads
Why does low airflow ruin a roast? It creates hot spots on the drum, skews heat transfer, and flattens roast curves, leaving beans under‑developed or scorched. When the exhaust can’t clear chaff and smoke, tainted flavors linger, and you lose the ability to spot early turning points. The lack of convection forces the drum to rely on conduction, so surface heat lags behind interior temperature, dulling brightness and acidity.
- Hot spots cause uneven bean development and scorching.
- Poor chaff and smoke removal introduces off‑flavors.
- Reduced convection shifts heat transfer to conduction, flattening roast curves.
- Masked early roast cues make timing first crack harder.
Over‑Ventilation Causes Dryness
When the drum’s airflow stays maxed out, moisture evaporates faster than the beans can retain it, leaving them brittle and stripped of body. Over‑ventilation during drying pulls moisture out too quickly, causing excessive moisture loss that shrinks the window for proper RoR development. The high velocity pushes heat transfer toward convection, spiking temperature balance and triggering an early first crack before flavor compounds fully form. You’ll hear a flat, sour note and miss the sweet, caramelized depth.
To fix it, dial back the fan or damper once you hit the drying phase, keep the burner steady, and watch the RoR curve flatten. This restores temperature balance, preserves internal humidity, and lets the beans develop body without drying out.
Checklist: Airflow‑to‑Power Balance for Bean Density & Moisture
Ever wondered how to keep your roast steady when bean density and moisture vary? You need to match airflow to heat input so convection stays strong without diluting energy, keeping RoR smooth and avoiding scorching. High‑density beans demand strong power and early airflow, while lower‑density naturals thrive on gentler input and a later airflow taper. Watch moisture levels; excess moisture slows heat transfer, so adjust airflow to maintain consistent RoR. Use differential pressure checks to keep airflow steady across batch size changes, ensuring convection and conduction stay balanced.
- Verify airflow matches the selected heat input for the current bean density.
- Increase early airflow for high‑density, high‑moisture beans to sustain convection.
- Reduce airflow mid‑roast for low‑density, dry beans to preserve sweetness.
- Monitor differential pressure each batch to keep RoR stable.
Frequently Asked Questions
How Does Altitude Affect Optimal Airflow Settings?
At higher altitude you’ll need to increase airflow because thinner air cools beans slower, so you boost fan speed and maybe lower temperature slightly to keep the roast profile consistent.
Can Airflow Be Adjusted Manually on a Fully Automated Roaster?
You can tweak the airflow manually on a fully automated roaster, but you’ll need to access its control panel or software settings, override the default program, and monitor the changes while roasting.
What Is the Ideal Airflow for a Single‑Origin Light Roast Versus a Blend?
You’ll want about 30‑35 CFM for a single‑origin light roast to keep the bean surface bright, while a blend benefits from 40‑45 CFM, promoting even development and richer depth.
How Does Bean Size Variability Influence Airflow Calibration?
You’ll find that larger beans create more resistance, so you need to increase airflow to maintain the same draft, while smaller beans let air flow more freely, letting you reduce the fan speed accordingly.
Does Airflow Impact the Formation of Crema in Espresso‑Grade Beans?
Yes, airflow shapes crema by controlling bean extraction pressure and temperature uniformity, you’ll see richer, longer crema when you fine‑tune airflow to keep the puck evenly saturated and prevent channeling.
In Summary
By tuning airflow and temperature together, you’ll hit a precise roast curve every time. Keep the air steady during drying, adjust it for medium‑dark stages, and balance it against bean density and moisture. Avoid the common airflow errors, monitor the flow, and you’ll achieve clean smoke, even extraction, and consistently perfect roasts.


