

You’ll spot under‑extraction when the shot is sharp, acidic, and the crema is thin and pale—keep the pull under 25 seconds, grind finer in tiny steps, and aim for at least a 21 % extraction yield. If the espresso turns bitter and dark‑stopped, coarsen the grind, shorten the pre‑brew, and check temperature (under 94 °C). Maintain steady flow by timing pulls, adjusting grind ±0.1 g or dose 1–2 %, and logging each variable. Use stable water temperature and pump pressure, warm up the machine, and employ a center‑cut to balance acidity and sweetness. A refractometer will confirm extraction yield, and a daily checklist keeps everything in line—keep going for deeper insights.
Identify Under‑Extraction Before It Tastes Sour
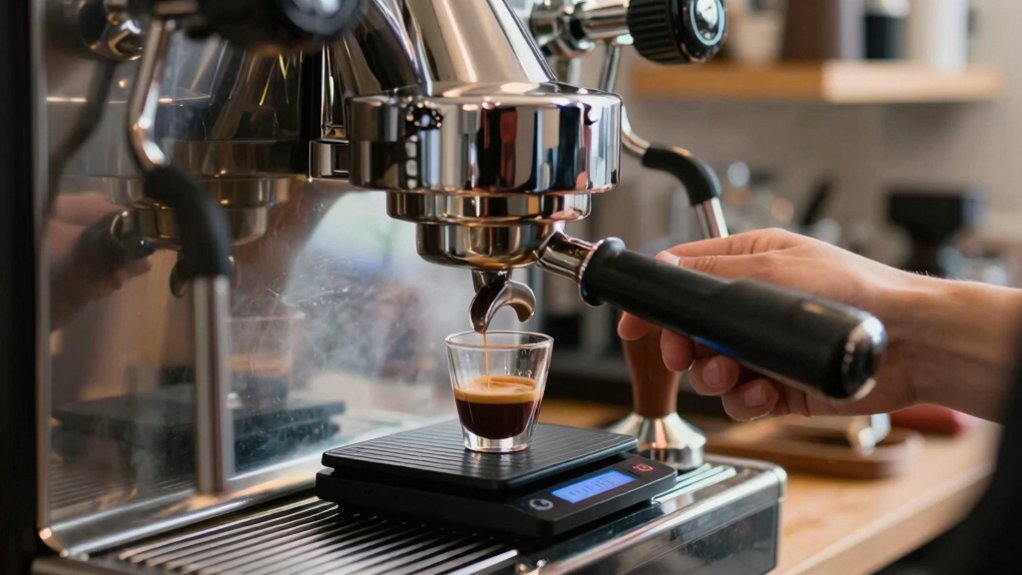
Ever notice a sharp, acidic bite that leaves your espresso tasting sour? That’s under‑extraction screaming for attention. You’ll see a thin body, pale crema, and a shot that runs under 25 seconds. Start by tasting two consecutive pulls: keep dose and tamp constant, then grind finer in small increments. Each tweak should lengthen extraction time, nudging it past the 21 % mark. As the water spends more time contacting the coffee, the acidity softens and a sweetness increase emerges. Track the crema depth and body; a richer, amber hue signals progress. By methodically adjusting the grind and monitoring extraction time, you’ll catch sourness before it dominates, delivering a balanced, sweet‑forward espresso. Precise measurements help ensure you maintain consistency whether you’re pulling shots at home or in a cafe.
Fix Over‑Extraction When the Shot Is Bitter and Dark‑Stopped
When a shot turns bitter and stops dark, you’re dealing with over‑extraction, so the grind needs to be coarser and the brew should end sooner. First, adjust grind size a notch coarser; this reduces surface area and slows water flow, cutting extraction yield toward the 21 % target or lower if your roast can’t handle it. Shorten pre‑brew time to avoid prolonged saturation that pulls bitter compounds. Check water temperature—dial it down if it’s above 94 °C, because heat amplifies bitterness. Tamp evenly to eliminate hot spots, and verify dose consistency. After each tweak, taste the crema; a lighter stop and clearer color signal the over‑extraction is receded, delivering a sweeter, balanced cup. This process aligns with using a disciplined cleaning cadence to maintain optimal flow and taste in your machine, ensuring none of the oils or scale interfere with extraction brewing maintenance concept.
Adjust Grind Size for Consistent Flow Without Dumping
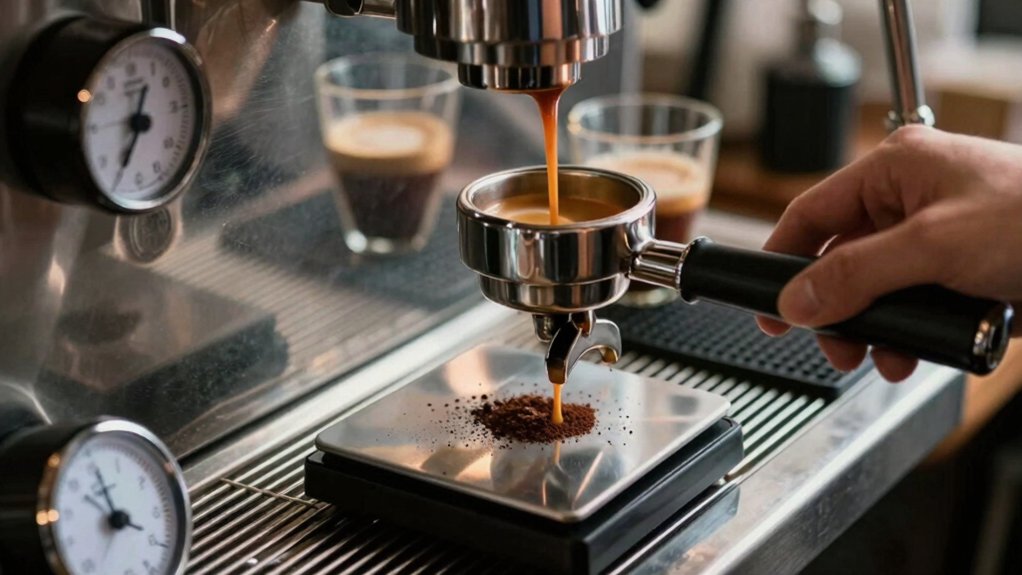
After fixing the bitter, dark‑stopped shot by coarsening the grind, you’ll want to fine‑tune that coarseness to keep the flow steady and avoid a dump. Start by pulling a double shot and timing the extraction. If it finishes under 7 seconds, coarsen the grind size a notch; if it lags past 25 seconds, grind finer. Keep tamping pressure uniform and distribute the coffee evenly so the water moves through a compact puck without gaps. Watch crema development after each adjustment: a thin, pale crema signals under‑extraction, while a dark, thin layer points to over‑extraction. Pair each grind tweak with fresh, evenly roasted beans and consistent dosing to lock in a stable extraction time and reliable crema. Regularly calibrate your grinder to maintain consistent grind size distribution grind size consistency, and consider tracking extraction times with a timer to ensure repeatable results.
Set Dose and Brew Ratio for Consistent Crema Volume
You’ll keep your crema steady by nailing a precise dose and a consistent brew ratio for every shot. In addition, consider noting the vessel you use and its impact on crema stability when switching between over-ice and hot-brew settings Removable drip tray compatibility.
Optimize Dose Precision
Ever wondered why your crema sometimes looks thin or uneven? You can lock in crema stability by nailing espresso dose and grind‑dose calibration. First, weigh each dose on a scale and log the weight, extraction time, and crema color. Then, tweak grind size until that same dose consistently hits the 20‑30 second window. Small incremental changes—±0.1 g or 1–2 % of dose—let you fine‑tune without shocking the puck. Keep your basket preparation identical each shot: distribute, tamp evenly, and level the puck. Over time you’ll build a repeatable profile that yields a thick, golden crema shot‑after‑shot. Acknowledging the role of consistent equipment setup, including maintaining clean, properly sealed components and stable heat, helps preserve crema integrity across sessions Siphon/Vacuum brewing and other methods, even as you dial in dose and grind to the target window.
Standardize Brew Ratio
Locking in a steady dose is only half the battle; the brew ratio determines how much liquid extracts from that dose and directly shapes crema volume. Choose a target dose—say 18–20 g—and fix a beverage yield of 36–40 g for a 1:2 brew ratio. Pull a few espresso shots at that ratio, then check the crema with a refractometer or visual proxy; aim for 1.33 oz to 2.25 oz. Record dose, yield, and time, keeping grind size and tamp pressure constant. If the crema looks too light or dark, tweak the brew ratio slightly—adjust the yield—before changing grind or dose. Consistently repeat the same ratio across multiple shots to confirm machine and water stability, ensuring reliable crema before fine‑tuning flavor. Regularly verify that your packaging freshness and roast level align with your chosen brew method freshness control to maintain consistent crema quality.
Control Crema Volume
How can you keep crema consistently within the 1.33‑to‑2.25 oz sweet spot? Set a fixed dose and brew ratio, then calibrate grind size and tamp so a single shot pulls in 20–25 seconds. Watch the crema color—light, normal, or dark stop—to confirm you’re hitting the right extraction. If the crema volume is too thin, make a finer grind adjustment while keeping the same dose; if it’s excessive, go a touch coarser. Use start‑dump and center‑cut techniques to avoid early over‑flow that thins the layer. Consistently monitor bubble structure and height; small grind size adjustments will fine‑tune the crema volume without sacrificing the desired crema color. This disciplined approach locks in a uniform, rich crema every shot. Regular calibration using a tasting note log can help maintain consistency over time consistency tracking.
Use Water Temperature & Pressure to Fix Espresso Extraction Flavors
Wondering why your espresso swings from sour to bitter? Use thermometer control to lock in a stable extraction temperature, then fine‑tune brew pressure for consistency. If the shot pulls too fast and tastes sharp, raise the temperature a few degrees and grind finer or add dose to lengthen contact.
Conversely, when the crema is thin and the flavor turns flat or metallic, verify that the boiler isn’t too hot or cold and that pump pressure stays around 9 bar during pre‑infusion and extraction. Keep the PID calibrated, backflush regularly, and watch the pressure gauge; steady pressure and a steady, yields balanced acidity and sweetness without over‑extraction.
This tight control eliminates flavor swings and lets you dial in the perfect espresso profile.
Correct Thin, Light‑Bubbled Crema (Cold‑Machine Symptoms)
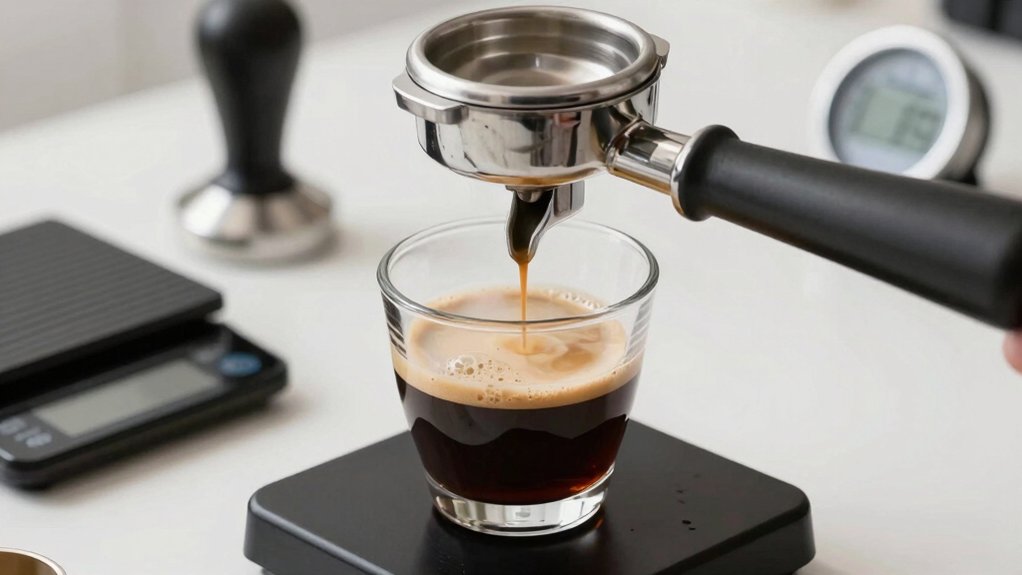
You’ll notice a thin, light‑bubbled crema when the machine hasn’t fully warmed up, so give the group head and portafilter a proper pre‑heat.
Adjust the grind size finer to speed up extraction and build a richer crema without over‑pressurizing.
Finally, check that the brew pressure is within the ideal range for your roast and coffee type.
Machine Warm‑Up
Ever notice a thin, frothy crema dotted with large bubbles? That’s a classic sign your espresso machine warm‑up didn’t hit the mark. A proper preheating routine stabilizes temperature, pressures pressure, and ultimately boosts crema quality. Skip the guesswork—follow a disciplined warm‑up before pulling shots.
- Turn the machine on and let it run idle for at least five minutes, allowing the boiler to reach full temperature.
- Flush the group head with a short, hot water run to heat the portafilter and basket.
- Run a blind shot (no coffee) to confirm stable pressure and temperature.
- Check the temperature gauge; if it’s below the recommended range, extend the warm‑up time before extracting. descaling solutions
Grind Size Adjustment
How can you turn thin, airy crema into a rich, velvety layer when the machine runs cold? Start by dialing the grind size finer in 0.2–0.3‑step increments. A finer grind lengthens extraction time, letting the coffee emulsify longer for stronger crema development. Keep the shot under 20 seconds; if it drags, slightly coarser the grind or reduce dose. Pre‑warm the group head with a blank shot or flush, then re‑adjust the grind to compensate for the lingering cold. Use the center‑cut technique: dump quickly, then pause once crema begins to build, allowing the finer grind to sustain a longer, even extraction. Balance fineness with tamp pressure to avoid flow stalls, maintaining a stable extraction time and consistent crema thickness.
Optimize Brew Pressure
Why does your crema look thin and full of light bubbles? You’re probably battling low Brew Pressure or a cold machine, which slows Extraction Time and weakens the crema. Fix it by fine‑tuning pressure and temperature before each shot.
- Check boiler temperature – ensure it’s within the optimal range; a cold boiler drops pressure and yields light bubbles.
- Preheat group head and portafilter – a fully heated assembly maintains stable Brew Pressure and speeds Extraction Time.
- Adjust grind and dose – a finer grind or slight dose increase raises resistance, boosting Brew Pressure and shortening Extraction Time to 20–25 seconds.
- Use a centered flow – start‑dump or consistent tamping creates uniform pressure, delivering a richer, thicker crema.
Follow these steps, and your espresso will extract with proper pressure, a robust crema, and a satisfying mouthfeel.
Restore Rich, Dark‑Stopped Crema When Shots Run Too Long (Hot‑Machine Symptoms)
Struggling with a thin, watery crema after a prolonged pull? You can bring back that dark‑stopped richness by tweaking grind size, shortening extraction time, and focusing on crema preservation. First, grind a touch finer and, if needed, bump the dose a gram or two to speed the flow toward the 1.33–2.25 oz range. Keep an eye on the machine’s temperature; a hot‑machine symptom often means the grinder is cooling the shot, so verify water temperature stability. Fresh beans matter—stale or over‑roasted beans demand longer pulls that thin the crema. Aim for a 7–20 second extraction window, using a shorter pre‑pour or center‑cut if you must, and tamp consistently. These adjustments will restore the dense, glossy crema you expect.
Balancing Sweetness & Acidity With Stopping Color & Center‑Cut
After fixing a thin crema by tightening the grind, turn your attention to the shot’s color and timing to balance sweetness and acidity. You’ll want a higher Extraction (above 21 %) while watching the stopping color range (≈1.33 oz dark‑stopped to 2.25 oz normal‑stopped). Use a center‑cut start‑dump to rebalance if the shot leans too acidic or too sweet. Follow these steps:
1. Observe crema hue; if it’s too light, extend the draw and a2. Stop the shot at the target color volume to lock in sweetness.
3. If over‑extracted, shorten the draw and adjust grind coarser.
4. Apply a center‑cut dump, then pull a dark‑stopped shot to fine‑tune acidity.
These tweaks keep flavor harmony without needing a refractometer.
Validate Adjustments With Extraction‑Yield (Refractometer) Readings
You should measure extraction yield every shot and compare the refractometer numbers to the flavors you taste.
When the yield climbs, you’ll notice sweeter, clearer notes, so use those readings to decide if the grind is too coarse or fine.
Adjust the grind until the yield consistently lands in the 21‑plus % range, then confirm the improvement with your palate.
Measure Yield Routinely
How can you be sure your tweaks are actually improving the brew? By making routine measurement of extraction yield with a refractometer, you turn guesswork into data‑driven decisions. Track each shot, note the percentage, and compare it to your 21 %+ target. When the numbers rise without bitterness, you know the grind, dose, or distribution change works.
- Pull a shot, cool the brew, and place a few drops on the refractometer.
- Record the extraction yield; aim for above 21 % for sweetness and clarity.
- Log the reading alongside grind size, dose, and brew time.
- Review trends weekly; adjust only if the yield drifts lower or spikes into dryness.
Consistent refractometer checks keep your process transparent and your coffee consistently balanced.
Correlate Yield With Taste
Wondering whether a higher extraction yield actually translates to better flavor? Use a refractometer to log each shot’s yield and then sip with a critical ear. When the yield climbs above ~21 %, you’ll notice a sweeter, richer cup, but only if the brew remains balanced—no sharp bitterness or dry a.
Compare your notes: a 20 % yield that tastes thin versus a 22 % yield that feels full signals that the extra soluble compounds are enhancing taste balance. If the flavor shifts toward sour or astringent, your extraction is uneven, and the higher yield is exposing under‑extracted zones. Keep adjusting dose, grind, and distribution until the refractometer reading aligns with a smooth, harmonious palate. This feedback loop lets you validate every tweak with concrete, taste‑driven data.
Adjust Grind Based on Yield
Ever noticed how a slight tweak to the grind can swing your extraction yield from 19% to 22%? You can validate every grind adjustment with refractometer readings, aiming for yields above ~21% for sweetness and clarity. Start fine, then cut dose or slow water flow (A) to lift the yield, stir, and distribute the puck evenly. Re‑measure and compare shots with the same grind and dose to confirm consistency before crediting taste changes to the grind.
- Record baseline extraction yield with a refractometer.
- Make a small grind adjustment, then pull a shot.
- Stir the puck, ensure even distribution, and re‑measure.
- Repeat until the yield stabilizes above 21% without bitterness.
Create a Daily Espresso Checklist to Avoid Extraction Issues
Ever wonder why your espresso sometimes tastes off? Start each day by confirming your grinder’s clean and performing grind calibration to hit your target dose within 1–2 g. Record extraction timing for every shot, aiming for 25–30 seconds; flag anything under 20 seconds or over 40 seconds for immediate tweak. Conduct a quick crema assessment at 10–15 seconds—pale or thin means finer grind or dose change; dark, bubbly crema suggests coarser grind or shorter shot. Verify water temperature is 92–96 °C at the group head and pre‑heat the machine. Taste each shot, log sweetness, acidity, and body, and link notes to grind, dose, and time. This rapid feedback loop keeps your espresso consistent and free of extraction issues.
Frequently Asked Questions
What Is the 15-15-15 Rule for Coffee?
You follow a 15‑second bloom, then a 15‑second pour or agitation, and finish with a 15‑second rest; this timing aims to balance extraction, reduce channeling, and enhance flavor consistency.
What Is the 80 20 Rule for Coffee?
You follow the 80/20 rule by focusing on grind, dose, and brew time—those 20% of variables drive 80% of your shot’s quality, flavor balance, and crema. Adjust them first.
What Is the 30 Second Rule for Espresso?
You aim for a 25‑35‑second extraction; if it finishes quicker, you’re under‑extracting, and if it drags past thirty seconds, you’re over‑extracting, so adjust grind, dose, or tamp accordingly.
How to Troubleshoot Under Extracted Espresso?
You should grind finer, increase the dose, and shorten the tamp pressure. Stir the grounds for even distribution, verify temperature stability, and use fresh beans to boost flavor and crema.
In Summary
Master these tips, and you’ll keep your espresso consistently bright, balanced, and crema‑rich. By spotting sour under‑extraction, bitter over‑extraction, and adjusting grind, dose, temperature, and pressure, you’ll fine‑tune flavor every shot. Use a refractometer to verify yield, and follow a daily checklist to stay on top of every variable. The result? Perfect espresso, day in, day out.


