
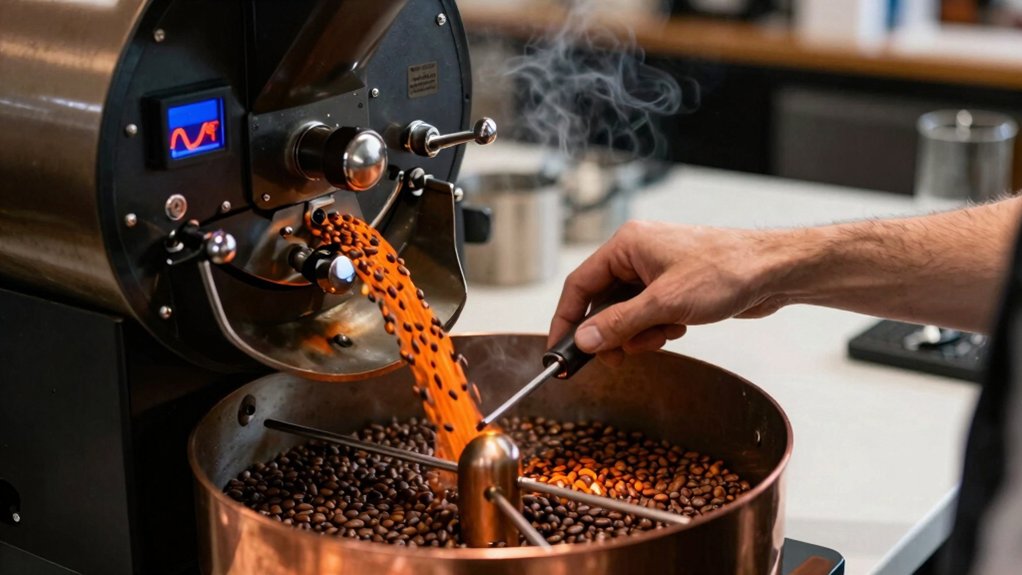
You’ll track bean temperature, rate of rise, and development time ratio to map the five roast phases, set a precise charge temperature, and shape the Maillard window for sweetness. Keep RoR steady through first crack, then adjust airflow and drum speed to fine‑tune the curve and avoid stalls or spikes. Aim for a DTR of 16‑21 % for filter or 20‑26 % for espresso, aligning turning points with BT for consistency. Master these steps and you’ll revealier flavor control.
What the Roast Curve Actually Shows
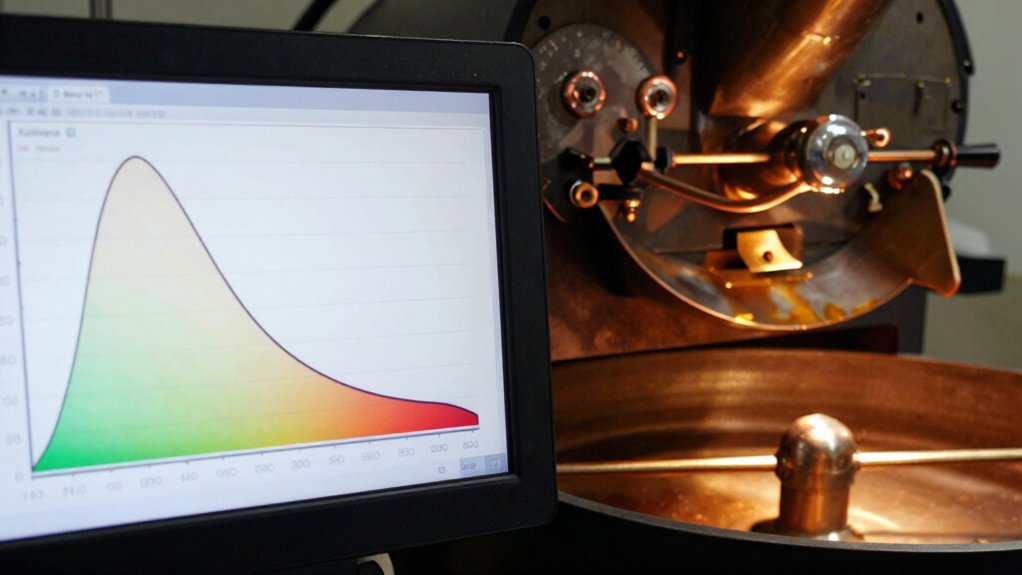
What does the roast curve actually show? It charts bean temperature over time, letting you see how heat transfer shapes the roast. From there, you can observe the Rate of Rise (RoR) and how it interacts with extraction dynamics and consistency across batches, as well as how equipment like refractometers can help monitor brew targets linked to development phases extraction yield.
Map the Five Roast Phases on Your Curve
You’ll start by spotting the key phase markers on your chart, then line up the temperature milestones for each stage.
Next, you’ll monitor the roast rate to keep it smooth across the transitions.
Finally, you’ll calculate the development ratios to fine‑tune sweetness and body.
Additionally, consider how the guide’s portable, beginner-friendly format supports on‑the‑go education and cultural exploration of diverse roasting styles portable passport to coffee mastery.
Identify Phase Markers
How do you pinpoint each roast phase on your curve? You monitor the bean temperature (BT) and listen for audible cues. The first marker appears when BT stabilizes and moisture evaporates, signaling the end of Drying and the shift to the Maillard phase. Next, a steeper BT rise and richer aroma indicate the Maillard/Browning stage. Finally, First Crack creates a clear inflection; after it, you observe Development Time Ratio (DTR) to assess the Development phase.
- Drying → BT plateau, moisture loss, transition to Maillard
- Maillard phase → rapid BT climb, yellowing, aroma development
- First Crack → audible pop, BT inflection, start of Development, DTR control
These phase markers let you map the roast curve precisely. Foaming Options and precise temperature control features from related frother models highlight how multi-stage heating and stable textures are achieved in practice.
Align Temperature Milestones
Ever wondered how to translate the abstract “phases” of a roast into concrete temperature targets? You start by marking the BT milestones on your roast curve: Drying begins around 150‑170 °C, Maillard climbs to ~190 °C, then First Crack hits 196‑205 °C. Use the Turn Point as the pivot, shifting from charge heating to active roasting so the BT line flips from a downward to an upward slope. Track the Maillard segment’s length to lock in sweetness and caramelization, then set a development time that preserves origin notes without scorching. Align the Development Time Ratio with BT progression—aim for 16‑21 % DTR for filter, 20‑26 % for espresso—while watching RoR. a gentle decline after drying to avoid spikes, ensuring a balanced, round cup. Understanding that heat retention and cup temperature are influenced by cup design and material can help you anticipate how your beans will respond during development espresso cup design and tailor your technique accordingly.
Track Development Ratios
Wondering how to keep your roast on target? Track the Development Time Ratio (DTR) by dividing the Development you spend after the Development Time Start (post‑First Crack) by the total roast time. Aim for 16‑21 % for filter and 20‑26 % for espresso. This ratio, plotted on your Roasting Curve, tells you whether you’re over‑ or under‑developing, which directly impacts sweetness, acidity, and body. Regularly monitor BT (Bean Temperature) and RoR (Rate of Rise) together; a gently falling RoR during development signals even caramelization. Use reference curves to map the five roast phases—drying, Maillard/Browning, First Crack, Development Time Start, and drop—so your DTR aligns with the bean’s origin. Record BT and DTR each batch; adjust heat input to keep the Development Time window consistent and reproducible. Development Timing informs how adjustments affect flavor throughout the curve.
Set the Ideal Charge Temperature for the Curve
You’ll set the charge temperature so the drum stabilizes at the right load, matching the target roast‑rate and development‑time ratio. This alignment lets you hit the desired ROR without lagging or scorching. Calibrating for the chosen bean type also helps minimize static residue and maintain consistent grind release burr material quality.
Target With Load
Where do you set the charge temperature to hit your target bean temperature (BT) and desired development time ratio (DTR)? You pick a charge temperature that lands the roast curve near 418‑425 °F, ensuring the early RoR is steady enough to dry the beans without scorching. Too low a charge stalls development; too high spikes RoR and burns the sugars. By matching charge temperature to the intended DTR, you lock in repeatability and preserve the flavor profile you’re after.
- Aim for a charge that yields a BT of 418‑425 °F at the first crack.
- Adjust the charge to keep the RoR within the target band for your development time.
- Verify that the resulting roast curve aligns with the desired DTR before tweaking further.
Drum Temperature Stabilization
After setting the charge temperature to hit your target bean temperature and development time ratio, the next step is to lock that temperature in the drum before the beans drop in. You pre‑heat the drum to the exact charge temperature, using the same batch size each time, so heat transfer stays consistent.
Watch the ET to BT lag; a stable ET that reliably leads BT guarantees a predictable roast curve and development timeline. If you’re working with delicate greens, dial the charge temperature a notch lower to protect floral notes; robust beans can handle a higher setting for a cleaner progression.
Record the charge temperature for every lot, then you’ll reproduce the same initial heat input and keep the drum temperature stabilization on point.
Aligning With Desired Ror
How can you lock in the perfect start for your roast? Set the charge temperature so the BT matches the curve’s opening, preventing underdevelopment or scorching. Treat the charge temperature as your anchor; any deviation misaligns BT and DTR, throwing off the roast profile and development phase. A precise charge temperature steadies the early heat‑up, curbing RoR spikes and keeping the drying and Maillard stages repeatable. Record BT versus ET at this point to verify a smooth RoR descent and proper curve alignment.
- Choose a charge temperature that hits the target BT at the curve’s start.
- Monitor RoR closely during the initial drop to avoid spikes.
- Document BT and ET responses to confirm consistent development phase progression.
Shape the Maillard Phase for Sweetness
Ever wondered why a coffee cup can taste like liquid caramel? You shape the Maillard phase by extending the window between 140 °C and 160 °C, letting sugars and amino acids mingle for deeper caramelization. A precise control of probe-tinned heat and steady RoR helps track the pH-like buffering during browning to maintain consistent sweetness calibration stability, ensuring a smoother progression.
Manage First Crack and Development Time
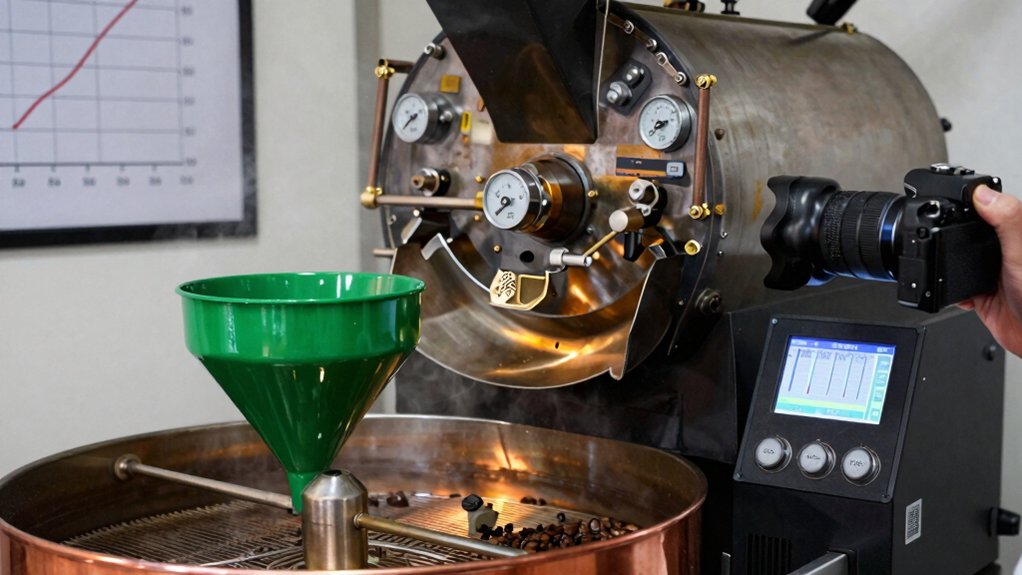
When the beans hit the first‑crack window (≈196–205 °C), you’re at the pivotal moment where timing and heat control dictate the roast’s final character. A sharp First crack followed by a brief drop yields bright, vegetal notes, while extending the development time (DT) deepens caramelization and sweetness. Watch the RoR curve; a sudden rise can stall the crack, forcing you to adjust heat input to keep the curve smooth. Track the DTR to balance acidity and body—higher DTR means longer DT, reducing acidity but risking flatness if you overshoot.
- Keep RoR steady through FC to prevent stalling.
- Aim for a DT that matches your flavor goal, usually 15‑30 % of total roast time.
- Use DTR as a quick sanity check; adjust on‑the‑fly to stay on curve.
Fine‑Tune Ror With Airflow and Drum Speed
Ever wondered how a slight tweak in airflow or drum speed can smooth out your roast rate curve? You can boost RoR by raising exhaust airflow while keeping bean temperature (BT) growth steady, which improves heat transfer and avoids hotspots.
Raising drum speed cuts bean contact time with hot surfaces, tempering RoR spikes and giving the roast curve a gentler slope for uniform development. During drying, increase airflow just enough to pull moisture without dropping BT too fast, preserving acidity.
In the Maillard stage, balance higher airflow with moderate drum speed to achieve even browning and sweetness without over‑drying. Keep an eye on RoR responses, adjust iteratively, and you’ll craft a smoother downhill RoR that leads to a consistent cup profile.
Use DTR and Turning Points for Consistency
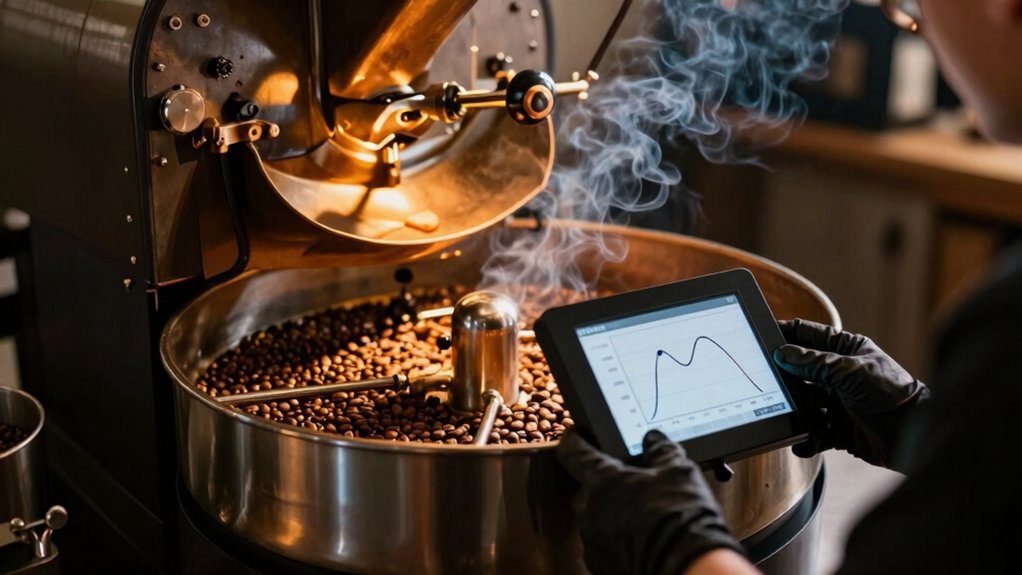
How can you lock in flavor batch after batch? By syncing BT with the Turning Point and watching the Development Time Ratio (DTR) on your Roast Curve. When BT hits target but DTR drifts, you keep roasting until both align, preserving the intended flavor development. A smooth, gradual Rate of Rise (RoR) after the Turning Point yields balanced sweetness and body, while sudden RoR spikes can create harsh notes. Consistency comes from repeating this BT‑DTR match across batches, using curve data to reproduce identical timing and taste.
- Set BT to hit the Turning Point precisely.
- Target a DTR of 16‑21% for filter, 20‑26% for espresso.
- Maintain a gentle RoR after the Turning Point for stable flavor development.
Troubleshoot Stalls, RoR Spikes, Over‑Development
If you’ve nailed the BT‑DTR match but still see uneven curves, the next step is to hunt down stalls, RoR spikes, and over‑development. A stall flattens RoR when heat input can’t raise BT, often after the Maillard phase. RoR spikes near first crack scream excess drum heat or poor heat transfer, while over‑development stretches development time and keeps RoR high, yielding heavy, syrupy cups.
| Symptom | Quick Fix |
|---|---|
| Stall | Lower charge temperature, boost airflow, increase agitation |
| RoR spike | Reduce drum heat, improve heat transfer, check airflow |
| Over‑development | Shorten development time, aim for smooth RoR decay after Maillard |
Monitor BT, ET, and RoR together. Keep RoR a gentle decline post‑Maillard to preserve brightness and balance.
Frequently Asked Questions
How Does Bean Origin Affect Optimal Roast Curve Parameters?
You’ll find that high‑altitude, dense beans need slower ramp‑up and longer development, while low‑altitude, lighter beans respond better to quicker heat spikes and shorter dwell, so adjust temperature, time, and airflow accordingly.
What Is the Impact of Humidity on Curve Development and Repeatability?
You’ll find that high humidity slows heat transfer, making the curve flatter and extending development time, while low humidity speeds it up, leading to sharper peaks and less repeatable results.
Can I Use a Single Curve for Both Light and Dark Roasts?
No, you can’t rely on one curve for light and dark roasts; each requires distinct temperature ramps, time targets, and bean responses. Adjust the profile’s peak, rate, and development phase accordingly.
How Does Batch Size Influence Airflow and Temperature Control?
You’ll notice larger batches demand stronger airflow to keep temperature even, so you’ll increase fan speed and possibly lower drum heat; smaller batches let you fine‑tune temperature with gentler airflow.
What Safety Precautions Are Needed When Adjusting High‑Heat Ramps?
You must wear heat‑resistant gloves, goggles, and a fire‑proof apron; keep a working extinguisher nearby; guarantee proper ventilation; never leave the roaster unattended; and monitor temperature closely to avoid overheating.
In Summary
By mastering each stage of the roast curve, you’ll control sweetness, acidity, and body with precision. Set a solid charge temp, shape the Maillard rise, and watch first crack to dial in development time. Tweak airflow and drum speed to smooth the ROR, then use DTR and turning points for repeatable results. When stalls or spikes appear, adjust accordingly, and you’ll consistently pull the perfect cup.


