

Your espresso extraction’s likely failing because you’re overlooking how grind size, dose weight, tamping pressure, and machine calibration work together to control water flow. If shots exceed 30 seconds, your grind’s too fine; if they’re under 20 seconds, it’s too coarse. You’re probably not weighing grounds consistently, checking your machine’s pressure, or preparing your puck properly to prevent channeling. Crema defects and sour or bitter flavors reveal these imbalances. Understanding each variable’s role will transform your results.
Our Recommended Product on Amazon

As an Amazon Associate we earn from qualifying purchases.
Grind Size: The Foundation of Espresso Extraction
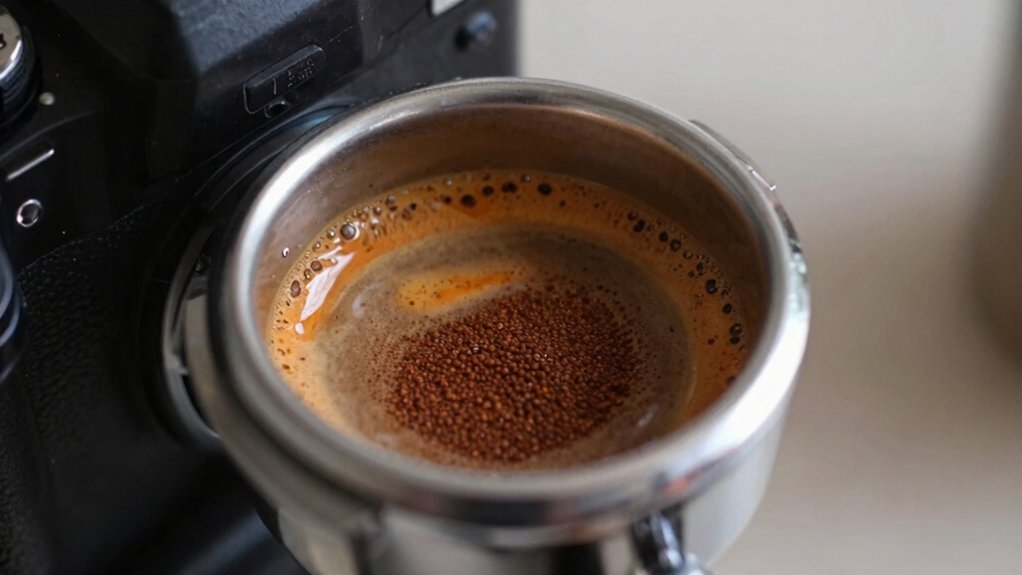
Why does grind size matter so much in espresso extraction? Because it directly controls your shot’s success or failure. When you grind finer, you increase surface area and slow water flow through the puck, which risks extending your extraction time beyond the ideal 25–30 seconds. If your shots consistently exceed 30 seconds, your grind is too fine—dial it coarser immediately.
Start dial-in with your grinder’s espresso-recommended setting, then adjust in small increments. Remember that grind size doesn’t work in isolation; your dose and basket size interact with it. A mismatch between these variables causes under- or over-extraction regardless of your grind setting.
Calibrate your grinder regularly and maintain consistency. This foundation ensures repeatable, stable extraction and prevents bitter, failed shots. Regular maintenance helps keep the temperature control stable during extraction, preserving the integrity of the foam and overall beverage quality.
Basket Size, Dose Weight, and Headspace Alignment
Your portafilter fill matters as much as grind size. Your basket size and dose weight directly control headspace—the critical gap between your puck and the shower screen. You’ll want to aim for 18–20 grams per shot, staying within ±2 grams of your basket’s capacity. This consistency maintains proper headspace and ensures even water distribution.
Weigh your grounds and break up clumps with a declumper to prevent channeling. Overfilling creates a thicker puck that resists water penetration, while underfilling reduces headspace and causes under-extraction. When you shift your grind settings, your dose effectiveness changes too. Regular weighing helps you identify flow issues and keeps headspace aligned for reproducible shots. Headspace awareness is supported by the use of consistent dosing and measurement practices across brew setups, including tracking with compatible scales and refractometer-enabled workflows.
Tamping Pressure and Puck Preparation
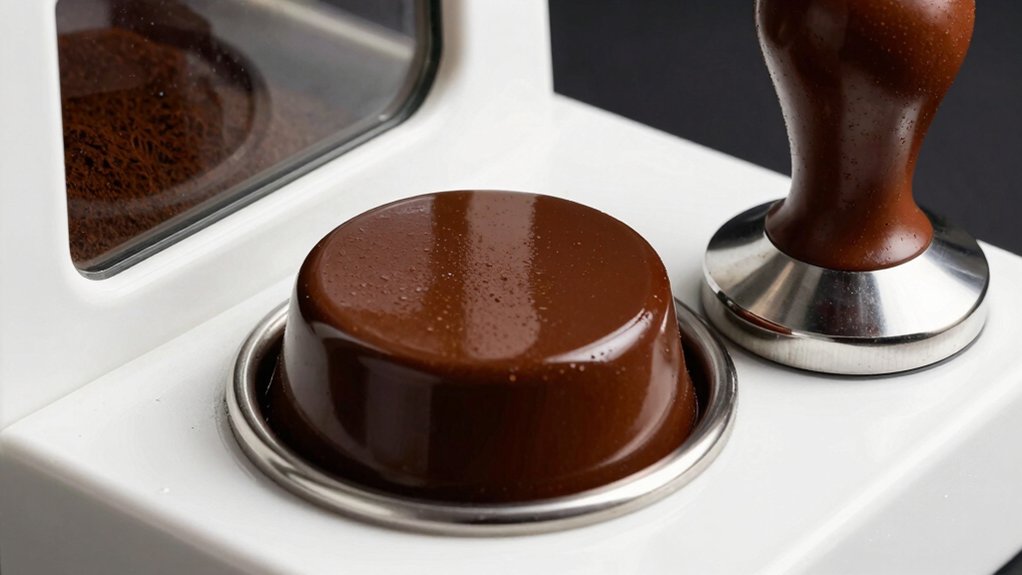
Once you’ve dialed in your dose and headspace, what you do with your tamper determines whether water flows evenly through your puck or rushes through weak spots. Aim for about 30 pounds of tamping pressure—enough to create a uniform surface without choking your shot. More pressure doesn’t improve extraction; it actually obstructs water flow, leading to slow shots and under-extracted flavors.
Your puck preparation matters equally. An even tamp combined with consistent grind size prevents channeling, those problematic gaps where water escapes unevenly. Consider using a spring-loaded tamper or distribution tool to maintain consistent pressure across your puck surface.
Together, proper tamping pressure and thoughtful puck preparation ensure even saturation and extraction, eliminating the weak spots that sabotage your espresso.
Gross Crema Defects: What They Reveal About Your Setup
Your espresso’s crema tells you exactly what’s going wrong with your setup, so you’ll want to learn what each defect reveals.
If you’re seeing light bubbles and an undersized crema layer, you’re either pulling shots under 20 seconds or your machine isn’t heating properly, while almost-black crema with tiny bubbles signals overextraction from excessive heat or shot time.
Thin crema despite good color points to a different culprit—old beans or a weak pump—and you’ll need to taste the shot to confirm whether the issue stems from your blend or equipment. Storage and organization
Light Bubbles And Underextraction
When you pull a shot and watch light, large bubbles rise through the crema, you’re seeing a red flag that screams underextraction. This defect typically means your shot’s running under twenty seconds, revealing either a machine that’s too cold or a grind that’s too coarse. Your extraction time is too brief for proper water-grounds contact, preventing the emulsification needed for dense crema. A common workaround is to verify that your timer settings align with your machine’s actual cycling to ensure accurate extraction timing precision. Start by adjusting your grind finer to slow the water’s passage through the puck. If that doesn’t work, check your machine’s temperature—it may need warming up. These quick fixes target the core problem: insufficient extraction. Taste your shot alongside these adjustments; if flavor remains thin, you might face blend or pump issues requiring deeper investigation.
Dark Crema With Tiny Bubbles
While light bubbles signal underextraction, the opposite problem—dark crema packed with tiny bubbles—tells a different story about what’s gone wrong in your setup.
Dark crema with tiny bubbles typically indicates two main culprits:
- Prolonged shot time: Your extraction’s taking too long, allowing heat buildup that breaks down crema prematurely
- Overheating machine: Temperature climbing too high compromises emulsification quality
- Grind too fine: Excessive resistance forces water through slowly, intensifying extraction
- Excessive pump pressure: Your machine’s delivering more force than needed, accelerating over-extraction
This combination reveals you’re pushing too hard or too long. Your beans are over-extracting, releasing bitter compounds that darken the crema. Check your grind size first—coarsen it slightly. Monitor your shot timing; you’re aiming for 25–30 seconds. If problems persist, verify your machine isn’t running hot and your pump pressure matches manufacturer specs. ExtractionTiming
Thin Crema Quality Issues
Why does thin crema persist even when your shot’s pulling the right color? You’re likely dealing with old beans or a weak pump that’s compromising your crema quality. Don’t ignore this red flag—it demands immediate investigation. Heat-resistant glaze helps ensure that your serving setup can handle adjustments without compromising aesthetics.
Taste Flaws: Overextraction vs. Underextraction
When you’re tasting instant coffee notes with a thin body and bitter aftertaste, you’re likely overextracting—a problem you’ll fix by switching to a coarser grind or pulling a shorter shot. Additionally, consider checking your bead size and hole diameter choices to ensure your extraction process aligns with your equipment and filtration setup coffee bean shapes. If instead you’re getting thin, sourish flavors, you’re underextracting, which means you’ll need to grind finer and extend your contact time to develop fuller taste.
Your grind size and shot duration are the primary levers you’ll adjust to find that sweet spot between these two extremes.
Instant Coffee Taste Signs
How’s your espresso tasting—burnt and bitter like instant coffee? You’re likely dealing with overextraction. This occurs when you pull too many harsh compounds from your grounds, creating that undesirable instant coffee-like profile.
Several factors contribute to this problem:
- Grind size too fine — particles extract too quickly, releasing bitter compounds
- Extraction time too long — prolonged contact dissolves excessive solubles
- High brew temperature — accelerates unwanted solubility
- Aggressive pre-infusion — strips away nuanced sweetness prematurely
You’ll also notice metallic or lemon peel notes alongside the burnt taste, signaling flawed balance between grind size, dose, and brew time. Fix this by using a coarser grind, reducing shot time, and lowering your temperature. These adjustments prevent pulling excessive harsh notes and restore balance to your espresso.
Thin And Sourish Indicators
On the opposite end of the spectrum, you’ll encounter thin and sourish espresso—a telltale sign of underextraction. When you’re pulling shots that taste sharp or sour, you’re experiencing acids that haven’t fully developed into balanced sugars.
To fix this, adjust your grind setting to be finer and extend your extraction time toward the 25–30 second range. This increased contact time between water and coffee grounds pulls out those missing flavors. You’ll also want to verify your dose, tamp pressure, and puck distribution are consistent, since channeling undermines your efforts.
| Issue | Cause | Solution |
|---|---|---|
| Thin body | Underextraction | Finer grind |
| Sour taste | Insufficient contact | Longer extraction |
| Sharp flavor | Acidic emphasis | Consistent tamping |
| Uneven saturation | Channeling | Better distribution |
| Quick shots | Low resistance | Adjust grind setting |
Grind And Stop Adjustments
Why does your shot taste either bitter or sour? You’ll find the answer by adjusting your grind size and extraction time in tandem.
When your espresso runs thin and sour, you’re underextracting. Here’s how to fix it:
- Grind finer to increase surface area and slow water flow
- Target an extraction time of 25–30 seconds for balanced flavor
- Stop lighter on the tamp to improve sweetness and body
- Reassess regularly as roast level and bean age shift your optimal settings
Conversely, if bitterness dominates, your grind’s too fine. Coarsen it slightly and monitor your shot time. Shots exceeding 30 seconds signal over-extraction. Adjust grind size incrementally—small changes yield significant flavor differences. Balance grind, dose, and tamp consistency to maintain stable extraction and avoid channeling.
Coffee Freshness and Age: Why Beans Degrade Flow
Ever notice your espresso shots pulling faster as your beans sit? You’re experiencing the direct effect of coffee freshness on extraction performance. As beans age, oxidation and porosity changes alter their structure, forcing you to adjust your grind consistency to maintain proper flow.
| Days Old | Grind Change | Flow Impact | Action Needed |
|---|---|---|---|
| 0–7 days | Minimal adjustment | Optimal extraction | Monitor closely |
| 1–2 weeks | Finer grind required | Faster pull | Adjust grind |
| 2+ weeks | Significant coarsening | Over-extraction risk | Replace beans |
| Mixed batches | Unpredictable | Inconsistent shots | Purge grounds |
Stale grounds mixed with fresh ones accelerate extraction through increased porosity. Purge your portafilter between batches when beans age to maintain shot consistency and prevent extraction failures.
Heat Exchanger Temperature and the Cooling Flush Fix
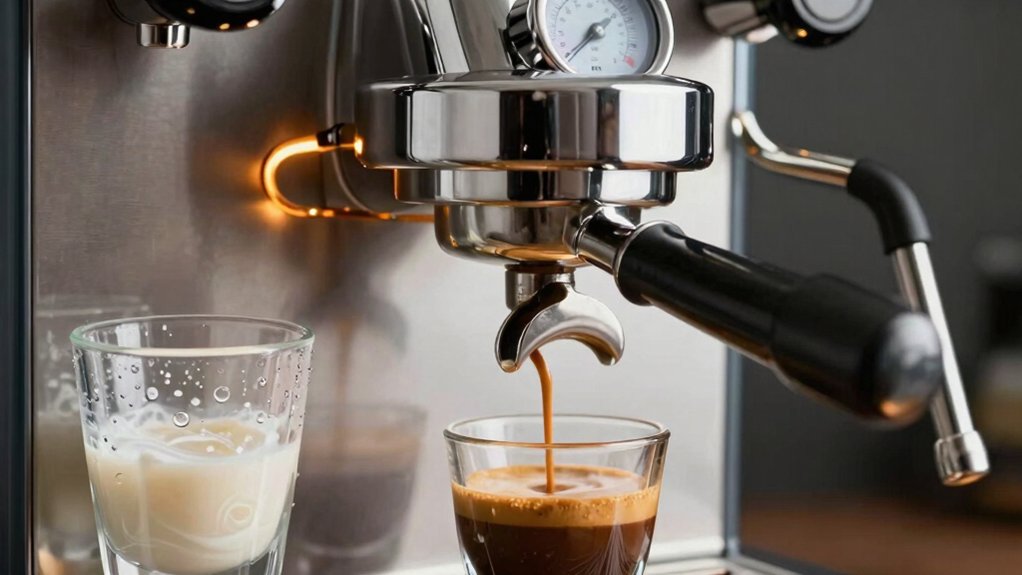
You’re dealing with dangerously hot water sitting in your heat exchanger’s group head, which causes gushers and uneven extraction on your first shot of the day. The fix is simple: you’ll perform a 10-second cooling flush by purging water from the group head before pulling your first espresso, which drops the temperature to your intended brewing range. Once you’ve mastered this routine purge, your subsequent shots’ll hit consistent temperature and flow, eliminating that frustrating first-shot failure.
Heat Exchanger Water Temperature
How’s your heat exchanger machine’s first shot turning out? If you’re experiencing inconsistent extractions or gushers, your water temperature’s likely the culprit.
Heat exchangers maintain brewing water just below boiling at the group head. This elevated temperature causes problems:
- Steam expansion creates unstable first shots and potential gushers
- Pre-infusion becomes unpredictable with excessive heat
- Your first shot often tastes off while subsequent shots improve
- Temperature fluctuations compromise extraction consistency
The solution? Perform a 10-second group-head purge before your initial shot. This cooling flush reduces brewing water temperature to optimal levels, preventing thermal shock during pre-infusion and initial flow. You’ll notice your first shot stabilizes immediately, matching the quality of your later extractions. This simple technique transforms your heat exchanger’s performance from frustratingly inconsistent to reliably excellent.
Gusher Prevention Through Purging
When your heat exchanger’s first shot gushes uncontrollably while later shots pull perfectly, temperature’s the problem—and a simple cooling flush is the fix.
Heat exchangers maintain water just below boiling at the group head, causing expanded steam and hot water to create gushers. You’ll purge water for 10 seconds before your first shot, lowering the brewing temperature and stabilizing extraction.
| Shot Sequence | Temperature | Flow Rate | Extraction Quality | Gushers Present |
|---|---|---|---|---|
| Before cooling flush | Excessive | Accelerated | Erratic | Yes |
| First shot (post-purge) | Stabilized | Controlled | Improved | Reduced |
| Second shot | Optimal | Consistent | Spot-on | No |
| Subsequent shots | Maintained | Reliable | Consistent | No |
| Without purging | Hot | Rapid | Uneven | Frequent |
This straightforward technique prevents temperature-related failures by managing heat exchanger dynamics effectively.
Cooling Flush Execution Steps
Why does that first shot gush while your second pulls perfectly? Heat exchangers maintain water just below boiling at the group head, causing pressure and steam expansion that destabilizes your initial extraction.
Perform a cooling flush—a ten-second group head purge—before your first shot to lower brewing temperature and prevent gushers:
- Open the group head valve fully for ten seconds
- Allow hot water to purge completely from the chamber
- Close the valve and load your portafilter immediately
- Pull your first shot as normal
This simple routine stabilizes subsequent shots by eliminating overly hot conditions that create inconsistent extractions. If shots remain erratic after executing your cooling flush, check your machine’s water temperature setting or group head temperature control. These adjustments ensure you’ll achieve consistent, balanced extractions every time.
Hopper, Grind Retention, and Shot Consistency
You might not realize that your hopper and grinder’s residual grounds are silently sabotaging your shots. Grind retention causes yesterday’s stale grounds to mix with today’s dose, making your first shot pull faster than intended. This inconsistency directly undermines extraction quality.
Your hopper management also matters critically. When you let it drop below one-third full, downshift reduces downward force, skewing grind movement and creating erratic doses. This compounds retention problems.
| Issue | Effect | Solution | Priority |
|---|---|---|---|
| Low hopper volume | Inconsistent grind size | Keep ≥1/3 full | High |
| Stale grounds retained | Fast pull times | Purge 3-5g before shots | High |
| Idle grinder (5+ hours) | Ground degradation | Flush before use | Medium |
| Retention buildup | Dose weight variance | Regular purging routine | High |
Purge a few grams before your first dose to flush residual grounds and establish baseline consistency.
Machine Calibration and Maintenance Oversights
Even the most dialed-in grinder can’t save shots pulled from a neglected machine. Your espresso machine requires consistent calibration and maintenance to deliver quality extractions.
Focus on these critical areas:
- Pressure verification: Use a manometer to confirm your machine operates at the target 9 bars; incorrect pressure produces under- or over-extracted shots
- Portafilter and gasket inspection: Worn O-rings and gaskets reduce brewing pressure, compromising extraction quality over time
- Temperature stability: Heat exchanger systems need a 10-second cooling flush before your first shot to prevent gushers and inconsistency
- Descaling routine: Mineral buildup clogs screens and restricts water flow, slowing extractions and creating off-flavors
Follow your manufacturer’s descale guidelines religiously. Verify brew pressure and group head temperature regularly. These oversights directly sabotage your extraction results, regardless of your technique or beans.
Pressure, Pre-Infusion, and Water Saturation
Once you’ve confirmed your machine’s pressure and condition, the next lever for extraction control is how water interacts with your puck before full pressure kicks in. Pre-infusion saturates your grounds at lower pressure for 2–8 seconds, promoting even extraction and reducing channeling. This initial phase prevents water from racing through weak points in your puck.
After pre-infusion, you need consistent saturation throughout your entire puck. If your shot pulls too fast or too slow, adjust your grind size and pre-infusion time accordingly. Even distribution—achieved through proper tamping and a level grind—maintains balanced pressure during brewing.
On heat-exchanger machines, run a 10-second cooling flush before pulling shots. This stabilizes your water temperature and ensures your pre-infusion works optimally from the first pull.
Achieving Crema-Flavor Harmony After Correcting Flaws
Now that you’ve dialed in your machine’s pressure, pre-infusion, and puck saturation, the real work begins: balancing crema quality with the flavors in your cup.
Your grinder settings directly influence both extraction timing and crema stability. Fine-tune them incrementally to hit your target range of 1.33–2.25 oz while maintaining consistent bubble structure.
- Adjust grind coarseness to control shot duration and prevent over-extraction
- Sample top-flight espressos regularly to calibrate your palate
- Prioritize crema deficiencies before addressing flavor imbalances
- Use center-cut or brief start-dump techniques to stabilize crema
Taste after each adjustment. If crema appears too light with large bubbles, tighten your grind and accelerate extraction. If it’s nearly black with tiny bubbles, reduce heat or dial back intensity. This disciplined approach ensures you’ll achieve harmony between exceptional crema quality and balanced flavor.
Frequently Asked Questions
How to Fix Espresso Extractions?
You’ll fix your espresso extractions by purging stale grounds, maintaining a full hopper, doing cooling flushes, grinding fresh weekly in airtight containers, and cleaning your group head regularly.
Does Espresso Raise Cholesterol?
You’ll find that moderate espresso doesn’t considerably raise your cholesterol for most people. Paper-filtered methods reduce problematic compounds, and your individual response depends on genetics, diet, and lifestyle factors.
What Are the Possible Reasons for Shot Extraction Being Too Slow?
You’re experiencing slow extraction when you’re grinding too fine, tamping too hard, dosing too much coffee, neglecting equipment maintenance, or running low brewing temperature and pump pressure below nine bars.
How Long Is Too Long for Espresso Extraction?
You’re looking at too-long extraction when your shot exceeds 30 seconds. Beyond that, you’re over-extracting, pulling excessive bitterness. You’ll want to adjust your grind coarser or check your tamping pressure immediately.
In Summary
You’ve now got the roadmap to fix your failing espresso extractions. Start with your grind size, dial in your dose and tamping, then fine-tune your machine’s pressure and pre-infusion settings. Don’t ignore maintenance—it’ll sabotage even perfect technique. You’ll taste the difference once you’ve nailed these fundamentals. Your next shot’s going to be exceptional.


