
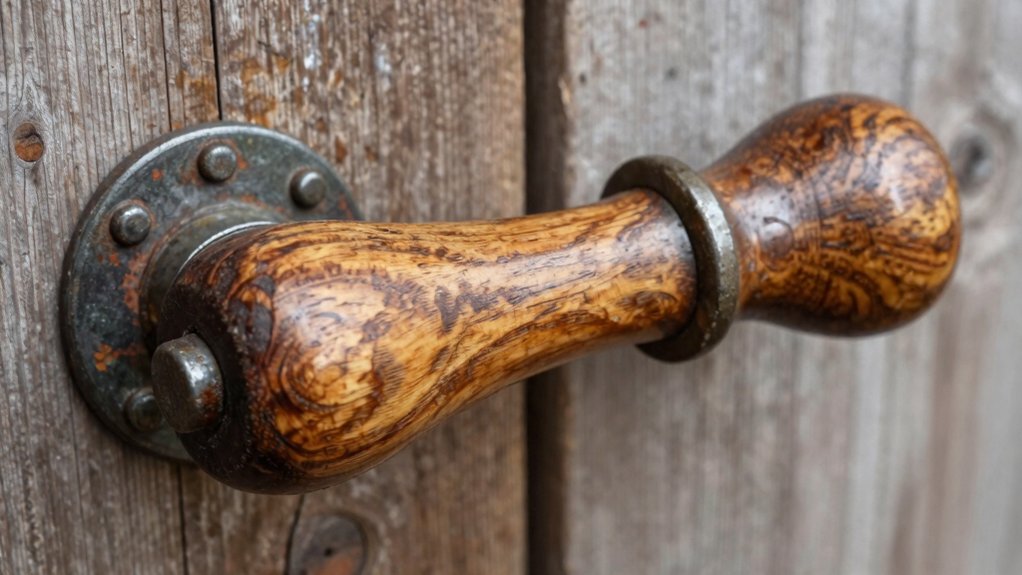
First, pinpoint your mill’s make—check stamps, patent dates, and casting patterns—to confirm the exact model and thread size. Gather flat‑head and Phillips screwdrivers, pliers, a rubber mallet, mineral oil, and a soft cloth. Disassemble carefully, supporting the spindle and noting thread pitch before cleaning the shaft with a compatible solvent and removing burrs. Align the new period‑accurate or custom handle, press‑fit or set‑screw it gently, then reassemble and test the lever with a peppercorn grind. Continue for a full step‑by‑step guide.
Identify Your Antique Mill Model and Thread Size
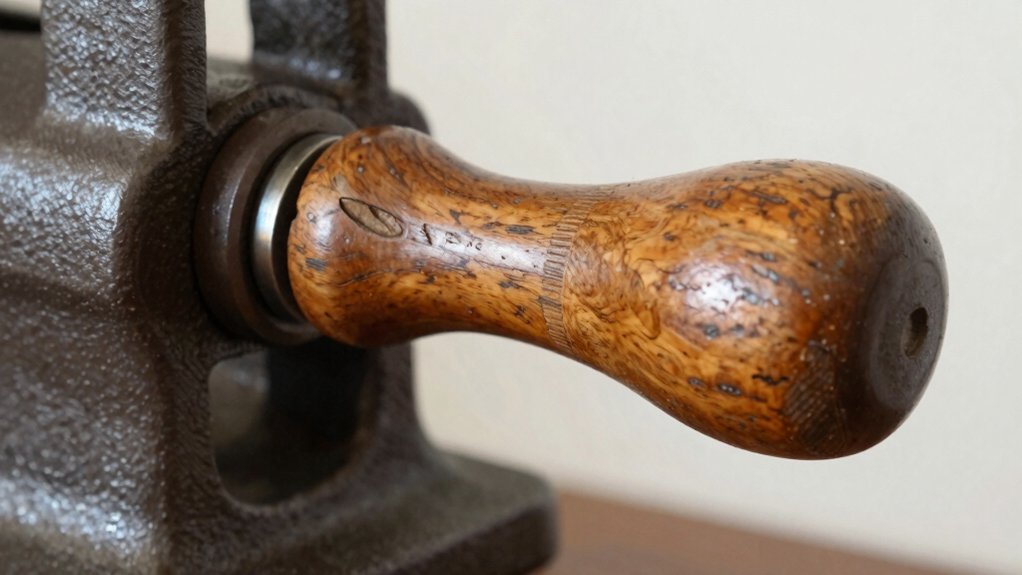
Which mill do you own, and what thread does its crank shaft use? You start by confirming the model identification—look for Zassenhaus Zenzi, Wells‑Index 40H/55/800, Arcade/Empire stamps, patent dates, or unique casting patterns. Measure the crank shaft’s thread size directly: note diameter, pitch, and whether it’s metric or imperial, coarse or fine. Cross‑reference those measurements with collector forums, vintage catalogs, and donor mill records to verify the exact thread standard for your model. Document the original handle’s length, grip diameter, and ferrule style, then compare that data against available replacement parts. This precise matching prevents mis‑fits and ensures any new or custom‑fabricated handle engages the shaft correctly. Additionally, understanding thread standards helps ensure compatibility across various antique mills and their replacement components.
Gather Tools for Antique Mill Handle Replacement
A solid set of tools makes the handle swap smooth and safe. You’ll need a flat‑head and Phillips screwdriver set, small pliers, soft cloths, and a rubber mallet for fitment and seating of the antique mill handle. Keep a light, food‑safe mineral oil handy for moving parts, but stay clear of the grinding blades to avoid flavor contamination. Before you start, source a replacement handle or compatible ferrule that matches the original geometry and screw‑hole pattern. Gather cleaning supplies—soft brush, mild soap, white vinegar—and wood oil or wax to protect the wood after installation. Photograph each step and note orientation to ensure accurate reassembly. Proper handling ensures the integrity of handcrafted products, especially when working with natural materials like wood.
Disassemble the Mill While Preserving Threads
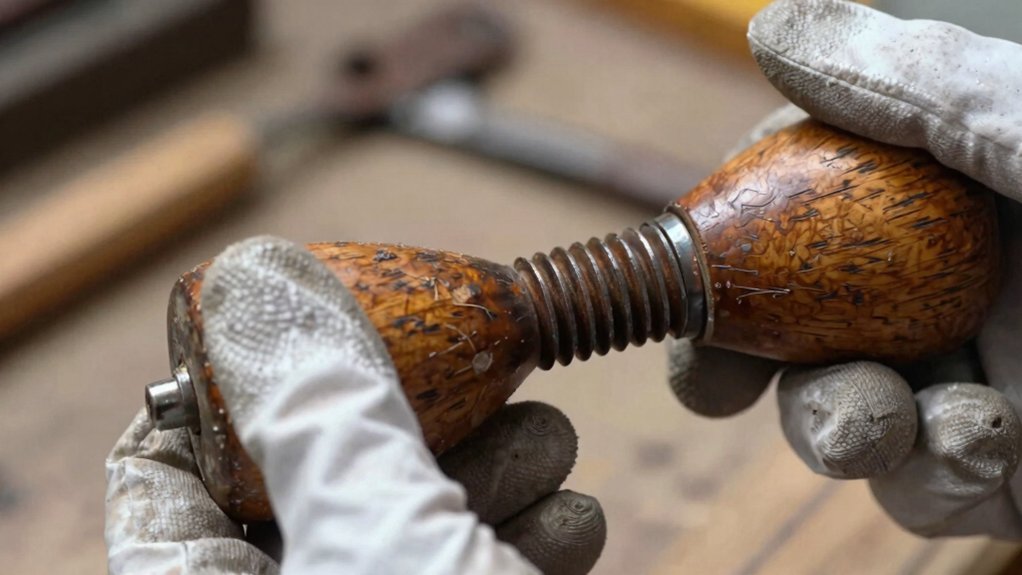
You’ll start by loosening the fasteners and supporting the spindle so the threads stay intact. Keep track of the thread type and pitch, and if the handle is press‑fit, tap it gently with a rubber mallet instead of forcing it.
Once the handle is off, clean the threads with a brush and inspect for wear before any re‑tapping or replacement. Be sure to verify the C8/C10 ratio, as it influences how quickly the handle can be removed and replaced without damaging the threads.
Thread Preservation Techniques
How can you keep the mill’s threads intact while taking it apart? Start by marking and photographing each thread engagement and direction before any fastener removal; this reference streamlines reassembly and safeguards alignment. Apply penetrating oil and tap gently—never heat—to loosen components, then support the handle and shaft with a jig or bench vise to avoid cross‑threading or bending. After disassembly, brush the threads with brass, then lubricate with a light, food‑safe oil to fill gaps and prevent rust. Document any use of match‑thread fasteners or helicoil inserts for future fastener maintenance. Consulting thread preservation techniques from refractionometry knowledge can further reduce the risk of damage during reassembly.
Thread Damage Prevention
Marking and photographing each thread engagement before you start loosening fasteners gives you a visual reference that prevents mis‑alignment later.
As you begin disassembly, loosen fasteners in small increments and back off a few turns before full removal; this gentle approach averts galling and stripping.
Apply a light coat of penetrating oil and work the joint with a careful back‑and‑forth motion, using food‑safe or machine‑grade lubricant as appropriate.
Record thread counts, pitch, and left/right orientation in your notes, then protect exposed threads with a thin layer of oil or wax.
Store each component in a labeled bag, ensuring you can retrieve the exact pieces for reassembly care.
Additionally, understanding the importance of micro-filtration technology can help ensure your restored mill maintains optimal flavor extraction and prevents bitterness buildup over time.
Thread Re‑tapping Methods
Ever wonder how to re‑tap the antique mill’s handle without ruining its original threads? You’ll first disassemble the handle, exposing the shaft while keeping existing threads intact for reference. Grab a thread gauge, note the pitch and diameter, then select a matching tap‑die set. Coat the threads with penetrating oil and turn the tap steadily; stop at any resistance to prevent cross‑threading. If the threads are worn, begin with a smaller tap or insert a threading insert after confirming shaft integrity. Finally, hand‑thread the handle back on and finish with a gradual wrench torque to verify smooth operation. Temperature control features of modern milk frothers can also help prevent overheating during re-tapping processes.
- Use a precise thread gauge before choosing the tap‑die.
- Apply penetrating oil and turn the tap with a steady, gentle motion.
- Test fit by hand, then torque gradually to ensure proper restoration.
Clean and Degrease the Shaft for Handle Replacement
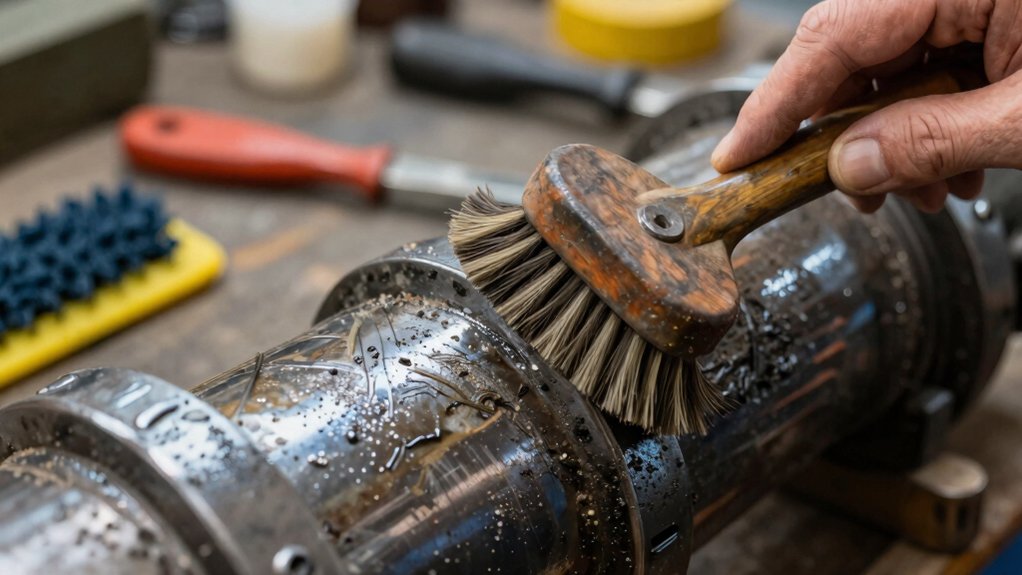
You’ll start by degreasing the shaft with a compatible solvent, wiping away loosened grime until the metal is dry and spotless.
As you clean, watch for corrosion or rust pits that might need extra treatment before you install the new handle.
Once the shaft is pristine, you can move on to the installation tips that ensure a tight, secure fit.
Shaft Degreasing Procedure
How do you guarantee a clean, rust‑free shaft before installing a new handle? Start by stripping off burrs and any hardware to expose bare metal. Slip a penetrating oil into threads and bearing surfaces, let it soak, then wipe away with a lint‑free cloth. Use a brass or nylon brush to scrub the shaft, avoiding abrasive metal polishes that could mar the finish. Follow with mineral spirits or isopropyl alcohol to dissolve residual grease, and dry the shaft thoroughly to prevent flash rust. Finally, inspect for pitting, scoring, or wear that might compromise the replacement fit. Incorporating a rust prevention step, such as applying a light coat of machine oil, can help maintain the shaft’s condition after cleaning.
Handle Installation Tips
After stripping the burrs and soaking the shaft in penetrating oil, wipe it clean and give it a thorough scrub with a non‑abrasive brush, then rinse with a compatible solvent and dry completely. Next, inspect the shaft for any remaining wear; a fine file or emery cloth will smooth nicks without harming the new handle fit. Align the handle with the lever on the grinding mechanism, making sure the centerline matches the original geometry. If the handle is a press‑fit, tap it gently with a rubber mallet until it seats fully, avoiding wood cracks or shaft distortion. Finally, rotate the handle by hand with the mechanism disconnected; smooth, sag‑free motion confirms successful handle installation before you reassemble the mill.
Inspect the Shaft Before Antique Mill Handle Replacement
What should you look for before swapping out the antique mill handle?
First, examine the shaft for any wear, scoring, rust, or bends that could compromise grip and alignment. Spin it gently to feel the bearings; any play, wobble, or roughness signals worn bushings. Inspect the top cap nut and attaching screws for stripped threads, and verify the shaft key or flat spots line up with the handle’s hub to guarantee a secure handle fit. Record the shaft diameter, thread size, and corrosion condition so you know whether machining or replacement is needed.
- Look for surface defects on the shaft (wear, rust, bends).
- Test bearing rotation for smoothness and absence of wobble.
- Check key alignment and thread integrity for proper handle fit.
Choose Period‑Accurate or Custom Handles
Need you aiming to keep your mill’s character while ensuring it works smoothly, start by deciding whether a period‑accurate handle or a custom‑made one best fits your project. Period‑accurate handles preserve authenticity; match original material, grip style, and decorative motifs. When originals are scarce, custom handles let you replicate mounting dimensions, length, thickness, and lever angle while choosing wood species or metal finish that blends with the mill’s patina. Verify that any new handle aligns with the grinding mechanism and that the ferrule fits the existing hole spacing. Reuse or reproduce logos and engravings to retain historical value.
| Feature | Period‑Accurate | Custom |
|---|---|---|
| Material | Original wood, metal, composite | Carved wood, machined metal |
| Mounting dimensions | Exact to original | Identical to original specs |
| Finish | Patina‑compatible | Tailored to match existing aesthetic |
Install the New Handle With Set‑Screws
Pick the handle you’ve chosen—whether a period‑accurate replica or a custom piece—and line it up with the grinding mechanism’s lever before you tighten anything.
Choose your handle, align it with the lever, and tighten only after confirming proper positioning.
For handle installation, first check that the shaft sits flush; if it’s press‑fit, tap gently with a rubber mallet until it meets the ferrule. Then insert the set‑screws, turning each just enough to hold the handle without stripping the wood. Keep an eye on alignment as you tighten, making sure the lever moves freely and stays level. Finally, wipe away any oil or residue and give the mill a quick peppercorn test to confirm stability.
- Verify flush seating before screwing
- Tighten set‑screws evenly, avoiding over‑tightening
- Re‑check alignment after initial torque
Align and Tighten the Handle After Replacement
How do you guarantee the new handle sits perfectly before you tighten it? First, press‑fit the wooden handle onto the shaft, tapping gently with a rubber mallet until it’s flush. Check the alignment by rotating the lever; the handle should line up with the mechanism’s pivot without wobble. When you’re satisfied, tighten the set‑screws just enough for a secure attachment—avoid over‑tightening, which can crack the wood or shift the alignment. Re‑test rotation and make sure the handle stays steady.
| Step | Action |
|---|---|
| 1 | Seat wooden handle with rubber mallet |
| 2 | Verify alignment by turning lever |
| 3 | Tighten set‑screws lightly |
| 4 | Check for wobble or misalignment |
| 5 | Confirm secure attachment before next stage |
Reassemble the Mill After Handle Replacement
After you’ve confirmed the handle is flush and aligned, place the top cover back on the mill, secure it, and give the lever a full turn to check for smooth, wobble‑free rotation. Then gently tap a press‑fit handle with a rubber mallet until it seats fully, being careful not to over‑tighten the screw that holds the wooden lever. Lightly coat the moving gears with food‑safe mineral oil, wiping away excess, and finally grind a few peppercorns to verify grind consistency before you consider the reassembly complete.
- Verify the handle sits snugly without gaps.
- Ensure the top cover clamps evenly, preventing wobble.
- Test a small batch of peppercorns to confirm grind consistency.
Test the Grinding Mechanism for Smooth Operation
Ever wondered how to confirm your mill grinds uniformly after a handle swap? Reattach the grinding mechanism, load a few peppercorns, and turn the handle slowly through each setting. Watch the particle size; it should stay consistent. If it’s too coarse, tighten the screw on the grinding mechanism, then retest. If it’s too fine, loosen the screw a touch and test again. Before you start, make sure the burrs are aligned and the adjustment cam sits roughly halfway counter‑clockwise from the burr lock. Move through the grind levels methodically, feeling for any wobble or binding. After a smooth run, clear any debris and verify the mechanism spins freely without wiggling or jamming.
Document Each Restoration Step for Provenance and Future Care
Having verified the grind’s consistency, you should now record every restoration step to build a clear provenance trail and simplify future care. Capture timestamps, before‑and‑after photos, and a log of tools, materials, and settings for each action. Note part identifiers, orientation, and torque specs so future repairs can follow the same assembly logic. Flag any non‑original replacements, citing source, acquisition date, and fitment notes. Finally, link a maintenance schedule to these milestones—post‑use cleaning, monthly lubrication, and annual inspections—to preserve function and value.
- Sequential timestamps with photographic evidence
- Detailed tool, material, and torque documentation
- Integrated maintenance schedule tied to restoration milestones
Frequently Asked Questions
How to Restore Metal Antiques?
You clean rust with 0000 steel wool, use vinegar for heavy spots, then polish gently to preserve patina. Apply a thin mineral‑oil film, avoid over‑polishing, and reassemble with original hardware, checking torque.
How to Clean a Hand Crank Coffee Grinder?
You should disassemble the grinder, soak the burrs and metal parts in coffee cleaner overnight, scrub rust with fine steel wool, rinse, dry, then reassemble, checking alignment and testing with beans.
In Summary
Now you’ve identified the model, gathered tools, disassembled, cleaned, inspected, aligned, and reassembled the handle, you’re ready to test the mill’s smooth operation. Document each step for future reference, and you’ll have a fully restored antique mill that not only works flawlessly but also retains its historic value. Enjoy the satisfaction of bringing a piece of craftsmanship back to life.


