
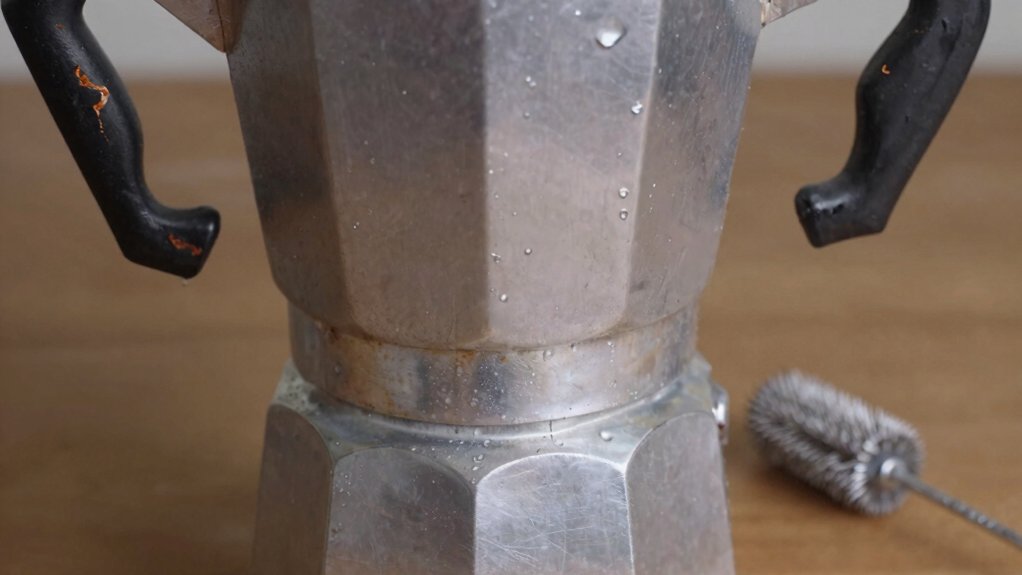
First, test the pot’s metal with a magnet to see if it’s stainless steel or aluminum, then note any oxidation, cracks, or worn gaskets. Disassemble carefully using plastic tools, photograph each step, and label every bolt and clip. Clean the pieces with warm soapy water; for aluminum oxidation, use a mild abrasive cleaner or a lemon‑vinegar paste, then dry thoroughly. Replace the old rubber gasket with food‑grade silicone cut to the exact groove. Reassemble, tighten the pressure screw, and run a short brew to verify that the gauge holds the target pressure without leaks. Follow these steps and you’ll keep your vintage maker brewing perfectly for years to come.
Identify Material & Condition of Your Vintage Moka Pot

What metal is your vintage moka pot made of? Grab a magnet and hold it to the body; if it clings, you’re looking at stainless steel, otherwise it’s likely aluminum. Check the bottom for a copper‑tone patina, which could hide mineral buildup or a different alloy beneath.
Run a visual condition assessment: inspect the spout, filter, and gasket for cracks, rust, or missing rubber seals—these parts degrade fastest.
Aluminum surfaces may show white oxidation, so you’ll need a gentle cleaner like Bar Keepers Friend instead of abrasive scrubs.
Stainless steel tolerates tougher cleaning but still benefits from a soft cloth to avoid scratches.
Note any discoloration or pitting, as these clues guide your restoration plan before you ever disassemble the pot.
Additionally, examining the material composition can help determine how to best care for and restore your vintage moka pot.
Disassemble Your Vintage Moka Pot Without Damage
Now that you’ve identified the metal and noted any wear, start by photographing each piece in place so you can reassemble it correctly later. Use a soft‑light source and capture the tank, seals, gaskets, and the heat‑exchanger from multiple angles. Then, grab plain, non‑metallic tools—plastic spudgers or wooden sticks—to gently loosen every fastener. Keep bolts and tiny clips in labeled containers so nothing disappears. Remove the tank and seals first, followed by the pipe and heat‑exchanger, watching for corrosion or wear as you go. Throughout the espresso disassembly, handle each part with care, avoiding excessive force. Handle each component carefully, especially those prone to wear or corrosion, to prevent damaging the brewing technology. Store the components in a clean, dry spot, and wash them separately before you move on to cleaning.
Clean & Polish the Metal of Your Vintage Moka Pot Safely
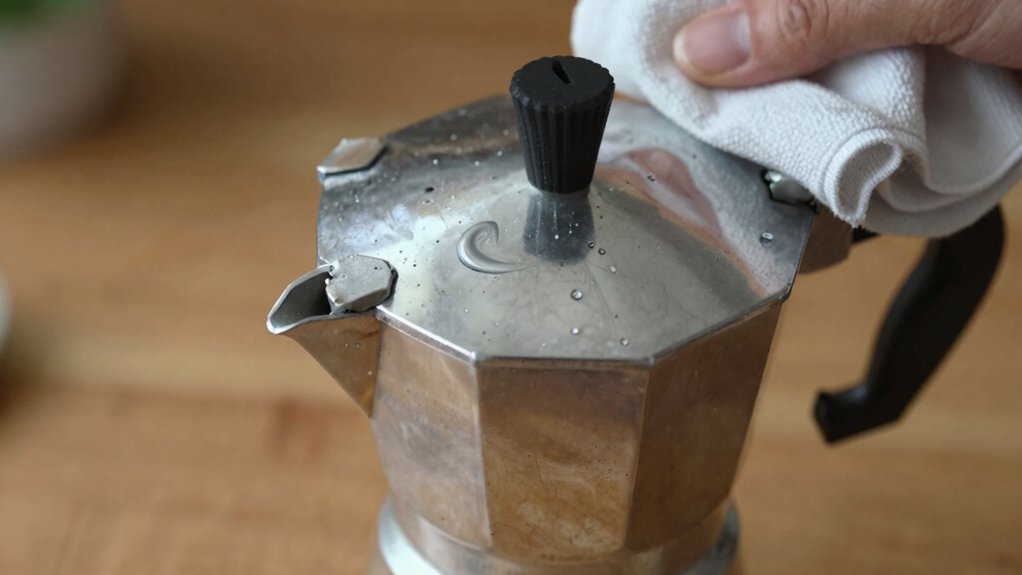
A gentle, methodical approach keeps your vintage moka pot’s metal shining without damage. First, test magnetism: a magnetic pot is steel, non‑magnetic is aluminum, so you’ll know whether BKF cleaner is safe.
Next, rinse the pot with warm, soapy water to remove loose grime, then dry it thoroughly.
Finally, tackle oxidation with a mild abrasive—sprinkle BKF cleaner on a soft sponge, scrub gently, and rinse well; for stubborn aluminum oxidation, mix lemon juice with cream of tartar or a vinegar solution, apply, let sit a minute, then wipe clean.
Always wear gloves, avoid eye contact, and dry completely before reassembly.
- Identify metal type.
- Apply BKF cleaner or lemon‑tartar mix.
- Rinse, dry, and protect from future corrosion.
Replace the Rubber Gasket and Seals on Your Vintage Moka Pot
You’ll want to pick a gasket material that tolerates heat and pressure, like food‑grade silicone, and gather tools such as a gasket cutter or a sharp blade to shape it. A vintage coffee poster can also serve as an inspiring visual guide for your project. Search online for exact measurements or bring the broken seal to a hardware store to find a compatible replacement, even if you need to adapt a part from a similar model. After fitting the new gasket, test the pot for leaks before brewing to ensure a tight, pressure‑holding seal.
Rubber Gasket Materials
Where can you find a gasket that fits your vintage moka pot? Start by measuring the original gasket’s inner diameter and thickness; most OEM pieces are scarce, so you’ll often rely on silicone sheets or custom‑cut alternatives. When you locate a candidate, verify compatibility with your model’s pressure rating and heat tolerance. A hardened rubber band won’t seal, so replace it promptly. Utilizing a precise weighing scale can help ensure you select the correct size and material for your replacement gasket, ensuring optimal sealing performance.
Seal Replacement Tools
Ever wondered how to swap a cracked gasket without ruining the pot’s groove? Grab a gasket cutter and slide it gently into the groove; the thin blade slides the old seal cleanly, preserving the metal edge. If you prefer a DIY substitute, cut a silicone sheet into a slightly undersized circle—this creates a snug, heat‑resistant seal that mimics the original shape. For a proper replacement, measure the inner diameter, groove width, and cross‑section, then bring those numbers—or the broken gasket itself—to a specialty shop. The supplier can verify compatibility and locate an interchangeable seal. When original parts are unavailable, food‑grade silicone or high‑temperature gasket material works as a safe, last‑resort option. Checking the compatibility of replacement parts ensures the best fit and longevity for your vintage moka pot.
Finding Compatible Replacements
Finding a replacement gasket for a vintage moka pot starts with precise measurements: note the inner and outer diameters of the groove, the thickness of the existing seal, and the pot’s model or year. You’ll then verify compatibility by cross‑checking those numbers against online catalogs and part lists. When you’re ready for replacement sourcing, keep these steps in mind:
- Bring the broken gasket to a specialty store for a direct match.
- Use a gasket cutter to trim a silicone sheet to the exact profile if stock parts are scarce.
- Consult vintage‑coffee‑maker repair shops for custom fabrication.
- Consider water resistance features of replacement parts to ensure durability and proper sealing.
Reassemble and Test for Leaks & Proper Pressure
You’ll start by running a press test, tightening any loose fittings until the gauge shows a steady reading with no drops.
Then tweak the pressure adjustment screw until the actuator maintains the target bar pressure during a short brew cycle.
Finally, verify the seals hold and the pressure stays consistent before moving on to the next step. Incorporating temperature retention checks can also ensure your espresso maker maintains optimal pressure and performance.
Press Test Procedure
Ready to verify that your reassembled brew group holds pressure? Begin the espresso machine pressure test by slowly increasing the high‑side pressure to the normal operating level.
Watch every gasket, flange, and valve joint for drips; any sign of leaks means you need to tighten the fitting a bit more and inspect O‑rings. Replace worn seals—most cost under €10.
While the pressure climbs, keep an eye on the side‑side pressure switch to confirm the reading matches the design setpoint, avoiding over‑pressurization. After the first check, let the system cool, then re‑pressurize and repeat the leak scan to ensure stability.
- Tighten fittings incrementally.
- Replace any compromised gaskets.
- Verify gauge readings after cooling.
Pressure Adjustment Tips
How should you fine‑tune the brew pressure after reassembly? Start by filling the boiler with hot water, then gradually pressurize the system, watching each joint for leaks. Turn the side screw on the pressure switch a quarter turn at a time, checking the gauge after each adjustment. If you spot a drip, tighten the fitting a little, re‑seat the gasket, or lightly sand the gasket surface to restore a clean seal. Wrap a thermal blanket around the tank to keep temperature steady, which steadies pressure during warm‑up. Once the gauge reads the manufacturer’s target, run a short brew cycle and confirm the manometer matches the rated pressure. This iterative process ensures proper pressure without wasteful over‑tightening.
Maintain Your Restored Vintage Moka Pot for Longevity
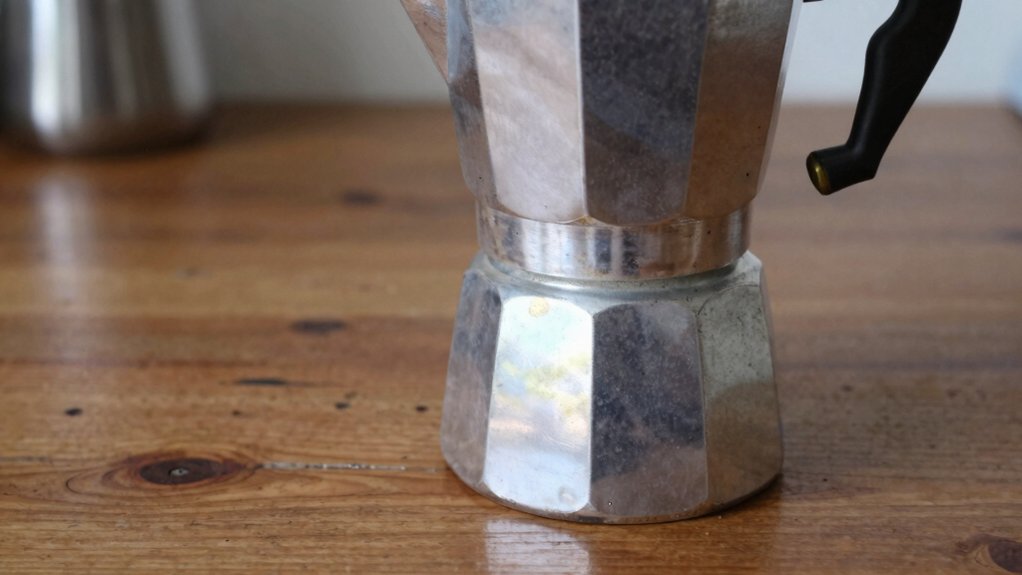
One of the simplest ways to keep your restored vintage moka pot lasting for years is to dry it completely after each brew and store it with the lid off. After each use, take it apart, rinse with mild soap, and wipe every surface dry. Inspect gaskets; if they look brittle, replace them—making sense to swap a worn seal for a new one before leaks develop. Apply a thin coat of food‑safe oil to metal parts to curb oxidation and preserve patina.
Key upkeep steps 1. Dry thoroughly, lid off, after every brew. 2. Check and replace gaskets promptly. 3. Lightly oil metal surfaces after cleaning.
Following these habits keeps your moka pot shining and functional for decades.
Frequently Asked Questions
How to Fix an Old Espresso Machine?
You should disassemble the machine, inspect the pump and boiler for clogs, clean mineral buildup with a vinegar‑water rinse, replace worn seals, tighten loose fittings, then reassemble and test pressure.
What Is the Original Stovetop Espresso Maker?
You’re looking at a classic Moka pot, usually a pewter‑lined, three‑part stovetop espresso maker with a rubber gasket, designed for brewing strong coffee on a burner.
How to Get Crema on Stove Top Espresso?
You’ll get crema by using fresh, high‑fat beans, grinding them medium‑fine, preheating the water just below boiling, sealing the pot, then brewing over medium‑high heat without over‑stirring.
Is It Worth Repairing an Espresso Machine?
Yes, you’ll find it’s worth repairing if you value the machine’s original design, can source parts affordably, and enjoy the satisfaction of restoring a piece that can still brew great espresso.
In Summary
Now you’ve got a fully restored vintage stovetop espresso maker that brews like new. By checking the material, carefully disassembling, safely cleaning, swapping the gasket, and reassembling with a leak test, you’ve ensured prime pressure and flavor. Keep it maintained—regular cleaning and occasional gasket checks—and your classic Moka pot will keep delivering rich, authentic espresso for years to come.


