
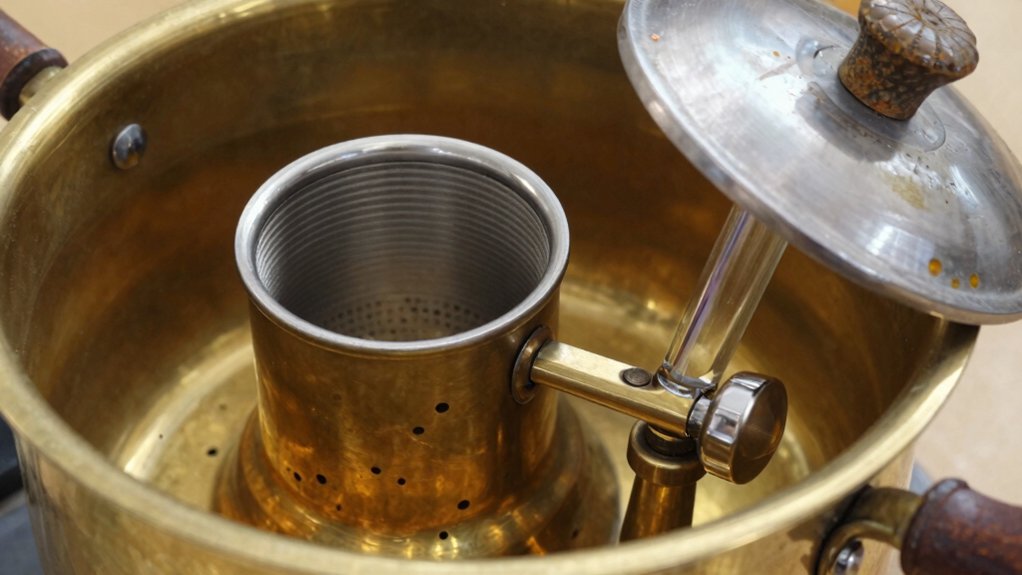
Start by checking the glass carafe’s thickness and curve; early models have thicker, more rounded stems, while post‑1961 pieces show swooped handles and slimmer glass. Compare the lid—older versions use a full metal top, newer ones have an inner insert—and note any stamped part numbers like 645/2689 or 687. Examine the basket’s diameter, height, and mesh markings; match those dimensions and the stem’s center hole to brand catalogs (RevereWare, Farberware) for era clues. These steps will let you pinpoint the exact vintage percolator model and guide you to the right replacement basket.
Identify the Exact Vintage Percolator Model and Production Era
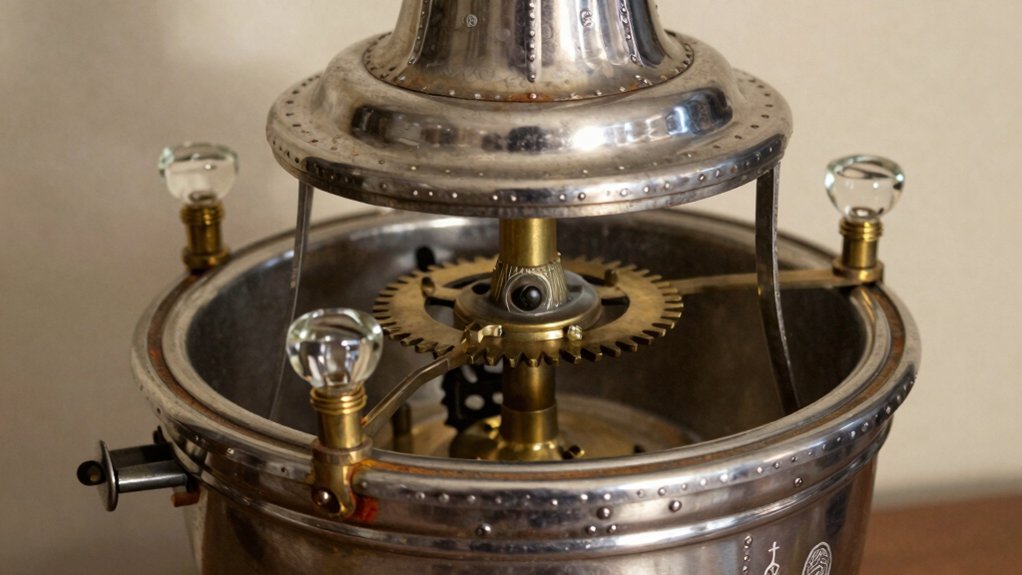
Where do you start when you need to pin down a vintage percolator’s exact model and era? First, examine the glass carafe and glass stem; their thickness and curve often match a specific production era. Next, note the old style handle—straight, solid, and unadorned—versus the swooped handles that appeared after 1961. Check the top assembly for a metal lid and the percolator basket’s shape; a full top assembly signals the newer style, while an inner insert points to earlier versions. Then, cross‑reference part numbers like 645/2689 or 687 with catalog references to confirm the production era. Additionally, look for collapsible design features such as silicone or stainless steel elements that align with certain manufacturing periods to help you match the piece to known brand lineages. Finally, look for compatibility indicators such as the Fitz‑All glass knob, which help you match the piece to known brand lineages.
Measure and Recognize the Basket’s Unique Markings and Dimensions
After confirming the model and era from the glass carafe and handle, turn your attention to the basket’s markings and dimensions. Measure the percolator basket’s diameter and height in inches; 4‑6 cup units usually sit around 3–3.5 inches, while 8‑12 cup models are larger. Inspect the rim and metal mesh for vintage markings—model numbers, maker logos, or stamps like “PYREX” or “FARBERWARE.” Note whether the basket uses a metal mesh or a perforated insert, as this distinguishes it from steam or espresso baskets. Check the stem length and center hole size, ensuring the lip and clamp fit the pot stem precisely. These details lock in the basket’s identity and compatibility. Recognizing vintage kitchenware features helps ensure you’re selecting authentic parts that match the original design and functionality.
Find and Order a Compatible Replacement Basket From Catalogs or Community Sources
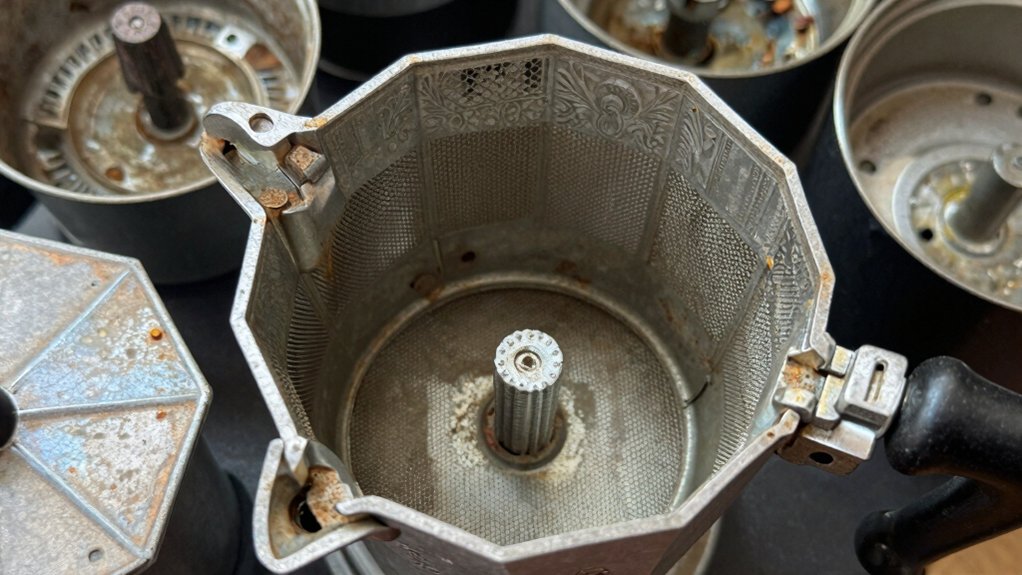
Looking for a replacement basket? Start by checking brand catalogs—Revere Ware, Farberware, and similar lines list percolator basket part numbers alongside cup sizes. Match the model year and handle style to verify compatibility with your pot’s inner diameter and basket rim design. Search community marketplaces and percolator‑focused catalogs for inserts labeled “percolator basket,” “coffee basket,” or “blooming basket.” Compare mesh gauge, basket height, and top edge profile (lip or clamp‑on) to ensure a secure fit. Use catalog cross‑reference lists from resources like RevereWareParts or Farberware replacement guides to find interchangeable replacement baskets for 4, 6, 8, or 10‑cup capacities, confirming any top‑ or stem‑compatible constraints before ordering. Material compatibility is also crucial to prevent corrosion or deterioration over time.
Frequently Asked Questions
Why Are Percolators Not Used Anymore?
You’ve stopped using percolators because drip and single‑serve machines brew faster, cleaner, and more consistently, while percolators need constant monitoring, can over‑extract, and their parts are hard to find.
What Year Was the Corningware Percolator Made?
You’ll find most Corningware percolators were produced between 1960 and 1968, with early‑glass models in the early ’60s and mixed‑metal versions appearing mid‑decade, so your piece likely dates to that span.
Do Vintage Percolators Make Good Coffee?
You’ll find vintage percolators can brew decent coffee if you respect their temperature limits and avoid over‑extraction, but aluminum parts may affect flavor, and inconsistent heat distribution can make consistency tricky.
How to Use a 1960S Percolator?
Fill the carafe with cold water, add two tablespoons of coffee per cup, place on medium heat, watch the stem rise, lower flame when cycles start, then lift the basket to stop brewing.
In Summary
Now you’ve pinpointed the exact model, measured the basket’s markings, and sourced a compatible replacement, you can restore your vintage percolator to full brewing glory. With the right parts in hand, the coffee will flow just as it did decades ago—rich, robust, and unmistakably classic. Enjoy the satisfaction of a perfectly revived piece of coffee history.


