
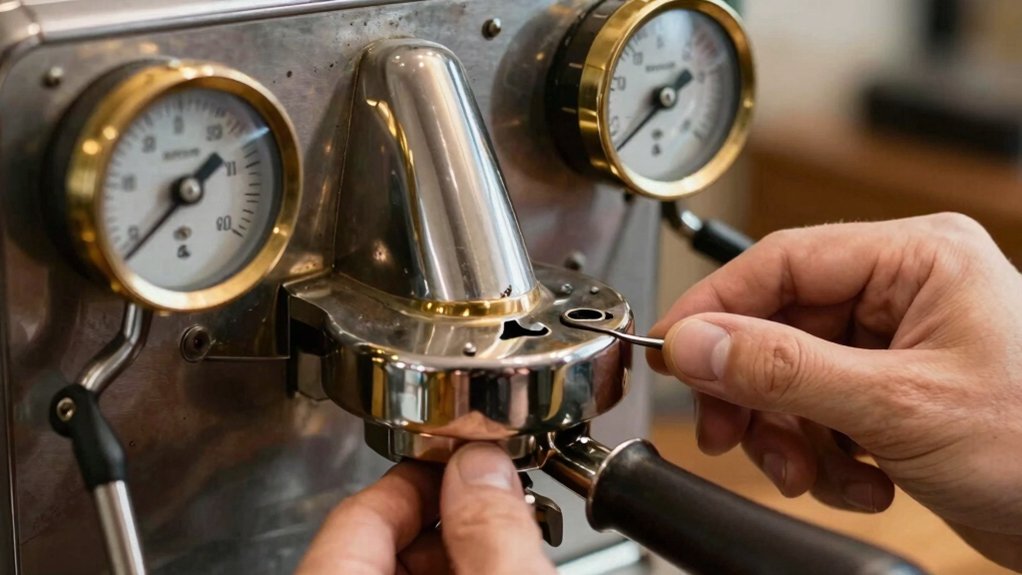
First, unplug the machine, let it cool, and remove the drip tray and panels to expose the gauge port. Choose a 40 mm, 1/8‑inch BSP water‑resistant gauge, cut a short PTFE tube, and route it through a Tee fitted after the pump elbow, using Teflon tape on all threads. Fill the gauge with glycerine for needle damping, tighten the connections, then leak‑test with soapy water and calibrate against a reference. Reassemble, zero the gauge, and you’ll discover the full step‑by‑step process next.
Select the Right Pressure Gauge
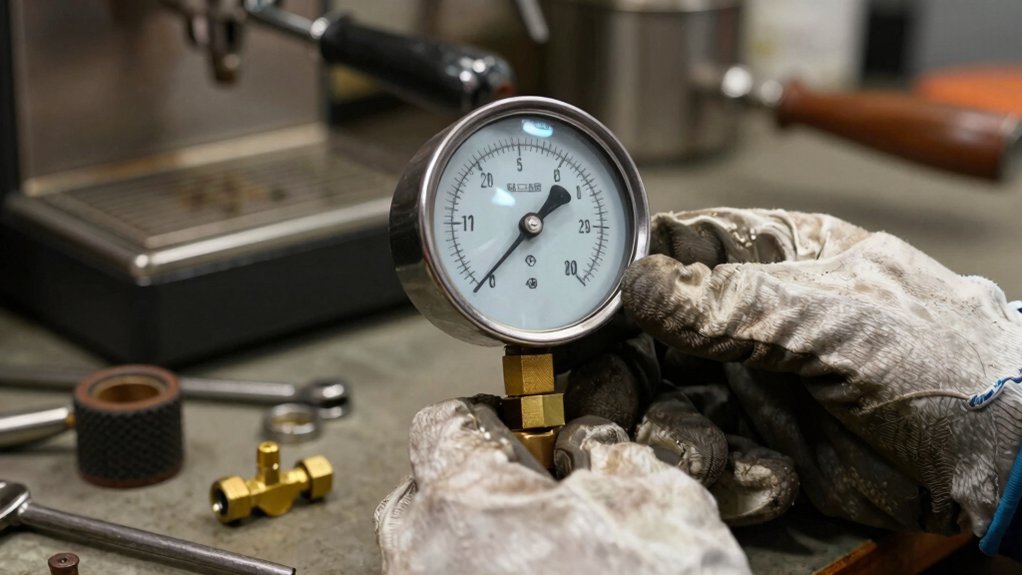
When choosing a pressure gauge for a vintage espresso machine, start with a capillary‑tube or liquid‑filled model—both dampen needle vibration and avoid the oscillation typical of dry gauges. You’ll want a 40 mm gauge; anything larger than 63 mm will look out of proportion and may not fit the mounting bracket. Pick a pressure gauge that reads in Bar, since 1 kg/cm² ≈ 0.98 Bar and 1 MPa ≈ 10 Bar, giving you a clear target for espresso extraction. Choose a BSP thread, preferably 1/4‑inch or 1/8‑inch, to match standard fittings and simplify installation. Align the gauge horizontally and place a Tee between pump and boiler; this orientation eases hose routing and keeps the needle steady during brewing. Additionally, selecting a gauge with appropriate water resistance ratings can help prevent damage from steam and moisture exposure in the brewing environment.
Gather Gauge‑Specific Tools, Safety Gear, and Materials
Choosing the right gauge sets the stage, but you now need the right tools and safety gear to install it safely. Gather a 2.5 mm Allen key, 13 mm and 14 mm wrenches, screwdrivers, and a drill or panel punch if you’re mounting a new gauge. Keep PTFE tape and glycerine handy for filling the gauge. Set up a clean workspace with labeled containers, a camera or notepad for documentation, and rubber bands or cloths to catch drips. Verify the gauge’s thread (usually 1/8 BSP) and hose dimensions (OD 6 mm, ID 4 mm) match the machine. Before you start, unplug the espresso maker, let it cool, and confirm no residual pressure remains. Slip on safety gear, double‑check power‑down, and you’ll be ready to proceed. When handling components, materials and safety certifications ensure use of lead-free and durable parts.
Disassemble the Machine to Access the Pressure‑Gauge Port

First, unplug the machine, let it cool, and take out the drip tray and water reservoir so you can reach the exterior panels. Then, remove the top and back panels to expose the gauge area. Locate the reservoir holder, unscrew the two bottom screws, and set it aside. If the water‑line filter blocks the front gauge, disconnect it from the reservoir outlet. Grab a 13 mm wrench, loosen the brass nut, and shift the thin copper tube aside to free the threaded post that the pressure gauge mounts on. Next, use a 14 mm wrench to loosen the nut holding the bracket and gauge. Pull the bracket away, and the gauge port is now visible for the next step of the disassembly. Ensuring proper smart connectivity can help monitor pressure levels more effectively during maintenance.
Remove the Existing Gauge Safely
First, unplug the machine and shut off the water supply to avoid shocks or burns.
Then, loosen the mounting screws with the appropriate wrenches and carefully push the copper tube aside.
Finally, detach the gauge from the tee, keeping the removed parts organized for reassembly.
Be sure to handle the gauge delicately to prevent damage to the pressure-sensitive components.
Disconnect Power and Water
Before you touch the gauge, unplug the espresso machine and let it cool so you won’t risk a shock or burn. With the power safely disconnected, flip the machine over and remove the top and back panels to expose the reservoir holder. Unscrew the two bolts holding the reservoir, then pull it forward enough to see the water‑line connection. Detach the water‑line filter from the reservoir outlet, noting its orientation for later reassembly. Grab a 13 mm wrench and loosen the brass nut, gently nudging the thin copper tube aside. Switch to a 14 mm wrench, turn the next nut on the threaded post, and free the gaugeBracket. Pull the bracket away, clearing the old gauge and preparing the space for the new one. Ensure you select the correct compatibility and filter type to maintain the integrity of your espresso machine’s function.
Remove Gauge Mounting Screws
Now that the machine is upside down and the reservoir is out of the way, grab the 13 mm wrench and loosen the brass nut that holds the thin copper tube, then switch to the 14 mm wrench to turn the post nut and release the gauge bracket.
With the bracket free, locate the mounting screws that secure it to the boiler.
Use a small Phillips or flat‑head driver to turn each screw counter‑clockwise, keeping the wrench nearby in case the screw is stubborn.
As you remove the screws, watch the water line connection; gently pull the tube aside to avoid kinking or stressing the fitting.
Once both screws are out, the gauge bracket lifts cleanly, leaving the old gauge ready for detachment.
Being mindful of the compatibility ensures you select the right replacement gauge and avoid damage.
Detach Gauge From Tee
Need you’re ready to separate the gauge from the tee, make sure the espresso machine is completely powered down and any residual pressure has been released. First, grab a metric wrench and loosen the threaded connection between the gauge and the tee. Turn counter‑clockwise until the threads free, then watch for any Teflon tape or sealing compound. Carefully scrape off remnants to keep the new assembly clean. Slide the gauge off, avoiding kinks in the PTFE tube or braided hose. Inspect both the gauge port and the tee’s threads for corrosion or debris; clean or replace as needed before reinstalling a new gauge. Burr Material Matters plays a key role in ensuring the longevity and accurate performance of your gauge components.
Install a Tee Fitting and Route Hoses for the New Gauge
Where should you place the Tee so the gauge stays cool and the line stays clear? Install the Tee right after the pump elbow, using BSP fittings that match your machine (1/4″ or 1/8″). Connect two male BSP threads to the Tee’s inlet and outlet, then attach a female fitting for the gauge and another female fitting for the remaining line. Choose a hose with the proper outer diameter (e.g., 6 mm OD, 4 mm ID) and route it away from heat sources and moving parts. Keep the path straight, but allow enough slack for future elbow adjustments.
When you drill a panel hole, simulate hose and wiring interference, leaving extra space for clamps, fittings, and the short PTFE segment between the Tee and gauge to avoid kinks. This setup ensures reliable gauge installation and clean hose routing.
Cut PTFE Tubing to the Correct Length
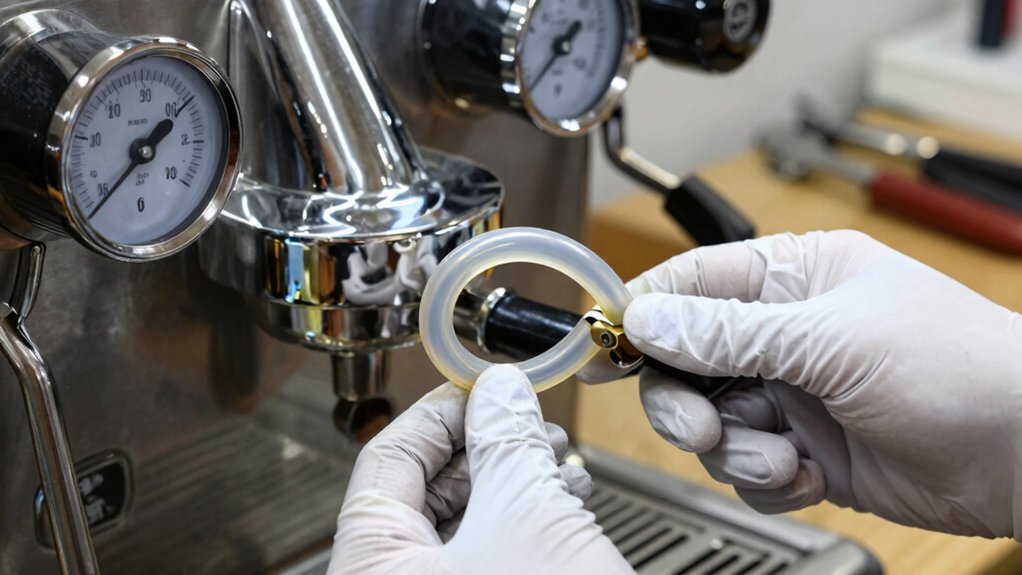
First, grab a ruler and measure the gap between the Tee and the gauge connection, then add a little extra length for the fittings.
Cut the PTFE tubing with sharp scissors or a tubing cutter, making sure the cut is clean and straight.
Finally, double‑check that the piece slides fully into both ports without kinking before you secure it.
Measure Before Cutting
The PTFE tubing must be measured precisely before you cut it, ensuring it reaches from the pressure gauge to the Tee without excess slack or tension. Grab a flexible measuring tape or a set of calipers and run it along the exact routing path, accounting for any bends that could shorten the effective length. Note the distance, then use a fine‑point marker to draw a clear cut line on the tube. Make sure the mark is visible and straight; this will guide your utility knife or tubing cutter. When you slice, apply steady pressure for a clean, square edge. After the cut, test‑fit both ends in the gauge and Tee to confirm the measurement is spot‑on and the seal will be leak‑free.
Use Ruler Precisely
How can you guarantee a leak‑free connection when cutting PTFE tubing for a pressure gauge? First, grab a ruler or calipers and make a precise measurement from the gauge port to the Tee. Mark the exact length, then slice the PTFE tubing cleanly with a sharp cutter, keeping the cut square to prevent fraying. Dry‑fit the piece before tightening any fittings; it should sit without bending or kinking. If the line routes around a bend, add a little extra only for the straight segment, not the curve. Label the trimmed section and stash the leftover for future gauge installation swaps.
| Step | Tool | Goal |
|---|---|---|
| 1 | Ruler or calipers | Precise measurement |
| 2 | Sharp cutter | Clean, square cut |
| 3 | Dry‑fit | Verify fit, avoid leaks |
Fill the Gauge With Glycerine for Damping
Ever wondered how to give your vintage espresso gauge a smooth, steady read? You’ll start with glycerine‑damping by performing a careful gauge filling. Grab a 60 ml syringe, attach a slip tip or Luer Lock tip, and keep the gauge upright and stable. Slowly inject glycerine into the housing, watching for any air bubbles that could skew the espresso machine gauges. Once the syringe is empty, reinstall the threaded fitting with the proper sealing material to lock the fluid in place and prevent leaks. Perform a safe leak check, then observe the needle’s motion; a well‑damped gauge will settle quickly and stay steady under pressure. This simple step dramatically improves reading accuracy and protects your vintage equipment.
Apply Teflon Tape and Tighten Threads Properly
Need to seal the gauge connection? First, grab a piece of Teflon tape and wrap it clockwise around the male threads of the pressure gauge connection. Use two to three thin wraps for 1/8 BSP or 1/4 BSP fittings; too much tape can block the bore. Press the tape firmly so it adheres without bunching. Next, hand‑tighten the pressure gauge until it feels snug, then finish with a wrench, turning just enough to secure the joint without cross‑threading. Keep the gauge upright so the orientation stays correct while you tighten. This method provides reliable thread sealing and prevents leaks before you move on to testing.
Test for Leaks and Verify Pressure Accuracy
Ready to confirm your gauge isn’t leaking and is reading accurately? Begin gauge testing by applying a thin layer of soapy water to every fitting. Watch for rising bubbles; any appear means a leak, so re‑apply PTFE tape clockwise and tighten the threads. Next, perform a leak test under pressure: block the boiler outlet, run the pump briefly, and note any abrupt pressure drops. For pressure accuracy, fill the gauge’s internal reservoir with about 60 ml of glycerine, then increase pressure gradually, ensuring the needle moves smoothly. Compare the gauge reading against a calibrated reference at low, mid, and high points, recording any consistent offset. Use these observations to adjust calibration and confirm reliable performance.
Reassemble the Machine and Zero the Gauge
How do you ensure everything comes back together correctly and the gauge reads zero? Begin reassembly by reversing the disassembly steps, labeling each part and snapping photos to confirm orientation. Reconnect hoses, wires, and the reservoir, making sure the pressure gauge aligns with its mounting bracket before you tighten any fasteners. Use two wrenches to snug nuts and fittings, applying Teflon tape to threaded connections to prevent leaks. Once all components sit securely, power the machine with a blind filter in place and watch for a steady pressure rise, confirming the gauge functions properly. For zeroing, depressurize the boiler, disconnect active flow, and verify the gauge reads near zero; then, during the first startup, check that the reading stays at zero before normal operation.
Troubleshoot Remaining Issues
What’s the quickest way to pinpoint why the gauge stays dead and the machine won’t build pressure? Start by powering down, then visually scan for leaks around the pump, gauge housing, and pressure regulator. Use a multimeter to run diagnostics on the gauge wiring and pump motor continuity. If the meter reads open circuit, you likely have gauge failure; if it’s solid, shift focus to the pressure regulator or pump internals. Document each step with photos and note any recent descaling that could have introduced blockages.
| Component | Symptom | Test |
|---|---|---|
| Gauge | No movement | Multimeter continuity |
| Pump | No pressure | Listen for motor hum |
| Pressure regulator | Stiff needle | Manual pressure test |
| Fittings | Leaks | Visual inspection |
When to Call a Professional for Complex Problems
If the gauge won’t move and the machine barely brews, you’re likely facing unrepairable damage that needs a pro.
Spotting boiler pressure leaks or electrical safety issues is another sign you should stop DIY and call an authorized technician.
Document what you’ve tried and any error codes so the specialist can diagnose and fix the problem efficiently.
Recognizing Unrepairable Gauge Damage
A cracked dial face, bent needle, or shattered glass tells you the gauge is beyond field repair and needs replacement. When you see those signs, you’ve got gauge damage that a simple tweak won’t fix.
Leaking glycerine after disassembly or bubbles in the fluid signal failed seals, meaning gauge replacement is the only safe route.
If pressure readings stay erratic or non‑linear even after swapping the gauge, the internals are compromised.
Corroded threads or a broken mounting post also demand a new gauge, not a patch.
Finally, if you need to operate above the gauge’s rated range or can’t achieve calibration, call a professional. Ignoring these cues risks inaccurate pressure readings and espresso quality.
Identifying Boiler Pressure Leaks
Ever notice a steady hissing at the boiler joints or a sudden pressure drop while the machine runs normally? Those are classic signs of boiler pressure leaks. If you hear a hiss, see steam or coolant escaping, or watch the pressure gauge tumble after a refill, it’s time to act. Inspect brass fittings, welding seams, and any gaskets linking the boiler to the pressure‑relief valve. Look for damp insulation, corrosion, or a persistent loss of pressure that won’t hold. Simple leaks may be fixed by tightening a loose connection or replacing a worn gasket, but complex leaks—especially on vintage models—require a professional. They’ll use inert pressure testing and disassemble the boiler to check welds, seals, and the heat exchanger, ensuring safety and proper repair.
Handling Electrical Safety Concerns
Sizzling, burning smells, or exposed wiring around the gauge signal a serious electrical issue that you shouldn’t ignore. First, unplug the espresso machine and let every component cool before you even touch the gauge. Never power the unit with the gauge removed or with loose connectors, because that invites shock and short‑circuit risks. If you spot any of those signs, call a professional right away—don’t try to test high‑voltage circuits unless you’re trained with a multimeter. Check that the machine’s grounding is solid; improper grounding is a major electrical hazard. Remember, gauge safety depends on proper insulation, secure wiring, and compliance with local electrical codes. When in doubt, let a qualified technician handle the complex repairs.
Frequently Asked Questions
Why Is the Pressure Gauge Not Working on My Espresso Machine?
Your gauge isn’t working because the line’s clogged, the gauge’s threads are loose or damaged, mineral buildup’s the internals, or a leak’s preventing pressure from reaching it, so check connections, clean, and reseal.
How to Assemble a Pressure Gauge?
You insert the gauge, align it outward, then reattach the bracket and thread the brass and post nuts with 13 mm and 14 mm wrenches, tighten securely, reconnect the water line, and test for leaks.
Why Is My Pressure Gauge Not Working?
You’re seeing no movement because the gauge is either clogged, leaking, or has a loose connection; mineral buildup, damaged PTFE tubing, or a faulty internal spring can also prevent it from reading pressure.
How to Burp a Pressure Gauge?
You burp the gauge by first disconnecting power, then gently tilt or tap it while applying a light pressure pulse, letting trapped air escape through the vent, and finally verify accuracy with a known pressure source.
In Summary
Now you’ve got a reliable pressure gauge, your vintage espresso machine will pull consistent shots and stay true to its classic character. Follow the steps, double‑check for leaks, and zero the gauge before you brew. If everything reads right and the machine runs smoothly, you’ve solved the problem. Should any quirks persist, don’t hesitate to call a professional—some issues need expert hands. Enjoy the perfect espresso you’ve earned.


