
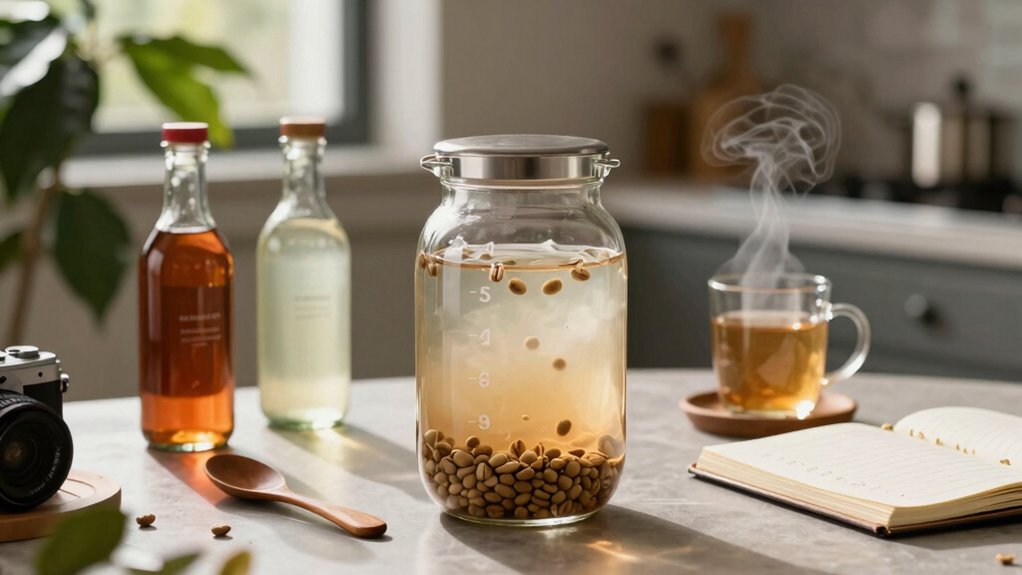
Seal fresh cherries in a tank with 2 % salt‑brine, close it tight, and keep the temperature between 20‑25 °C. Track pH every 12 hours, aiming for a steady drop to 3.5‑4.0, and measure Brix, staying above 18 % for LAB fuel. If pH falls too fast, cool the tank; if it lags, warm it slightly and stir gently. Keep oxygen out, wash and dry beans once the target pH is hit, and you’ll get bright acidity, chocolatey body, and consistent flavor—more details await if you keep going.
Set Up a Sealed Tank for Lactic Acid Coffee Fermentation
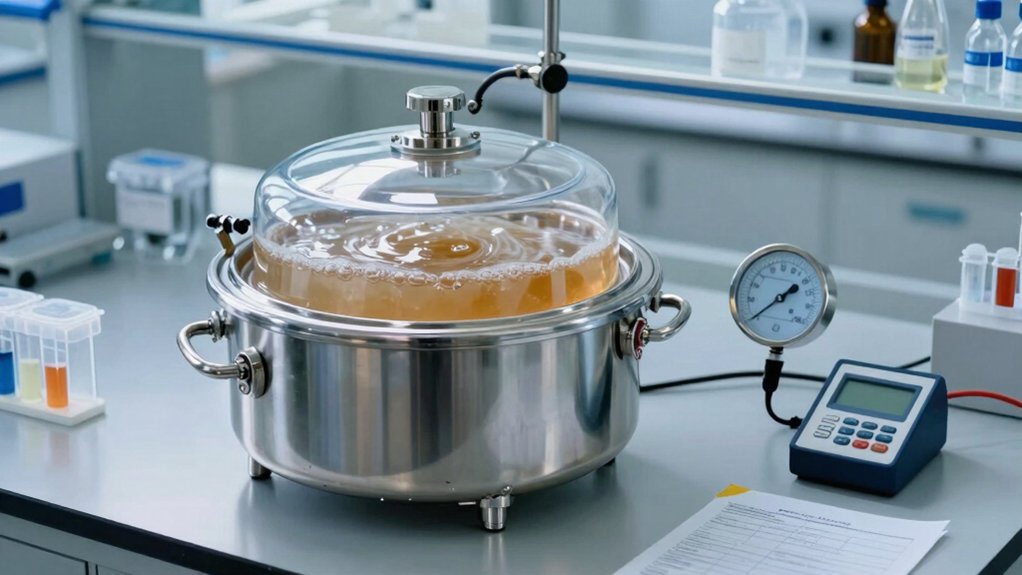
How do you create the strict anaerobic environment La Palma y El Tucán relies on? You start by loading fresh cherries into a sealed tank, then add a 2% salt brine to suppress oxygen‑sensitive microbes. The brine’s salinity lowers water activity, helping the tank stay anaerobic while lactic acid bacteria thrive. Close the lid tightly, verify no air leaks, and place the tank in a temperature‑controlled area. Monitor temperature, pH, and oxygen levels for at least 80 hours, adjusting as needed to keep the environment low‑oxygen. This sealed tank setup encourages lactic acid fermentation, prevents unwanted spoilage, and guides the flavor profile toward the desired acidity and complexity. Direct Trade characteristics in sourcing often align with transparent farmer relationships and long‑term partnerships that can influence consistency and quality.
Choose a LAB Starter or Salt‑Brine Ratio
You’ll choose a LAB starter when you want a consistent, repeatable fermentation, but it costs more and needs careful handling. If you prefer a cheaper, simpler method, a 2% salt-brine (about 160 g salt per 8 kg of pulped cherry) creates a low-oxygen environment that still supports LAB growth. The choice should align with your resources and the level of control you want, considering the trade-offs in precision and monitoring. Temperature Control
LAB Starter Selection
Wondering whether to rely on a commercial LAB starter or a simple 2% salt-brine? If you choose a LAB starter, you’ll gain a reliable, repeatable lactic fermentation that outperforms plain brine. Pick a starter containing Lactobacillus, Leuconostoc, Pediococcus, Lactococcus, or Streptococcus, depending on the flavor profile you want. Inoculate the coffee pulp early, then enforce controlled fermentation by monitoring temperature, excluding oxygen, and keeping pH in the optimal range (≈3.5–4.0). A stable temperature (20-25 °C) accelerates bacterial growth, while oxygen exclusion prevents unwanted yeasts. Adjust pH with mild acid or base if needed, and you’ll consistently produce bright, balanced coffee with the desired acidity and aroma.
Salt‑Brine Ratio
What’s the ideal salt‑to‑pulp ratio for a reliable lactic fermentation? Aim for about 2 % salt in the brine, which translates to roughly 160 g of salt per 8 kg of pulped cherry. This ratio creates a low‑oxygen environment that favors lactic acid bacteria while suppressing unwanted microbes. Dissolve the salt in enough water to fully submerge the pulp, then seal the vessel to keep oxygen out. Monitor pH regularly; fermentation proceeds until the brew drops near 3.5, then wash and dry the beans. The brine’s salinity controls chemical breakdown, influencing body and mouthfeel in the final cup. Stick to the 2 % guideline for consistent, economical results. A properly managed salt balance also helps maintain consistent extraction during brewing blood flow.
Maintain Fermentation Temperature (20‑25 °C)
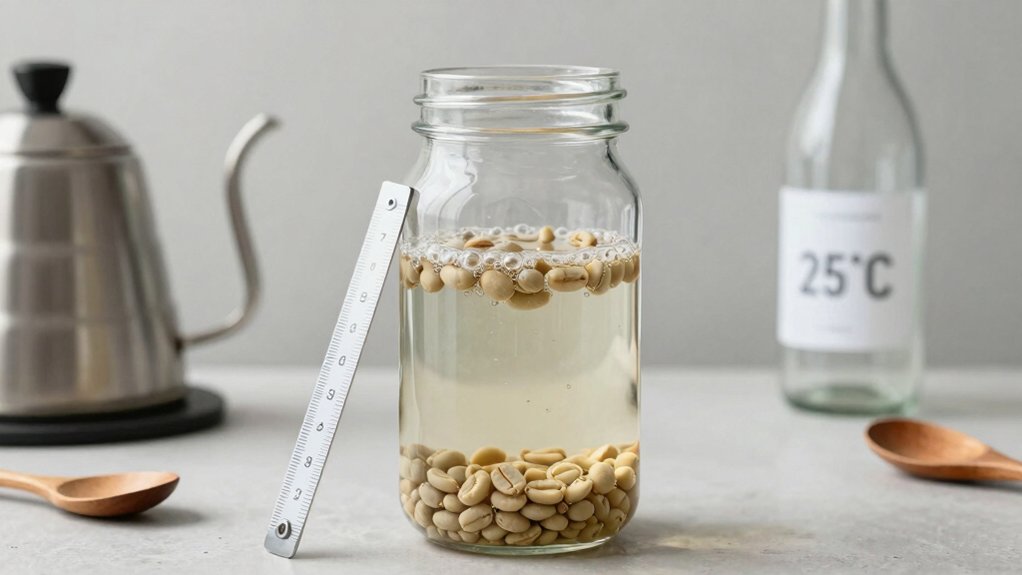
Why keep the fermentation at 20‑25 °C? You’ll see lactic fermentation thrive while unwanted fungi stay dorm ant. That temperature band gives LAB growth a steady, stress‑free environment, which translates into the clean, creamy mouthfeel you want. It also syncs with anaerobic fermentation stages, ensuring the microbes focus on acid production rather than spoilage.
- Aim for 20‑25 °C throughout the entire process, using a thermostat or insulated vessel.
- Cool the batch if it exceeds 25 °C, especially after 80 hours, to prevent filamentous fungi.
- Monitor ambient temperature regularly; small fluctuations can shift LAB activity.
- Combine temperature control with proper sealing to maintain strict anaerobic conditions.
- Material quality considerations can influence how well your setup maintains stable temperatures and seals over time.
Sticking to these steps keeps your coffee’s aroma, sweetness, and body consistent batch after batch.
Monitor pH and Target a Gradual Drop to 3.5‑4.0
You’ll check the pH every 12‑hour interval, noting how the curve slopes toward the 3.5‑4.0 goal. If the drop stalls or spikes, tweak temperature or oxygen exposure to keep the acidification steady. By adjusting based on each reading, you prevent sudden jumps and guide the fermentation to a smooth, controlled finish. 0.1 g precise measurements
pH Monitoring Frequency
How often should you inspect the pH during lactic coffee fermentation? You’ll want to schedule pH surveillance at three pivotal moments: right after inoculation, midway through the process, and just before washing. Consistent pH readings let you detect stalls early and adjust fermentation temperature before microbes become stressed. Keep a calibrated meter handy, log each measurement with a timestamp and batch ID, and compare trends across batches. If the pH remains above 4.5 for too long, a modest temperature bump can revive acid production.
Entry check: measure immediately after mixing beans and inoculum.
Mid‑fermentation: sample around 12–18 hours in, depending on batch size.
Pre‑wash check: confirm the drop is near 3.5–4.0.
Calibration: use buffer solutions before each reading to ensure accuracy.
Calibration stability is an important consideration when tracking pH changes across multiple batches.
Target Acidification Curve
After logging the three key pH checkpoints, shift focus to the overall acidification trajectory. You’ll want a gentle pH curve that slides from about 5.5‑6.0 down to the 3.5‑4.0 range over roughly 80 hours of anaerobic fermentation. Keep the mucilage intact and seal the vessel to maintain low oxygen, letting lactic fermentation work steadily. Use temperature management as your primary control: cooler temps slow LAB metabolism, preventing sharp drops that can create off‑flavors. Check pH alongside sugar breakdown to confirm the curve is descending smoothly, not spiking or stalling. Adjust the environment only if the curve veers off target, aiming for a consistent, gradual decline that yields balanced acidity without over‑acidifying. Auto Shutoff helps ensure consistent monitoring conditions by reducing accidental interruptions in the process.
Adjustments Based on Readings
Where can you intervene most effectively when the pH curve veers off target? You should watch the pH trajectory closely, adjusting temperature and oxygen control to keep LAB activity steady. If the reading drops too fast, lower the temperature a few degrees and increase the cover to limit oxygen ingress. When it lags, raise the temperature slightly and stir gently to boost microbial metabolism. Record each measurement, compare it to your target window of 3.5‑4.0, and decide whether to pause or speed up fermentation based on the data. Monitor reservoir design features water tank to ensure consistent loading and avoid unintended exposure to air during transfers.
Keep Cherry Brix Above 18 % and Control Moisture
Ever wondered why a Brix above 18 % matters for lactic coffee fermentation? You need that sugar level to fuel LAB, boost lactic acid production, and develop complex flavors.
First, measure the cherries’ Brix with a refractometer; if it dips below 18 %, blend in higher‑Brix fruit or delay fermentation until the sugar rebounds.
Next, control moisture: keep water content low enough to avoid dilution, yet high enough to maintain mucilage pliability. Use breathable trays, monitor ambient humidity, and ventilate gently to prevent mold while preserving anaerobic conditions.
Check Brix and moisture at each stage, adjusting airflow or adding dry material as needed. Consistent sugar and moisture give LAB the environment they need for a robust, predictable lactic fermentation.
Run the Fermentation for 80‑120 Hours
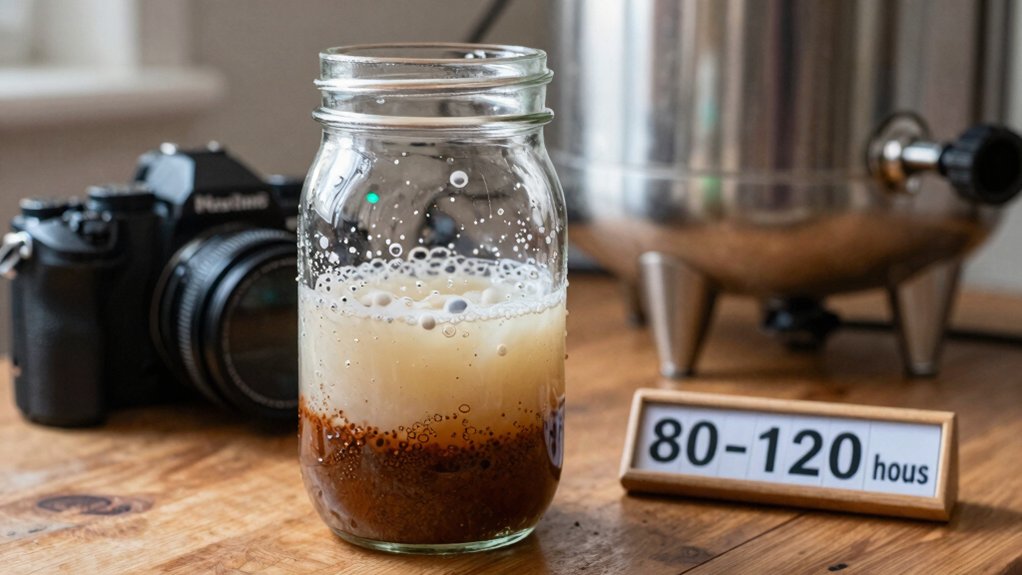
Why aim for an 80‑120‑hour fermentation? You’ll give lactic fermentation enough time to break down mucilage, boost acidity, and enhance body. During extended fermentation you monitor temperature, pH, and oxygen to keep a tight anaerobic environment. Temperature control prevents unwanted fungi and lets the bacteria work efficiently. The longer window also smooths flavor development, delivering a balanced cup.
- Maintain a low‑oxygen, anaerobic environment throughout the process.
- Check temperature every 12 hours; keep it in the optimal range (18‑22 °C).
- Record pH daily; aim for a gradual drop that signals active lactic bacteria.
- Adjust humidity if needed to avoid premature drying of the cherry pulp.
Agitate Gently Only When Needed to Distribute Microbes
Should you stir at all, do it only when the microbes need a gentle nudge to stay evenly spread. In lactic fermentation you want a strict anaerobic environment, so any agitation must be minimal and purposeful. Light, periodic mixing distributes microbes without pulling in oxygen, preserving the low‑oxygen conditions LAB love. Use a sterile spoon or a closed‑system pump for brief, controlled bursts—just enough to break up clumps and keep the mucilage breakdown steady. Avoid continuous stirring; it raises dissolved oxygen and can invite unwanted competitors.
Aim for a few seconds of gentle movement every few hours, checking that the liquid remains clear and the seal stays intact. This careful distribution supports consistent lactic pathways and a clean flavor profile.
Seal and Purge to Keep Oxygen Out
After you’ve limited agitation, the next step is to seal the tank and purge any residual air. You’ll want to push out oxygen, then close the lid tightly, creating an anaerobic environment that lets lactic‑acid bacteria dominate. A quick nitrogen flush or a short vacuum cycle removes trapped air before you add the 2 % salt brine, which further suppresses unwanted microbes. Keep the seal intact for the full 80‑hour fermentation, checking temperature and pH regularly to ensure LAB thrive. By maintaining a low‑oxygen, sealed system you preserve the clean, bright flavors that define a successful lactic coffee.
- Use a food‑grade lid with a gasket for airtight sealing.
- Purge with nitrogen or vacuum to displace oxygen.
- Add 2 % salt brine to inhibit aerobic contaminants.
- Monitor temperature and pH to keep fermentation anaerobic.
Taste‑Test Daily and Record Floral, Creamy, and Fruity Notes
How will you capture the evolving aroma and texture of your coffee as lactic fermentation unfolds? Begin each day by pulling a small sample, noting floral notes like jasmine or elderflower, and scoring the creamy mouthfeel on a simple scale. Record acidity and sweetness side‑by‑side, then add any tropical fruit hints—pineapple, mango, or similar. Use a structured flavor log: day 0, day 40, day 80+, and the final tasting. Cross‑reference sensory shifts with your pH and temperature data to see how lactic fermentation shapes brightness versus sweetness. Tag any off‑notes—vinegar, rancidity, harsh bitterness—immediately, so you can decide whether to adjust or halt the batch. Consistent daily taste tests keep you in control of the evolving profile.
Adjust Roasting to Highlight Sweetness and Chocolate After Fermentation
Ever wondered how a light‑to‑mid roast can amplify the buttery sweetness and chocolatey depth that lactic fermentation brings? You’ll want a roast profile that preserves the lactic‑driven aromatics while coaxing out caramel‑like sweetness and rich chocolate tones. Aim for a controlled curve that hits first crack early, then eases off to avoid scorching the delicate sugars. Keep the bean temperature modest; this lets the creamy mouthfeel from lactic fermentation shine through. When you cup, compare the result to a standard washed coffee from the same origin to fine‑tune the balance.
- Start with a light‑to‑mid roast (≈ 205‑215 °C) to lock in lactic sweetness.
- Extend the development time just enough to develop chocolate without burning sugars.
- Monitor the roast curve for a smooth progression through first crack.
- Use cupping notes to adjust the roast profile until sweetness and chocolate dominate.
Frequently Asked Questions
What Is the 15-15-15 Coffee Rule?
You follow a 15‑minute pre‑soak, then 15‑minute contact, and finish with a 15‑minute post‑fermentation step, keeping each phase short to control acidity, flavor extraction, and mucilage breakdown.
What Is the 80 20 Rule for Coffee?
You’ll find the 80/20 rule means roughly twenty percent of fermentation variables—like temperature, pH, and time—drive about eighty percent of coffee’s flavor, so focus on those key factors.
Can You Lacto Ferment Coffee?
Yes, you can lacto‑ferment coffee by creating an anaerobic, brine‑rich environment, inoculating LAB, maintaining 20‑30 °C, and monitoring pH for 80‑plus hours to develop creamy, fruity flavors.
What Are the 4 Enemies of Coffee?
You face mold, unwanted wild yeasts, off‑flavor bacteria, and uneven or overly fast fermentation; each contaminates the beans, creates off‑notes, or disrupts acidity, ruining the coffee’s balance and safety.
In Summary
By sealing your tank, picking the right LAB starter, and keeping temperature, pH, and Brix in check, you’ll coax your coffee cherries into a smooth, buttery brew with bright floral, creamy, and fruity notes. Gentle agitation and oxygen‑free purging preserve the lactic profile, while daily tasting lets you fine‑tune the process. Finish with a roast that amplifies the natural sweetness and chocolate‑like depth, and you’ll consistently produce standout lactic acid‑fermented coffee.


