

You’ll need a temperature‑controlled thermometer to hit 140‑150 °F, a narrow‑spout stainless‑steel pitcher (12‑20 oz) for precise foam ribbons, and fine‑point tools like a clean thermometer probe, wooden skewers, or professional etching needles. Choose whole milk for buttery microfoam, tap the pitcher to eliminate bubbles, and keep your tools sanitized to avoid holes. Mastering these basics lets you craft crisp, detailed designs, and the next steps will show you how to fine‑tune pressure and grip for even sharper etches.
What Is Latte‑Art Etching and Why Tools Matter?
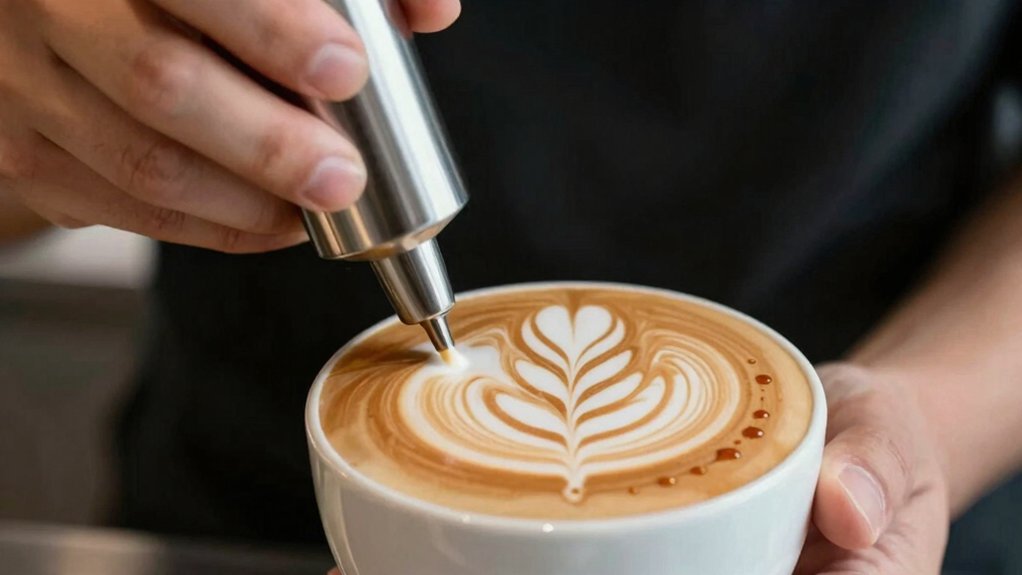
Ever wondered why a flawless latte‑art etching hinges on the right tools? You’ll find that latte art etching isn’t just about talent; it’s about precision and foam stability. A clean thermometer tells you when the milk surface hits the ideal temperature, keeping the microfoam supple for delicate work. Proper isolation of the foam using a dedicated etching tool helps prevent cross‑contamination of texture and flavor in your cup warm milk handling.
Pick the Best Milk Type for Stable Latte‑Art Etching Foam
Choosing the right milk is the foundation for a stable etching foam, and whole milk’s 3.25 % fat gives the perfect protein-fat balance for a thick, buttery microfoam. You’ll notice the foam holds its shape longer, letting you draw crisp latte art etching lines without collapse. Aim for a 140–150°F temperature and tap the pitcher to merge foam and eliminate large bubbles. Non‑dairy milks can work, but they need steeper steam and lose stability faster, so you’ll have less time to perfect your latte art foam. Measuring the counter space needed for your setup helps keep the station organized during practice sessions and experiments with different milks. Stability features on countertop organizers can prevent spills while you pour and draw, ensuring a tidy work area. | Milk Type | Typical Foaming Time |
| ———– | ———————- |
|---|---|
| Whole milk | 30–45 s (stable) |
| 2 % milk | 20–30 s (moderate) |
| Oat milk | 15–25 s (short) |
Choose the Right Milk Pitcher for Consistent Latte‑Art Etching Foam
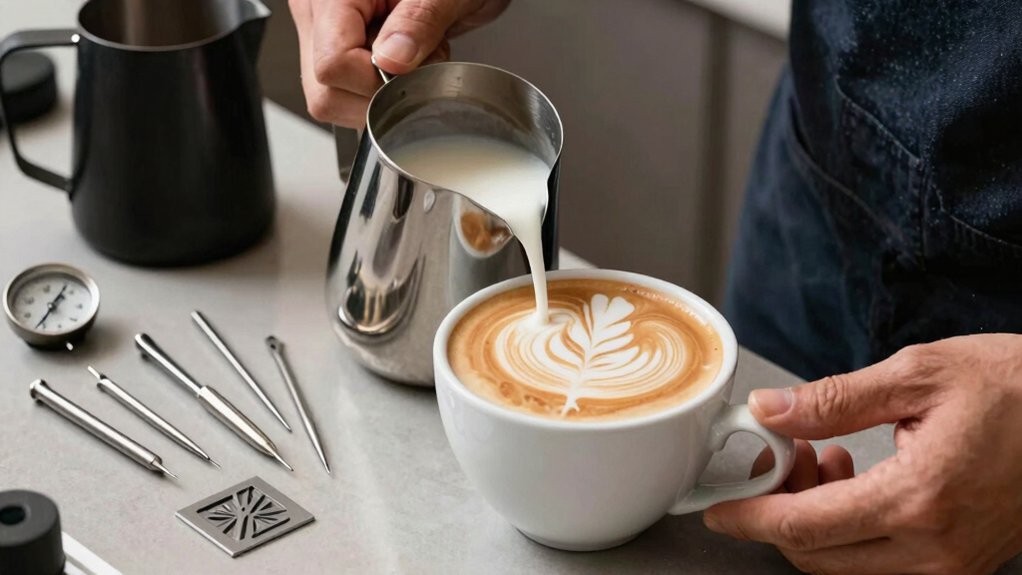
You’ll notice that a stainless‑steel pitcher with a pointed spout gives you the precise control you need for clean etching lines.
Choose a 12‑20 oz size so the foam stays stable and the pour stays steady, and make sure the spout’s narrow shape lets you deposit tiny, accurate foam ribbons.
Keeping the pitcher clean and well‑insulated will prevent separation and keep your microfoam firm throughout the session. Induction compatibility considerations and heat distribution can influence your equipment choices, especially if you’re using certain Moka Pot-derived techniques for café-style drinks induction compatibility.
Pitcher Material Matters
Why does the pitcher you pick matter for latte‑art etching? Because pitcher material directly shapes the microfoam’s stability and temperature. Stainless steel pitchers excel at heat retention, keeping milk at the sweet spot for glossy, velvety foam while you work. A well‑engineered spout design lets you channel that foam into crisp, fine lines—pointed tips give the precision needed for intricate etching. The ergonomic handle ensures you can swirl and pour confidently without fatigue, preserving consistent flow. When you choose a pitcher that balances durability, heat control, and a comfortable grip, you reduce large bubbles and maintain uniform microfoam, setting the stage for clean, repeatable latte‑art designs. microfoam stability
Ideal Size for Etching
Ever wonder how the pitcher’s size influences your latte‑art etching? Choose a milk pitcher between 12‑20 oz, with a sweet spot around 16 oz. That volume gives you enough foam for bold lines while keeping the pourable enough to avoid over‑pours. A pointed spout lets you draw fine etching strokes, and stainless steel retains heat for consistent microfoam. The ergonomic handle steadies your hand, so each pour feels controlled, turning the pitcher into a precise latte art tool. In particular, using a clip‑based thermometer can help monitor foam temperature during frothing to maintain consistent texture and color in your etching temperature control and ensure you maintain optimal microfoam for intricate designs.
Spout Shape Enhances Control
How does a pitcher’s spout shape affect your latte‑art etching? A pointed spout gives you a narrower stream, letting you guide the milk with a precise pour that translates into clean, detailed lines. The sharper tip slows the flow rate, so you maintain control over each stroke and avoid splashing. Stainless‑steel milk pitchers with this shape keep the pour steady, letting you focus on the design rather than fighting the foam. For standard cups, a 12–20 oz pitcher balances reach and maneuverability, while beginners benefit from a slightly narrower tip to practice precise contact before widening their technique. This approach aligns with the idea of temperature-controlled equipment supporting consistent pours, such as self-heating mugs that maintain steady beverages for steadier focus during art. Consistency in temperature helps maintain foam stability as you practice fine lines.
How a Thermometer Guarantees Ideal Milk Temperature for Latte‑Art Etching
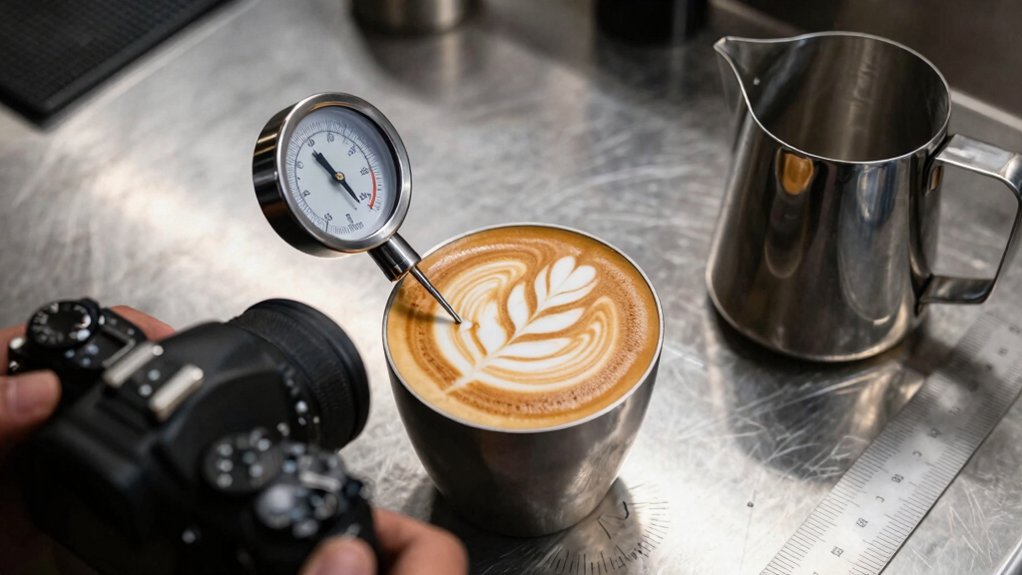
Ever wondered why your latte‑art etching sometimes falls flat? A thermometer lets you nail the milk temperature, keeping it in the 130‑150°F (55‑65°C) sweet spot where microfoam forms just right. When heating, ensure stable temperatures with proper control to support consistent texture across pours. This discipline aligns with trusted practices from high-end machines that emphasize precise temperature control and auto-clean features to maintain reliable performance. AquaClean filter helps sustain descaling schedules and machine hygiene, reinforcing steady microfoam quality across uses.
Use a Scale to Keep Espresso Dose Consistent for Latte‑Art Etching
When you zero a coffee scale before loading the portafilter, you lock in a precise espresso dose that’s essential for reliable latte‑art etching. The scale gives you accurate measurement to 0.1 g, letting you hit a 7 g dose and a 30 ml yield consistently. Pair it with a timer, so each 25‑30 second extraction produces the same crema body and foam stability, which keeps your etching lines crisp. Record weight and time in a journal; over weeks you’ll see patterns and tighten your precision, turning each cup into a repeatable canvas.
- Zero the scale after loading the portafilter
- Measure a 7 g espresso dose and 30 ml yield
- Time extraction (25‑30 s) for consistent crema
- Log weight and time to refine latte‑art etching precision
Compare Toothpicks and Professional Etching Needles for Latte‑Art Etching
Which tool will give you the cleanest line on your latte‑art canvas? A toothpick feels familiar and cheap, letting you draw simple lines with light pressure. It offers decent precision for basic detailing, but its blunt tip can tug at the foam texture, risking small tears.
Professional etching needles, by contrast, are engineered for fine, intricate work. Their slender, sharp points glide through the foam, preserving smooth texture while delivering cleaner edges and finer patterns. Needles demand careful sterilization and a higher upfront cost, yet they excel at complex designs where any wobble shows.
Choose a toothpick for quick, straightforward lines, and switch to etching needles when you need superior control and immaculate detailing.
Use Espresso Spoon Handles for Bold, Sweeping Latte‑Art Etching Strokes
You’ll notice the spoon’s broad, curved handle lets you lay down bold, sweeping strokes with ease. Its ergonomic grip gives you steady control, so you can guide the foam without tearing it. Switching between lines and fills becomes quick, keeping you within the 60‑90‑second etching window.
Shaped Bold Strokes
How can you turn a simple espresso spoon into a powerhouse for bold, sweeping latte‑art etching? You grip the espresso spoon handle, let its flat, rounded tip glide across the microfoam, and use the extra leverage to shape confident, sweeping lines. By aligning the spoon at low surface tension, you carve textured strokes that stay crisp while the latte settles. Vary pressure and speed to transition smoothly between thick arcs and delicate curves, mastering stroke control for each bold stroke. Your pouring technique becomes a sculpting process, turning ordinary foam into a canvas for striking designs.
- Extend leverage for wider, continuous lines
- Maintain steady pressure with the rounded tip
- Reduce chatter for smoother stroke transitions
- Align with low‑tension foam for clean texture
Grip Comfort for Control
Ever wondered why a simple espresso spoon can feel like a painter’s brush in your hand? You’ll find that latte art tools gain real power when the spoon’s grip comfort aligns with your wrist. The flatter, longer grip lets you sweep bold strokes without wobble, while spoon ergonomics keep the angle steady on foam. A thicker, mid‑length handle gives leverage, so hand fatigue drops and etching control stays consistent. Stainless steel handle resists heat, keeping fingertips cool during precision pouring. You can transition from fine details to sweeping curves because the spoon balances reach and accuracy. In short, the right spoon makes every etch feel deliberate, smooth, and effortless.
Wooden Skewers: Versatile Tools for Fine and Medium Latte‑Art Etching Lines
Ever wondered how a simple kitchen staple can turn a latte into a canvas? Wooden skewers give you the precision of professional latte art tools without the price tag. The pointed tip carves crisp, clean edges for delicate design lines, while the thicker shaft lets you sweep broader strokes across the microfoam. You’ll keep the foam steady, use minimal pressure, and rotate the cup to maintain symmetry. Because they’re disposable, you avoid cross‑contamination and can swap them between designs.
- Sharp tip for fine etching
- Thicker shaft for medium strokes
- Inexpensive and single‑use
- Easy to replace for hygienic work
With a light, steady hand, you’ll transform every cup into a masterpiece.
Turn a Clean Thermometer Probe Into a Detailed Latte‑Art Etching Tool
Wooden skewers give you the fine‑line control you need, but a clean thermometer probe takes that precision a step further. You sanitize the thermometer probe, then cool it just enough to contrast with the warm microfoam. The slender, rigid tip lets you draw precise lines while the tip grazes the surface, so the foam stays intact. Apply minimal pressure and use short, steady strokes for delicate swirls or fine outlines. Reserve the probe for detailed latte art etching and switch to broader tools when you need larger shapes; this tool switching preserves foam integrity. By keeping the probe at a stable temperature, you avoid sudden deflation or smearing, ensuring every etch stays crisp and clean.
Keep Etching Tools Clean to Avoid Foam Holes in Latte‑Art Etching
You’ll notice that a clean tip leaves a smooth, hole‑free surface, so rinse your toothpick or pen after each use.
A light touch keeps the microfoam stable, preventing you from pushing bubbles that turn into gaps.
Keep the foam about a quarter‑inch thick, then you can draw precise lines without sinking into thin spots.
Clean Tools Prevent Holes
Keeping your etching tools spotless is essential for preventing unwanted foam holes. When you treat each latte art tool like a precision instrument, you protect microfoam integrity and boost etching precision. A quick wipe between designs stops residue from turning smooth foam into a patchwork of gaps, and regular tool maintenance keeps needles and toothpicks straight, so your lines stay continuous. By prioritizing clean utensils, you reduce the chance of accidental punctures that create holes, ensuring every design looks flawless.
- Wipe tools with a damp cloth after each use
- Sanitize with food‑safe alcohol wipes before the next pour
- Inspect needles for bends or wear before etching
- Store in a dry, dust‑free container to preserve shape
Light Touch Avoids Damage
A clean tool alone isn’t enough; you also need a feather‑light touch to keep the microfoam intact. When you glide your latte art tools across the cup, the light touch you maintain preserves foam stability and prevents unwanted holes. Keep the etching pressure so gentle that the tip barely kisses the surface; this avoids puncturing the 1/4‑inch foam layer. Sharp, clean implements let you execute the etching technique with quick, controlled motions, so the microfoam stays smooth and the lines stay crisp.
Practice separating foam from the liquid during drills, and you’ll develop a feel for the exact pressure that’s safe. By respecting these limits, you protect the delicate texture and achieve flawless designs.
Assemble Your Own Etching Kit for Quick, Reliable Latte‑Art Designs
Ever wondered how to turn a simple cup of coffee into a canvas for crisp, repeatable designs? Start by gathering a compact latte art kit that balances precision and speed. Choose a stainless steel pitcher (12‑20 oz) with a pointed spout for tight control of milk microfoam. Add a latte art pen—Santow or MHW Barista—to draw fine details directly on the foam. Include practice scales like the Fellow Tally to keep espresso‑to‑milk ratios consistent. Finish with essential etching tools: a toothpick for delicate lines, a wooden skewer for medium strokes, and a clean thermometer probe as a handy substitute.
- Stainless steel pitcher with pointed spout
- Latte art pen for fine detail
- Reliable practice scales for ratio control
- Assorted etching tools (toothpick, skewer, probe)
Frequently Asked Questions
What Is the Secret to Perfect Latte Art?
You master perfect latte art by steaming whole milk to 140‑150 °F, creating glossy microfoam, then pouring steadily from five centimeters, switching to a low, controlled flow, and finishing with crisp etching.
What Tools Do You Need for Latte Art?
You need a fine‑point latte art pen or needle, a wooden skewer or toothpick for broader strokes, a thermometer to keep foam at 130‑150 °F, and a clean, well‑lit workspace for steady, precise etching.
What Are Common Latte Art Mistakes?
You’ll over‑pour, under‑foam, or move the pitcher too fast, causing ripples and uneven surfaces. Skipping the latte‑seconds window, using too much foam, or etching before the milk settles also ruins the design.
Which Are Five Must Have Pieces of Equipment for Latte Art?
You need a pointed‑spout frothing pitcher, a latte‑art pen or etching needle, a precise thermometer, a coffee scale, and a sturdy, heat‑resistant milk pitcher to create consistent, detailed etchings.
In Summary
Mastering latte‑art etching boils down to the right tools and habits. Choose fresh, low‑fat milk, keep it at 60‑65 °C with a thermometer, and measure espresso precisely on a scale. Use a sturdy pitcher, a wooden skewer for fine lines, and a clean thermometer probe for intricate details. Keep everything spotless, and assemble a compact kit so you can create flawless designs every time.


