
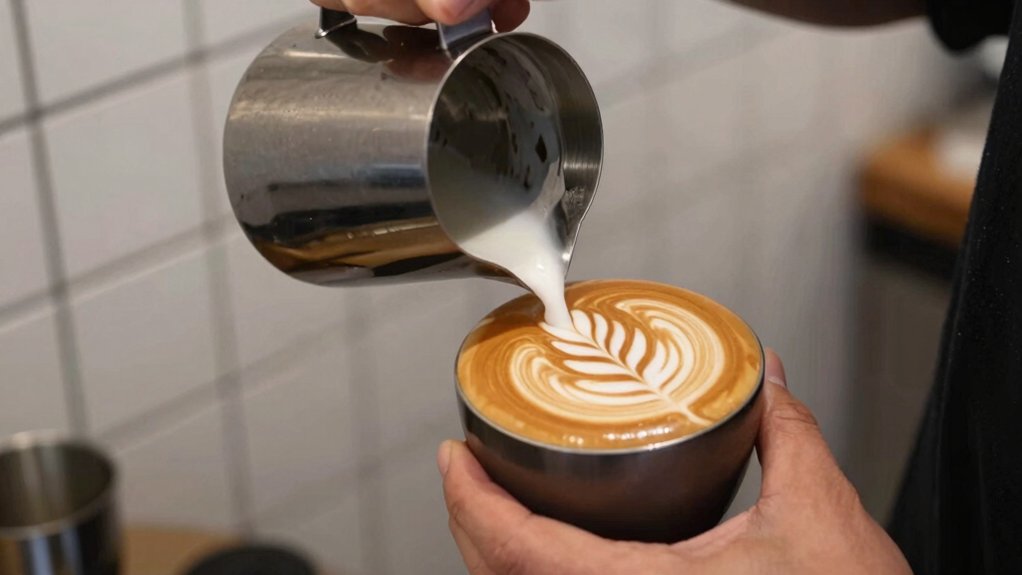
You’ll need a reliable espresso machine with a good wand, a stainless‑steel pitcher, and fresh whole milk (or oat milk if you prefer). Steam the milk to 140‑150 °F, creating a velvety microfoam of tiny, paint‑like bubbles that sit on stable crema. Keep the pitcher cold, pour from three to four inches high, and control the cup angle, flow rate, and wrist motion. Mastering these basics gives you instant visual feedback and a solid foundation for hearts, rosettas, and tulips. Keep going and you’ll discover deeper techniques.
Free‑Pour Latte Art: Definition, Benefits, and Core Concepts
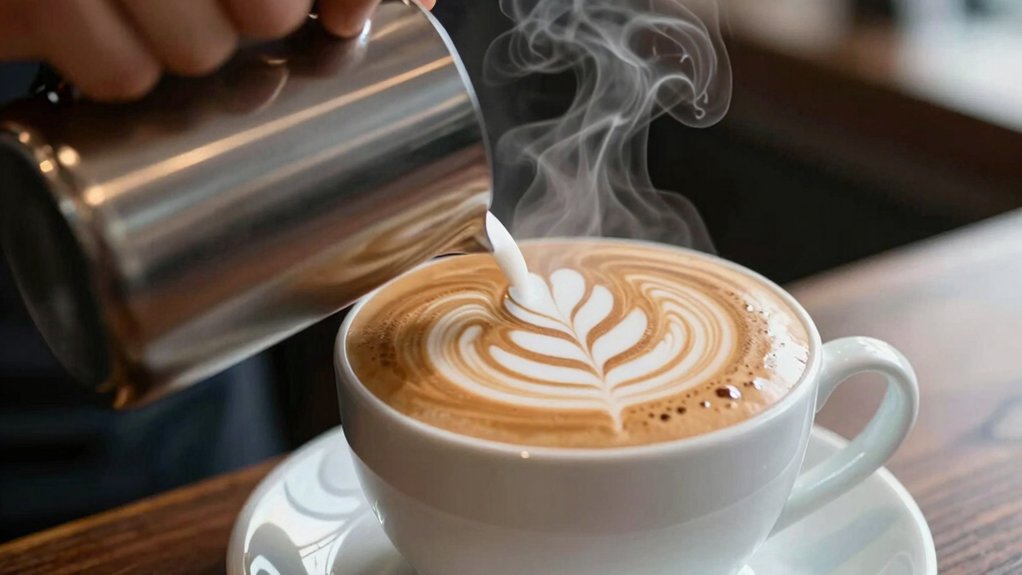
Ever wondered why free‑pour latte art feels like the most natural way to start? You’ll discover that free pouring relies on textured milk interacting directly with espresso, so the pour itself creates the design. The key is a velvety microfoam texture—small, paint‑like bubbles that sit atop a stable crema. When you steam milk, aim for a smooth, glossy surface; then control the pour height, flow rate, and cup angle to shape patterns. A steady pouring technique lets you form a heart design or a rosetta without any tools, just the milk steam and your hand. Benefits include instant visual feedback, easy learning curve, and a solid foundation for any latte art adventure. Static reduction can help minimize mess and improve overall pour consistency during practice.
Free‑Pour Latte Art Tools Every Beginner Needs
After mastering the free‑pour technique, you’ll need the right gear to turn those smooth pours into consistent art. A quality espresso machine with a reliable steaming wand is essential; it creates the milk texture and microfoam needed for free‑pour latte art. Pair it with a stainless steel pitcher that has a pointed spout—this pitcher with spout gives you the control for thin initial streams and clean edges. Keep the pitcher cold and use a thermometer or temperature sticker for precise temperature control, aiming for 140‑155 °F. Fresh whole milk yields the velvety microfoam that holds heart, rosetta, and tulip designs. Finally, a 6‑ounce mug and regular practice latte art sessions will cement your skill set. ATC
Choosing Milk for Free‑Pour Latte Art: Whole, Oat, and Alternatives
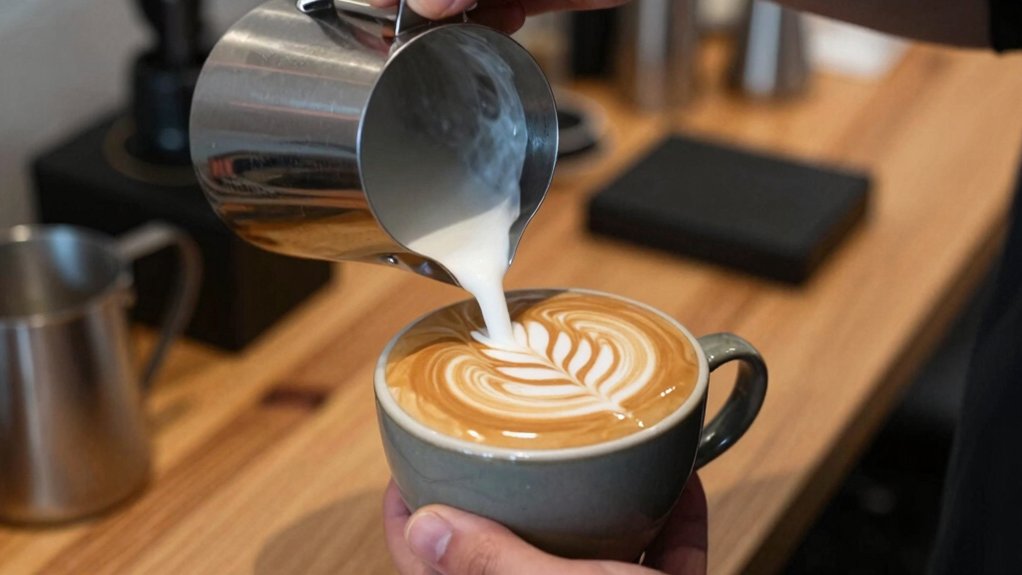
Milk choice shapes every free‑pour latte art piece, so picking the right one is essential. Whole milk gives the richest microfoam thanks to its higher fat, and fresh cartons foam faster, giving you a buttery milk texture that holds designs. When you switch to oat milk, expect a slightly lighter foam; it froths well but can change the latte art’s edge sharpness, so adjust your steaming technique to keep foam stability high.
Skim or other plant milks also work, but they need more air and tighter control to avoid splitting. Experiment with each milk choice, watch how the microfoam forms, and fine‑tune your steaming technique until the texture stays silky and the foam stays stable for crisp free‑pour latte art.
Free‑Pour Latte Art: Steam Milk to Microfoam – Temperature & Texture Guide
You’ll aim for a steaming temperature of about 140‑150 °F (60‑66 °C) to create the velvety microfoam that holds your designs.
Keep the wand just below the surface to stretch air, then fully submerge and swirl until the texture is uniform and glossy.
Using a thermometer or temperature sticker lets you stay in range and prevents grainy, burnt milk that ruins the art.
100 Piece Honey Stix can provide a handy alternative for on-the-go sweetness that pairs well with coffee culture and latte art practice.
Microfoam Temperature Range
Wondering why your latte art sometimes looks flat? The microfoam temperature range is the secret sauce for free‑pour latte art. Aim for 140‑150°F (60‑65°C) to get velvety microfoam with uniform bubbles. A thermometer keeps you in the sweet spot, preventing milk scorching and preserving sweetness. When you hit the right temperature, pour height stays consistent and latte art stability improves. Too hot, and you’ll see grainy texture; too cold, and the foam won’t paint smoothly. Keeping the sign of the right range aligns with the Farmhouse and Rustic styles found in decor considerations for cozy coffee bars Tabletop wooden plaque with stand to maintain consistency and presentation across setups.
Texture Consistency Tips
Keeping the temperature in the 140‑150°F window gives you a velvety canvas, but the real secret to consistent latte art lies in the foam’s texture. Use a thermometer to hit the sweet spot, then keep the steam wand tip just below the milk surface. Stretch the milk with a gentle hiss, creating tiny bubbles that merge into a uniform microfoam. Watch the texture turn paint‑like; if you see larger bubbles, stop steaming and give it a quick swirl. Consistency comes from steady pressure and a smooth pour technique—angle the pitcher, let the microfoam texture flow in a thin ribbon, and let the velvety surface support your design. Maintaining the right temperature and texture ensures each cup looks as good as it tastes. Careful temperature control helps prevent chalky flavors and supports stable latte art performance across batches.
Free‑Pour Latte Art Espresso Prep & Cup Warm‑Up – Crema & Temperature Tips

Ever wondered why a perfect latte starts long before the milk hits the cup? You need rich, golden crema as a canvas, and its stability decides how long your design lasts. Start with a cup warm‑up: preheat ceramic cups to keep temperature steady and protect crema. Pull an espresso with tight espresso timing—use the shot within 30 seconds of extraction to lock in surface tension and extraction freshness. While steaming, aim for a milk temperature of 140‑150 °F; this range yields silky micro‑foam that blends smoothly with the crema. Hold the preheated cup at a 45‑degree angle for the initial free‑pour latte art motion, letting the crema and foam meet evenly. These steps ensure a solid foundation before you begin shaping. Heat‑resistant materials in cups and tools can help maintain the crema’s stability during the pour.
How to Pour a Perfect Heart – Height, Flow, and Cutting Technique
How do you create a crisp, symmetrical heart? Start pouring steam milk from a height of 3–4 inches, letting a thin stream of microfoam hit the cup center. Keep the pitcher steady, then gradually lower it as the volume rises, maintaining a smooth flow. Tilt the cup slightly so the foam spreads evenly, forming a rounded base. As the cup fills, increase the flow and move the pitcher forward, shaping the heart’s upper lobes. When you near the bottom, execute a deliberate cutting technique: a short, sharp forward push that slices through the foam and creates a pointed tip. This controlled motion prevents spreading and locks the heart’s shape, completing a classic latte art heart. The technique can also benefit from using a clean, well-filtered milk texture to ensure consistency across pours aeroPress filters.
Rosetta & Tulip Basics – Wrist Moves, Layering, and Symmetry
After mastering the heart’s cutting motion, you can move on to the rosetta and tulip, which both depend on precise wrist control and steady cup tilting. For a Rosetta, use rhythmic side‑to‑side wrist movements while maintaining a steady flow; each swing creates leaf segments that layer evenly, preserving symmetry. Switch to the tulip by pausing briefly between pours, stacking leaf segments one after another, then finish with a sharp cut‑through to form the stem. Consistent cup tilting keeps the design balanced, and mastering these wrist movements and layering tricks sharpens your pour technique.
| Pattern | Key Action |
|---|---|
| Rosetta | Side‑to‑side wrist movements |
| Tulip | Brief flow interruptions |
| Both | Cup tilting for symmetry |
| Both | Steady flow for leaf segments |
Fix Common Free‑Pour Latte Art Mistakes Quickly
If your milk is over‑steamed, the foam becomes thick and unstable, making it hard to pour a smooth, glossy microfoam; aim for a temperature of 140–150 °F (60–66 °C) and a uniform bubble size. Keep the pitcher at a consistent pouring height of three to four inches; a sudden drop or rise throws off surface tension and ruins pattern definition. Start with a steady pour, then use a gentle wrist movement to thin the stream as the cup fills.
Adjust cup tilt gradually, letting the milk rise before you angle the pitcher for the final design. Maintain a controlled pour rate, letting uniform bubbles flow evenly toward the rim, and you’ll see crisp, well‑defined latte art every time.
Build a Daily Practice Routine & Track Progress for Long‑Term Mastery
Set a consistent practice schedule and stick to it, then jot down the milk type, temperature, pour height, and wrist motion after each latte.
Review your notes and video recordings to spot patterns, then tweak one technique—like speed or cup angle—before the next session.
Keep tracking measurable goals, so you can see steady improvement and stay motivated.
Set Practice Schedule
A solid daily routine is the backbone of lasting latte‑art mastery, so block out a consistent 15‑20‑minute slot each day to practice basic heart patterns before moving on to rosettas and tulips.
Start each session with latte art practice on whole milk, focusing on milk texture and steady pitcher technique.
Use a timed practice to hit a specific pouring height, then shift to rosetta progression once the basic heart pattern feels natural.
Record every attempt in a practice log—date, pattern, milk type, pouring height, flow rate, adjustments.
Capture video analysis of each pour, noting cup angle and cut‑through timing.
Review the footage weekly to fine‑tune your rhythm, ensuring steady improvement without extra fluff.
Record Daily Observations
Consistently logging each practice session turns vague improvement into measurable progress. In your practice journal, record every latte art attempt: note milk type, steaming temperature (140–150°F), and the quality of microfoam. Capture pour technique details—height (3–4 inches for hearts), pitcher grip, and flow rate—then tag the result as heart pattern, rosetta progression, or tulip pattern. Rate each pour on pattern clarity, symmetry, and crema stability for consistency tracking. Include a brief video‑analysis note of three adjustments, like cup angle or cut‑through timing, to guide the next session.
Over 7–14 days, these entries reveal trends, highlight strengths, and pinpoint gaps, keeping your daily routine focused and your mastery timeline on track.
Review and Adjust Techniques
When you finish each pour, pause to review the video and note three concrete adjustments—wrist angle, cup tilt, and flow speed—so you can tweak your technique before the next session.
Build a practice routine that locks in a daily time slot, starting with heart patterns and moving to rosettas and tulips as your milk texture steadies.
Log each attempt: temperature (140‑150 °F), pour height (3‑4 inches for hearts), flow rate, and outcome.
Use video analysis to compare wrist movement and cup positioning across sessions, then apply peer feedback for fresh eyes on symmetry.
Track pattern progression in a journal, marking every successful refinement.
This disciplined loop of review, adjustment, and recorded data turns free latte art practice into long‑term mastery.
Frequently Asked Questions
What Are the Four Fundamentals of Latte Art?
You focus on milk texture, pouring technique, crema stability, and temperature control—steaming to glossy microfoam, pouring from the right height, keeping espresso crema intact, and maintaining drinkable temperatures.
Which Latte Art Techniques Are Considered Free For?
You’ll find free latte art techniques include free pouring—hearts, rosettas, tulips—using textured milk, precise height, wrist control, and cup positioning, while etching tools aren’t considered free.
What Does “Dirty” Mean in a Latte?
You see “dirty” when your milk’s microfoam is grainy or overheated, causing blurred, smeared edges. It means the texture and pour weren’t consistent, so the design looks messy instead of crisp.
What Is Free Pouring Latte Art?
You create latte art by pouring textured milk directly into espresso, shaping heart, rosette, or tulip patterns through controlled speed, distance, and cup tilt, letting the foam and crema naturally form the design.
In Summary
By mastering the basics—right milk, proper steaming, and confident pours—you’ll turn every cup into a canvas. Keep your tools simple, practice daily, and tweak each step as you go. With patience and consistency, those hearts, rosettas, and tulips will become second nature, letting you serve café‑quality latte art for free, every time.


