
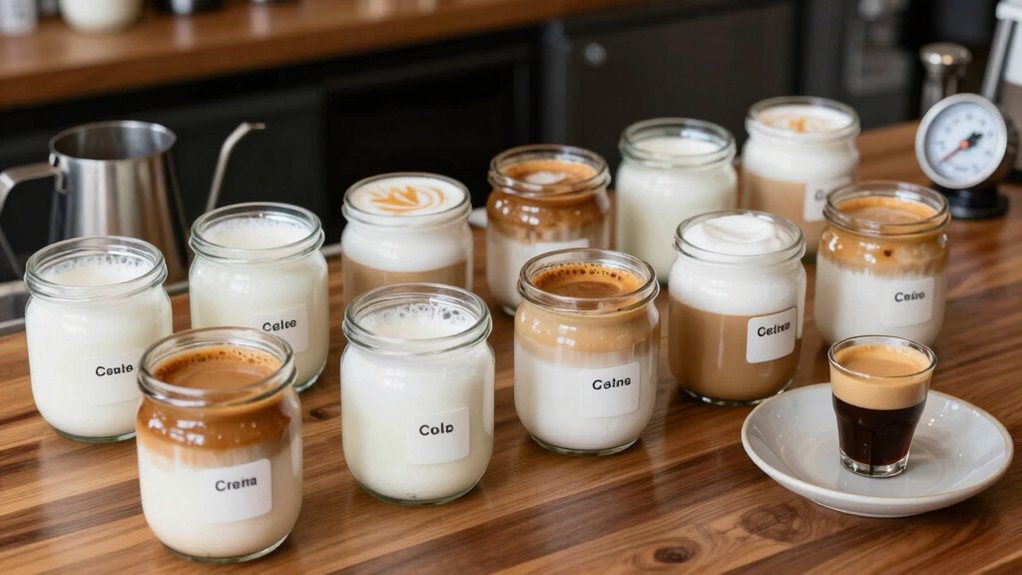
Use a conical burr grinder and keep it clean so the grind stays uniform, preventing channeling that thins crema. Weigh 18‑20 g for a double shot and distribute grounds evenly before tamping with steady pressure. Keep water at 90‑96 °C and do a short low‑pressure pre‑infusion to emulsify oils without over‑extracting. Pull the shot with a bottomless portafilter, then give the cup a gentle swirl to blend the crema into a glossy canvas. Texture milk to hand‑temperature and pour steadily, using the crema’s oil‑rich layer for contrast. Clean the group head daily to maintain flow. Continue and and you’ll discover more tricks.
How to Preserve Crema for Perfect Latte Art
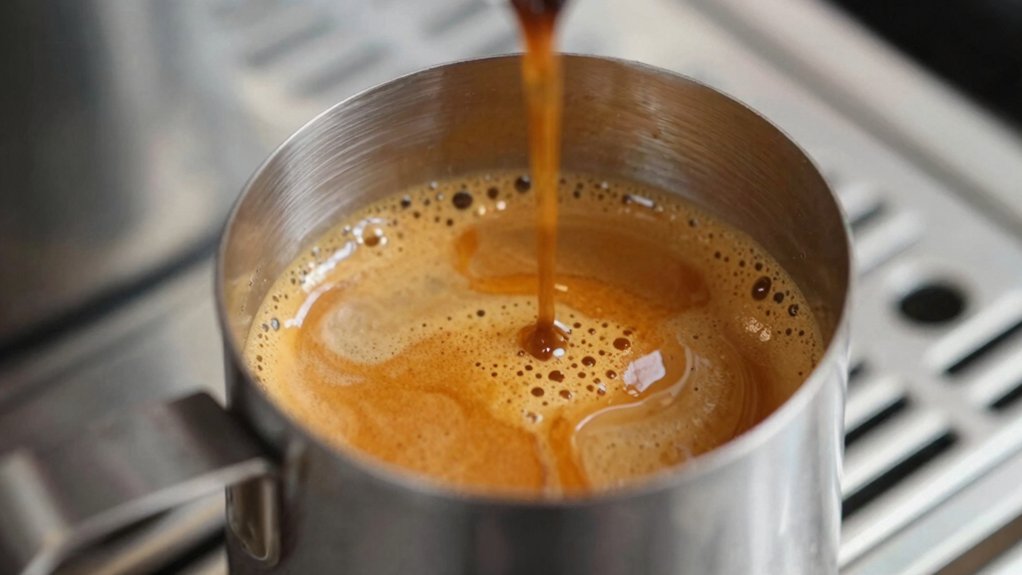
Ever wondered why your latte art sometimes looks flat? You can keep the crema bright and thick by using a bottomless portafilter; it lets more crema flow directly into the cup, giving you a richer canvas. Balance your grind, dose, and tamp so extraction stays even—over‑ or under‑extraction dulls crema quickly. After pulling the shot, give it a gentle swirl or stir to blend the crema with the espresso, creating a uniform surface for pouring. Texture your milk into glossy microfoam at hand‑temperature, then pour carefully to preserve the crema’s contrast. Finally, choose fresh, high‑quality beans and keep your grinder clean; stable crema production starts with good coffee, not tricks. Extraction/DS Content calibration and consistency practices from reputable tools can help you maintain reliable results across brews.
Grind Consistency – Why Uniform Particle Size Keeps Crema for Latte Art Intact
After you’ve secured a bright, thick crema with a bottomless portafilter, the next step is mastering grind consistency. Uniform particle size prevents channeling, so water flows evenly and extracts the coffee body without breaking the crema layer. Use a conical burr grinder, clean it often, and grind only the dose you need to avoid oxidation. Aim for a texture between flour and sugar; this range delivers balanced extraction and a stable crema. Replace worn burrs regularly—worn burrs create large variances that thin the crema and ruin latte art. Burr grinder reliability also supports micro-filtration principles that help maintain smoother, fuller-bodied brews. Burr grinder
Dose Precision – Measuring the Right Coffee Amount for Thick Crema
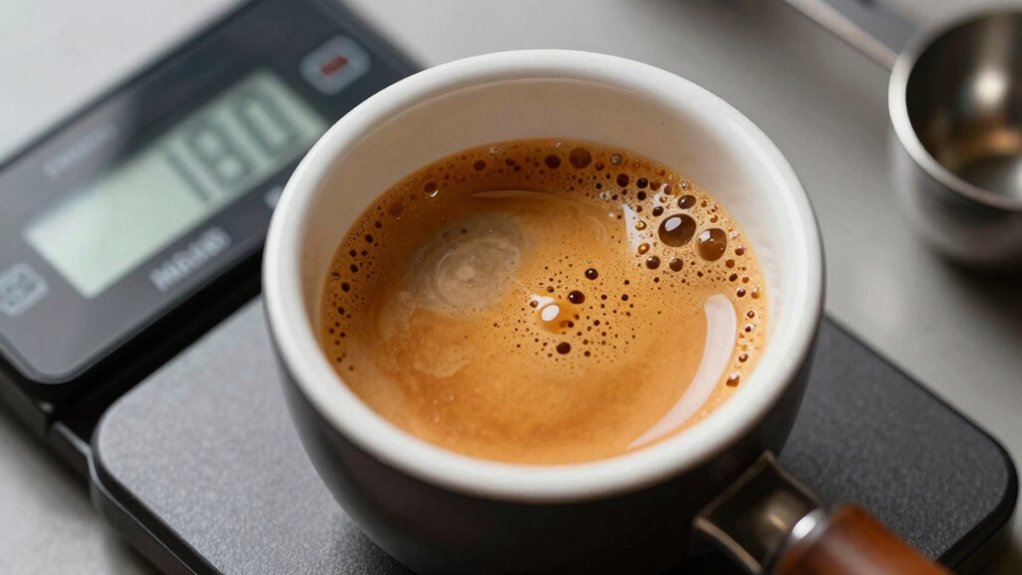
You’ll want an accurate scale to hit the sweet‑spot of 18–20 g per shot, then distribute the grounds evenly so the tamp sits on a uniform bed. A consistent distribution lets you adjust tamp pressure without upsetting flow, preserving a thick, stable crema. Keep the dose steady and you’ll avoid the thin, patchy surface that ruins latte art. Precision 0.1 g helps you measure dose changes precisely so crema remains consistent throughout sessions.
Accurate Scale
How much coffee should you actually weigh to get that thick, velvety crema? You need a scale that reads at least 0.1 g, and you should calibrate it before each session. Tare the portafilter and basket so the display shows only the net coffee mass. Aim for 18–20 g for a double shot, tweaking by 0.5 g if your grinder’s output shifts. Weigh beans before grinding; this locks in dose consistency even when bean density changes with roast. Keep a log of each shot’s dose and extraction time—this data lets you link crema thickness to exact coffee weight and fine‑tune future pulls. A reliable scale eliminates guesswork, delivering the uniform dose essential for thick, lasting crema. Precision guides to maintaining consistent dosing across sessions help sustain crema quality.
Consistent Distribution
Ever wondered why some shots produce a thick, velvety crema while others fall flat? It all starts with a consistent distribution. Weigh your coffee to ±0.1 g before grinding, then dose exactly 18–20 g for a double basket. Avoid overfilling the doser; grind just enough for the upcoming shot to keep aromatic oils intact. After grinding, level the puck and spread the grounds evenly in the portafilter. This prevents channeling that would thin the crema. Use a bottomless portafilter to watch the flow and tweak your distribution until the crema forms a stable, rich layer. By mastering dose precision and even spread, you lock in the crema texture you need for flawless latte art. Additionally, choosing a grinder with a quiet, efficient design helps maintain consistent grind size and preserves aroma during the grind phase Grinder design to support repeatable crema results.
Adjusted Tamp Pressure
Why does a firm, level tamp matter for crema? A consistent tamp pressure creates a uniform puck, preventing channeling that would otherwise thin the crema. Start by weighing 18–20 g of coffee for a 58–60 mm basket, then give a light pre‑till to spread the grounds evenly. Apply about 30–40 pounds (13–18 kg) of tamp pressure, pressing straight down until the surface is flat. Use a scale and tare to verify each dose stays within ±0.1 g; if the crema collapses or turns bitter, adjust the dose by 0.5–1 g and repeat the same tamp pressure. Maintaining this disciplined routine keeps extraction stable, preserving a thick, glossy crema that supports perfect latte art. Portafilter size also influences how evenly the puck compresses and how well crema holds up during extraction.
Even Tamp Technique – Prevent Channel Channeling That Destroys Crema
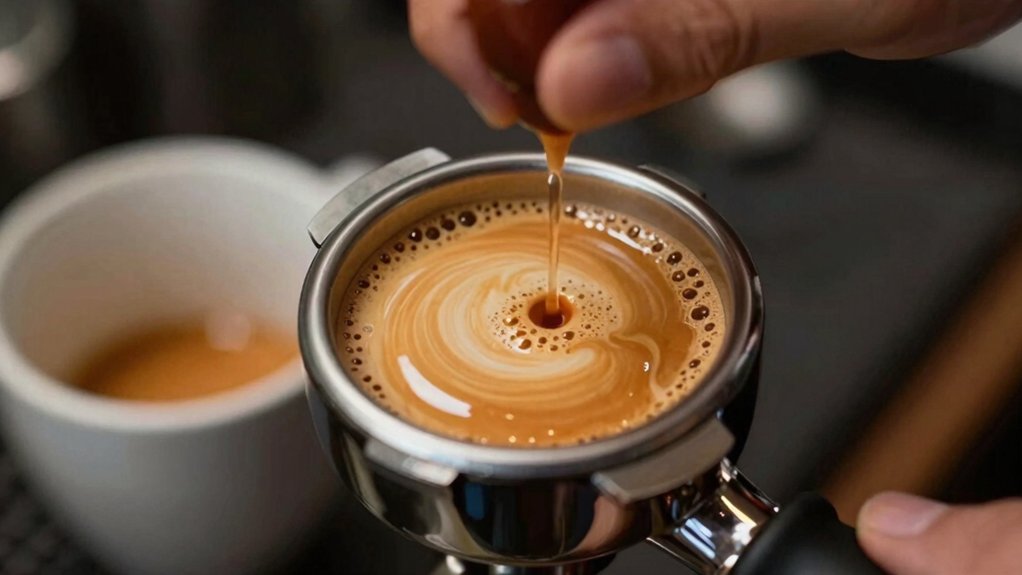
Ever wondered why your espresso’s crema vanishes before it even reaches the cup? It’s usually the result of uneven tamping that creates channels for water to rush through, breaking the crema. Apply a flat, even pressure of about 50 pounds and keep the coffee bed level. A level puck eliminates preferential flow paths, so extraction stays uniform and the crema stays intact. Distribute the grind consistently to avoid voids that encourage channeling. After tamping, lock the portafilter tightly and keep it still during extraction; any movement disrupts the crema’s continuity. Finally, make sure the portafilter and basket are clean and dry—residual oils or moisture will sabotage the crema you’ve worked so hard to preserve. Auto 2-point pH calibration and a stable reading can also help ensure consistent extraction conditions, reinforcing even flow and crema preservation. Portafilter
Water Temperature Control – Extracting Crema Without Over‑Extracting
A steady water temperature is the next piece of the puzzle after you’ve nailed your tamp. Keep it between 90–96 °C (194–205 °F) to coax rich crema without pulling bitter notes. Pre‑warm the portafilter and cup, then pour steadily; sudden spikes will shock the brew and ruin the foam. Swirl the shot gently after extraction to blend crema evenly, preserving the glossy surface for latte art.
| Goal | Action |
|---|---|
| Consistent heat | Set boiler just off‑boil, avoid rolling boil |
| Minimize loss | Warm portafilter and cup before brewing |
| Preserve foam | Use even flow, swirl gently post‑shot |
Pre‑Infusion Timing for Gentle Oil Extraction
You’ll start with a gentle pre‑infusion lasting 3–6 seconds, letting the coffee bloom under low pressure. This low‑pressure phase lets oils emulsify slowly, preventing channeling and early crema breakage.
Then, ramp the pump up gradually as the puck is fully saturated, ensuring a smooth transition to full extraction.
Gentle Pre‑Infusion Duration
When you keep the pre‑infusion brief—about 5 to 8 seconds at low pressure—the oils emulsify slowly, yielding a smoother, more even extraction that preserves crema.
You should tamp the coffee evenly and seal the basket tightly to avoid channeling, then start the gentle pulse.
Watch the shot: if the crema looks pale or starts to break, cut the duration or lower the pressure a notch.
This short burst lets water saturate the puck without forcing aggressive bloom, so the emulsified oils stay intact.
Consistency is key; a repeatable 5‑second start builds a stable foundation for the full‑pressure phase, ensuring the crema remains thick, glossy, and ready for latte art.
Low Pressure Extraction Phase
Keeping the pre‑infusion brief sets the stage for a low‑pressure extraction that protects the crema. You should aim for a 2‑4‑second soak at about 2–4 bars, just enough to wet the puck without jolting the delicate oils. This gentle pressure lets water seep uniformly, coaxing the coffee’s natural emulsifiers to form a stable, glossy crema. Watch the shot’s color and flow; a steady, slow rise in intensity signals that the oils are beginning to emulsify. If the stream turns too thin or the hue darkens quickly, you’re over‑extracting and will lose crema shine. By keeping the pre‑infusion short and low‑pressure, you preserve the crema’s thickness and sheen, setting the foundation for flawless latte art.
Gradual Pump Ramp‑Up
If you start the pump gradually, the low‑pressure pre‑infusion spreads water evenly across the puck, preventing channeling and protecting the delicate oil film that forms crema. Aim for a 6‑12 second pre‑infusion at 2‑4 bar, letting bubbles and oils homogenize without collapsing the crema. Keep your grind size and dose consistent so the water saturates every particle and the oil layer stays intact. A bottomless portafilter lets you watch the crema during this stage, revealing any premature loss.
Begin the pre‑infusion just before the pump hits full pressure, aligning emulsified oils with the rising flow. This gentle ramp‑up preserves texture, ensures a stable crema, and sets the stage for flawless latte art.
Use a Bottomless Portafilter to Deliver Full Crema Into the Cup
Ever wondered why your latte art sometimes lacks that striking crema halo? A bottomless portafilter lets every drop of crema stream straight into the cup, so you see a thick, uniform layer that frames your design. Without a basket to trap foam, the crema isn’t lost during the swing, and you retain more of that golden sheen. To get the most out of this tool, balance your shot: grind fine enough, dose correctly, and tamp evenly. A well‑balanced extraction keeps the crema robust as it exits the spout, delivering a full, creamy crown. Plus, the open view helps you spot channeling instantly, letting you tweak variables before the next pour. This simple switch can elevate your latte art from ordinary to eye‑catching.
Immediate Swirl After Extraction – Blend Crema for Uniform Flavor
Why not give your espresso a quick swirl right after the shot pulls?
As soon as the extraction stops, pick up the cup and rotate it in a slow, circular motion. This gentle whirl pulls the crema back into the liquid, spreading its aromatic oils evenly and cutting any bitter hotspots.
Keep the pitcher aligned to avoid splashing, and watch the surface become glossy and cohesive.
Swirl before you start texturing milk so the crema mixes throughout the espresso instead of floating on top. The result is a uniform flavor base that supports consistent latte art.
A brief, careful swirl preserves crema integrity while delivering a balanced cup every time.
Pouring Technique: Using Crema as a Canvas for Latte Art
You’ll treat the crema as your canvas, so give it a quick swirl before you start pouring to blend it evenly.
Keep the milk texture smooth and the pour steady, letting the crema and microfoam merge without a bitter edge.
Then, begin high, lower the cup, and finish with a surface‑level stream to shape your art.
Cre as Canvas
When you treat the crema as a canvas, its oily, emulsified layer provides the contrast that makes latte‑art designs pop. First, pull a flawless shot with a bottomless portafilter; the open spout lets crema flow straight into the cup, preserving its glossy, bubble‑free surface. Tap the cup lightly and give the espresso a quick swirl to burst any lingering bubbles, then set it aside while you texture the milk. Steam milk to hand‑temperature, using a whirlpool motion to create a velvety micro‑foam that clings to the crema without breaking it. When you pour, start slow, letting the crema act as a dark background; then increase flow to draw the milk into the oil‑rich layer, forming crisp hearts, rosettes, or tulips. This technique maximizes contrast and stability, letting every latte‑art piece stand out.
Swirl Shot Before Pour
Ever tried swirling the espresso shot before you pour the milk? A gentle whirl right after extraction blends the crema into the espresso, giving you a uniform canvas that holds contrast for your art. The swirl prevents the crema from separating abruptly, so the surface stays smooth when the milk meets it. Keep the motion light—just enough to distribute the crema without over‑agitating the brew. When you pour, use a steady, controlled stream; a high, wide flow will break the integrated layer you’ve created.
| Step | What to Do |
|---|---|
| 1 | Extract the shot, then pause. |
| 2 | Swirl the cup gently for 2‑3 seconds. |
| 3 | Begin a slow, steady milk pour. |
Balance Texture With Bitterness
One key to mastering latte art is balancing texture with bitterness by using the crema as a seamless canvas. First, pull a shot and let the crema rise. Then, swirl gently to blend the crema into the espresso, softening any harsh notes. This creates a glossy, micro‑foam texture that holds the design without overwhelming the palate.
When you start the pour, hold the pitcher higher to lay a thin stream, then lower it as you rotate the cup. The even crema layer lets you draw crisp patterns while keeping bitterness in check. Practice this motion until the crema spreads uniformly, giving you contrast and a smooth mouthfeel that enhances both flavor and visual appeal.
Clean the Group Head to Preserve Crema for Latte Art
How often do you think a clean group head influences your latte art? You’ll notice richer crema and sharper contrast when you prioritize group head cleaning.
Start by backflushing daily to strip away oils and coffee residues that sabotage extraction. Follow with a hot‑water rinse, flushing any cleaning agents out of the portafilter path.
Use a dedicated brush to scrub micro‑channels and dislodge clumps that cause uneven flow.
Inspect the screen and basket each week; replace worn parts to keep water pressure steady.
Schedule routine maintenance so water flow stays consistent, preserving crema stability and giving your latte art the perfect canvas it deserves.
Frequently Asked Questions
How Long Should Crema Last on Espresso?
You should expect crema to linger about one to three minutes after extraction; it fades quickly if the grind’s inconsistent, the tamp’s uneven, or the beans aren’t fresh enough.
Does Crema Help With Latte Art?
Yes, crema adds a thin, glossy layer that can enhance contrast, but you’ll still need proper milk microfoam and steady pouring; focus on texture and technique, not just crema.
How to Achieve Perfect Crema?
You’ll get perfect crema by using fresh, high‑quality beans, grinding consistently, tamping evenly, and pulling a short, hot shot at 9‑10 bars. Keep the water temperature around 195‑205 °F, and clean the portafilter before each pull.
What Are Common Latte Art Mistakes?
You over‑pour or under‑pour, create large bubbles, ignore crema blending, grind unevenly, tamp poorly, pour from too high, or misalign the stream, all of which blur or distort your latte art.
In Summary
By mastering grind consistency, precise dosing, even tamping, and water temperature, you’ll keep that silky crema intact. A bottomless portafilter delivers every frothy layer straight into the cup, while an immediate swirl blends flavor uniformly. Finish with a steady pour, using the crema as your canvas, and keep the group head spotless. Follow these steps, and your latte art will always pop with perfect, lasting crema.


