
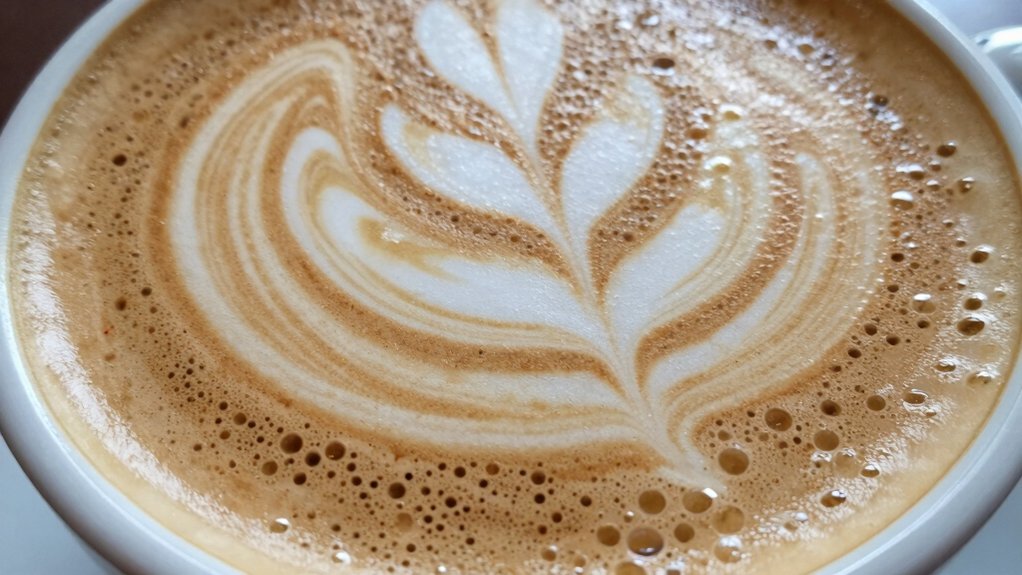
You need velvety, uniform microfoam because it creates a smooth, cohesive film that hugs the espresso crema and holds its shape. The fine bubbles give consistent surface tension, letting you pour crisp lines and intricate designs without the foam collapsing. This texture also blends flavors evenly, so each sip tastes balanced. If you keep the milk at the right temperature and steam it properly, you’ll see the art stay sharp and the drink stay rich. Continue and you’ll discover the exact steps to master it.
What Microfoam Is and How It Forms

Microfoam, the silky, glossy milk that blends seamlessly into espresso, forms when you aerate milk with a steam wand. You create a vortex, then fold the liquid into a whirlpool, letting steam inject tiny bubbles that intertwine with milk proteins and fat content. The result is a velvety texture that pours like liquid velvet, not a stiff cap.
Whole milk’s higher fat content yields thicker, richer foam, while skim milk produces lighter, larger bubbles. You keep temperature between 120–140 °F; exceeding 160 °F breaks down texture stability.
As you master aeration, you’ll notice how the microfoam’s smooth mouthfeel and consistent bubble size enable precise latte‑art patterns, giving each cup a professional finish. The depth of flavor and aroma in the finished drink can be influenced by the foam’s stability and integration with the espresso, reinforcing the importance of technique and proper milk choice for consistent results microfoam stability.
How Microfoam Texture Affects Surface Tension
Texture is the silent driver behind every flawless latte‑art line. When you pull steam with the wand, you create microfoam that spreads a uniform texture across the cup. This even layer raises surface tension consistently, so the milk hugs the crema without breaking. The fine bubbles in a velvety microfoam act like a cohesive film, preventing coalescence and keeping your latte art from sinking. A well-controlled temperature and stable protein structure help maintain this surface tension during pouring, reducing the risk of defects as you layer in rosettas and tulips. Surface tension and the stability of the foam play pivotal roles in how cleanly designs hold up against crema.
Create Pourable, Velvety Microfoam – Step‑by‑Step (Including Pouring Tips)
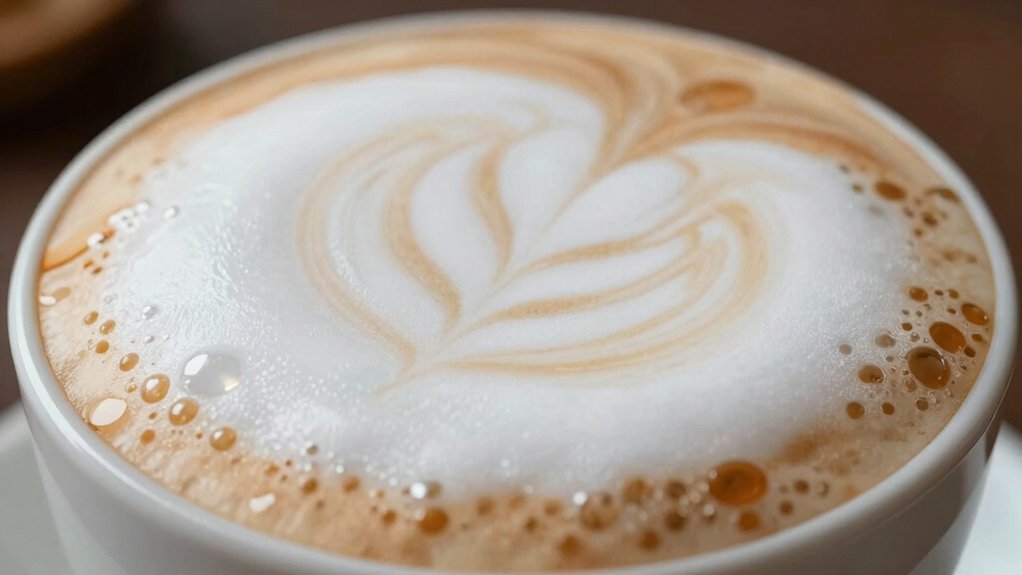
Ever wondered how to turn steamed milk into a pourable, velvety canvas for latte art? Heat dairy to 140‑150 °F while creating a whirlpool: keep the wand just below the surface, introduce a thin air layer, then submerge fully to integrate microbubbles. Aim for a glossy texture, tap the pitcher to burst any large bubbles, and give it a quick swirl. When you pour, start with a circular motion from a slightly higher height, then lower the spout proximity to the surface for crisp latte art marks. Adjust pitcher position, pour speed, and spout proximity for steady rosettas or hearts. Regularizing steam technique aligns with how multi-purpose grinders can deliver consistent results by controlling texture and grind size, ensuring you have a reliable setup for home barista tasks grain consistency.
Troubleshooting Common Microfoam Texture Issues
If your milk looks glossy and velvety but the latte art still collapses or spreads unevenly, the problem usually lies in hidden texture flaws.
First, check aeration: a weak steam wand pull leaves large bubbles that break the surface. Increase the whirlpool by positioning the wand deeper, creating a vortex that blends air evenly.
Next, verify temperature; steaming past 150 °F softens the microfoam, causing it to thin and lose hold. Whole milk tolerates a slightly higher heat, while skim milk needs a gentler touch to avoid oversized bubbles.
If you see a separate foam layer, you’ve under‑aerated—add a brief, high‑speed burst to integrate the bubbles.
Finally, practice consistent wand depth and angle; a steady whirlpool yields a smooth milk texture that supports crisp latte art.
To ensure lasting results, consider maintaining your equipment with a reliable descaler routine that keeps the machine operating at peak performance. Descaler Tablets
Frequently Asked Questions
What Is the Best Microfoam for Latte Art?
You want velvety, pourable milk with tiny, uniform bubbles that blend into the espresso, glossy and smooth, steamed to about 140‑150°F, using a whirlpool technique for consistent microfoam.
Why Is Microfoam Important?
You need microfoam because it creates a smooth, glossy canvas that lets you pour precise designs, enhances sweetness, and keeps the drink at the right temperature without harsh bubbles.
What Is the Ideal Texture of Milk for Creating Latte Art?
You need velvety, silk‑smooth microfoam—tiny, uniform bubbles that blend into the espresso, glossy and cohesive, at about 140‑150°F, so the pour holds clean, lasting designs.
What Are Common Latte Art Mistakes?
You often over‑foam, pour too high, or pour too fast, causing the design to blur. You might also use cold milk, under‑steam, or neglect the vortex, resulting in uneven, weak latte art.
In Summary
By mastering microfoam, you’ll see smoother, richer latte art that holds its shape and releases flavors evenly. The fine bubbles lower surface tension, letting you pour intricate designs without collapsing. When you perfect the velvety texture, every cup becomes a canvas, and your coffee’s mouthfeel and visual appeal reach professional level. Keep practicing the steps, tweak your technique, and enjoy consistently stunning results.


