
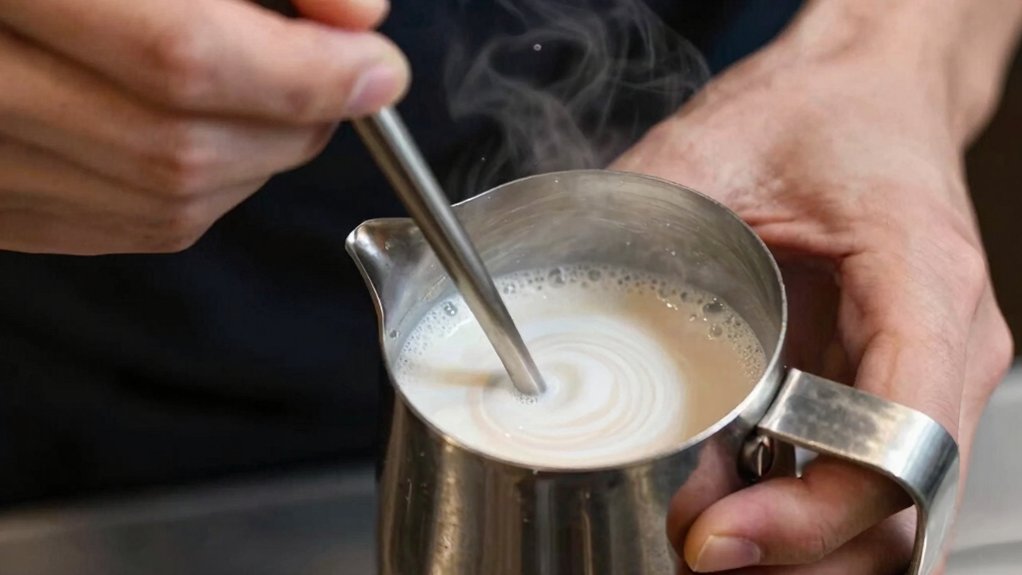
Place the wand just below the milk surface, tilt the pitcher 15‑30°, and start a gentle vortex. Introduce a short burst of air while the milk’s still cold, then keep the wand shallow to aerate and stretch the milk without large bubbles. As the foam builds, gradually deepen the wand to weave a tight micro‑foam base, stopping when the temperature hits 130‑150°F. Keep the swirl steady and the tip off‑center, and you’ll get silky, glossy foam—more tips await if you keep going.
Place Your Steam Wand to Build a Micro‑Foam Base
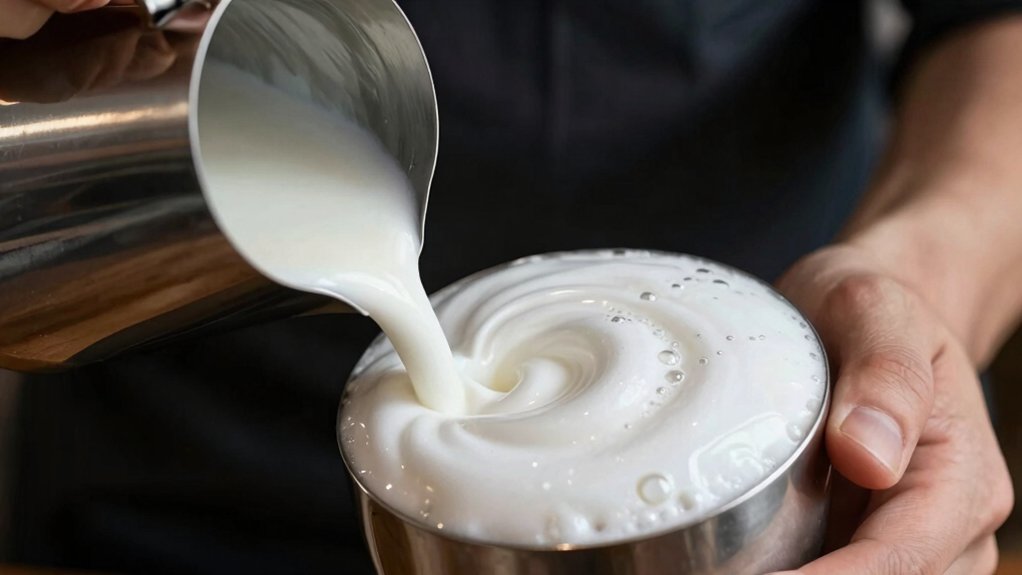
Ever wondered how a perfect micro‑foam base starts? Place the wand tip just below the milk surface and tilt the pitcher 15–30 degrees so a gentle swirl forms. You’ll notice a steady vortex as the steam wand position creates near‑surface aeration, stretching the milk without large bubbles. Keep the steam depth about an inch below the surface near the pitcher edge; this promotes texture development while you control steam flow. As the foam builds, gradually deepen the wand to maintain a tight microfoam base and avoid over‑aeration. Remember to purge wand briefly before steaming to clear condensation and ensure clean steam. This precise steam wand position lets you sculpt silky, consistent microfoam every time. Additionally, choosing a thermometer-enabled setup can help monitor the temperature to stay within ideal ranges for stable microfoam temperature control.
Introduce Air Early With Your Steam Wand While Milk Is Cold
How can you lock in silky micro‑foam before the milk even warms up? Position the steam wand just below the surface while the milk is cold, angling it slightly to keep the tip a hair’s breadth under the surface. This early air introduction starts gentle aeration without overheating, letting proteins stabilize as the milk temperature climbs toward 130‑150 °F. Begin with a short burst of air, then maintain a steady swirl as the wand depth stays shallow. If you want to minimize movement while heating, use a slow, continuous whirl to promote uniform texture and reduce the chance of large bubbles foam stability. Watch the foam texture; if large bubbles appear, raise the wand a fraction and tweak the angle. By keeping the milk cold during the initial aeration, you create a dense, velvety microfoam that resists dry or bubbly finishes.
Keep the Wand in a Gentle Swirl to Prevent Large Bubbles
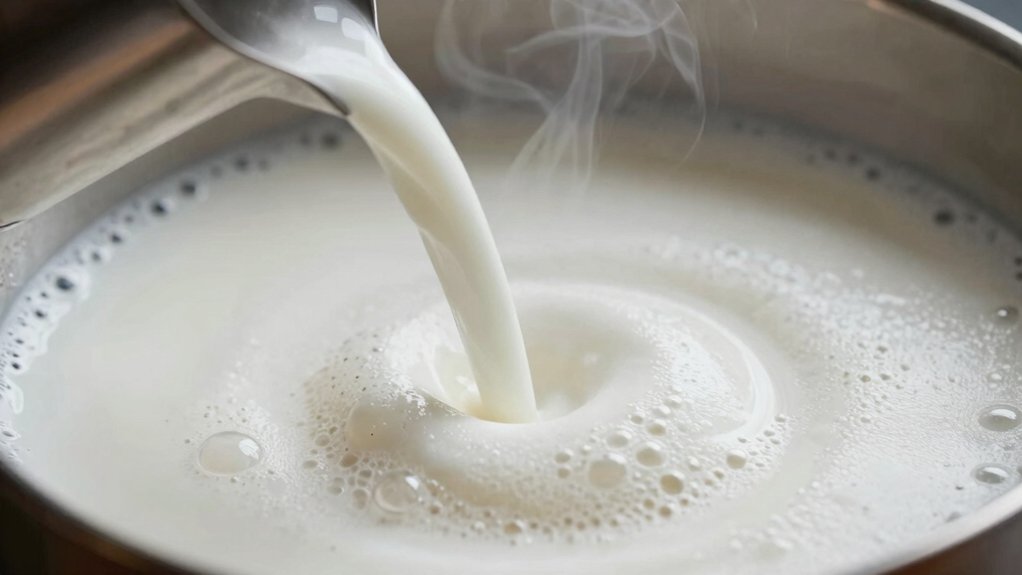
If you keep the wand just below the milk surface and tilt the pitcher 15‑30°, you’ll create a gentle vortex that suppresses large bubbles. Position the steam wand with an off‑center tip and use depth control to keep the tip just beneath the surface while the pitcher tilt maintains a steady, gentle swirl. Start aeration near the top, then submerge gradually so the vortex stays stable. A four‑hole steam tip accelerates the whirl without violent agitation, helping you produce silky microfoam. If you notice large bubbles, shift the wand slightly to the side and adjust depth until the swirl remains smooth. This technique keeps the foam fine, consistent, and bubble‑free. Drip trays and related containment practices from coffee gear contexts can remind you to keep the work area clean and level, aiding steady technique and spill prevention.
Finish Steaming at 130‑150°F for Silky, Non‑Burnt Milk
Why settle for burnt‑tasting milk when you can lock in sweetness with a precise 130‑150°F finish?
Keep the steam wand depth just below the surface during aeration, then plunge deeper to weave microfoam. A digital thermometer lets you nail temperature control, stopping at 130‑150°F before the milk scorches.
At that range, hydration stays high, surface tension softens, and milk texture turns velvety, with microbubbles under 1 mm.
The resulting glossy microfoam gives latte art a smooth canvas, while the sweet, non‑brittle milk preserves flavor.
Watch the thermometer, adjust wand depth, and you’ll finish steaming with silky, non‑burnt milk every time.
The 130‑150°F target aligns with maintaining optimal hydration and texture for velvety microfoam.
Fix Common Foam Problems: Bubbles, Dry Foam, and Over‑Heating
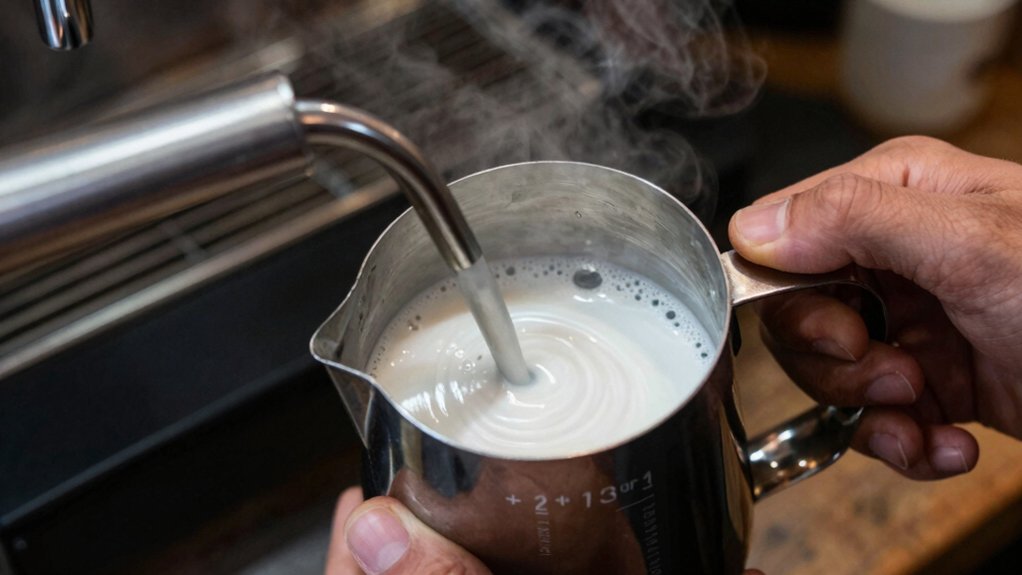
Ever notice your milk turning into a sea of oversized bubbles, a stiff, dry foam, or a burnt‑tasting mess? Fix each issue by tweaking wand depth, pitcher tilt, and temperature control. For giant bubbles, lower the steam wand just below the surface, tilt the pitcher 15–30°, and create a gentle vortex that encourages microfoam aeration. If foam feels dry, push the wand deeper, keep a steady stream, and avoid excess air during the stretch. Over‑heating ruins texture; monitor with a thermometer and stop at 150–155°F. After steaming, tap and swirl the pitcher, then give a final gentle vortex to polish the surface. Also consider using a milk frother with USB-C rechargeable power and multiple whisk options to achieve consistent microfoam across dairy and non-dairy milks foam creation times.
Frequently Asked Questions
How Does Milk Type Affect Microfoam Texture?
You’ll notice that whole milk creates richer, silkier microfoam because its higher fat and protein content stabilizes bubbles, while skim milk yields lighter, frothier foam that can feel grainier and less cohesive.
Can I Use a Stainless‑Steel Pitcher for Better Foam?
Yes, you can use a stainless‑steel pitcher; it conducts heat evenly, helping you create stable microfoam faster. Just keep the pitcher chilled before steaming, and you’ll achieve smoother, silkier foam consistently.
What Water Temperature Is Optimal for Steam Wand Performance?
You should heat the water to about 195‑205 °F (90‑96 °C) before steaming; that temperature gives the wand enough pressure for silky microfoam without scalding the milk or burning the pitcher.
How Often Should I Replace the Wand Tip for Consistent Results?
You should replace the wand tip every 6–12 months, depending on usage and water hardness; regular inspection for wear or buildup guarantees consistent steam pressure and microfoam quality.
Does Pitcher Altitude Impact Steaming Time and Foam Quality?
Yes, altitude shortens boiling points, so you’ll need a longer steam burst to reach the same temperature, but the thinner air can produce finer bubbles, giving you richer microfoam if you adjust pressure accordingly.
In Summary
By mastering wand placement, you’ll create a smooth micro‑foam base, then introduce air while the milk’s still cold to avoid large bubbles. Keep the wand in a gentle swirl, and stop steaming at 130‑150°F for silky, non‑burnt milk. If bubbles, dry foam, or overheating appear, adjust your technique accordingly. Follow these steps, and every cappuccino will have that perfect, velvety texture.


