

Lock in a single grind size and keep it consistent across all bowls, then set your water to 195‑205 °F and dose 8.25 g per 150 mL. Use identical cupping bowls, spoons, and a quiet, well‑lit space; purge the grinder between samples and follow a strict four‑minute steep, break crust, four‑minute finish. Score aroma, acidity, and body on a uniform scale while staying blind to each bowl’s origin. Note any outliers, adjust roast parameters, and repeat over several days to track aging—there’s plenty more detail ahead.
Select Core Variables for Multi‑Cup Cupping
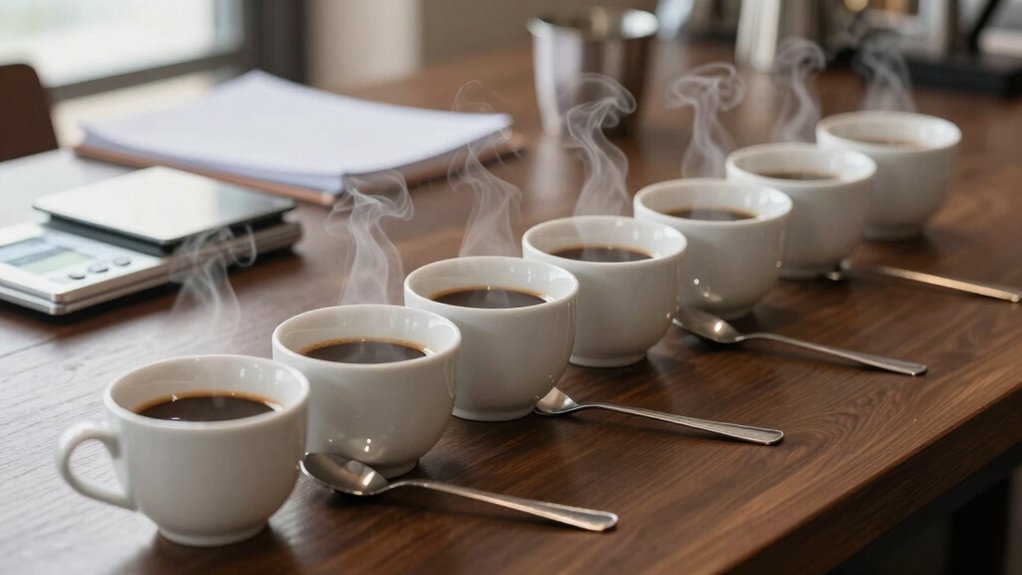
How do you keep every cup comparable? You lock in grind size, set water temperature between 195–205 °F (90–96 °C), and nail the coffee-to-water ratio—say 8.25 g per 150 ml. Then you synchronize batch timing so each extraction starts and ends together. Use identical cupping bowls, spoons, and volumes; this removes vessel‑related variance. Label samples only after grinding and preparation, keeping origin hidden to curb bias. Run multiple bowls per candidate and repeat sessions on different days to gauge day‑to‑day consistency. By controlling these core variables, you create a level playing field where flavor differences reflect the coffee, not the process. Multimethod cupping setups can also help validate results across different equipment and batches.
Prepare a Controlled Environment for Multi‑Cup Cupping
A quiet, well‑lit room free of competing aromas is essential for a reliable multi‑cup cupping session. You set up the cupping room by arranging identical bowls on a level surface, using standardized equipment like uniform cups, spoons, and scales. Keep the grind size consistent for each coffee, and purge the grinder between samples to prevent carryover. Heat water to the target temperature—195–205 °F (90–96 °C)—and maintain it with a calibrated kettle. Follow a strict timing and schedule: fill each bowl to 200 mL, steep for four minutes, break the crust, then evaluate for another four minutes. This controlled environment eliminates sensory noise, ensures reproducibility, and lets you focus on the nuanced flavors each brew reveals. For consistency across sessions, rely on scales with a 0.1 g precision to track precise pour and bloom dynamics precision measurement and capacity trends.
Brew Multiple Bowls With Precise Grind, Ratio, and Water Temperature
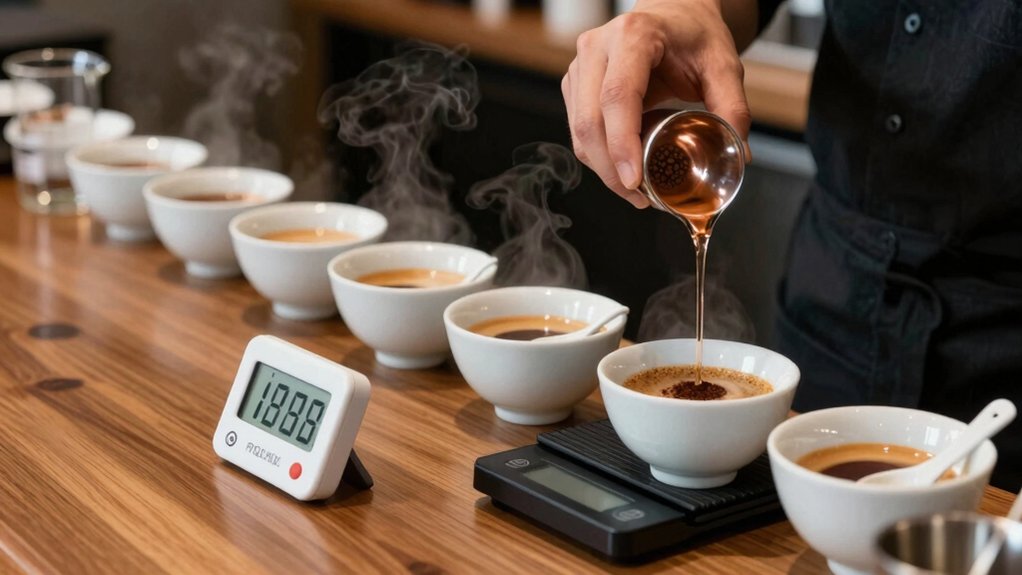
Ever wondered how to keep every cup identical before you even taste a sip? You start by setting a single grind size—medium‑coarse works well—and stick to it for all cupping bowls. Use precision dosing: weigh 8.25 g of coffee per 150 mL (≈150 g) of water, measuring both grounds and water to 0.1 g. Heat the water to a stable water temperature between 195–205 °F (90–96 °C) and maintain it across bowls. Pre‑infuse each sample for the same seconds, then break the crust uniformly. By controlling grind size, coffee-to-water ratio, and water temperature, you eliminate variables, letting the true flavor differences shine through each cupping bowl. You can also consider keeping a dedicated WDT tool nearby to ensure uniform ground distribution if you’re cupping many samples in succession. WDT tool
Implement a Double‑Blind Routine for Multi‑Cup Cupping
You’ll set up each bowl with a neutral label so nobody can tell which coffee is which, then record your scores on a master sheet that hides the identities until after tasting. By keeping the labeling and scoring strictly objective, you eliminate visual cues and personal bias. This double‑blind routine lets every participant’s palate speak for itself, ensuring reliable, comparable results. Temperature control helps prevent scorching and preserve foam structure during evaluation foam stability.
Blind Cup Setup
How can you truly isolate your palate when cupping multiple coffees? A solid blind cupping setup eliminates visual cues, ensures anonymity, and follows a strict cupping protocol. First, use black‑interior bowls and cover any origin tags; this blocks color bias. Second, enlist a helper to arrange the cups, creating a double‑blind routine where neither you nor the tasters know which sample is which. Third, keep the roasted bean tray out of sight and postpone any discussion until after each sip, preventing perceptual bias from group influence.
Steps to implement:
- Prepare identical, opaque cups and mask all labels.
- Assign a neutral code (A, B, C) and have a colleague place the coffees.
- Conduct tasting, then record notes before revealing the samples. Double‑blind protocol
Standardized Sample Labels
Why bother with vague tags when you can lock bias out with standardized, tamper‑evident labels? You’ll assign each coffee a unique cupping code, then seal it in a pre‑printed label that shows only the code, cup position, and batch number. A separate facilitator holds the master sheet, so neither you nor the organizer knows the origin during blind tasting. Rotate the codes each round, keep the sheet secure, and record notes under each code on the cupping form. When the session ends, translate the rankings back to the actual samples, guaranteeing traceability without influencing perception. This approach aligns with best practices for clean, repeatable tasting, ensuring consistency across multi‑cup sessions multi‑brand compatibility.
Objective Score Recording
Standardized, tamper‑evident labels keep the blind intact, and the next step is to capture scores without letting any hidden cues sway the tasters. You’ll use a neutral setup person to prep each cup, measuring grounds to 0.1 g and water to the exact gram‑scale ratio, then hide visual cues with black interiors and remove trays. After the first sip, tasters write initial cupping notes, pause, then record final scores. This double‑blind scoring routine isolates impression from discussion and boosts consistency. Ensure the setup uses a dedicated timer and precise scales (0.1 g) to maintain accuracy across rounds, and note that devices like Bluetooth-enabled coffee scales can help track measurements and timing automatically for each sample Precision accuracy. 1. Record measurements before tasting. 2. Log cupping notes after the first round. 3. Enter final scores after the note‑taking interval. Cross‑check by repeating the session on different days or with new tasters to verify consistency and catch day‑to‑day variation.
Record First‑Three‑Minute Notes and Scores
You’ll capture your immediate impressions and assign a quick, consistent score for each cup within the first three minutes. By using a fixed grind and precise water‑to‑coffee ratio, you ensure those early notes are comparable across all samples. Keep the tasting pace brisk and limit slurps so your scores stay objective and reproducible.
Note Immediate Impressions
When the crust breaks and the aroma bursts, capture every detail within the first three minutes before any discussion sways your senses. You should jot down the aroma, note the crust formation timing, and log initial impressions on the cupping form while the coffee is still hot. Keep the entry short and objective, then move straight to quick scoring before you talk to anyone else.
- Write the exact scent (e.g., bright citrus, sweet chocolate) as soon as it hits your nose.
- Record when the crust appears, how long it lingers, and any rapid aroma shifts.
- Assign preliminary scores for flavor, acidity, body, sweetness, and aftertaste, using the standardized form.
Doing this prevents bias and ensures each cup’s first‑three‑minute profile stays pure.
Score Consistency Quickly
Capture the aroma, crust timing, and preliminary scores within the first three minutes, then lock them in before any discussion. You should use the same cupping form for every sample, noting aroma, acidity, sweetness, body, and aftertaste as you sip. Keep grind size, water temperature, ratio, and brew time identical so the baseline notes reflect only the coffee, not the method. Record numeric values immediately; this creates a consistency anchor that prevents later bias. After the three‑minute window, refrain from talking about your observations. Only after you’ve completed all cups do you revisit and adjust scores, ensuring the initial scoring remains a reliable reference for every brew.
Compare Bowls, Spot Defects, and Refine Your Roast Profile
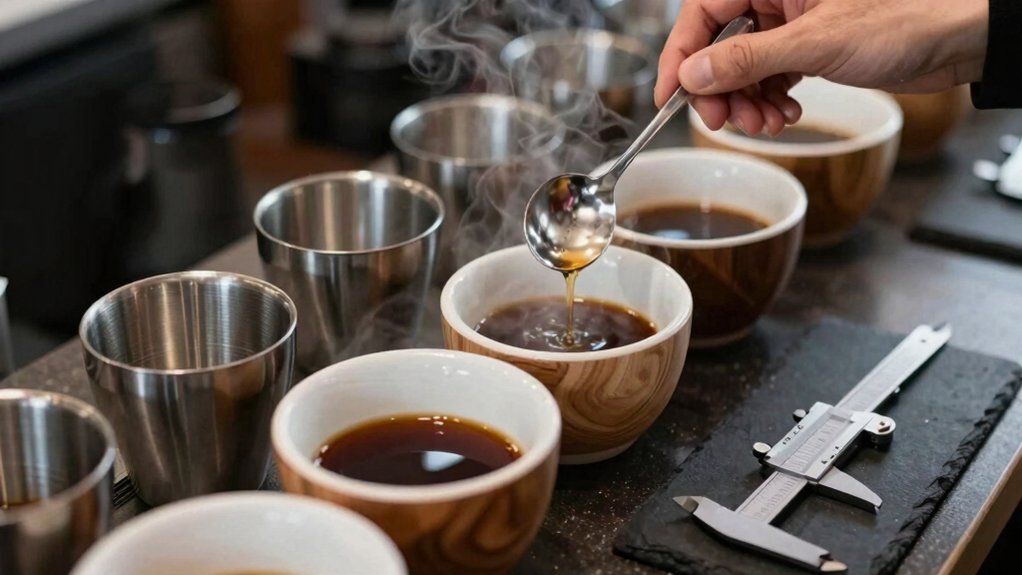
A well‑structured cupping session starts by scattering several identical bowls, letting you see how the same coffee behaves across samples and quickly spot any defects. You’ll notice cupping consistency when each bowl mirrors the next, and any sample variance flags a defect needing attention. Follow a standardized protocol—same grind, water temperature, brew time—to ensure fair defect detection and reliable data for roast profiling.
- Record aroma, acidity, body for each bowl, noting any outliers.
- Score each attribute on a uniform scale, then compare scores to quantify sample variance.
- Adjust roast parameters based on recurring defects, refining the roast profile until the bowls converge.
Iterate, Re‑Cup, and Track Aging for Multi‑Cup Cupping Quality
Why does tracking your cupping results over days and weeks matter? Because aging reveals when a roast hits its peak and when it starts to decline.
Aging reveals a roast’s peak and decline, guiding precise cupping adjustments.
You should spread several bowls across a session, then repeat tasting each day to gauge consistency. By taking systematic notes, you build an aging curve that shows how flavor evolves.
When you notice a shift, iterate—adjust grind, brew time, or roast profile—and re‑cup to confirm the change. Tracking notes lets you compare day‑to‑day bowls, spot subtle differences, and verify marginal improvements.
This disciplined repeat tasting and re‑cupping routine gives you a clear quality picture, ensuring each batch meets your intended customer experience.
Frequently Asked Questions
How Does Altitude Affect Cupping Flavor Perception?
Altitude thins the air, so you’ll perceive brighter acidity and lighter body; the lower oxygen reduces aromatic compounds, making subtle floral notes fade, while bitterness can feel sharper at higher elevations.
Can I Use a French Press for Multi‑Cup Cupping?
Yes, you can use a French press for multi‑cup cupping; just fill each chamber, press gently, and pour into separate cups. Keep the grind consistent, steep for three minutes, then taste each sample.
What Is the Ideal Storage Container for Cupping Samples?
You should use airtight, food‑grade glass jars with silicone seals; they keep aroma intact, prevent oxidation, and let you label each sample clearly, ensuring consistent, reliable cupping results.
How Often Should I Calibrate My Refractometer?
You should calibrate your refractometer at least once a week, or whenever temperature shifts or you notice drift in readings. If you switch solutions or instruments, recalibrate immediately to maintain accuracy.
Do Different Water Hardness Levels Impact TDS Readings?
Yes, water hardness changes TDS readings because hardness minerals contribute to total dissolved solids. If you use harder water, your TDS meter will show higher values, even if the actual solute concentration hasn’t changed.
In Summary
By mastering the core variables, controlling the environment, and brewing with precision, you’ll consistently produce reliable cupping data. The double‑blind routine eliminates bias, while the three‑minute note‑taking captures essential nuances. Comparing bowls, spotting defects, and adjusting your roast profile sharpens your palate. Keep iterating, re‑cupping, and tracking aging, and you’ll elevate your multi‑cup cupping skills to a professional level.


