

Prime the wand, then rinse it under hot water before steaming. Use fresh, cold milk—preferably whole or 2%—and keep the pitcher low so the wand just kisses the surface. Aerate for 3–5 seconds with a gentle vortex, then plunge deeper to emulsify, watching for a velvety, glossy texture at 130‑150 °F. If bubbles clump, lower the wand slightly and maintain a steady swirl. Keep your wand clean after descaling to avoid residue, and you’ll master smooth foam in no time.
Fix Lumpy Milk Foam in 3 Simple Steps

Ever wondered why your milk foam ends up lumpy? First, grab fresh, cold milk and check the expiration date; old milk often creates lumps, so replace it with a new carton.
Fresh, cold milk—check the date; replace old milk to prevent lumpy foam.
Next, clean the milk container and steam wand thoroughly after any descaling, because residue can cause curdling during ste**.
Then, submerge the steam wand just below the surface and start a gentle vortex, letting the steam dissolve large bubbles without over‑aerating.
Keep the temperature around 60–65 °C (140–149 °F) and stop heating once you hit that range, maintaining steady heat to avoid curdling.
If you still see lumps, try a different milk brand or type to pinpoint whether the issue lies in milk quality or equipment cleaning. Milk Type Compatibility
Prime and Rinse the Steam Wand for Smooth Milk Foam
A clean, primed steam wand is the foundation of silky milk foam. First, wrap the wand tip with a barista towel and give it a quick burst of steam. You’ll hear a paper‑tearing or crackling sound as the tip dips just below the milk surface—this tells you the steam is dry and steady. Then, immediately rinse the wand under hot water to flush out any residual water or cleaning agents that could create lumpy foam later. After each use, rinse again to prevent buildup. Keep a dedicated milk pitcher nearby and wipe the wand tip after every steaming session. By priming and rinsing consistently, you eliminate droplets and residues, ensuring smooth, velvety foam every time. This practice aligns with the broader guidance on maintaining consistent temperature adjustment and clean water flow across hot- and iced-coffee brewers for optimal results. steam wand maintenance
Prevent Descaling Residue From Contaminating Milk
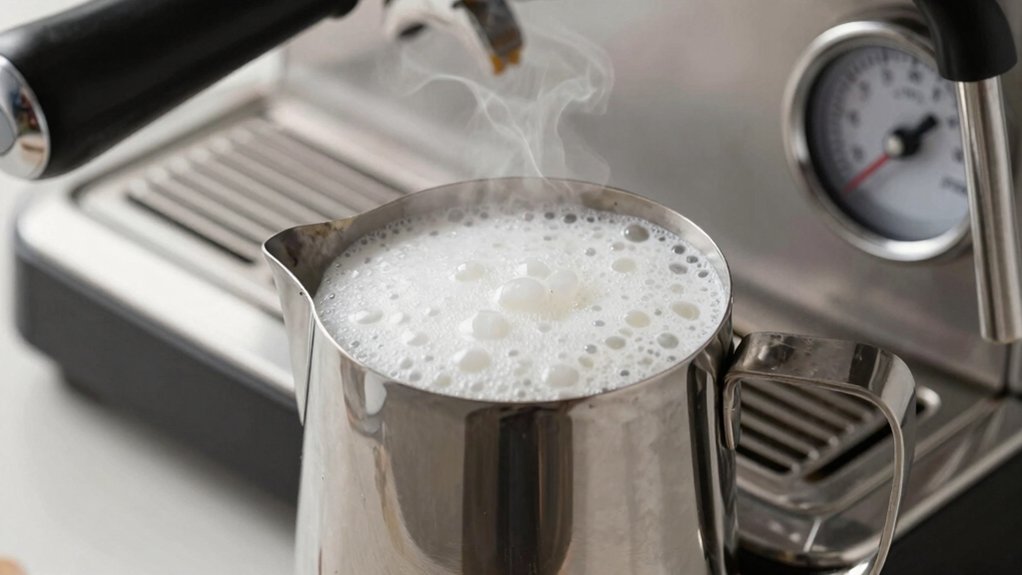
After descaling, rinse the wand and internal lines thoroughly so no citric acid remains. Keep a regular descaling schedule and verify each rinse before you steam. Then use fresh milk to test the foam and confirm the flavor stays clean. Regularly inspect for dishwasher-safe parts to maintain long-term performance stainless steel durability.
Rinse Thoroughly
Why risk curdled milk when a simple rinse can eliminate lingering descaling residue? After descaling, you must rinse every surface that contacts milk. Run plain water through the steam wand until the taste of cleaning agents disappears. Rinse the milk container and pitcher separately, then give the whole system a final flush. If you notice any off‑taste, repeat the rinse before steaming again.
In addition, ensure you use a cross-back apron design when working long shifts to maintain comfort and focus during busy periods Comfort For Long Shifts.
Check Descaling Schedule
Rinsing the wand and pitcher removes most residue, but a regular descaling schedule guarantees that any remaining citric acid never reaches the milk. You should keep a written calendar that notes each descaling event, then follow the rinse protocol immediately afterward. Run fresh water through the steam system at least three times, checking for off‑flavors before you steam. Verify that the descale residue is completely flushed out; even a trace can destabilize milk foam and cause curdling. After the final rinse, perform a milk‑only test to confirm the foam texture is smooth. If the test shows any bitterness or graininess, repeat the rinse protocol. Consistently tracking this schedule prevents lingering acids from contaminating your milk foam. Regular maintenance with an established descaling routine helps ensure long‑term foam stability and flavor integrity.
Use Fresh Milk
Wondering why your milk foam turns lumpy? You’re probably using milk that’s past its prime or has been tainted by descaling residue. Grab fresh milk straight from the fridge and keep it in a clean container; this eliminates stray cultures that trigger curdling. Before you steam, rinse the wand thoroughly after any descaling cycle until no scent or film remains. A clean steam path prevents residue from mixing with the milk’s proteins, which would otherwise create gritty bubbles. When you steam, watch the temperature and avoid overheating—fresh milk foams best at 140‑150 °F. If lumps still appear, discard the batch, double‑check the wand for hidden residue, and start again with fresh milk. This simple switch keeps your foam silky and your espresso barista‑ready. Additionally, using a grinder with good static reduction helps keep ground particles from affecting crema and texture in your espresso shots static reduction.
Select Fresh, Cold Milk With the Right Fat Content
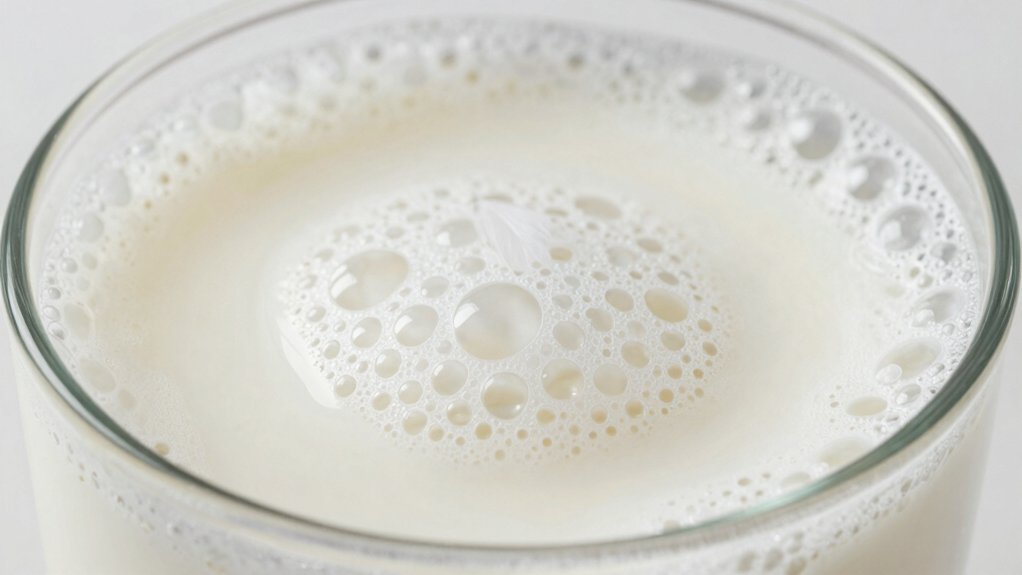
Fresh, cold milk is the foundation of smooth foam, so start with a carton that’s been stored properly and is well before its sell‑by date. When you pick fresh milk, check the fat content: whole milk gives richer, silkier microfoam, while low‑fat or skim milk creates a lighter, more airy texture that can feel thin. Temperature control matters too—keep the milk at 4 °C (39 °F) until you’re ready to steam; a sudden rise can cause proteins to clump. If you’re using a non‑dairy alternative, remember it foams differently and may need a shorter aeration time. Swap any milk that looks sour, smells off, or has been opened too long. By matching the right fat level and maintaining strict temperature control, you set the stage for consistently velvety foam. Milk handling helps ensure your foam stays smooth throughout use.
Master the Aeration Phase – Add Air Without Creating Clumps
Now that you’ve chosen the right milk and kept it cold, move straight to the aeration phase. Begin with dry‑steaming: place the steam wand just under the surface for the first 3‑5 seconds, letting a soft crackling sound guide you. This injects a controlled amount of air, forming a light foam without large bubbles. After that brief burst, lower the wand slightly deeper to create a gentle vortex; the motion dissolves any remaining bubbles into silky microfoam. Keep the pitcher filled only to the recommended level so the foam can expand without spilling. If you hear a screech, lift the wand a touch to reduce agitation. Stop aeration once the foam reaches the desired density, then proceed to the next step.
Perfect the Emulsification Phase – Heat and Texture for Velvet Foam
How do you turn airy foam into a velvety, glossy microfoam? First, plunge the steam wand deeper into the pitcher and keep it just below the surface. As the wand spins, a steady whirlpool forms, pulling the milk into a uniform swirl. This motion drives the emulsification phase, blending air and liquid into a silky texture. Watch the temperature closely—aim for 60–65 °C (140–149 °F). Use a thermometer or the hand‑test cue to stop heating at the right moment, preventing scorching. Once the target temperature hits, maintain the gentle whirlpool and a slight downward motion. This integrates the tiny bubbles, giving you a glossy, cohesive microfoam ready for pouring.
Find the Sweet Spot for Your Steam Wand Position
Where should you place the wand to coax silky microfoam? Position the steam wand halfway between the pitcher’s center and wall to achieve vortex control without a side whirlpool. Start the wand just below the surface, then lift it gradually after a few seconds so the milk crackles softly and large bubbles stay at bay. Keep the pitcher low enough that the wand barely kisses the surface during the contact phase; this encourages microfoam formation. If you notice big bubbles, lower the wand slightly to calm the whirlpool and reduce aeration, then taper off as the texture nears your target. Use a slight off‑center angle to sustain a consistent vortex, and give the pitcher a gentle swirl after steaming to dissolve any remaining large bubbles.
How Different Milk Types Affect Foam Quality
Finding the right wand position sets the stage, but the milk you choose ultimately decides how silky or airy your foam will be. Whole milk (3.25% fat) gives you dense, velvety milk foam with excellent stability, while 2 % milk produces a lighter, still‑creamy foam that holds its shape. Skim milk (0 % fat) creates a frothier, voluminous foam that can become stiff if you over‑aerate. Among non‑dairy options, oat milk (2‑4 % fat) froths similarly to dairy, delivering creamy foam and decent stability. Almond milk (1‑2 % fat) foams but tends to separate quickly, reducing stability. Soy milk (2‑3 % fat) can foam well, yet it may curdle if overheated, affecting texture. Choose your milk based on desired foam density and the drink you’re crafting.
Check Foam Texture and Temperature Before Pulling a Shot
You should first feel the foam’s consistency—smooth, velvety, and full of tiny bubbles, not clumpy or islandy.
Then check the temperature, aiming for 130‑150 °F (54‑66 °C) and using a thermometer or hand‑test to avoid overheating.
If the texture or heat is off, adjust your steam wand position and technique before pulling the shot.
Check Foam Consistency
Wondering if your milk foam is ready for a shot? Check foam consistency before you pull. You want a smooth, velvety surface with tiny, uniform bubbles—no clumps, no large air pockets. A proper steaming technique creates glossy microfoam; the wand should sit just below the surface, then dive deeper as the milk expands. Feel the pitcher: the temperature and texture should be warm, around 130–150°F, but not scorching. If you hear a gentle crackle during aeration, you’re on track; screeching or loud pops mean you need to adjust wand depth or aeration time.
Should the foam feel lumpy or separate, discard it, use fresh milk, and re‑foam, because poor milk quality or mishandling leads to curdling. This quick check saves you from pulling a weak, uneven shot.
Measure Milk Temperature
Ever wondered how to nail the perfect microfoam? First, grab a thermometer and watch the temperature climb toward 130‑150 °F (54‑66 °C).
As you near 140 °F, the milk should turn glossy and velvety, forming tiny, uniform bubbles that signal true microfoam.
If you feel the pitcher warm on the back of your wrist or notice the handle heating up, that’s a quick cue to stop before you hit 150 °F.
Overheating past 158 °F (70 °C) will scorch the milk, creating grainy off‑flavors and ruining the foam.
When the texture looks right and the thermometer reads within the target range, you’re ready to pull a shot with silky, well‑balanced espresso.
Adjust Steaming Technique
How can you tell if your milk is on track for perfect microfoam before pulling the shot? You watch the surface for a glossy, silk‑like sheen and feel the temperature with a thermometer, aiming for 130–150°F (54–66°C). Start with clean, cold milk and submerge the steam wand just below the surface to begin the cold phase, then raise it slightly so a soft crackling sound signals microbubbles forming. Keep the wand head just under the surface while heating, massaging bubbles into a cohesive microfoam. Position the wand off‑center to create a stable vortex that dissolves larger bubbles and yields uniform texture. Stop heating at the target temperature, pour immediately, and you’ll avoid lumpy foam and get a smooth, velvety espresso base.
Routine Maintenance and Storage Tips for Consistently Perfect Foam
A clean wand and properly stored milk are the foundation of consistently smooth foam. Rinse the steam wand thoroughly after any descaling, then give it a quick flush before each use. Keep milk cold, fresh, and sealed in the fridge; discard it if it smells sour. Pre‑warm your pitcher, then wipe down all surfaces after steaming. Consistent refrigeration and avoiding the back‑of‑fridge spot prevent deterioration that creates lumps.
- Flush the steam wand with hot water after every cleaning cycle.
- Store milk in airtight containers and use it within a few days.
- Pre‑rinse and pre‑warm the pitcher before each steam session.
- Perform routine maintenance on the wand and seals to avoid residue buildup.
Frequently Asked Questions
Why Is My Milk Foam so Thick?
You’re getting thick foam because the milk’s proteins have over‑denatured—likely from overheating, using old/near‑spoilage milk, or adding syrups that disrupt emulsification. Cool it, use fresh cold milk, and steam at 68‑70 °C.
Is There Any Way to Fix Curdled Milk?
Yes, you can fix curdled milk by quickly cooling it, adding a splash of fresh milk, and whisking vigorously; if that fails, discard it and start with fresh, properly stored milk.
How to Get Smooth Milk Foam?
You should start with cold, fresh milk, purge the wand, then submerge just below the surface for a few seconds, create a gentle vortex, deepen the wand, and stop at 60‑65 °C for silky, lump‑free foam.
Why Is My Milk Foam so Bubbly?
You’re getting bubbly foam because the steam wand’s too close to the milk surface or you’re over‑aerating; the excess air creates large bubbles that burst into frothy lumps quickly.
In Summary
By keeping your wand clean, using fresh cold milk with the right fat, and mastering the aeration angle, you’ll consistently get silky, clump‑free foam. Regular descaling prevents residue, and a quick texture check ensures the perfect temperature before you pull a shot. Follow these steps and store your equipment properly, and you’ll enjoy café‑quality foam every time.


