

You’re losing pressure because the pump, over‑pressure valve, or water‑line flow is compromised, so start by listening for a steady hum and checking the pump’s O‑ring and bead for wear. Next, inspect the OPV for leaks or a weak spring, and run a blind‑basket test to see if pressure holds without coffee. If it drops, look for scale or blockages in the lines, descale, and replace any worn gaskets. Keep these steps in mind, and you’ll discover the full troubleshooting flow.
Our Recommended Products on Amazon


As an Amazon Associate we earn from qualifying purchases.
Identify Espresso Machine Pressure Causes Before Disassembly
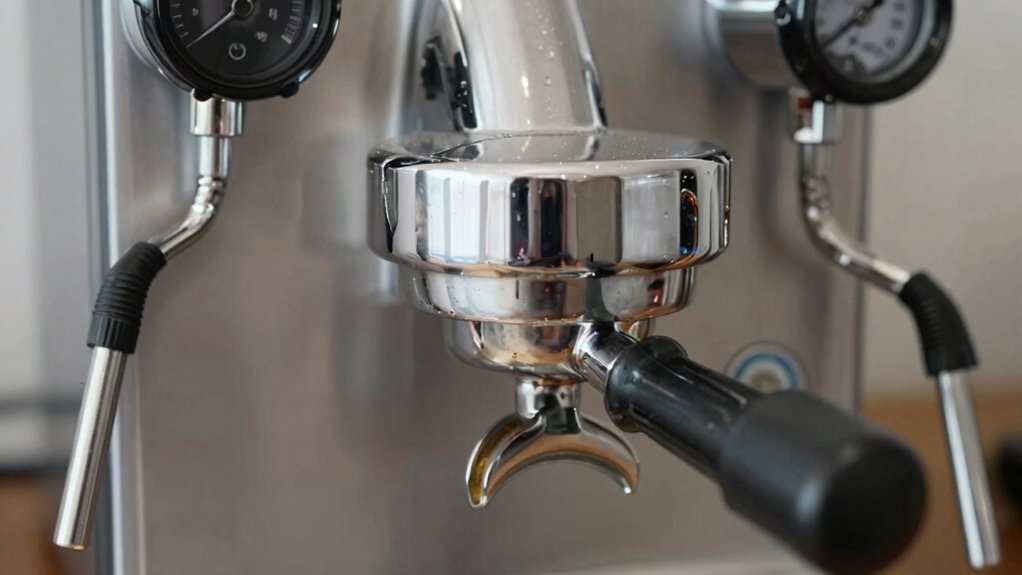
How can you tell whether the pressure loss is a simple fix or a sign of a deeper issue? First, listen: if the pump still hums and water flows, the problem is likely not a dead motor. Next, examine the Over Pressure Valve. A leaking or stuck OPV can sabotage Pressure control, sending water back or away from the brew group. Then, pull the water lines and look for mineral deposits or clogs; hard‑water buildup restricts flow and drops Pressure fast during extraction. Check your grind size and bean freshness—coarse or stale grounds lower resistance, reducing Pressure. Finally, run a blind test with an empty basket. If Pressure stays steady without coffee, the issue is elsewhere, saving you from unnecessary disassembly. A quick flow restriction check can help pinpoint where buildup or mis-adjustment may be occurring.
Check Pump Health: Wear Signs, Overhaul vs. Replacement
After confirming the OPV and lines aren’t the culprits, turn your attention to the pump. Listen for a faint hum; a healthy pump hums, while a failing one may still run but lose compression, causing low pump pressure. Inspect the glass or plastic bead and rubber O‑gasket—wear or cracks here are classic culprits. If the pump is completely silent or can’t sustain ~9 bar, you probably need a replacement. For older machines, a full overhaul—replacing the bead or the entire pump—can restore proper compression without a new unit. Consider a higher‑duty pump like the EFx5 if you need steadier pressure. Run a blind‑dasket test to confirm the pump is the source before deciding on overhaul versus replacement. High‑duty pump
Diagnose the Over‑Pressure Valve (OPV) and Its Effect on Pressure
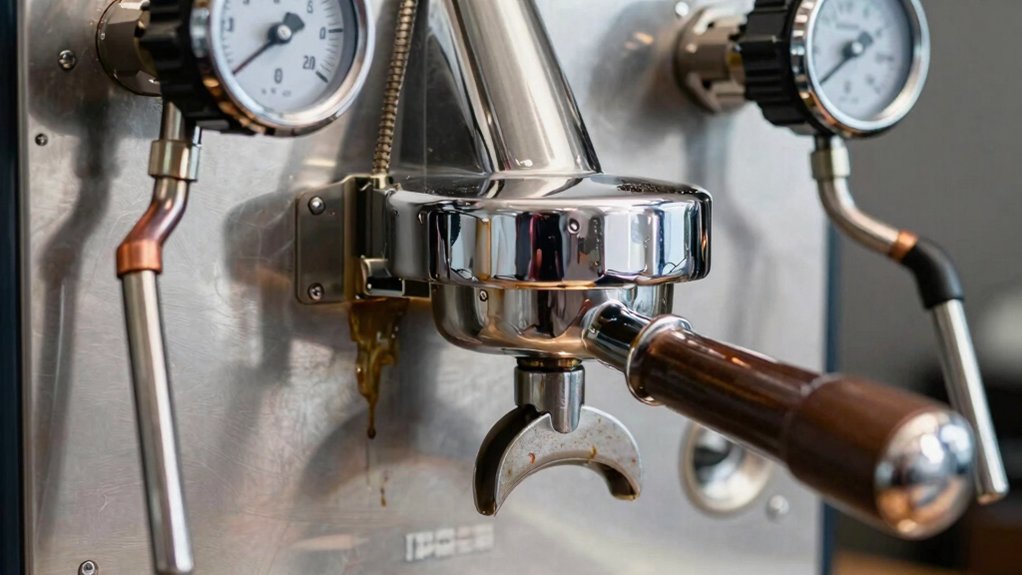
You’ll notice the OPV’s job is to keep pressure steady, so when it leaks or sticks you’ll see bubbles in the tank and a drop in barage. Regular inspections of the valve can help prevent sudden pressure drops during service. OPV functionality ensures the system maintains the target 8–9 bar range, and a quick valve test can confirm it’s still performing correctly. Keep an eye on the OPV during any pressure troubleshooting, and replace it promptly if it shows any sign of failure.
V Function Overview
Wondering why your espresso shot never reaches the proper pressure?
The OPV’s job is simple: it diverts water either to the brew group or back to the tank, keeping pressure steady during extraction.
When the valve seats properly and its spring holds tension, you get the 9‑bar target.
If the OPV leaks or its spring weakens, pressure drops, and shots become thin or watery.
- OPV routes water to the brew group or back to the tank.
- A healthy spring maintains the 9‑bar set point.
- Worn seating lets water slip, lowering pressure.
- Faulty OPV causes inconsistent pressure across shots.
- Replacing the inexpensive valve restores proper flow control.
- Regular maintenance and cleaning of the OPV can prevent buildup that leads to leaks or pressure loss OPV maintenance and ensure consistent performance.
Symptoms of OPV Failure
What tells you the OPV is failing? You’ll notice unstable pressure during extraction, and bubbles rising in the tank as water tries to escape. The brew shot may start strong then wobble, or you may get a weak, thin stream despite a humming pump. If the pressure gauge fluctuates erratically, the OPV is likely not diverting flow correctly. In Dedica or DeLonghi models, persistent pressure issues with a functional pump almost always point to OPV failure. A blind test—running the machine without coffee—can reveal the same inconsistency, confirming the valve’s problem. Spotting these symptoms early lets you replace the cheap OPV before the whole machine loses pressure Heat Resistance and ensures you maintain consistent extraction.
Replacement and Maintenance Tips
Why ignore a faulty OPV when a quick swap can restore full pressure? You can diagnose the Over‑Pressure Valve (OPV) by watching for bubbles in the tank and testing pressure with a blind‑basket. If the test holds but your shot loses pressure, the OPV is likely misdirecting flow or leaking. Replacing it costs little and brings extraction back to ~9 bar. Keep the valve clean, check for wear, and tighten connections to avoid future drops.
- Spot bubbles rising in the tank during brew.
- Perform a blind‑basket test for 50 seconds.
- Remove the OPV, inspect the seat and gasket.
- Install a new OPV, ensuring a snug fit.
- Run a test shot and verify stable pressure. Valve maintenance
Test the Brew Group With a Blind Basket to Isolate Pump vs. Flow Issues
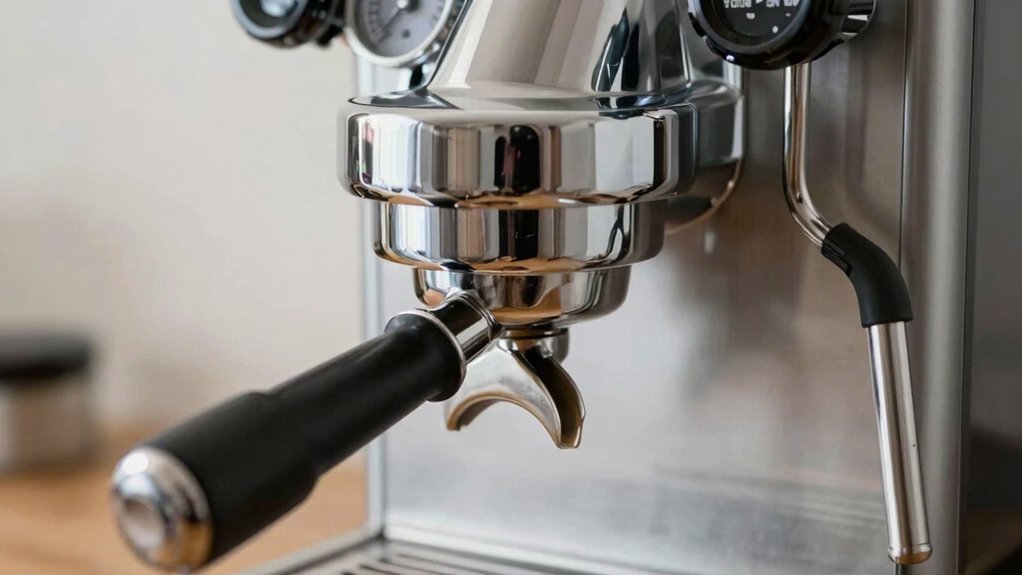
Why Is Your Espresso Machine Losing Pressure?
Test the Brew Group With a Blind Basket to Isolate Pump vs. Flow Issues
How can you tell whether your espresso machine’s pressure loss stems from the pump or from flow restrictions? Grab a blind basket, insert it into the portafilter, and lock it in place. Start the brew cycle and watch the pressure gauge. If the gauge holds steady for about 50 seconds, the pump and OPV are fine, so the problem lies in the brew path—grind size, puck preparation, or saturation. If the pressure drops sharply, the pump, gasket, or internal flow components are at fault. Repeat the test without coffee grounds a confirm the pump’s capacity. This simple blind‑basket test isolates pump deterioration from flow blockages, letting you target the right repair without dismantling the whole group. A well‑supervised test plan can also help you compare performance against your AeroPress setup, where quick brew times and clean filtration contribute to a smoother overall process. pump performance
Inspect Water Lines for Scale or Blockages That Restrict Flow
You should start by checking the water lines for any scale buildup that could be narrowing the passage. Look for signs of clogs, such as mineral deposits or debris, and test the flow rate to see if it’s slower than normal.
If you spot blockages, clean or replace the affected sections to restore proper pressure.
Scale Build‑Up Inspection
Ever notice the pressure drop right after you’ve ruled out pump and OPV problems? That’s usually a tell‑tale sign of scale buildup in the water lines. Your machine’s internal tubing is a narrow highway; mineral deposits shrink its diameter and choke the flow, so the brew pressure falters. Start by disconnecting the water inlet, then inspect the transparent sections or use a flashlight to spot any white, crusty film. If you see it, soak the line in a descaling solution, scrub gently, and rinse thoroughly before reassembly. A clean line restores the pressure you need for a perfect shot.
- Remove the inlet hose and check for visible crust.
- Look inside the boiler feed tube for white deposits.
- Examine the group head’s internal pipe for narrowing.
- Use a flashlight to spot hidden scale in the valve housing.
- Verify that no mineral film blocks the flow path before re‑installing.
Line Clog Detection
Could the water lines be the hidden culprit behind your pressure dip? After you’ve ruled out pump and OPV issues, inspect the water lines for scale or blockages. Hard water leaves mineral deposits that narrow the conduit, causing a noticeable pressure drop and slower flow even when grind and dose are perfect. Look for reduced extraction pressure and a sluggish pour—classic signs of line blockages. Use a flashlight to spot discoloration, then run a descaling solution or replace the affected hose. Online videos walk you through line‑specific cleaning, so you can restore proper flow without disassembling the whole machine.
| Symptom | Likely Cause |
|---|---|
| Pressure drops mid‑shot | Mineral scale buildup |
| Slow drip after brew | Partial line blockage |
| No change after grind tweak | Obstructed water path |
Flow Rate Testing
After confirming the pump and OPV are fine, turn your attention to the water lines and measure their flow rate. Grab a measuring cup, start the brew cycle, and time how long it takes to fill a known volume. Compare that to the manufacturer’s spec; a slower fill signals a blockage. If the flow is low, you’ll likely see a drop in extraction pressure and a sluggish portafilter fill. Clean or descale the lines, then retest until the flow matches the expected rate. Consistent pressure flow means the lines are clear and the machine can maintain proper extraction.
- Use a clear, graduated cup for accuracy.
- Record the time to fill 100 ml.
- Check against the machine’s rated flow (e.g., 2 ml/s).
- Observe portafilter fill speed and extraction pressure.
- Perform a quick descaling if the flow is below spec.
Evaluate Grind Size and Bean Freshness as Pressure‑Affecting Variables
How does grind size and bean freshness shape the pressure you see on the gauge? You’ll notice that a coarse grind creates little resistance, so the pump struggles to reach 6–9 bar and the gauge dips.
Coarse grind offers little resistance, causing the pump to dip below the ideal 6–9 bar pressure.
Switching to a finer grind builds a denser puck, boosting resistance and keeping pressure steady.
Fresh beans pack tightly, adding natural resistance; as they age, they soften, the bed loosens, and pressure drops unless you fine‑tune the grind.
When you open a new bag, expect to grind a touch finer to hit your 1:2 brew ratio within 30–36 seconds.
Regularly re‑dial your grind size as beans mature, because roast level and processing method also shift resistance, directly affecting pressure stability.
Verify Proper Basket Size, Dose, and Tamping to Avoid Channeling
Since grind size and freshness set the baseline resistance, the next step is confirming that the basket, dose, and tamp are all on point. Use the correct 58 mm basket for a 58 mm group head and match the espresso dose to the basket’s capacity. Overfilling creates a thick puck that blocks water, while under‑dosing leaves gaps that cause channeling. Distribute grounds evenly, break up clumps, then tamp with consistent pressure—about 30 lb. A uniform puck yields steady pressure and balanced extraction.
- Choose a 58 mm basket for a 58 mm group head
- Aim for an espresso dose of 18–20 g (double‑shot range)
- Weigh coffee to avoid over‑ or under‑filling the basket
- Level and break up clumps for even distribution
- Tamp with ~30 lb pressure, keeping force consistent every shot
Check Steam Boiler Pressure Only After Extraction Pressure Is Stable
Wondering why your steam line feels weak? You should only check steam boiler pressure after the extraction pressure has stabilized. While the machine idles, steam can appear erratic or low, but those fluctuations disappear once brew pressure steadies.
First, confirm a stable extraction pressure baseline; this isolates brew‑side issues from steam‑side behavior. If the extraction pressure is steady, then observe the boiler’s top‑up and recovery during steaming.
Inconsistent steam after long idle periods often signals a separate boiler problem, not a pump or OPV fault. Documented cases show that once you resolve brew‑side pressure, steam reliability improves. So, always verify extraction pressure first, then assess the steam boiler for accurate diagnostics.
Clean the Machine: Descaling and Gasket Swap
You should schedule descaling every 2–3 months if you have hard water, and replace the gaskets at least once a year to keep seals tight.
Using a proper descaling solution or a manufacturer‑approved vinegar mix prevents mineral buildup that chokes pressure.
After each cleaning, run a few test shots to verify a steady ~9 bar flow and consistent extraction pressure.
Scale Gasket Replacement
Ever notice how a sudden dip in brew pressure often points to a worn gasket? When you’ve finished descaling, inspect the brew group and steam paths for any pitted or corroded seals. A proper gasket swap restores the watertight barrier that keeps pressure steady at 6–9 bar. Match the new gasket’s size and material to your model, then seat it firmly to eliminate leaks. Regularly pairing descaling with gasket replacement prevents gradual pressure loss and keeps your espresso tasting crisp.
- Remove the old gasket, noting its location and orientation.
- Clean the housing to clear mineral residue that could damage the new seal.
- Verify the replacement gasket’s dimensions and material compatibility.
- Press the new gasket into place, ensuring an even, snug fit.
- Reassemble the brew group, test pressure, and adjust if needed.
Descaling Frequency Schedule
A fresh gasket restores pressure, but the real key to keeping that pressure steady is a regular descaling routine. You should set a descaling frequency that matches your water hardness and daily usage. If you brew with hard water, aim for a descaling session every one to three months; with softer water, three to six months is usually enough. Watch for warning signs like weak steam, slower extraction, or white mineral deposits in the group head. When it’s time, mix a commercial descaling solution according to the manufacturer’s dilution guide—never use undiluted cleaner or bleach. Run the solution through the machine, then flush with fresh water until no cleaner taste remains, and replace any worn gaskets before you resume pulling shots.
Upgrade to a Higher‑Duty Pump (e.g., EFX5) for Steadier Pressure
Wondering why your espresso loses pressure mid‑shot? A pump upgrade to a higher‑duty model like the EFX5 can give you a steadier ~9 bar pull and eliminate the dip you notice after a few seconds.
Upgrade to the EFX5 for steadier ~9 bar pressure, eliminating mid‑shot dips and delivering consistent extractions.
- The EFX5 maintains pressure longer, so the shot stays consistent from start to finish.
- You’ll likely need to tweak grind size and dose because the new pump changes bed resistance.
- Community reports show near‑constant pressure after swapping, fixing the usual mid‑shot drop.
- Compatibility checks with electronics and fittings prevent leaks and ensure proper seal integrity.
- Once installed, you’ll notice smoother extractions and richer crema without the frustrating pressure wobble.
Upgrade now, adjust your parameters, and enjoy reliable pressure throughout every shot.
Set a Monthly Espresso‑Machine Pressure Maintenance Schedule
How often should you check your espresso machine’s pressure? You should do it monthly. Set a calendar reminder for the first Monday of each month. First, run a startup test and note the pressure at 9 bar, then pull a shot and record the extraction pressure between 6–8 bar. Compare these numbers to your log; any downward trend signals pump or OPV issues. Next, inspect the OPV, clean the water line, and perform a quick backflush with a blind filter to spot leaks or channeling. If you use hard water, schedule a descaling cycle this month to prevent scale‑induced pressure drops. Finally, document any actions—gasket checks, OPV replacements, pump overhauls—and map them to the pressure readings for traceability. This routine keeps your machine steady and your espresso perfect.
Frequently Asked Questions
What Causes an Espresso Machine to Lose Pressure?
You lose pressure when the overpressure valve leaks, the pump wears, mineral scale clogs lines, the grind’s too coarse, or tamping and basket size cause channeling and uneven flow.
What Is the Average Lifespan of an Espresso Machine?
You’ll typically get five to ten years from a home espresso machine and ten to fifteen years from a commercial one, assuming you keep up with descaling, gasket swaps, and regular pump inspections.
Why Isn’t My Espresso Machine Reaching Full Pressure?
You’re not hitting full pressure because the pump’s worn, the OPV’s stuck, the lines are clogged, the grind’s too coarse, or the puck isn’t tamped evenly—check each and fix.
Is 15 Bar or 20 Bar Espresso Better?
You’ll find 15 bar or 20 bar isn’t better; aim for around 9 bar during extraction. Higher pressures just over‑extract, cause bitterness, and can stress the pump, so keep the pressure low and stable.
In Summary
By now you’ve seen that pressure loss usually stems from a tired pump, a clogged OPV, or scale‑blocked lines. A quick blind‑basket test will tell you whether the pump or the brew group is at fault, and cleaning or swapping gaskets can restore flow. If the problem persists, consider upgrading to a sturdier pump like an EFX5. Stick to a monthly maintenance routine, and your espresso will stay consistently pressure‑perfect.


