
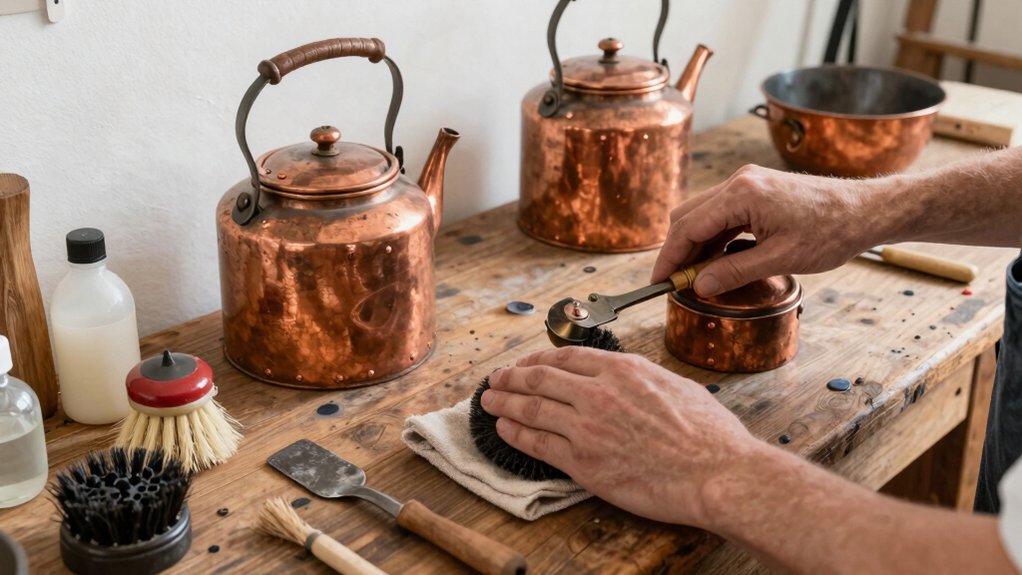
Start by cleaning every part with hot PBW or a TSP‑Oxiclean mix, then rinse and sanitize with Star San. Inspect each joint, tank, and hose for cracks, and replace any worn O‑rings or gaskets with food‑grade silicone. Photograph the disassembly to guide reassembly, use a torque wrench to tighten fittings, and lubricate O‑rings lightly. Reassemble following the photos, reconnect all wiring, and run a pressure test until the system holds. Finally, flush after each brew and do quick pressure checks to keep everything leak‑free, and the next steps will show you how to maintain it long‑term.
Select the Right Tools and Parts to Restore Vintage Brewing Equipment

When you start restoring vintage brewing gear, gather the right tools and parts first.
Begin with a thorough cleaning of every component; grime hides cracks and can cause leaks later.
Begin with a thorough cleaning; grime hides cracks and can cause leaks later.
Keep a set of screwdrivers, wrenches, and a torque wrench handy for the disassemble stage, and photograph each joint to aid reassembly.
Stock fresh gaskets and O‑rings, choosing food‑grade silicone for durability.
Replace any worn O‑rings before you reassemble, and lubricate them lightly to prevent future seizing.
After you’ve put everything back, run a pressure test to confirm there are no leaks.
A successful test means you’re ready to move on to the next phase, confident the system will hold pressure under brew conditions.
In addition, inspecting the water tank design for cracks or damage ensures a reliable seal and prevents future leaks.
Disassemble and Inspect Every Component When Restoring Vintage Brewing Gear
– Verify device calibration and measurement accuracy to ensure optimal brewing performance measurement precision.
Clean, Sanitize, and Re‑Condition Parts With Proper Chemicals

Ever wonder how to get your vintage brewing gear spotless, safe, and ready for the next batch? First, soak everything in a hot PBW solution—if you’re low on commercial product, mix TSP/90 with Oxiclean and heat it for better action. Run a 1 % caustic soda wash inside large vessels for 30 minutes, then rinse until the pH reads neutral. For stainless parts, dip them in a 0.5 %–1.5 % phosphoric/nitric acid blend at 50‑60 °C for 15‑20 minutes, rinse thoroughly, and dry. Next, sanitize with Star San or Chemipro San; a no‑rinse sanitizer works well for quick surface treatment. Lubricate O‑rings with food‑grade oil, replace any that are cracked, and reseat poppets on each post. Inspect hoses for mold; replace any that look suspect before you move on. Incorporating app-controlled features can help monitor and maintain your equipment’s optimal performance.
Re‑assemble, Test for Leaks, and Verify Function After Restoring Vintage Brewing Gear
Now that the gear is spotless and all seals are lubricated, start putting it back together. Follow your disassembly photos to re‑route cables, then reassemble the piping from pump to brew group, hot water, and steam, installing the pump, safety valve, anti‑vacuum valve, thermostat, pressure sensor, and pressure actuator in order. Rewire the electrical enclosure, connecting switches, front‑panel lights, sensors, pump, and level sensors. Once everything sits in place, perform a pressure test to test for leaks, tightening fittings until the system holds pressure. Finally, reinstall the brew group, reseat the reservoir, and add a thermal blanket, then verify function before you call the restoration complete. Be sure to check the grind settings and cleaning procedures to ensure optimal performance after restoration.
Keep Your Restored Gear Working Great for Years
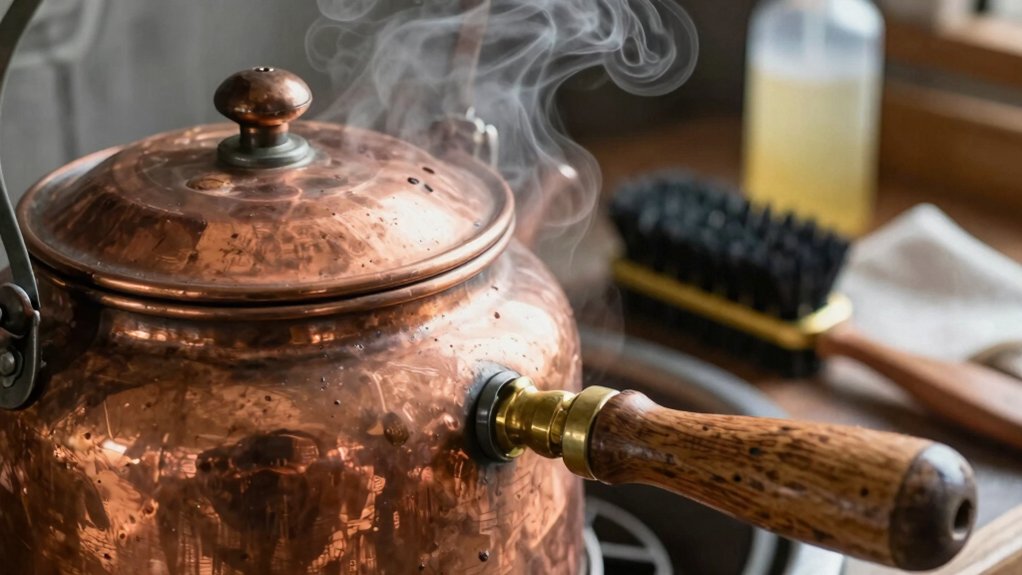
How can you keep your restored brewing gear performing like new for years? Follow a disciplined maintenance routine: after each brew, flush the system with hot water, then run a sanitizing cycle using a no‑rinse sanitizer such as Star San; inspect O‑rings and poppet valves regularly, replacing any that show wear, and conduct a quick pressure test at 12 psi to catch leaks before they become problems. Using high-quality battery-powered equipment and proper cleaning techniques can further enhance durability. For a ball lock keg, disassemble only when needed, then soak in PBW for thorough cleaning and sanitizing. Rinse gently, apply a no‑rinse sanitizer, and let it air‑dry. Lubricate O‑rings before reassembly, and verify poppet valve movement. Perform pressure testing after each re‑assembly to ensure integrity. Consistent cleaning, sanitizing, and inspection keep your vintage equipment reliable for years.
Frequently Asked Questions
What Is the 3:30-300 Rule for Beer?
You can’t find a 3:30‑300 rule in brewing literature; it isn’t a recognized guideline for beer, so there’s no specific ratio, time, or temperature tied to that label.
How to Tell if Homebrew Is Oxidized?
You can tell if your homebrew’s oxidized by noticing stale, cardboard flavors, a darker hue, weak hop aroma, low head retention, and a papery aftertaste that worsens over time.
How Do You Revive Dried Yeast?
You revive dried yeast by rehydrating it in warm (35‑38 °C) sterile water with a pinch of sugar, letting it sit five minutes, then stirring gently before pitching into your wort.
How Long Does Brewery Equipment Last?
You can expect most brewery gear to last 15‑20 years if you clean, lubricate, and pressure‑test regularly; with diligent maintenance, some kettles and pumps easily reach 30 years or more.
In Summary
You’ve got the tools, you’ve taken everything apart, cleaned and conditioned each piece, and put it back together tight. Now you’re ready to test for leaks, make sure everything works, and keep your vintage gear humming for years. Follow these steps, and your old brewing equipment will perform like new, letting you brew classics with confidence.


