
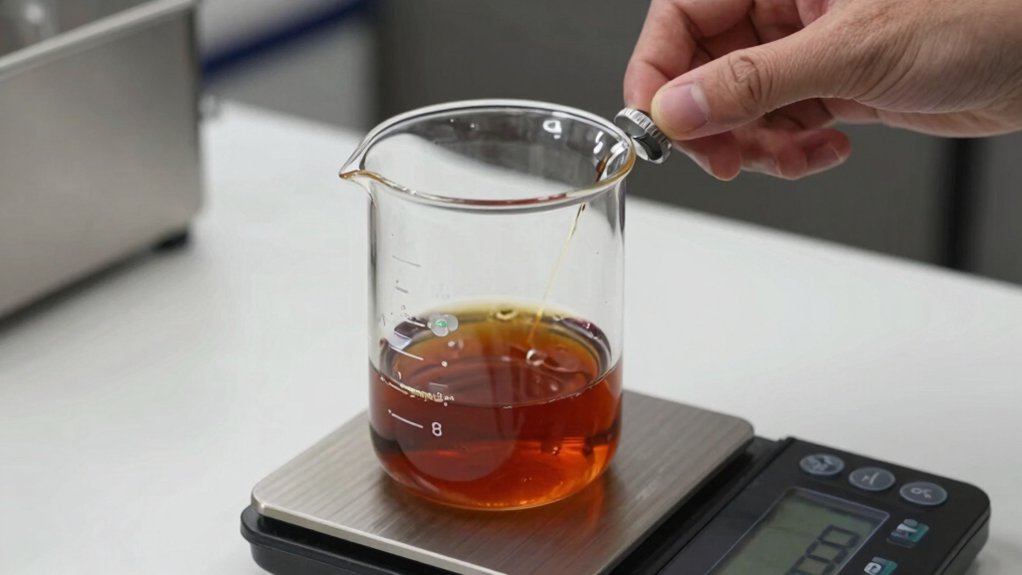
Start by weighing coffee and water to hit a 1:5.6 ratio for a sturdy base, then shift to 1:4 or 1:5 for a bolder concentrate. Adjust in gram‑level steps, using a 0.1 g‑accurate scale, and keep the grind coarse while steeping 12–24 hours at room temperature. When you dilute, aim for 1:10 (water or milk) or 1:2 for ready‑to‑drink, accounting for ice melt. Log each tweak, and you’ll quickly master consistent strength.
How to Adjust Cold Brew Concentrate Strength
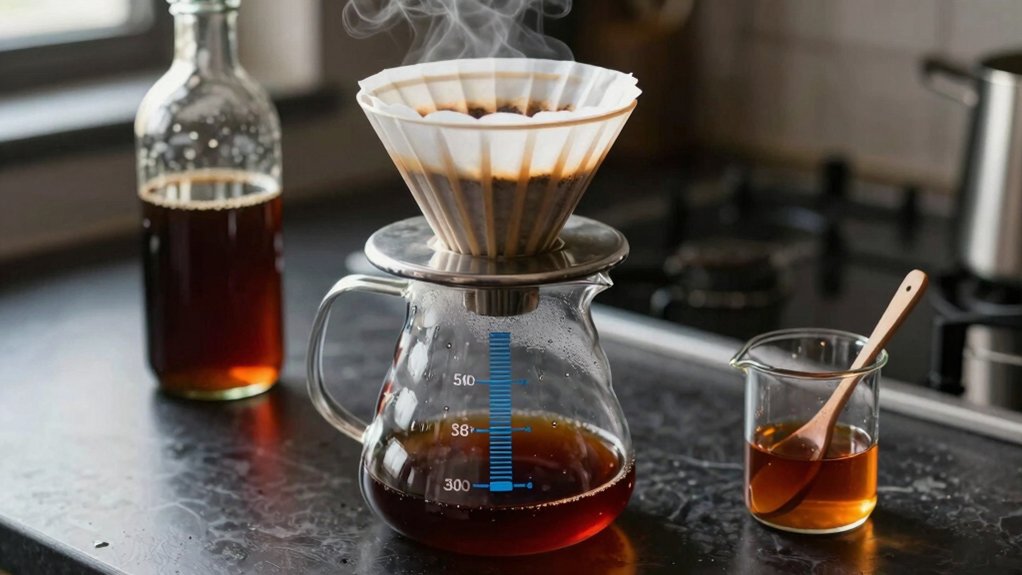
When you brew a cold‑brew concentrate, you start with a 1:5–1:2 coffee‑to‑water ratio that yields a strong base meant for dilution. To adjust cold brew concentrate strength, begin with a 1:10 concentrate‑to‑water mix—one part concentrate to four parts water. Taste it, then tweak: a 1:8 ratio makes it bolder, while a 1:12 mix softens it. Remember that ice melts, adding extra water, so factor that in when you pour. For ready‑to‑drink drinks, a practical 1:2 ratio works well—two parts concentrate to one part milk or water. From there, fine‑tune by adding or subtracting water until the flavor hits your preferred strength. Flavor profiling
Define Brew Strength for Cold Brew Concentrate
You define brew strength by the coffee-to-water ratio that creates the concentrate, like the common 1:5.6 (coffee:water) blend. Adjusting that ratio lets you control how concentrated the extract is before you dilute it for drinking. A tighter ratio yields a stronger concentrate, while a looser one gives a milder base. The chosen ratio can be guided by measurements from a refractometer to ensure consistency across batches TDS measurement.
Brew Concentration Definition
A brew’s concentration is simply the ratio of coffee grounds to water used during steeping, which determines how strong the cold‑brew concentrate ends up. You’ll hear it called the coffee-to-water ratio, and it directly sets the concentrate strength. A tighter ratio (more coffee, less water) yields a bold, syrupy base; a looser ratio gives a milder extract that needs less dilation later. Keep in mind that grind size, temperature, and steep time all tweak the final flavor, but the ratio is the primary lever you control. A common starting point is 1:5.6 coffee‑to‑water for the cold‑brew base, with a typical dilution path of 1:2 concentrate‑to‑liquid for ready‑to‑drink formulas. Coarse grind ensures smooth extraction. 12–24 hours steep time balances strength and acidity. Dilution with water or milk tailors the cup to your taste. Extraction balance guides how changes in parameters impact flavor and body.
Ratio‑Based Strength Control
Brew strength hinges on the coffee‑to‑water ratio you set during steeping, with a 1:5.6 mix (about 340 g coffee to 1.9 L water) serving as a solid baseline for a sturdy concentrate. To adjust that ratio‑based strength, simply tweak the coffee weight or cut the water volume for a bolder concentrate, or do the opposite for a milder brew. Keep steep time between 12 and 24 hours to avoid over‑extraction, and use a coarse grind at room‑cool temperature for consistency. After brewing, dilute the concentrate to your taste—common targets range from 1:1 to 1:4 concentrate‑to‑water. This method lets you fine‑tune flavor without altering grind size or brew time. Roast level notes can help tailor flavor, since different roasts respond differently to the same concentrate strength.
Pick the Right Coffee-to-Water Ratio for Cold Brew Strength
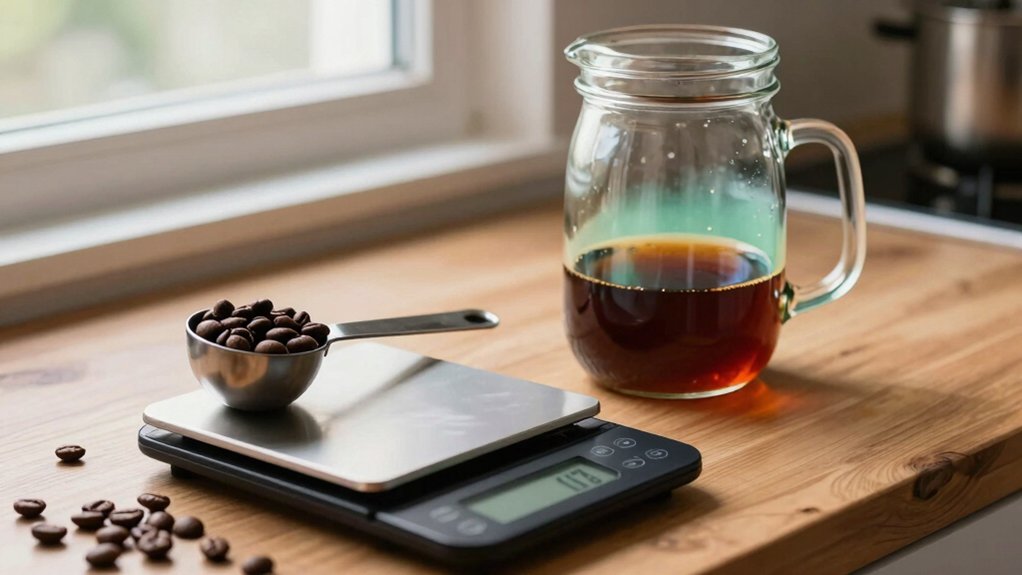
How much coffee should you use per water to hit your desired cold‑brew strength? The coffee‑to‑water ratio you choose directly shapes your cold brew concentrate, so start with a solid baseline before tweaking.
A 1:5.6 ratio (340 g coffee to 1.9 L water) yields a strong base that you’ll later dilute. If you crave more body, shift toward 1:4 or 1:5 while keeping the steep time at 14–16 hours. Remember that ice and serving dilution will thin the final drink, so plan your concentrate accordingly.
- Use 1 part coffee to 5.6 parts water for a standard concentrate.
- Move to 1:5 for a slightly richer brew.
- Aim for 1:4 when you want maximum intensity.
- Keep steeping time around 14–16 hours regardless of ratio.
- Factor in ice melt; a stronger concentrate offsets later dilution.
Adjust Ratio in Small Steps for Precise Strength
You’ll tweak the coffee‑to‑water ratio by just a gram or two, tasting after each change to gauge the effect. Small changes in weight can be tracked with high-precision scales, such as 0.1 g accuracy, to maintain consistency. Precision guides your adjustments so you can reproduce results across brews.
Scalely‑Increment Ratio Adjustments
Ever wondered how a tiny tweak can perfect your brew’s strength? You start with a baseline ratio—say 1:5—and nudge it in scalely‑increment steps. Each micro‑adjustment lets you feel the difference without over‑correction, keeping the concentrate’s character intact. Additionally, using unbleached paper filters can help reduce bitterness and oils that might shift with stronger concentrates filter performance.
Taste‑Based Fine‑Tuning
After nudging the ratio in 0.5‑point steps, the next move is to let your palate guide the fine‑tuning. Sip the brew, note whether the flavor feels harsh, bitter, or weak, then adjust the coffee amount or dilution accordingly. If the taste is too aggressive, reduce the coffee or add a splash more water; if it feels watery, increase the coffee or cut back on dilution. Remember that ice melt will further dilute, so factor that in when you decide the final strength. Keep a simple log of each tweak—e.g., 1:4.5 to 1:4—so you can compare outcomes quickly. By iterating in these small, taste‑driven steps, you’ll land on a perfectly balanced concentrate without over‑complicating the process. Filtration materials help inform how flavor can shift with different cloth filter options and brewing methods, guiding you to choose the right setup for your preferred strength.
Scale‑Precision Measurement
A few grams of coffee or water can make a noticeable difference, so weigh each ingredient precisely and adjust the ratio in small, consistent steps. Use a digital scale to move from a 1:16 to a 1:15 coffee‑to‑water ratio, then taste before tweaking again. For cold‑brew concentrate, start with a fixed ratio like 1:5, then dilute in gram increments until you hit your target 1:12–1:13 concentration. Change only one variable at a time—either coffee weight or final dilution—to isolate its impact. Record every trial’s ratio and tasting notes, building a reliable map that guides future brews. Foam stability
Measure Coffee & Water Accurately With a Scale
From the kitchen counter to the brewing pot, a scale lets you nail the coffee‑to‑water ratio with pinpoint accuracy. You’ll start with a coffee scale set to grams, placing your container, then zeroing it before adding beans. Weigh a baseline of 1 part coffee to 5 parts water for a brew concentrate, then adjust. If you want a stronger batch, add a few more grams of coffee while keeping water constant, moving toward a 1:4.5 ratio. Record each weight in a notebook so you can repeat the profile later. Keep the grind size and water temperature consistent, and make any tweaks in small increments to avoid over‑extraction or bitterness. This precise measurement builds a reliable, repeatable cold‑brew strength.
Select Grind Size to Preserve Cold Brew Strength
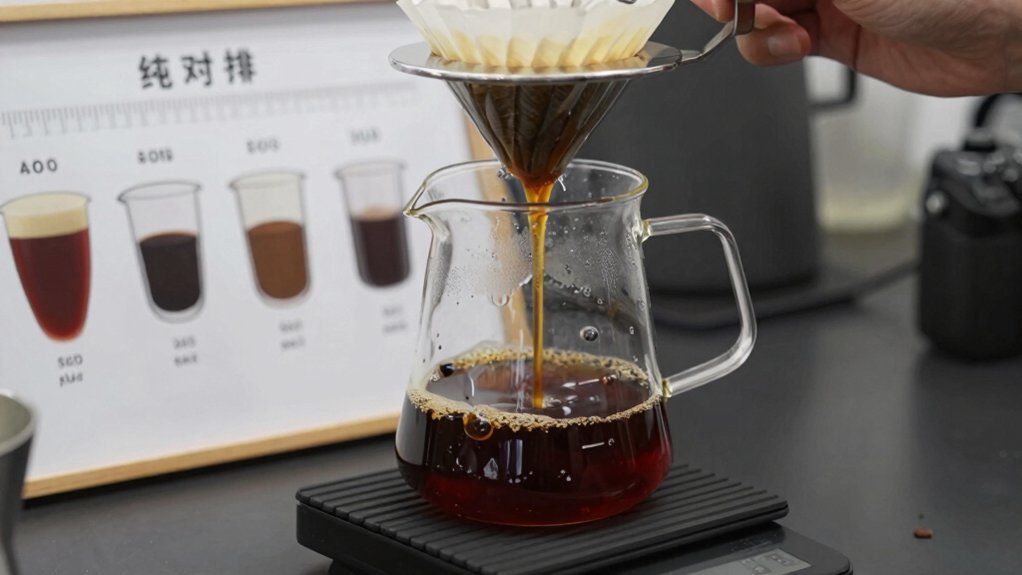
How can you keep your cold‑brew concentrate strong without turning it muddy? Choose a coarse grind size similar to French‑press coffee. A coarser grind limits surface area, preventing over‑extraction and preserving strength during the long steep. If the brew tastes weak, coarsen a touch rather than switching to a finer grind, which can make the concentrate muddy and dilute perceived strength. Keep water between 195°F–205°F and limit steeping to 24 hours to maintain clarity.
- Use a coarse grind as your baseline.
- Adjust finer only if the concentrate is under‑extracted.
- If weak, coarsen slightly before re‑brewing.
- Avoid ultra‑fine grinds that create sediment.
- Pair the right grind size with proper water temperature and time.
Pick the Right Steep Time and Temperature
Ever wonder how a slight tweak in steep time or temperature can transform your cold‑brew concentrate? You’ll want a coarse grind to keep extraction even, then set the water just at room temperature or a touch warmer—never hot. Aim for a steep time between 12 and 24 hours; shorter periods leave the brew weak, while longer ones can bring out harsh, over‑extracted notes. Sample the concentrate at 12, 16, and 20 hours to gauge strength, adjusting if needed. If you notice excessive bitterness early, pull the brew out and lower the temperature slightly for the next batch. By controlling both steep time and temperature, you fine‑tune flavor without sacrificing the smooth, rich profile that makes cold‑brew concentrate shine.
Dilute the Concentrate Correctly for Ready-to-Drink Cups
You start by measuring the dilution ratio, then you factor in how much ice will melt and thin the brew. After you mix, you taste the cup and tweak the water or milk until the flavor hits your target. This quick test‑and‑adjust loop lets you fine‑tune every ready‑to‑drink serving.
Measure Dilution Ratio
Want a perfect cup every time? You’ll need to nail the dilution ratio so the concentrate strength hits just right. Start with a 1:10 mix—one part concentrate to ten parts water or milk—then taste and tweak. If it feels too strong, add a little more diluent; if it’s weak, boost the concentrate. Keep a steady hand and measure each pour to stay consistent.
- Use a kitchen scale or measuring cup for exact volumes.
- Begin with 1:10, then adjust in 10 % increments.
- Record the ratio that gives your preferred flavor.
- Remember that ice will further dilute, so aim slightly stronger when serving over ice.
- Stick to the same ratio for every batch to maintain consistent taste.
Adjust for Ice Melt
How do you keep your cold‑brew flavor consistent when ice melts?
First, set a 1:4 total drink ratio—concentrate to final beverage—before you add ice. Mix the concentrate with water or milk to hit your target concentrate strength, then drop the ice in last. As the ice melt dilutes the brew, watch the volume: a 34 oz bottle that expands to 68 oz with ice needs monitoring to avoid over‑dilution.
If the drink feels weak after melt, boost the concentrate or cut back on ice; if it’s too strong, add more water, milk, or let more melt happen. By tracking the melt‑induced dilution, you maintain a steady flavor from the first sip to the last.
Taste Test & Refine
After monitoring ice melt, the next step is fine‑tuning the drink’s strength for a ready‑to‑drink cup.
Start with a 1:10 dilution of coffee concentrate to water, then sip and note the balance.
Remember that melting ice adds extra water, so you may need a slightly stronger initial mix.
If the brew feels weak, cut back on dilution; if it’s harsh, add more water or switch to a lighter concentrate.
Taste after each small adjustment until you hit your preferred flavor profile.
- Use a measuring cup for precise ratios.
- Stir thoroughly before each sip.
- Record the ratio that pleases you.
- Adjust for ice melt by adding a splash less water.
- Keep the tasting process incremental.
Account for Ice Melt & Milk When Tuning Strength
Ever notice how a glass of iced coffee suddenly tastes weaker after the ice melts? That ice melt adds water, so you need a strength adjustment before the cup is finished. Start with a stronger concentrate—think 1:10 coffee‑to‑water—then pour ice. As the cubes melt, the ratio drops, so plan for extra dilution beyond your target. If you add milk, expect a further dip in strength; compensate with a thicker brew or a lighter initial dilution. Measure the final coffee‑to‑liquid ratio after all additions, not just the concentrate’s rating. A practical workflow is to brew at 1:5–1:3, then tweak in steps—1:1, 1:1.5, etc.—until the taste balances perfectly. This method keeps your iced coffee robust, even after melt and milk join the mix.
Log Your Brew-Strength Experiments
Ever wondered how to turn subjective coffee tweaks into reliable data? You can turn each brew into a mini‑experiment by logging the coffee-to-water ratio, brew time, and any other tweak. Keep a simple table in a notebook or spreadsheet, and note objective cues—bitterness, body, sweetness—alongside a strength rating. Use a fixed reference like a 1:16 hot brew and a 1:5–1:6 cold concentrate so every entry is comparable. Change only one variable at a time, then record how the perceived strength shifts.
- Write coffee-to-water ratio for each batch
- Record brew time precisely (seconds or minutes)
- Log dilution ratio for concentrate experiments
- Note strength on a 1–5 scale and flavor cues
- Compare against the reference brews each day
Frequently Asked Questions
What Is the 15-15-15 Rule for Coffee?
You follow the 15‑15‑15 rule by using 15 g of ground coffee for every 15 ml (≈15 g) of water, creating a 1:1 weight‑to‑weight ratio that yields a highly concentrated brew you can later dilute.
What Is the 80 20 Rule for Coffee?
You follow the 80/20 rule by concentrating on the two biggest levers—grind size and brew ratio—because they deliver roughly eighty percent of flavor clarity, while the rest are minor tweaks.
How to Increase Strength of Pour Over Coffee?
Increase your pour‑over strength by raising the coffee‑to‑water ratio to about 1:13, using a slightly finer grind, keeping water at 195‑205 °F, and shortening brew time to 2½‑3½ minutes.
Is Cold Brew Good for GERD?
Yes, cold brew can be gentler on GERD because its low acidity reduces irritation, but you should still limit intake, avoid added citrus, and monitor personal symptoms before making it a regular habit.
In Summary
Now that you’ve fine‑tuned the coffee‑to‑water ratio, steep time, and dilution, you can consistently hit the exact strength you crave. Keep a quick log of each batch, note any ice or milk adjustments, and tweak in small steps when needed. With precise measurements and a bit of experimentation, your cold brew concentrate will always be perfectly balanced for any cup you serve.


