
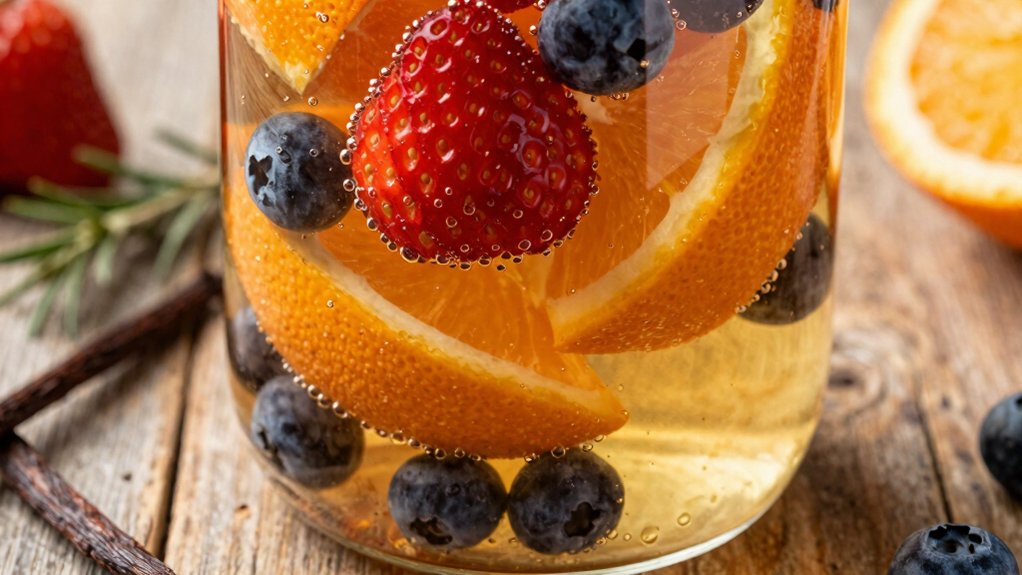
You get pure, custom‑crafted flavors because you control every ingredient, from fresh fruit to toasted spices, and you let a neutral spirit like vodka extract those notes without competing flavors. The high‑proof base pulls compounds quickly, while you can adjust strength by shaking, tasting, and adding more spirit or fresh ingredients. Fine‑mesh then coffee‑filter filtration gives a clear, sediment‑free finish, and airtight, dark storage preserves the aroma. Keep going and you’ll discover the exact steps to perfect each batch.
How to Make Homemade Liqueur Infusions – Step‑by‑Step Guide
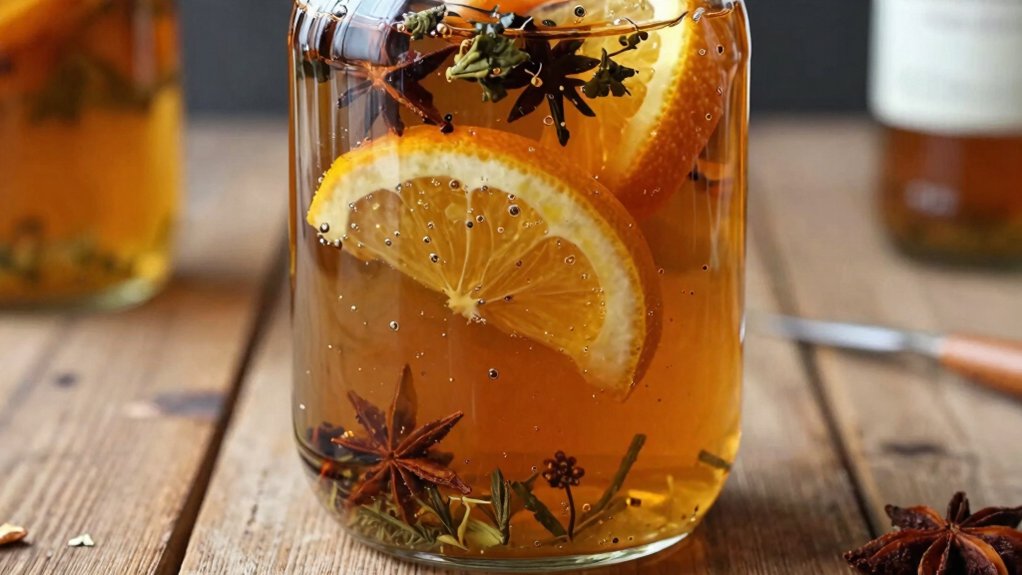
When you start a homemade liqueur infusion, pick a neutral spirit like vodka, pour it into a clean, tightly sealed jar, and add your chosen flavor ingredients. Use a cool, dark spot for storage and give the jar a gentle shake daily. Test the taste after a week; most infusions need 7‑14 days, but hot peppers or tea may only need a couple of hours, while fresh herbs peak around day 4. Once the flavor hits the sweet spot, strain through a fine mesh or cheesecloth, then run the liquid through a coffee filter for crystal‑clear liqueur. Add 1–2 tablespoons sugar per cup of base, reseal, and let it rest briefly to meld. Incorporating high-quality ingredients can elevate your infusion’s flavor and smoothness. Begin with a one‑cup batch to gauge intensity before scaling up to a full bottle.
How Alcohol Extracts Flavor in Homemade Liqueur Infusions
After you’ve sealed your jar and given the mixture a daily shake, the real magic begins: alcohol pulls flavor compounds out of the ingredients far faster than water can. Because alcohol is a stronger solvent, it dissolves essential oils, aromatic terpenes, and pigment‑rich compounds from herbs, fruits, and spices in a matter of hours to days, depending on the material. The neutral vodka base lets those extracted notes dominate without competing flavors. Keep the jar in a cool, dark spot; heat accelerates extraction but can degrade delicate aromatics. Taste every 24 hours, noting intensity and any bitterness. Adjust by adding fresh ingredients or diluting with more spirit, ensuring each infusion stays balanced and vibrant. Ensuring the proper measurement range and precision can help monitor and optimize your infusions for the best flavor extraction.
Choosing the Right Base Spirit for Homemade Liqueur Infusions

Which spirit should you pick for your homemade liqueur? You’ll likely reach for vodka because its neutral palate lets fruit, herbs, or spices dominate without competing notes. A higher proof—say 80‑proof vodka—extracts flavor faster and stronger, while over‑proof options like 190‑proof Everclear push extraction to the limit (use caution). Start with a mid‑priced bottle; premium vodkas can be over‑powered by the infusion ingredients. Fresh fruit infusions stay vibrant for weeks to months, and dried botanicals last even longer, often without refrigeration. Additionally, choosing a durable apron can help you stay clean and organized during your infusion experiments.
Selecting Ingredients That Shine in Homemade Liqueur Infusions
Though the base spirit sets the stage, the true star of any liqueur infusion is the ingredient you choose—fresh, high‑quality produce, zest, or spice that’s been washed, dried, and prepped to eliminate off‑notes. You’ll want to rinse berries, herbs, and nuts, then pat them dry so no excess water dilutes the spirit. When zesting citrus, grate only the colored layer, avoiding the white pith that brings bitterness. Pair delicate fruits like raspberries with a shorter 1‑2‑week soak, while firmer apples or pears can linger longer before you strain. Dried fruits, toasted nuts, and warm spices tolerate weeks to months, deepening flavors without overwhelming the base. By staging additions, you control intensity and keep the final liqueur balanced and vibrant. Additionally, using food-grade ceramic or porcelain tools can help preserve purity and prevent unwanted flavors from leaching into your infusion.
Timing the Infusion: Shake, Taste, and Stop
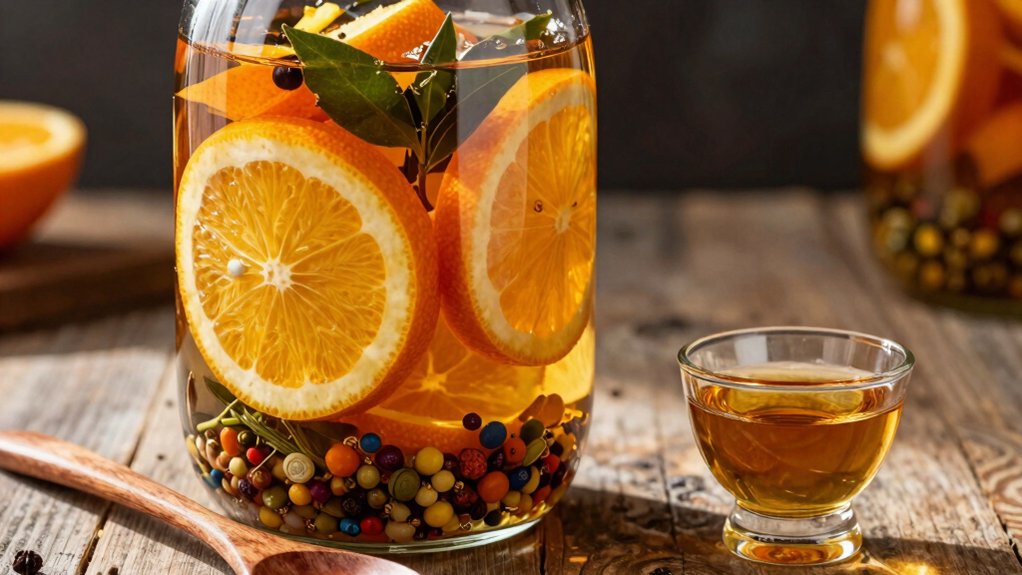
Give your jar a gentle shake every few days, then taste it after a week and again every couple of days. If the flavor feels too mild, keep shaking and tasting until it hits the spot, usually around day 4 for herbs or up to three weeks for most ingredients. Once the profile is just right, strain and filter right away to lock in the perfect taste. To ensure consistent results, consider using a professional cupping spoon to sample the infusion at different stages.
Shake Daily, Taste Often
Ever wondered why a simple shake can make your homemade liqueur infusion taste so much richer? Daily shaking jump‑starts infusion timing, nudging oils, sugars, and aromatics into a uniform blend. You don’t need to shake every hour—just a gentle swirl every 24 hours or every few days works fine. After the first week, start tasting. If the profile feels thin, let it sit another week, then taste again. Most infusions peak before three weeks; beyond that, bitterness can creep in. Delicate fruits may only need one to two weeks, while firmer berries tolerate longer steeping. Keep a notebook, log each taste, and you’ll know exactly when the flavor hits its sweet spot.
Stop When Desired Flavor Appears
Wondering when to call it quits on your infusion? You’ll know the sweet spot by tasting every few days.
Gentle shaking each time helps flavors meld evenly, but the real cue is the flavor itself. If the taste hits the depth and balance you crave, stop the process—don’t let it linger past three weeks, or bitterness may creep in.
Delicate fruits often finish in one to two weeks, while richer botanicals need more time; your palate decides.
When a note feels too mild, extend the infusion by another week, then retaste.
Use this tasting loop to fine‑tune infusion timing, ensuring you capture the perfect profile without over‑extraction. Proper material safety and careful maintenance can also influence the quality of your infusion process.
Filtration Techniques for Clear Homemade Liqueur Infusions
You’ll start by giving the infusion a quick fine‑mesh strain to catch the biggest particles before it hits the coffee filter. Then you’ll pour it slowly through a fresh coffee filter, letting gravity do the work and removing the remaining sediment for a crystal‑clear result.
If you’re using a fat‑washed recipe, freeze the mixture first, then repeat the coffee‑filter step to pull out any lingering fat.
FineMesh Straining Tips
How can you achieve a crystal‑clear liqueur without sacrificing flavor? Start with finemesh straining to pull out the biggest fruit pieces and spice shards. Then, double‑strain: first run the liquid through a kitchen strainer, followed by a layer of cheesecloth to catch finer sediment. If you need ultra‑clear results, finish with a coffee filter or repurpose an Aeropress to push the liqueur through quickly. For short‑term batches, a single cheesecloth pass works, but for storage beyond a week, the extra strain prevents off‑flavors from stray bits. Once filtered, bottle into clean, airtight containers, keep them in the dark, and store cool to preserve clarity and avoid haze.
Coffee Filter Filtration Methods
Clarity in a homemade liqueur often hinges on the final filtration step, and a coffee filter is the go‑to tool for that last polish. You’ll notice the fine pores of coffee filter filtration trap microscopic sediment that mesh mesh or cheesecloth miss, delivering a silky, crystal‑clear spirit. After a quick pre‑strain, pour the infusion slowly through a fresh filter; the process feels meditative, and each drop that drips into the clean jar signals progress. For stubborn haze, repeat the pass or try an Aeropress to speed up coffee filter filtration without sacrificing brilliance.
- Patience – Watching the liquid cascade builds anticipation for the perfect sip.
- Precision – Fine pores guarantee a flawless, sediment‑free finish.
- Versatility – Multiple passes or Aeropress tricks adapt to any batch size.
Proper Storage to Preserve Flavor in Homemade Liqueur Infusions
A tight‑sealing, airtight container is the single most important factor for keeping your homemade liqueur infusion fresh. Minimize air exposure by choosing the smallest possible jar that fits your batch; this slows oxidation and locks in aroma. Store the sealed bottle in a dark, cool spot away from direct light, and keep it at room temperature unless you prefer a chilled drink—refrigeration isn’t required but can add an extra safety margin.
Expect a slight cloudiness or sediment; that’s normal. If you see mold‑like growth, discard the infusion immediately. For storage longer than two or three weeks, strain out the solid ingredients to prevent bitterness and off‑flavors. This routine preserves flavor and ensures each sip tastes as intended.
Recording Tweaks for Consistent Homemade Liqueur Infusions
After sealing your liqueur in a tight, dark jar, the next step is to track every change you make so future batches taste the same. Infusion tracking turns intuition into data, letting you repeat successes and avoid bitterness. Write down the base spirit, batch size, and whether ingredients are fresh or dried. Note the start date, test dates, and final strain date to keep the timeline crystal‑clear. Record shaking frequency, filtration method, and any fat‑washing steps, then log post‑infusion tweaks like sugar or citrus zest. This habit builds confidence and ensures each batch mirrors the last.
- Capture every ingredient detail.
- Log timing and technique precisely.
- Review and adjust post‑infusion balances.
Gift‑Ready Cocktail Ideas Using Your Homemade Liqueur Infusions
Ever wondered how to turn your homemade liqueur infusion into a ready‑to‑gift cocktail? Start with a one‑cup test batch, then filter double‑through cheesecloth for a clear spirit. Sweeten with one to two tablespoons sugar per cup, then pour into a tiny airtight bottle labeled with the infusion date and ingredients. For a vanilla‑cinnamon infusion, mix half a ounce with bourbon, a splash of orange juice, and a dash of bitters for a warm holiday sipper.
A citrus‑zest infusion shines in a spritz: combine two ounces with prosecco, a splash of soda, and a twist of lemon. Fruit‑forward infusions pair beautifully with rum and pineapple juice, creating a tropical gift cocktail that looks as good as it tastes.
Frequently Asked Questions
What Is the Benefit of Creating Custom Infusions for Cocktails?
You get precise control over sweetness, flavor intensity, and spice, so each cocktail matches your vision, reduces extra mixers, lets you test small batches, and ensures stable, aromatic results every time.
What Is the Queen of Liqueurs?
You call it the Queen of Liqueurs when you add sugar to an infusion, turning the spirit into a sweet, dessert‑like drink that balances flavor, adds body, and lets you customize the perfect, indulgent cocktail base.
How Long Will Infused Liquor Last?
You’ll get about two‑to‑three weeks if you keep the ingredients in, then strain and refrigerate; dried‑ingredient infusions can sit indefinitely, while fresh‑fruit blends last months in the fridge.
What Alcohol Is Best to Infuse?
You’ll get the cleanest, most versatile infusions with neutral‑flavored vodka—preferably 80‑proof, but 100‑proof or even 190‑proof Everclear works if you want extra extraction power and a longer shelf life.
In Summary
You’ve learned how each step—from picking the right spirit to timing, filtering, and storing—shapes the flavor of your homemade liqueur infusion. By experimenting with ingredients, noting tweaks, and sharing your creations in cocktails or gifts, you’ll keep the process fresh and delicious. Keep the infusions clear, the flavors balanced, and the memories vivid; every batch becomes a personal, tasty masterpiece.


