
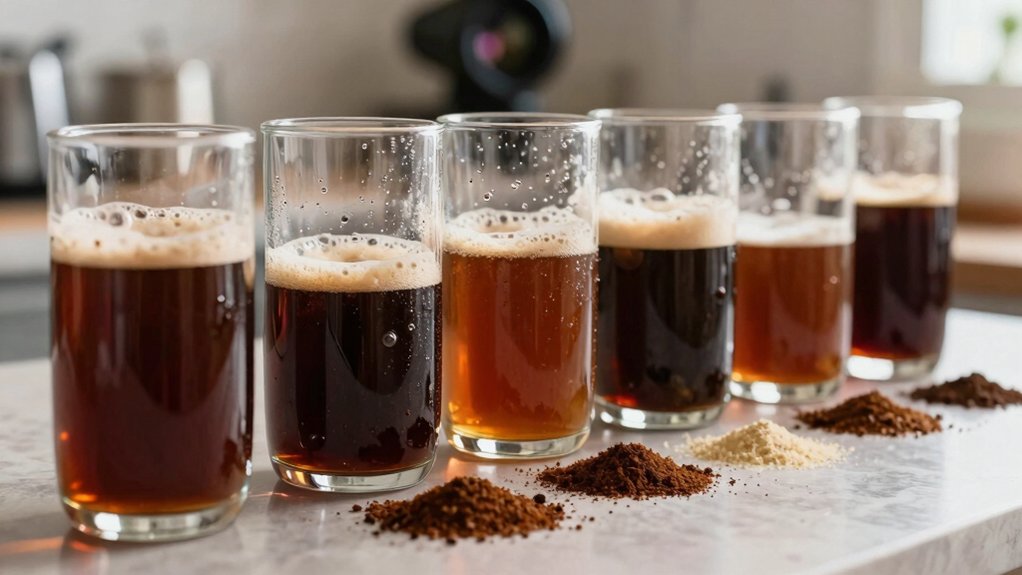
Pick a sanitized mason jar or Hario Mizudashi, add a 1:8 coffee‑to‑water ratio (125 g coffee to 1 L water), and grind to a medium‑coarse texture—think sea‑salt with tiny pieces. Stir, seal, and refrigerate for 14 hours. Filter with paper for a clean, bright brew or cheesecloth for a fuller body. Adjust dilution from 1:1 to 2:1 to hit your preferred strength. You’ll find more tips on variations and on‑the‑go tricks if you keep going.
Select & Sanitize a Sealable Vessel
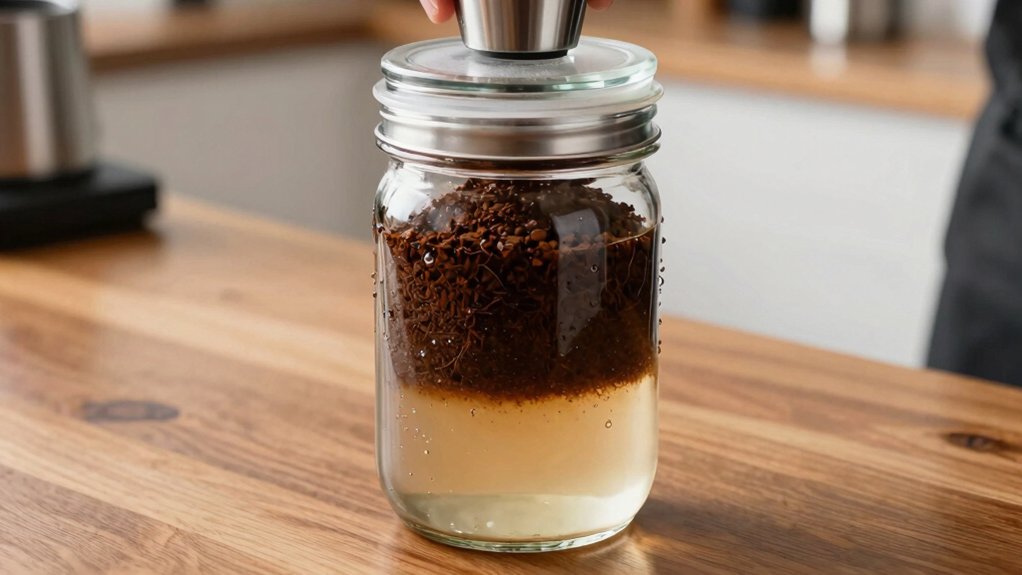
Ever wonder why a clean, tightly sealed container matters for cold brew? You should pick a sealable vessel—Mason jar, Toddy system, or Hario Mizudashi—that fits comfortably in your refrigerator. Using a sturdy, easy-to-clean vessel helps prevent residue buildup and supports consistent flavor over time seal integrity. First, sanitize all components: jars, brewers, and filters. Scrub them with hot water, rinse, then air‑dry completely to keep the environment hygienic. Once dry, assemble the vessel with any necessary filters; this prevents off‑flavors from residue or mold.
Tighten the lid to limit oxygen exposure during the 14‑24‑hour brew, which cuts down contamination risk. By maintaining a sealed, sanitized setup, you protect the coffee’s flavor and ensure a safe, consistent cold brew every time.
Measure a 1:8 Coffee‑to‑Water Ratio for a Balanced Brew
Wondering how to nail a balanced cold brew? Start by weighing 125 g of coffee and adding exactly 1 L of water. Use a coarse grind so the grounds settle evenly and extraction stays smooth. The 1:8 coffee-to-water ratio gives you a concentrate you can dilute later, letting you fine‑tune strength between 2:1 and 1:1 water‑to‑coffee. Keep the mix in a sealed vessel, stir gently, and let it steep 12‑18 hours in the fridge. After brewing, strain the grounds, then pour the concentrate into a pitcher and add water to taste.
Weigh 125 g coffee, add 1 L water, steep 12‑18 hours, then dilute to taste.
Measure 125 g coffee (coarse grind)
Add 1 L cold water
Stir to wet all grounds
Steep 12‑18 hours, then strain
Dilute concentrate to desired strength
Enjoy a consistent, low‑acid cold brew every time.
SmartRef Digital Refractometer by Anton Paar Coffee TDS provides a reference for monitoring extraction with its TDS readings and Automatic Temperature Compensation (ATC) to stabilize measurements during brew experiments.
Grind to a Medium‑Coarse Size (≈7/10) for Sweet, Low‑Acid Extraction
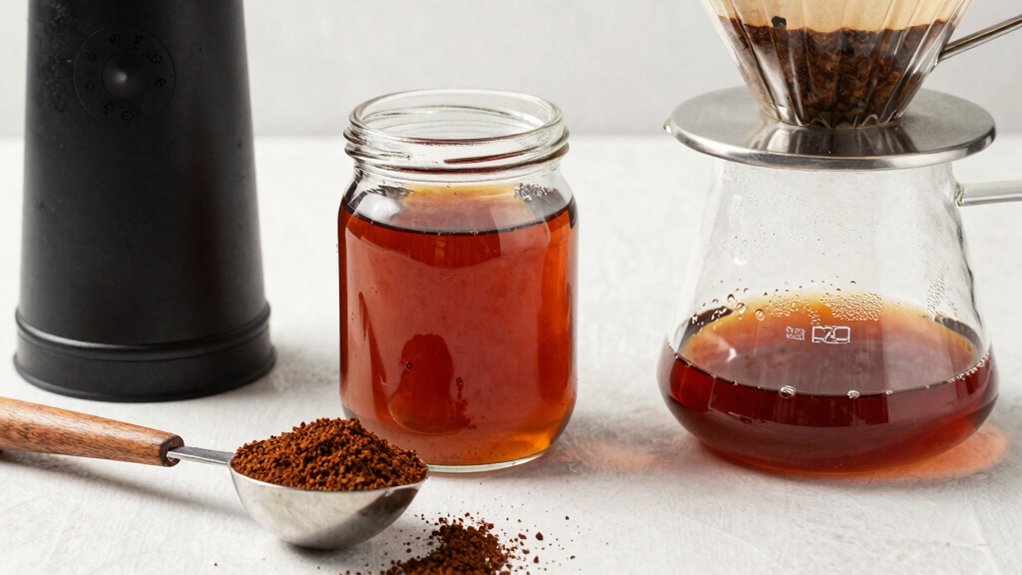
How do you get a sweet, low‑acid cold brew without bitterness? Choose a medium‑coarse grind, about a 7 on a 1–10 scale. This grind size looks like sea‑salt texture with tiny, visible pieces that settle evenly during immersion brewing. The choice of grind is closely tied to preserving flavor, with slower extraction helping keep acids at bay stillness during extraction.
Combine Coffee and Water, Stir to Wet All Grounds, and Refrigerate for 14 Hours
Need you wet every particle, start by pouring the coffee into a large container, adding cold water at a 1:8 ratio by weight, then stir vigorously until the grounds are fully saturated. The coarse grind should look like sea‑salt crystals; this texture lets the cold brew extract evenly without over‑extraction. Keep the mixture at a steady temperature by refrigerating it for 14 hours. During this chill, the coffee‑to‑water ratio stays constant, and the wet grounds stay immersed, preventing dry pockets that could cause bitterness. After the time elapses, you’ll have a smooth, low‑acid concentrate ready for filtration. Use a wide‑mouth jar for easy stirring. Ensure every particle is wet before cooling. Maintain a consistent 1:8 coffee‑to‑water ratio. Refrigerate for exactly 14 hours. Prepare for filtration once the brew is fully extracted. To maintain optimal flavor stability, monitor the ambient temperature during refrigeration and avoid temperature fluctuations that could impact extraction temperature stability.
Filter the Brew – Paper for Clarity or Cheesecloth for Body
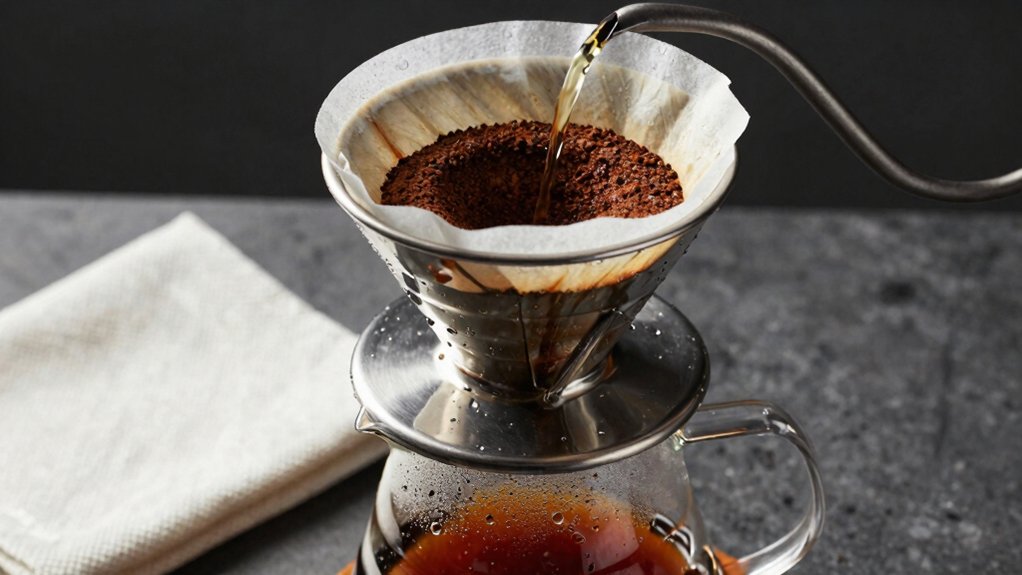
After the 14‑hour steep, you’ll notice the wet grounds settled at the bottom, so it’s time to separate the liquid. Grab a coarse grind‑ready coffee bed and choose your filtration method. A paper filter catches most fines, giving your cold brew crisp clarity, a bright aroma, and a clean finish. Keep the grind coarse to avoid clogging; otherwise extraction time drops and flavor suffers. If you crave richer body, pour the brew through cheesecloth. The porous weave lets oils and fine particles pass, boosting mouthfeel and depth while still removing sediment. The recommended practice is to run a quick paper pass, then a cheesecloth rinse to compare how each filtration influences aroma, extraction balance, and overall texture. This aligns with cupping standards that emphasize controlled sample sizes and careful handling to preserve flavor integrity. cupping standards
Experiment With Variations: Stronger Concentrates, Light Brews, or Decaf
You can tweak the coffee‑to‑water ratio to create a 1:4 concentrate that’s ready for any dilution level you prefer.
If you want a lighter cup, raise the water proportion to 1:5 or higher and shorten the steep within the 14‑18‑hour window.
For decaf, keep the coarse grind and long steep, then filter carefully to preserve the subtle aroma.
Concentr Concentrate Ratios
A typical cold‑brew concentrate starts with a 1:4 coffee‑to‑water ratio by weight—250 g of coffee to 1,000 g of water—giving you a versatile base you can dilute to any strength. From here you can tweak concentrate ratios by adjusting grind coarseness, steep time, or water concentration. A coarser grind or longer steep yields a stronger brew, while adding more water or shortening steep produces a lighter cup. Decaf follows the same pattern, letting you control brew strength without caffeine.
- 1:4 ratio for standard concentrate
- 1:5 or 1:6 for milder versions
- Extend steep time for extra intensity
- Use coarse grind for smoother texture
- Dilute 1:1 with water, milk, or ice for serving
Light Brew Adjustments
Curious about tweaking your cold brew for a lighter cup or a stronger concentrate? Use a coarse grind and a 1:11 ratio for a light brew, then dilute 1:2–1:3 with water or milk to keep brightness high. Shorten steep time to 8–12 hours to avoid over-extraction while preserving delicate notes. This approach also leverages the AeroPress-style filtration concept, which helps remove bitterness and oils for a cleaner cup micro-filtration and can be paired with paper filters to further enhance clarity.
Decaf Brew Strategies
Ever wondered how to get a bold, caffeine‑free cold brew without sacrificing flavor? Use a coarse grind and the same 12–24 hour steep time as regular cold brew, but tweak the coffee-to-water ratio and saturation for decaf. A stronger concentrate comes from a 1:4 ratio and an 18–20 hour steep, then dilute to taste. Light decaf brews benefit from a lighter roast and slightly coarser grind, letting floral and citrus notes shine. Consistent particle size and full saturation prevent under‑extraction, while infusions like vanilla or citrus peel add depth without overheating the palate.
- 1:4 coffee-to-water ratio for concentrate
- 12–24 hour steep for baseline brew
- Light roast + coarser grind for subtle flavor
- Ensure full saturation to avoid under‑extraction
- Add infusions after steeping for aromatic boost
Adjust Cold Brew Dilution Ratios for Your Ideal Cup
Most people start with a 1:1 mix of cold‑brew concentrate and water or milk, then tweak the ratio toward 2:1 or 1:2 until the cup hits the strength you prefer. With a coarse grind, your brew will be full‑bodied, so you may want a higher water proportion to mellow the intensity.
Begin with the standard 1:4 coffee‑to‑water steep, then pour the concentrate into a glass and add water at a 1:1 dilution. If it feels weak, shift to a 2:1 concentrate‑to‑water ratio; if it’s too strong, try 1:2. Portability considerations from travel grinders and brew methods can influence how you measure and mix on the go, especially when you’re using coarse grinds for cold brew.
Adjust until you hit the perfect strength for serving. Remember, the key is experimenting with the concentrate‑to‑water ratio until the taste matches your ideal cup.
Frequently Asked Questions
Can I Use a French Press Instead of a Sealable Vessel?
Yes, you can use a French press instead of a sealable vessel. Just fill it with coarse‑ground coffee and cold water, stir, let steep for 12‑24 hours, then press and enjoy your brew.
What Is the Ideal Water Temperature for Steeping?
You should keep the water around 70‑80 °F (21‑27 °C) when steeping cold brew. That temperature extracts flavor slowly without over‑extracting bitterness, giving smooth, mellow coffee in the end.
Should I Pre‑Wet the Grounds Before Adding Water?
Yes, you should pre‑wet the grounds; it helps release gases, guarantees even extraction, and prevents clumping. Add a brief bloom with a little water, then pour the rest for a smoother, richer cold brew.
How Long Can I Store the Filtered Cold Brew?
You can keep filtered cold brew in the fridge for up to five days; after that, it’ll start losing flavor and may develop off‑notes, so enjoy it sooner for the best taste.
Does Using Filtered Water Affect Extraction?
Yes, filtered water changes extraction: it lacks minerals that help dissolve coffee solubles, so you’ll get a cleaner, sometimes weaker brew. You might need a slightly longer steep or finer grind to compensate.
In Summary
Now you’ve got a smooth, low‑acid cup that’s ready whenever you are. By keeping the grind medium‑coarse, the ratio 1:8, and the steep time 14 hours, you’ll consistently hit that sweet spot. Play with concentration or dilution to suit your taste, and enjoy the flexibility of cold brew any time of day.


