
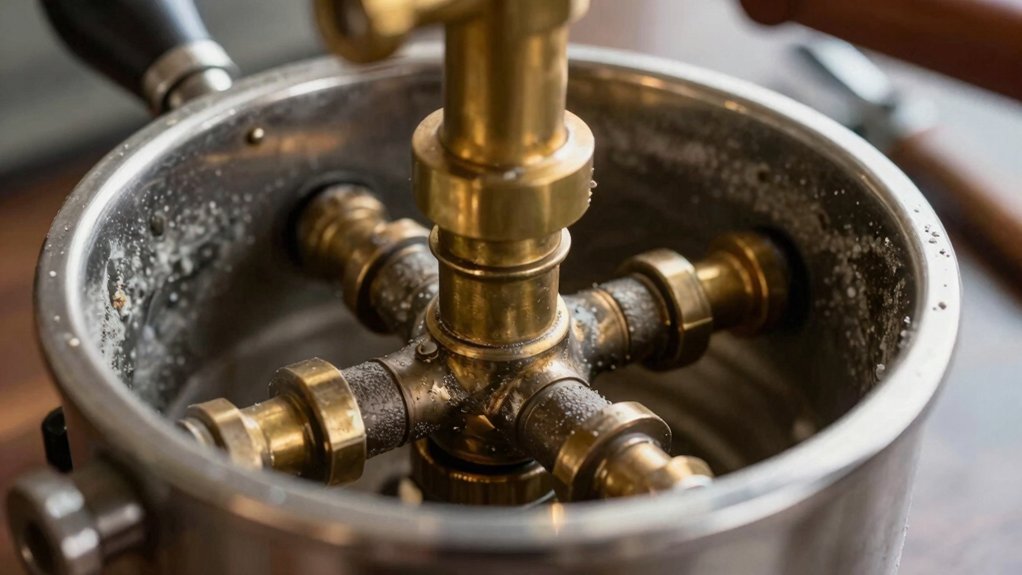
Inspect the boiler and heat‑exchanger first, looking for red‑flag limescale with a pipe endoscope. Loosen the water‑level probe housing or vacuum‑breaker valve just enough to slip a light in and scan the passages. Use a gentle citric‑acid solution (≈50 g per litre) and let it soak overnight, then flush several tanks of fresh water until the taste is neutral. Replace any cracked gaskets or O‑rings, reseal the probe with PTFE tape, and torque bolts to spec. Finally, run a test shot to verify temperature stability and no drips—keep reading to discover the remaining tips.
Inspect the Boiler and Heat‑Exchanger Before You Descale a Vintage Espresso Boiler
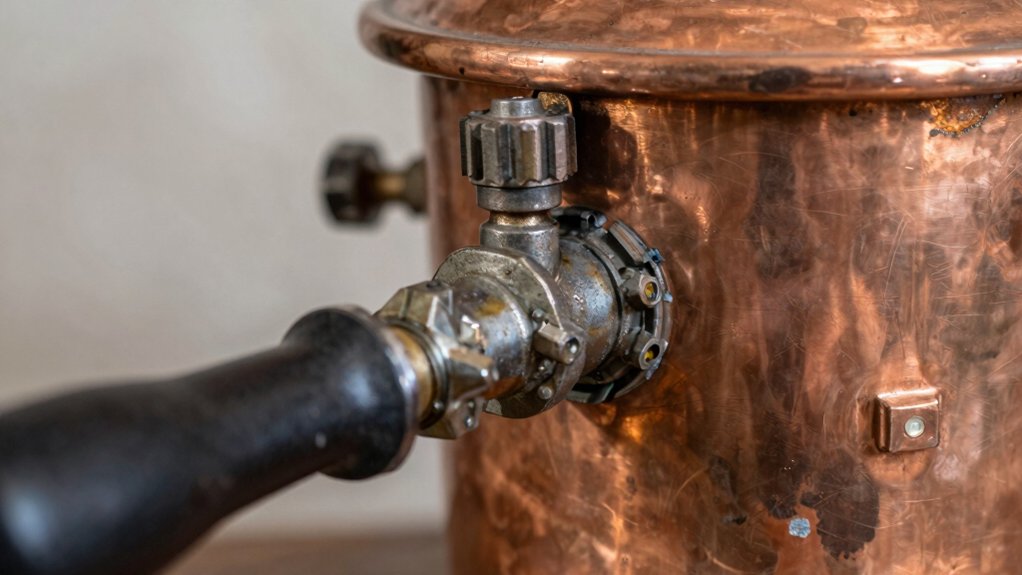
Ever wondered how to spot scale before you even start descaling? You begin by loosening the water‑level probe housing or vacuum‑breaker valve to make a tiny inspection hole. Slip a pipe endoscope or shine a light through the opening and scan the probe, boiler tubes, and heat‑exchanger passages. If you see a limescale coating on the probe, it’s a red flag that the rest of the system is likely coated too. Be gentle—don’t force any threads or seals, or you’ll risk leaks later. Once you confirm visible scale, you can plan a targeted citric‑acid descale or decide on a staged disassembly. This quick inspection saves time, prevents unnecessary teardown, and ensures you address the right components. Maintaining proper thermal regulation helps prevent further scale buildup and extends the lifespan of your vintage espresso boiler.
Choose a Gentle Citric‑Acid Solution for Vintage Espresso Boilers
A gentle citric‑acid solution—about 50 g of citric acid dissolved in 1 L of water—does the job without attacking the boiler’s metal parts. You’ll find it softens mineral scale in a vintage boiler while protecting aluminum and copper alloys. Using a solution that is non-abrasive helps maintain the integrity of the boiler’s durability for daily use, ensuring it remains in good condition over time. Pour the mixture into the boiler, seal the vent, and let it sit overnight; the citric acid works slowly, breaking down deposits without the harsh odor of vinegar. After the soak, flush repeatedly with fresh water until no sour taste remains. This descaling routine keeps the boiler’s internal surfaces intact and avoids corrosion. When you finish, reseal any penetrations with PTFE tape and verify that wires and fittings stay undisturbed before reassembly.
Remove the Grouphead Gaskets, Temperature Probe, and Vacuum‑Breaker for Safe Descaling
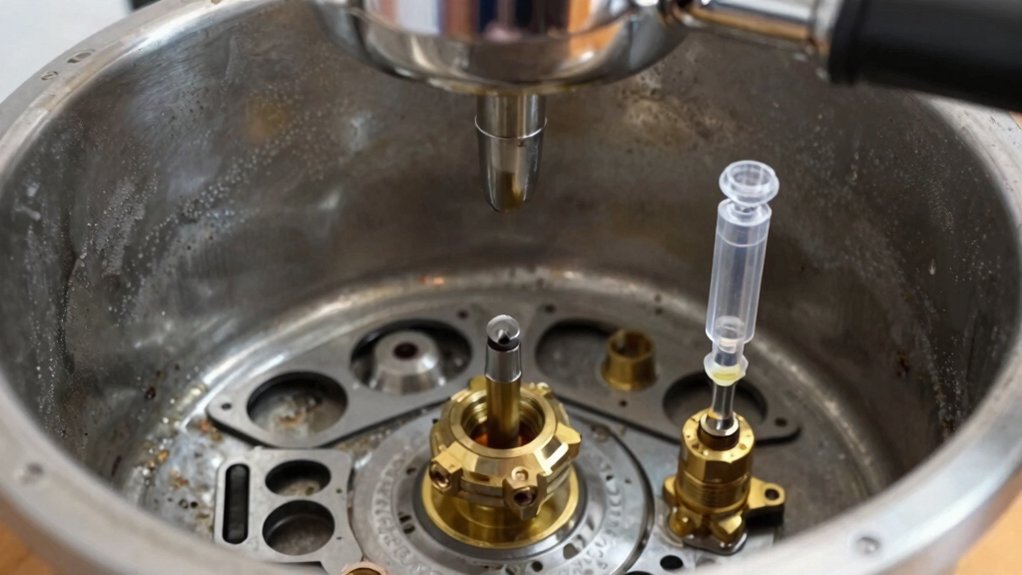
After the citric‑acid soak, you’ll want to expose the boiler’s interior by removing the grouphead gaskets, temperature probe, and vacuum‑breaker.
First, loosen the grouphead bolts and slide the gaskets out, noting any wear.
Then, pull the temperature probe straight up; use a syringe through its access hole to inject descaling solution, avoiding any bending or twisting of the wires.
Next, unscrew the vacuum‑breaker, keeping the O‑ring in sight.
Inspect each O‑ring and gasket for cracks or dryness, because old seals often fail.
After you’ve flushed the interior, re‑seal the temperature probe with PTFE tape, reinstall the vacuum‑breaker, and replace the grouphead gaskets, ensuring a tight, leak‑free fit before you reassemble the machine.
Additionally, verifying the proper material and size of seals and gaskets ensures compliance with industry standards and maintains the integrity of your espresso boiler.
Descale With Citric Acid and Watch With an Endoscope
Mix 50 g of citric acid per litre of water, pour it into the boiler, and let it sit overnight. Slip the thin‑walled tube of your endoscope through the temperature probe opening, making sure the wires stay untouched. Watch the live feed as the camera glides over the heat exchanger, noting any scale patches before you start rinsing. For thorough cleaning, consider temperature control to ensure all residues are effectively removed.
Prepare Scope
Wondering how to spot scale before you start descaling? First, create an inspection hole by removing the water‑level probe housing or vacuum‑breaker valve. Keep the surrounding seals and gaskets handy; you’ll need them later. Slip the endoscope gently through the opening, avoiding any forced threads. Rotate the tip slowly to scan tubes, heat exchangers, and service lines for white crusts. If you see buildup, note its location—this tells you whether a full teardown or a staged rebuild is required. When you finish the visual check, pull the scope out carefully, wipe the lens, and set the endoscope aside. Now you’re ready to circulate the citric‑acid solution, confident you’ve verified the problem areas and preserved the boiler’s seals. Ensure you understand scale formation to prevent future buildup and extend the boiler’s lifespan.
Tube Endoscope Insertion
How do you safely guide an endoscope into the boiler’s hidden channels? First, locate the inspection hole or remove the probe housing or vacuum‑breaker valve to expose a clear entry point. Gently feed the endoscope, keeping it straight and avoiding sharp bends that could snag. Watch the live screen for visualization as the tube slides past connectors and heat‑exchanger passages. Using a high-quality stainless steel filter can help prevent sediment buildup that might obstruct your view during inspection. When you begin citric‑acid descaling, keep the scope in place to confirm the solution spreads evenly and to spot any stubborn scale around the temperature probe area. After the soak, re‑insert the endoscope to verify that all pathways are clear of blockages. Use minimal force, stay clear of wiring, and treat the endoscope as a diagnostic aid before and after descaling.
Observe Scale Build‑up
After positioning the endoscope through the inspection hole or probe housing, you’ll start to see where scale has accumulated on the water‑level probe, heat‑exchanger tubes, and vacuum‑breaker valve. You then gauge severity, note corrosion‑prone brass or copper, and decide whether citric‑acid descaling is safe. Document each hotspot before you soak the boiler, then run the endoscope again after the soak to verify every passage is clear and no loose scale blocks a valve. Proper cleaning cloths can help keep the exterior and accessible components free of residue during the process.
Flush the Boiler After Descaling the Vintage Espresso Machine
After you’ve finished the descaling solution, run two or three full tanks of fresh water through the group head and steam wand to clear out any remaining acid. Keep each flush under about eight ounces from the hot tap so you don’t over‑stress the heating element.
Finally, pull a blank shot and give the machine one more quick rinse to confirm the water tastes clean.
Flush With Clean Water
Ever wonder how to guarantee a spotless boiler after descaling? After you finish the descaling solution, fill the water reservoir with fresh, cold water. Run the pump to pull two to three full tanks through the group head and steam wand, letting each cycle heat up before you start the next. Keep the hot‑water tap open only enough to release about eight ounces at a time, preventing the element from being overstressed. Continue flushing until the water runs clear and tastes like nothing but water. Refill the reservoir once more, then perform a final long flush through both the group head and steam wand to ensure every trace of descaler is gone. Taste‑test the last batch; if it’s neutral, you’re ready to brew again.
Check for Residual Acid
How can you be sure no acidic residue remains in your vintage boiler? After the descaling soak, run at least three flush cycles, each time draining the old solution, refilling with fresh water, and pulling it through the boiler, group head, and hot taps. Taste the water after each cycle; a clean, neutral water taste signals that residual acid is gone. If you still detect a sour or chemical note, repeat the process until the water tastes pure. Document each step in a simple table so you can track progress.
| Cycle | Action | Water taste |
|---|---|---|
| 1 | Drain, refill, run through | Slight sour |
| 2 | Repeat flush | Neutral |
| 3 | Final check | Clean |
Follow this routine before resuming normal brewing to protect flavor and equipment.
Test Water Hardness for Your Espresso Boiler and Add a Non‑Scaling Treatment System
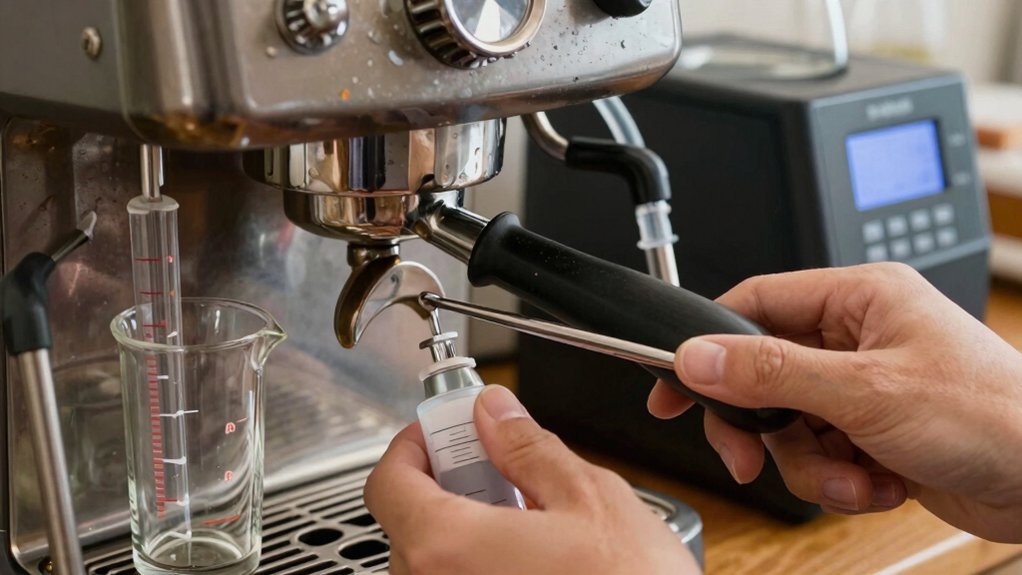
Wondering whether your vintage espresso boiler will survive the next round of brewing? Test water hardness with a BWT kit, then choose filtration/filtered water that matches the results. If the reading shows high hardness, switch to RO water and add a mineralizer to keep essential taste while cutting scale.
Install a non‑scaling treatment system—such as a magnetic or electronic inhibitor—to continuously suppress deposits. This reduces how often you’ll need descaling and protects internal pathways. Keep a log of hardness readings and filter changes; harder water means more frequent maintenance.
Replace Worn Gaskets and O‑Rings After Descaling the Vintage Boiler
After descaling, you’ll want to inspect every gasket for cracks, brittleness, or shrinkage.
Swap out any worn O‑rings with high‑temperature, brass‑compatible seals to guarantee a tight, leak‑free fit.
Finally, run a pressure test to verify the boiler holds steady before you reassemble.
Inspect Gasket Condition
Do you notice any hardening or flattening on the gaskets and O‑rings after descaling? Inspect each gasket and O‑ring carefully, especially those on the expansion valve, boiler fill solenoid, and HX check valve. Look for cracks, dehydration, or loss of elasticity that could cause leaks. If any seal feels brittle or compressed, set it aside for replacement. Use new parts from reputable suppliers like Chris Coffee or Espresso Parts to match original material and temperature ratings. Document every gasket and O‑ring you swap out, noting the location and condition. This systematic check prevents future leaks and ensures the boiler reassembles with a reliable seal, keeping your vintage machine performing at its best.
Replace O‑Rings Sealing
If the gaskets and O‑rings looked compromised during inspection, swap them out before you reassemble the boiler.
First, gather replacements from Quick Mill, Espresso Parts, McMaster‑Carr, Mouser, or Newark.
Focus on expansion‑valves gaskets, boiler‑fill solenoid seals, heat‑exchanger valve gaskets, and vacuum‑breaker O‑rings.
Clean each seat with a lint‑free rag and a light solvent, then apply a thin film of food‑grade silicone to the new seals.
Press the O‑rings into their grooves evenly, avoiding over‑stretching, and seat the gaskets without forcing them.
Use a torque wrench to tighten bolts to the manufacturer’s spec, preventing compression‑seal damage.
This careful replacement stops leaks and restores reliable pressure containment after descaling.
Verify Post‑Descaling Integrity
When the boiler is closed and the new gaskets and O‑rings are in place, run a low‑pressure test to confirm every seal holds before you fire up the machine. A gentle pressure test will reveal any leaks around the gaskets and o‑rings, letting you tighten or replace parts before full steam pressure. Keep a notebook handy to log the pressure reading, the location of any leaks, and the corrective actions you take. This step prevents future scale buildup and protects the vintage E61’s longevity.
| Component | Check Point |
|---|---|
| Expansion valve gasket | Inspect for cracks |
| Fill solenoid seal | Listen for hissing |
| Vacuum breaker o‑ring | Verify snug fit |
| Boiler body gasket | Confirm no seepage |
Re‑assemble and Calibrate the Temperature Probe and Pressure Gauge After Descaling
After the descaling cycle, reseal the temperature probe with PTFE tape—tight enough to stop leaks but not so tight that it strains the threads—then reinstall it, making sure the electrical connections stay untouched and the auto‑fill and heating cycles restart correctly. While the probe settles, check the pressure gauge for any loosened nuts; a snug but not over‑tightened fit prevents leaks and preserves accurate pressure readings. Clean any residual descaler from the probe housing, then torque the probe to the manufacturer’s spec for proper calibration. Finally, run a brief brew cycle to verify stable temperature and pressure before full operation.
- Verify PTFE tape seal integrity.
- Re‑connect probe wiring without bending pins.
- Torque probe to spec for calibration accuracy.
- Inspect pressure gauge threads and tighten gently.
- Rinse probe area thoroughly to remove descaler residue.
Test a Shot to Confirm Clean Water, Stable Temperature, and Diagnose Any Remaining Drips
A quick test shot lets you verify that the water runs clean, the group temperature stays steady, and no stray drips linger. Pull a descale test shot and watch the water flow; it should be steady, without sputtering or pauses. Taste the espresso—there should be no metallic or chemical aftertaste, confirming the descaling removed residue. Compare the shot’s extraction time and temperature to your pre‑descale baseline; stability indicates the probe and gauge are calibrated. If a drip drips from the group head after the shot, note its frequency and volume for drip diagnosis. Persistent drips often signal leftover scale or a worn gasket, prompting another rinse or seal check before you move on.
Schedule Regular Checks to Keep Your Vintage Espresso Boiler Scale‑Free
How often should you check your vintage boiler for scale? You’ll want to inspect it at least once a year, or every six months if you use hard water. Regular checks let you spot early scale buildup before it hurts heat exchange or forces costly descaling later. Keep a maintenance log and note any gasket wear or valve leaks you discover.
- Pull the water‑level probe or slip a pipe endoscope in to view internal deposits.
- Look for mineral crust on the heat exchanger and surrounding walls.
- Test water hardness and switch to non‑scaling water or add a mineralizer after each descaling.
- Replace worn gaskets, o‑rings, and valves promptly to prevent corrosion.
- Schedule a full disassembly check if visual inspection reveals significant scale.
Sticking to this routine protects your boiler and extends its life.
Frequently Asked Questions
How to Descale an Espresso Boiler?
You’ll fill the boiler with a citric‑acid descaler via the temp‑probe port, let it sit several hours, then drain, rinse thoroughly, reseal the probe with PTFE tape, reheat, and run multiple flush cycles.
How to Flush an Espresso Boiler?
You run fresh water through the group and steam wand, repeating until the water’s clear. If the boiler has a drain, empty it, refill, then flush again, tasting the water to confirm no descaler remains.
What Is the 30 Second Rule for Espresso?
You run hot water through the group head for roughly thirty seconds after cleaning, clearing oils and particles before locking the portafilter, so the next shot extracts cleanly and consistently.
Is Descaling Solution Better Than Vinegar?
Yes, you’ll find a proper descaling solution outperforms vinegar. It dissolves mineral buildup safely, protects aluminum parts, avoids lingering odors, and follows manufacturer guidelines—keeping your vintage boiler in top shape.
In Summary
By keeping your vintage espresso boiler clean, you’ll preserve its flavor, reliability, and lifespan. Regularly inspect, descale with a gentle citric‑acid mix, and replace worn seals. After flushing and re‑assembling, calibrate the probe and gauge, then pull a test shot to confirm steady temperature and pure water. Stick to a maintenance schedule, and your classic machine will keep delivering perfect espresso for years to come.


