
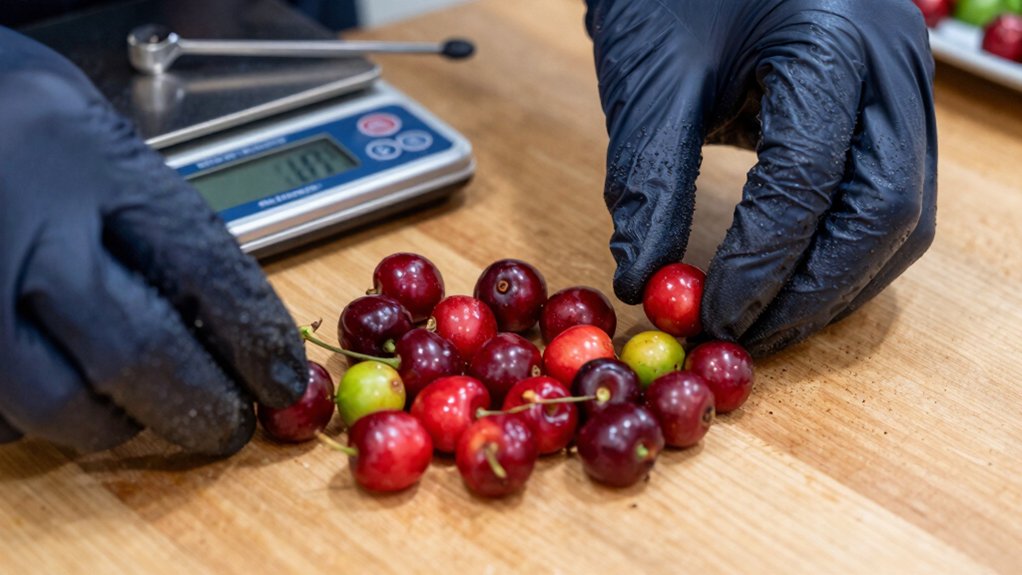
You’ll start by checking cherry color with a quick visual guide, then confirm ripeness with a gentle squeeze test. Use a calibrated refractometer to measure Brix, aiming for 18‑22 % to set the ideal sugar range. Sort by size and weight, scan moisture, and apply sun‑exposure cues to decide honey or natural processing. Arrange cherries in a double‑layer tray for optimal turning and airflow, and log every lot in a spreadsheet for traceability—more tips await if you keep going.
Explain Why Uniform Coffee Cherry Ripeness Matters
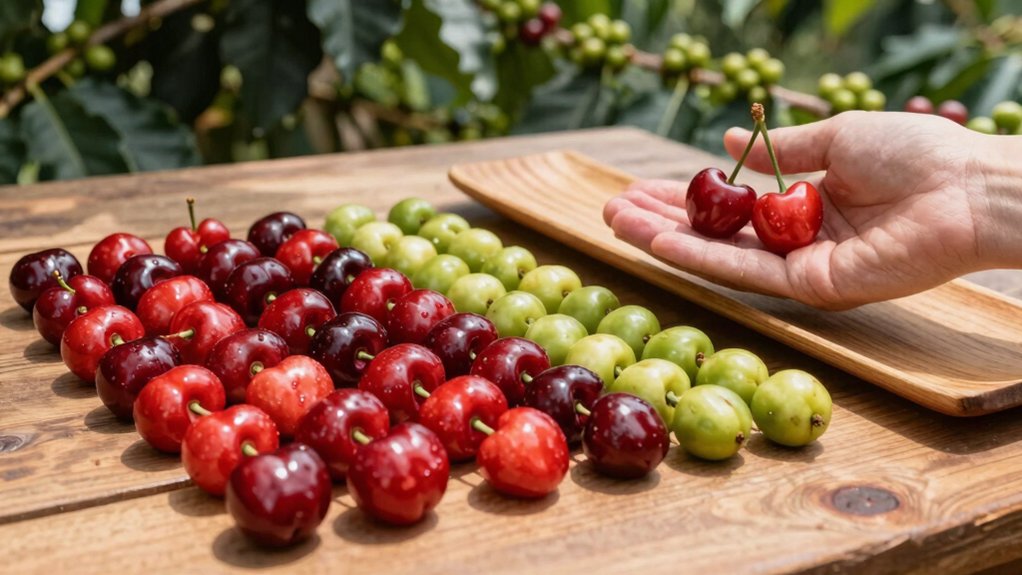
Typically, uniform cherry ripeness guarantees that each bean carries the same sugar content and mucilage thickness, which directly stabilizes fermentation and the final cup profile. When you practice careful cherry selection, you pick only the fully ripe red or yellow fruits, so every bean delivers consistent sweetness and mucilage. This consistency cuts fermentation risk because the microbes encounter a predictable substrate, preventing over‑ or under‑fermentation that can sour the brew. Uniform ripeness also streamlines drying, giving you even moisture loss and reducing the chance of mold or uneven flavor development. By focusing on synchronized ripening blocks, you boost processing efficiency and ensure that naturals, honeys, and washed coffees all hit the same quality target. Power outlets provide integrated electrical access for equipment used in processing stations and can improve workflow efficiency in a drying yard or processing area.
Check Cherry Color With a Quick Visual Guide
Grab the color reference chart and match each cherry to the ripe‑vs‑unripe indicators; the green‑yellow‑orange‑red gradient tells you exactly when the bean is ready. If you spot a yellow‑hued variety, remember it can be ripe even without the classic red hue. Quick visual checks let you pick only the mature cherries, preventing premature browning and ensuring optimal processing. Compatibility guidance ensures you choose processing steps appropriate for your cherry type and equipment.
Color Reference Chart
Ever wondered how a simple color check can tell you if a coffee cherry is ready for processing? Use a color reference chart to match each berry against the green, yellow/orange, and red/crimson bands that signal ripeness. Keep the chart handy while you walk the rows; when the cherries hit the deep red zone, you know they’re at the optimal stage for extraction and controlled fermentation. Remember that some varieties turn yellow instead of red, so adjust the chart accordingly. Regular calibration of your chart helps ensure accurate readings for different lots color reference and supports consistent harvest timing. Overripe fruits will slip into burgundy or brown tones, warning you of potential over‑fermentation and off‑flavors. By consulting the chart every harvest, you’ll select consistently ripe cherries, streamline bean removal, and protect the final cup quality.
Ripe vs. Unripe Indicators
When you’ve matched a cherry to the red band on your color chart, the next step is confirming its ripeness with a quick visual guide. Look for bright red or deep crimson tones; these are the most reliable color cues for ripe cherries, though some cultivars show yellow or orange. If the fruit still bears green patches or dull shades, those are unripe indicators. Gently squeeze a few berries—ripe cherries should yield a soft, yielding feel and the bean should slip out with minimal pressure. Unripe fruit feels firm and resists removal. By combining color cues with bean removal ease, you’ll separate the sweet, ready‑to-process cherries from the ones that could cause premature browning or off‑flavors. The color-based approach aligns with selecting coffee-processing cherries using consistent indicators from a reliable color chart ripeness indicators.
Squeeze Test to Confirm Ripeness
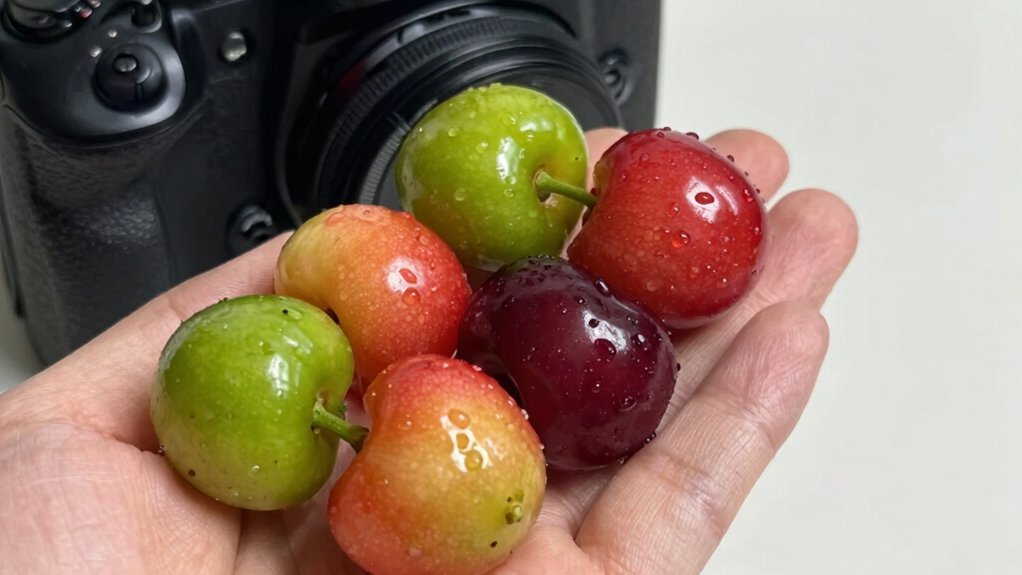
What’s the quickest way to tell if a coffee cherry is ready for processing? You perform a squeeze test, pressing each fruit gently between thumb and forefinger. A ripe cherry yields just enough give—soft but not mushy—while an unripe one stays firm and an overripe one collapses. This tactile cue guides cherry selection, letting you harvest at the optimal processing timing. Consistent application across the canopy helps identify trees with synchronized ripeness, reducing the risk of picking fruit that will brown or ferment too quickly and ensuring better downstream fermentation and drying timing size and dimensions awareness. By feeling the subtle give, you avoid off‑flavors and ensure that the downstream fermentation and drying stages start with fruit of the same maturity, boosting overall quality.
Measure Coffee Cherry Sugar With a Refractometer
You’ll want to calibrate your refractometer with a known sugar solution before every field session, ensuring each Brix reading stays reliable. Maintain a consistent calibration schedule and document readings to support reproducibility across batches. Packaging type and handling practices can influence sample integrity, so keep samples well-sealed during measurement to avoid moisture loss. Aim for a Brix range of about 18‑22 % to catch cherries that balance sweetness and acidity for the best cup. Consistent calibration and target range let you compare lots objectively and time harvests precisely.
Refractometer Calibration Tips
Because temperature shifts the refractive index, you should calibrate your refractometer at a consistent 20–25 °C using a fresh 15 % sucrose solution and verify the reading with at least three trials per session. This refractometer calibration guards against temperature‑driven error, ensuring your Brix measurement reflects true cherry ripeness and mucilage sweetness.
- Prepare a fresh 15 % sucrose standard each day; discard any solution that sits longer than 24 h.
- Record three readings, average them, and note any deviation beyond 0.2 Brix.
- Log the ambient temperature and adjust the device if it drifts outside the 20–25 °C band.
Following these steps lets you trust each Brix reading, so you can pinpoint optimal harvest timing and maintain consistent fruit quality.
Optimal Brix Range Selection
How do you pinpoint the sweet spot for coffee cherries? You measure the pulp with a refractometer right after picking and aim for a brix range of roughly 18–22 Brix. This window signals ripe fruit that will boost fermentation quality and flavor consistency. Targeting the upper end of the range reduces under‑fermentation risk and yields uniform bean development. Record readings for each variety, altitude, and weather condition, then correlate them with cupping results to set a local baseline. Avoid cherries below ~15 or above ~25 Brix, as they often indicate underripe or overripened fruit that can cause off‑flavors. Consistent cherry selection within the optimal brix range ensures reliable fermentation and a superior cup. Water Resistance and durability considerations in processing gear help maintain accurate measurements in harvest environments.
Interpret Sugar Readings and Set the Ideal Range
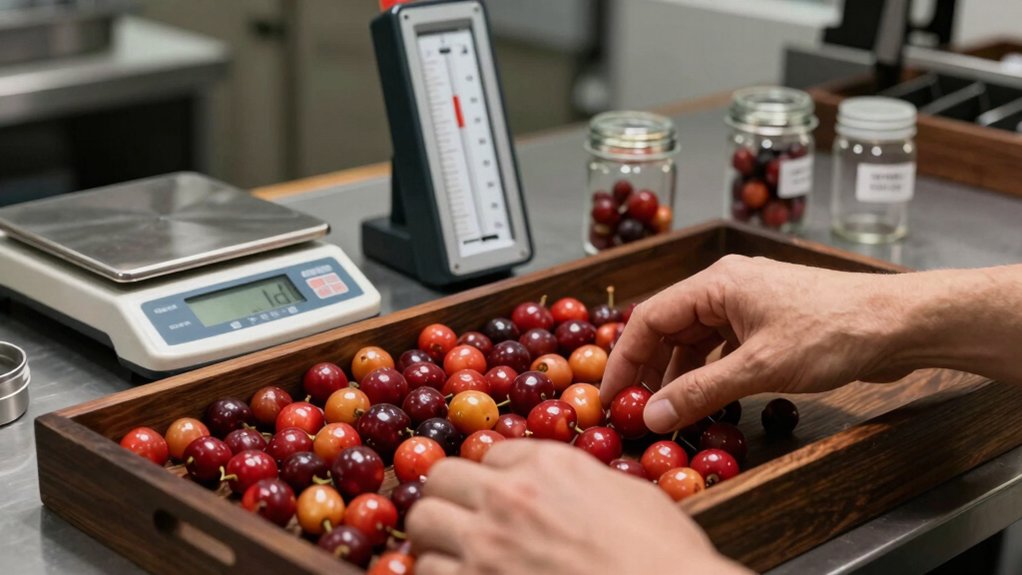
What do the Brix numbers on your cherry samples really tell you? They reveal sugar readings that map directly to ripeness and the quality of mucilage, which fuels fermentation. By tracking these numbers before resting, you can dodge over‑fermentation that spoils flavor and under‑fermentation that leaves the cup flat. Compare lots, note the consistent range, and align it with color cues and bean extraction tests. Record temperature, humidity, and sun exposure alongside each measurement to refine your ideal window for future harvests. Identify the Brix band where most ripe cherries cluster. Confirm that mucilage thickness matches the sugar level. Adjust processing timing to hit the sweet spot for fermentation. Dandat Stainless Steel Milk Frothing Pitcher (4-Pack)
Sort Cherries by Size and Weight for Even Drying
Brix readings give you a clear picture of ripeness, and once you’ve locked in the ideal sugar window, the next step is to sort the cherries by size and weight. You’ll notice that larger, heavier cherries retain more pulp, so grouping them separately prevents uneven moisture loss. Use calibrated scales and progressive screens—8‑12 mm, 12‑14 mm, and >14 mm—to create distinct lots. Record each lot’s cherry size and weight to link metrics with cup quality. This sorting boosts processing efficiency and ensures uniform drying, reducing pooling and mold risk.
| Size (mm) | Weight (g) | Typical Use |
|---|---|---|
| 8‑12 | 1‑2 | Pre‑dry screening |
| 12‑14 | 2‑3 | Standard batch |
| >14 | 3+ | Premium lot |
Use Sun‑Exposure Cues to Choose Honey or Natural Processing
Ever notice how the sun’s intensity can steer your coffee from honey to natural processing? You can read the cues on the field: bright, steady Sun exposure strips mucilage faster, nudging cherries toward honey processing, while softer, intermittent light keeps more mucilage, favoring natural processing. Watch the color shift—lighter yellow hues signal extensive mucilage loss, whereas deeper reds or blacks hint at slower drying and richer sugars. Adjust your selection by:
- Spotting cherries that have dried under consistent, moderate sunlight without scorching.
- Matching yellow‑honey tones to high mucilage removal for balanced acidity.
- Choosing darker, red‑black cherries that retained mucilage for complex, heavy‑bodied natural cups.
Scan Moisture to Avoid Over‑Wet Fruit
You’ll start by using moisture‑scanning tools that give instant readings on each cherry’s water content. Make sure the sensors are calibrated to the optimal settings for your variety, so you catch over‑wet fruit before it even leaves the tree.
This quick scan lets you sort out the soggy berries and keep the batch uniformly dry.
Moisture Scanning Tools
Key steps for effective scanning
- Calibrate the device on a known‑dry reference before every harvest run.
- Scan a representative sample of coffee cherries, recording the average moisture.
- Compare the reading to target levels for your processing method and adjust drying or fermentation accordingly.
Optimal Sensor Calibration Settings
How can you ensure your moisture sensor catches only the sweet spot between under‑ and over‑wet cherries? Start by setting a narrow moisture window—58–62 % for early harvests—and target stable readings around 0.6–0.65 g water per gram fruit.
Use a fast in‑field sensor that measures each cherry in 2–5 seconds, keeping throughput high.
Run a baseline calibration for each cultivar and ripeness level, then tweak thresholds to match the lot’s specific range.
Validate daily with dry‑run checks against reference samples, keeping accuracy within ±1–2 % moisture.
Record the calibration data, review it each batch, and adjust the sensor settings before each cherry selection run to avoid over‑wet fruit and mold risk.
Set Up a Double‑Layer Tray for Turning and Airflow
Why bother with a single‑layer setup when a double‑layer tray can boost turning frequency and airflow? You’ll place raised‑bed trays on a lower rack, then add a second tray on top, leaving a 1–2 cm gap for vertical air circulation. This arrangement creates a ventilated turn‑and‑rest zone that sharpens fermentation control and cuts moisture pockets. Rotate cherries between layers every few hours to keep turning frequency high and airflow steady, preventing hotspots and ensuring even dehydration.
Double‑layer trays boost airflow, turning frequency, and even dehydration.
- Position the bottom tray as the primary contact surface.
- Stack the top tray to form a ventilated chamber with a 1–2 cm gap.
- Flip and shift cherries between trays regularly for consistent drying.
Log Each Coffee Cherry Batch in a Spreadsheet for Traceability
Ever wondered how to keep every cherry batch traceable from harvest to cup? You’ll start by creating a spreadsheet with a unique ID for each cherry batch, then log the date, harvest lot, farm block, color, and ripeness stage. Add initial moisture, float test results, and any defects like fermentation stains, mold, or underripe cherries. Record the processing method—natural, washed, or honey—and note the drying profile or bed location. Track resting or fermentation duration, turning frequency, and environmental conditions such as temperature and humidity. These processing records let you backtrack from the final roasted coffee to its original lot, linking handling steps to cup outcomes and ensuring robust traceability throughout the supply chain.
Frequently Asked Questions
What Is the 15-15-15 Rule for Coffee?
You assess fifteen cherries, spend fifteen seconds inspecting each for uniform color and skin integrity, then note fifteen aroma or flavor cues; this quick sensory check gauges ripeness, mucilage health, and potential cup quality.
Which of the Following Are Methods of Processing Coffee Cherries?
You’ll find natural, washed, honey (pulped natural), and wet‑hulling among the processing methods. Each technique handles the cherry differently, shaping flavor, body, and acidity in the final cup.
What Is the 80 20 Rule for Coffee?
You apply the 80/20 rule by focusing on the 20% of cherry‑selection steps—ripe color, uniform size, minimal defects—that deliver about 80% of flavor, quality, and yield.
Should Coffee Cherries Float or Sink?
You want ripe cherries to sink because they’re denser, while underripe or damaged ones usually float. By discarding the floaters and keeping the sinkers, you’ll select higher‑quality fruit for processing.
In Summary
By mastering these ten cherry‑selection techniques, you’ll consistently harvest fruit at peak ripeness, ensuring optimal sugar levels, moisture balance, and flavor potential. With quick visual checks, squeeze tests, refractometer readings, and careful logging, you’ll streamline processing and boost cup quality—all while keeping waste low and efficiency high. Your coffee will taste the difference, batch after batch.


