

You’ll over‑steam milk, ending up with a bubbly or icy texture, and skip the crema swirl, leaving an uneven canvas. Waiting too long before you start pouring makes the crema separate, while pouring too fast or too slow breaks the microfoam. Misaligned jug angles give wavy, asymmetrical lines, and improper lift or drag smears the design. Over‑pouring and not recycling milk wastes texture. Practice 5‑6 cycles per session to keep consistency, and sharing your biggest failure helps you improve. Keep going to discover the science behind each step.
Our Recommended Products on Amazon

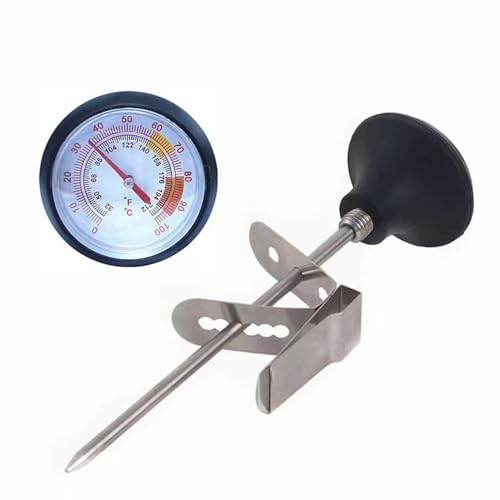

As an Amazon Associate we earn from qualifying purchases.
Bubbly, Thin, or Thick Texture → Melted‑Ice‑Cream Consistency
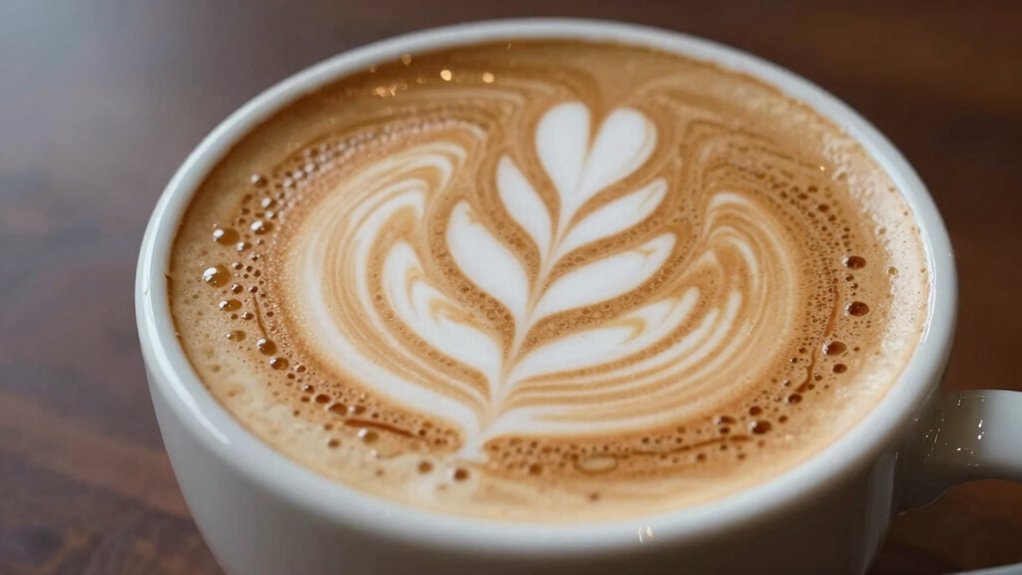
Ever wondered why your latte foam looks more like whipped cream than melted ice cream? You’re probably over‑steaming, creating a bubbly, thin, or thick latte art texture instead of silky microfoam. Start with full‑cream milk; its fat and protein give the stretch you need. Apply steady steam pressure, watching the milk’s temperature rise to about 140‑150 °F. If you see large bubbles, reduce pressure and shorten the steaming time; if it’s too thin, increase pressure slightly and lengthen the pull. Aim for a glossy, velvety microfoam that holds a brief swirl without separating. Consistent temperature control and gentle aeration will let you repeat that melted‑ice‑cream consistency batch after batch, giving you a smooth canvas for flawless latte art. The choice of milk type and quality can impact texture consistency and overall gloss.
Skipping the Crema Swirl → Proper Canvas Setup
You should swirl the crema before you pour so the texture stays even and balanced. That smooth, uniform canvas lets the milk and espresso blend seamlessly, giving your art a stable foundation. When the surface is consistent, every stroke holds its shape from start to finish. Reusable metal filters can influence oil retention and flavor, which in turn affects how your crema settles on the canvas oil retention during extraction.
Swirl Crema Before Pour
Why bother giving the crema a quick swirl before you pour? You’re setting the stage for reliable latte art, and that swirl crema step mixes fats and sugars into a uniform layer. A smooth, even crema consistency prevents clumps that would otherwise break your design. When you stir the surface gently, you create a stable canvas; the milk will glide without tearing, and the contrast stays sharp. Swirling also helps align the crema with the drink’s overall texture, contributing to a more cohesive mouthfeel consistency. Skipping this move leaves uneven density, producing spotty patterns and weak outlines. By taking a few seconds to swirl, you also balance flavor across the cup, ensuring each sip tastes as good as it looks. Treat the crema as the foundation, not an afterthought, and your latte art will look intentional and polished.
Even Distribution Ensures Balance
Skipping the crema swirl leaves an uneven surface that throws off both the visual symmetry and the flavor balance of your latte. When you achieve even crema distribution, you create a reliable canvas setup that guides the pour into consistent, clean lines. This foundation secures latte art balance, preventing one side from dominating the design or the taste. A well‑mixed crema integrates fats and proteins, so the milk flows uniformly, letting you control speed and angle without surprise. By establishing this balance early, you avoid corrective fixes later and keep each cup tasting as good as it looks. Swirl the crema thoroughly to ensure even texture and surface level checks help maintain consistent flow from your pitcher. Spout Design also influences pour control, contributing to steadier latte art balance and reducing drips during the finish.
Smooth Canvas for Art
A properly mixed crema creates a smooth, uniform canvas that lets your pour glide without interruptions. When you master crema preparation, you eliminate clumps and bubbles, giving you a reliable surface for every cup. Temperature control helps prevent scorching and preserves foam structure foam stability.
Waiting Too Long Before Pour → Start at Cup’s Halfway Point
Waiting too long before pouring? If you delay, the foam separates, and you lose a solid base for latte art. Start the pour right when the milk hits the cup’s halfway point. That timing locks the crema in place, giving you a stable canvas for swirls and hearts. The halfway pour blends foam with liquid, keeping the surface smooth and the design crisp. Waiting signals hesitation, thins the crema, and steals control of the initial pattern. By committing to the halfway mark, you set a steady rhythm and boost crema stability, making every latte art attempt more reliable. Incorporating a measured pour also helps maintain consistent crema foundation across multiple pours in a single drink, which can improve overall presentation and texture. Crema stability
Too Fast or Too Slow Pour → Master Consistent Speed
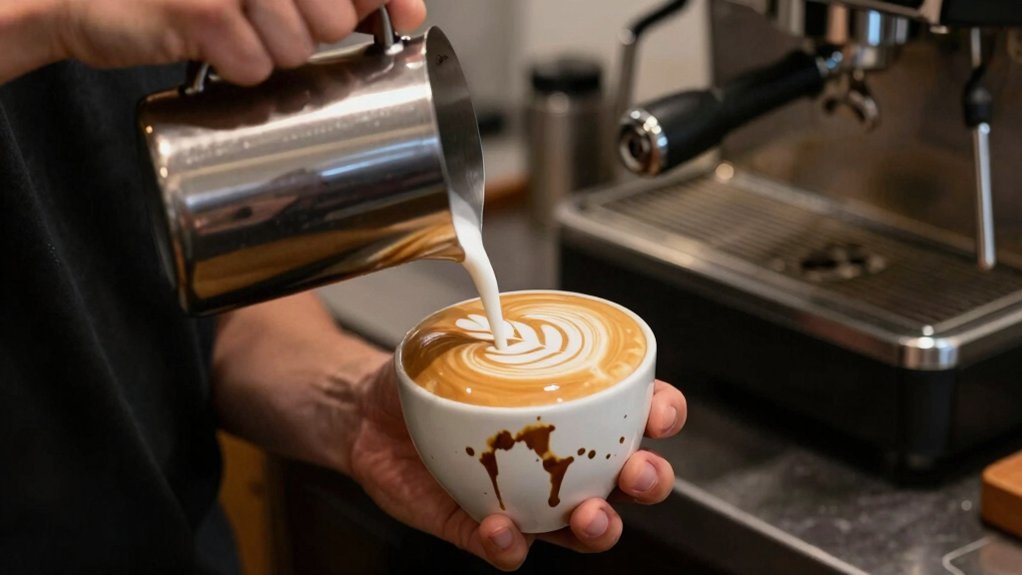
You’ll notice that a steady rhythm keeps the crema intact and lets the design emerge cleanly. By adjusting your speed at the cup’s halfway point, you train your eye to maintain an even flow. A consistent pour reduces turbulence, making each line crisp and symmetrical. Professional barista towels help maintain a clean workstation and prevent lint transfer during cleaning.
Control Speed Adjustment
Why does the speed of your pour matter so much? Because a steady pour keeps the crema integrity intact and lets you shape crisp designs. If you rush, the crema breaks and patterns flatten; if you linger, the crema rises and hides the art. Aim for a mid‑range, even flow, adjusting only in tiny steps as you feel the texture change.
- Use a controlled, even pressure on the pitcher handle.
- Listen for a consistent audible cue of a steady stream.
- Begin with a mid‑pour rate halfway through the cup.
- Slightly tweak the pouring speed to preserve crema integrity and achieve clean lines.
Practicing these micro‑adjustments trains your hand to maintain a uniform pour, giving you repeatable, professional‑looking latte art.
Consistent Pour Rhythm
When you set a steady rhythm for your pour, the crema stays intact and the design holds its shape; a jerky, uneven flow either tears the surface or lets the foam rise too high, ruining the pattern.
Mastering latte art rhythm means finding a pour speed that balances crema stability and line continuity. Begin at the cup’s halfway point, letting the stream settle before you move toward the edge.
Small, deliberate adjustments—slightly faster to tighten a heart’s tip, a touch slower to let the leaf unfurl—show how speed shapes the outcome.
Practice a moderate, consistent pace across repetitions; muscle memory will lock in the flow, and each cup will display a clean, repeatable design.
Misaligned Jug Angles → Straight, Symmetrical Lines
Ever wondered why a latte’s line wavers? You’re probably misaligning the jug. For perfect latte art alignment, hold the spout straight toward the cup’s center and keep your wrist and elbow steady. Start the pour with the jug perpendicular; that gives you a clean baseline and lets you draw straight lines from top to bottom without wobbling. Check the angle constantly—tiny twists turn a crisp pattern into a wavy mess. Consistent alignment throughout the pour keeps the design symmetrical and crisp.
- Align jug spout directly to cup center
- Keep wrist and elbow locked, avoid twisting
- Begin pour with jug perpendicular for a straight baseline
- Re‑check angle mid‑pour to maintain straight lines
Rushing the Finish → Slow, Toothpick‑Thin Drag
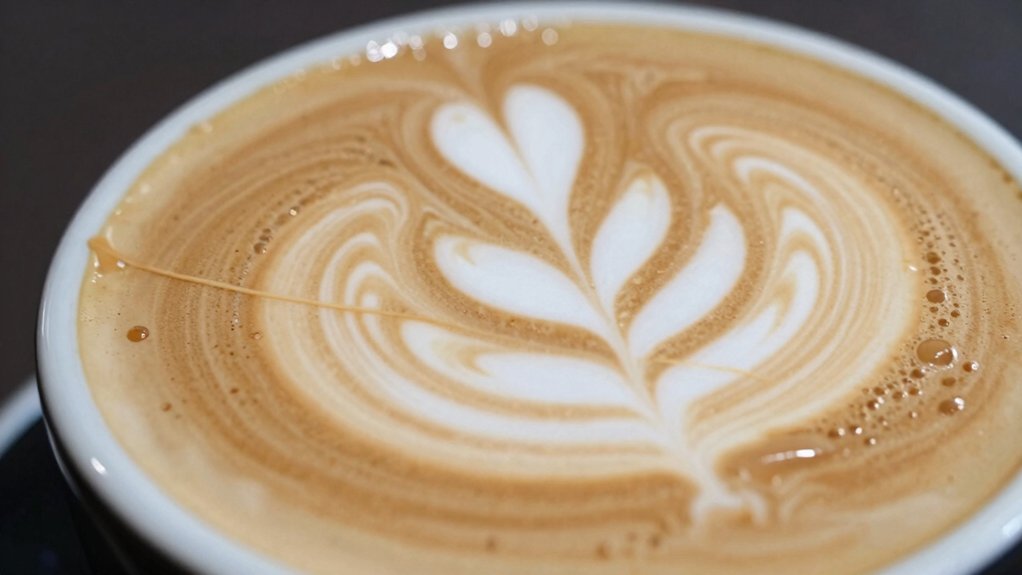
You’ll notice the pattern blurs when you rush the final stroke, so slow your drag and keep it as thin as a toothpick. Lift the jug just a touch and apply light, controlled pressure to maintain a crisp edge. Practicing this deliberate cadence builds the muscle memory needed for a sharp, central line.
Slow, Precise Drag
If you rush the final drag, the pattern smears; slowing down lets you draw a toothpick‑thin line that preserves the design. In latte art, a slow drag keeps the crema texture intact and lets you finish with a crisp edge. Keep the jug at a steady height, steady your wrist, and reduce speed gradually as you approach the cup’s center. Practice short, repeated drags on one cup until the thin line feels natural. This deliberate move prevents the milk from spreading and defines the central line without trailing.
- Maintain consistent jug height throughout the drag.
- Use a steady wrist to avoid widening the line.
- Reduce speed incrementally on the final pass.
- Practice small, repeated drags to build muscle memory.
Lift Jug Slightly
A gentle lift at the end of the pour keeps the design intact, while a quick yank creates a jagged finish. When you execute the finishing lift, slow your hand as the milk meets the cup’s rim and align the drag with the center. This deliberate, gradual motion lets a toothpick‑thin line form straight down, preserving the pattern you’ve built with your pouring technique.
If you rush, the jug’s sudden rise disrupts the flow, collapsing delicate swirls and breaking latte art consistency. Practice the controlled lift on several pours, focusing on a smooth, even drag each time.
Over repeated attempts you’ll notice steadier line thickness, sharper edges, and a more reliable, professional‑looking finish.
Latte‑Art Milk‑Waste Mistake → Recycle & Re‑Swirl Method
Ever wondered how to keep your milk silky while cutting waste?
Ever wondered how to keep your milk silky while cutting waste?
When you over‑pour, don’t toss the extra. Instead, pour it back into the jug, give it a quick swirl, and then pour a measured splash into your cup. The swirl re‑emulsifies fats and proteins that separate after multiple pours, restoring the uniform texture that latte art demands. By recycling the milk, you keep the microfoam smooth and reduce milk waste, letting you practice longer without compromising crema.
- Pour excess milk back into the pitcher.
- Swirl vigorously to recombine fats and proteins.
- Re‑pour a small, controlled amount to reset the surface.
- Repeat the loop for each cup to maintain texture stability.
Latte‑Art Practice‑Cycle Mistake → Fit 5‑6 Sessions Without Losing Texture
After re‑swirling the extra milk to restore its silky microfoam, you can keep the same texture for five to six practice cycles in one session.
Pour the remaining milk back into the jug, give it a quick whirl, then draw a small amount into the cup to start the next latte art attempt.
This recycle‑and‑practice method lets you repeat the cycle without compromising the foam’s smooth, melted‑ice‑cream feel.
Cover each round with a thin chocolate layer to see line placement and keep your hand steady.
By targeting 5‑6 full practice cycles, you reinforce muscle memory while ensuring texture preservation.
Consistency across cycles means every pour looks as good as the first, boosting confidence and reducing waste.
Community Feedback – Share Your Biggest Latte‑Art Failure
Got a latte‑art disaster you can’t shake? Share it in the comments so the Coffee Science and Education Centre community can turn your latte art failure into a lesson. Tell us what went wrong—whether the texture turned grainy, the pour timing was off, or the angle slipped—and what you tried to fix it. Even seasoned trainers stumble, so your story helps beginners avoid the same traps and links back to the six common mistakes we’ve already covered.
- Describe the exact texture issue you faced.
- Explain how your pour timing contributed to the mishap.
- Mention any adjustments you attempted (speed, angle, finishing).
- Highlight the outcome and what you learned for future practice cycles.
Science Behind Every Latte‑Art Step – Why Understanding ‘Why’ Improves Your Pour
Why does mastering the science behind each latte‑art step matter? You’ll see that latte art texture hinges on milk microfoam stability, which whole milk delivers because its fat content holds air bubbles longer. When you heat milk, viscosity shifts; hotter foam creates larger bubbles that coalesce, blurring patterns, while cooler foam stays tight for sharp designs. The crema’s temperature and microbubble size dictate how well milk adheres, so a warm espresso lets the microfoam cling and form clean lines. Your pouring technique then controls pressure and flow—steady speed and a low angle reduce turbulence, preventing asymmetry. Knowing when to swirl fresh milk versus re‑heat preserves emulsification, keeping texture uniform and your pours reliable.
Frequently Asked Questions
How Does Milk Temperature Affect Texture Consistency?
You’ll notice that if you steam milk too hot, it becomes watery and loses the silky micro‑foam you need; keeping it around 140–150 °F preserves a velvety, consistent texture for latte art.
Can I Use Alternative Milks Without Changing the Swirl Technique?
Yes, you can use almond, oat, or soy milks, but they foam differently, so you’ll need to adjust your temperature and whisk speed slightly to keep the swirl smooth and consistent.
What Cup Size Yields the Best Canvas for Beginners?
A 6‑ounce cup gives you the ideal canvas: it’s small enough to keep the milk‑foam ratio balanced, yet large enough to showcase your swirl without drowning the design.
How Often Should I Clean the Steam Wand for Optimal Foam?
You should clean the steam wand after every use, wiping it with a damp cloth and purging it for a few seconds. If you skip this, residue builds up, ruining foam quality and flavor.
Is There a Recommended Practice Schedule for Skill Retention?
You should practice latte art at least three times a week, dedicating 15‑20 minutes each session. Rotate between basic pours, heart shapes, and free‑form designs to keep muscles memory and improve retention.
In Summary
By mastering texture, crema, timing, speed, angle, waste, and practice cycles, you’ll turn those rookie blunders into polished art. Understanding the science behind each step lets you troubleshoot on the fly, while community feedback keeps you honest. Keep experimenting, stay consistent, and watch your latte art evolve from shaky sketches to café‑worthy designs.


