
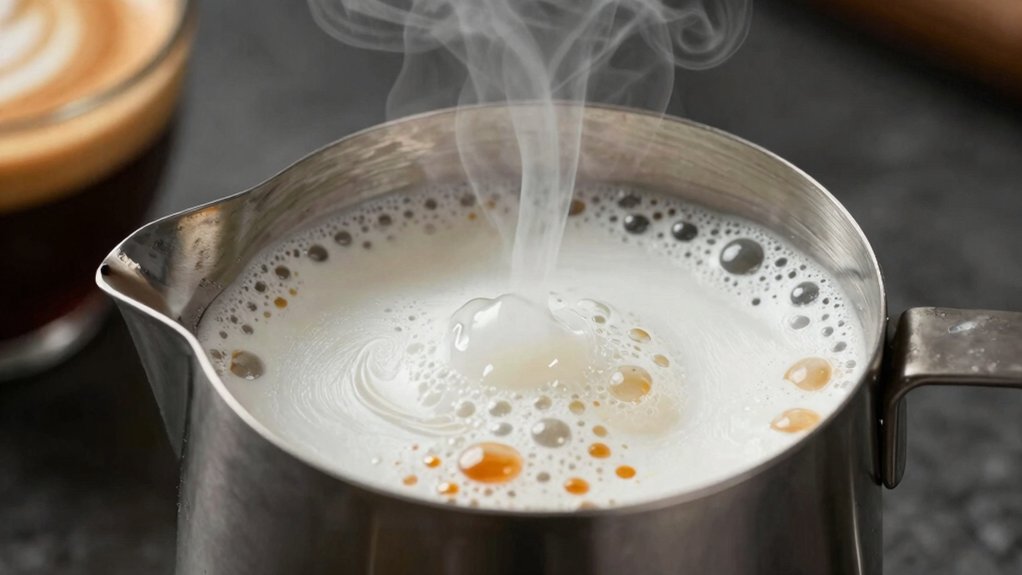
Pick a high‑fat, high‑protein milk and purge the wand, then wipe the tip dry. Angle the wand 20‑30° toward you, keep the tip just below the surface, and tilt the jug to form a steady vortex. Aerate for 1‑3 seconds for a latte or 3‑5 seconds for a cappuccino, watching the jug warm to about 55‑60 °C, and stop before it hits 65 °C. Swirl gently to collapse large bubbles, then purge and wipe the wand again before you pour. Keep going and you’ll discover the finer details.
Why Proper Milk Selection Is the Foundation of Great Microfoam
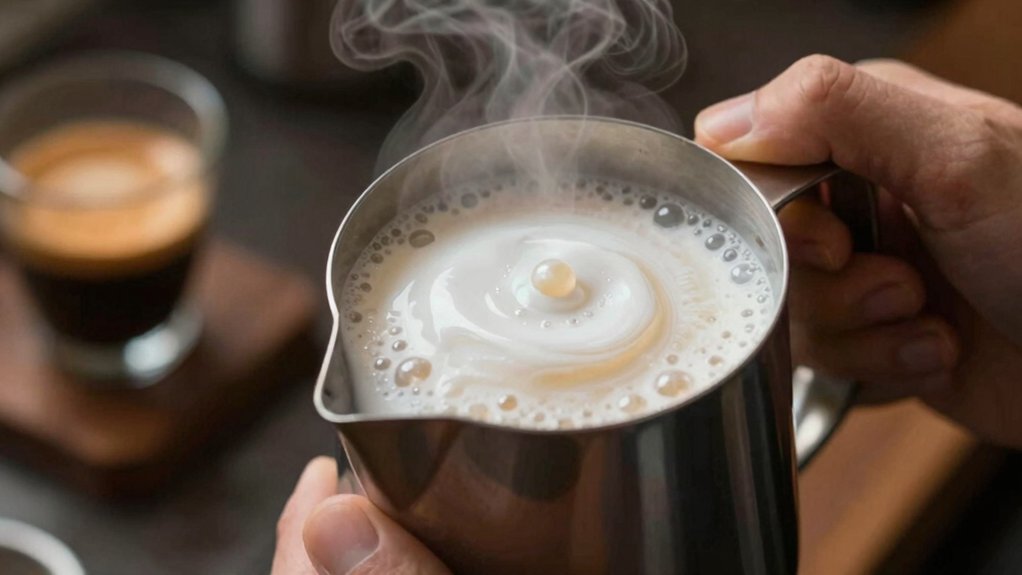
Milk science shows that fats and proteins interact to stabilize foam, so selecting milk with higher fat and protein improves microfoam structure, stability, and mouthfeel. In addition, barista blends designed for plant-based foams can approach dairy performance when steamed correctly, especially when you match the milk’s composition to the extraction and texture goals of your brew protein content.
Give the Steam Wand a Quick Purge and Wipe Before Each Shot
After selecting the right milk, you need to make sure the steam wand delivers clean, dry steam for every texture. A quick purge removes condensate and guarantees dry steam, while a wipe eliminates milk residue—both essential for hygiene and consistent milk texturing. Follow a simple routine: open the valve for 1–2 seconds, wipe the tip with a dedicated damp cloth, then purge again before you start frothing. This habit stabilizes temperature, prevents flavor cross‑contamination, and keeps the microfoam quality steady shot shot. Condensate removal improves overall steam hygiene and ensures consistent texture across batches.
Set the Ideal Steam‑Wand Angle and Depth for Aeration
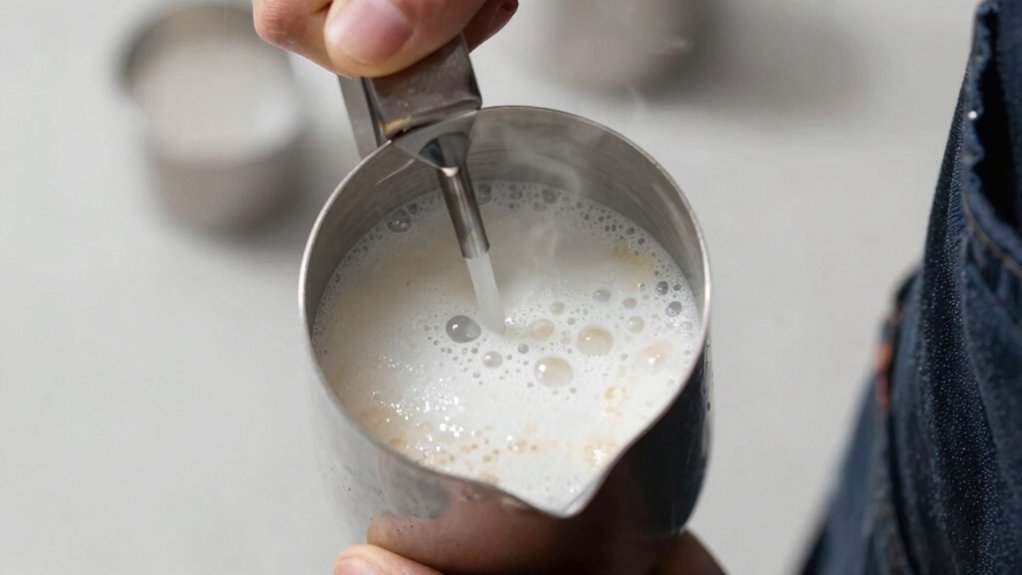
You’ll want the wand angled about 20–30 degrees toward you, with the tip just below the milk surface.
Keep the jug parallel and the tip barely submerged, so you maintain gentle surface contact without drowning it.
A slight off‑center start creates a stable whirlpool, then you can fine‑tune the depth as the foam builds.
To help preserve flavor during texturing, ensure you use a high‑quality stainless steel mug with a clean, food‑grade interior. 18/8 stainless steel and a tightly sealed lid can further support consistent temperatures during the process.
Sub at Angle
Ever wondered how a slight tilt can transform your milk foam? Aim the steam wand at a 20‑30 degree pitch angle toward you, keeping the tip just below the milk surface. Hold the jug parallel to the counter, then tilt it enough so the wand tip stays comfortably immersed without submerging the surface. Start with the wand barely under the milk to spark aeration, then adjust the jug angle to sustain a gentle whirlpool as the volume rises. This pitch angle creates the right spin, preventing splashes and preserving milk texture. Purge the wand before and after, and wipe it clean, ensuring distance distance from the tip for consistent aeration.
Tip Submersion Depth
A gentle tilt of the jug sets the stage for precise wand placement, so once the 20‑30‑degree pitch is established, lower the tip just beneath the milk surface. Keep the steam wand angled toward you and the off‑center to spark a light whirlpool. For the first 3–5 seconds, maintain this shallow submersion depth; the surface tension creates gentle aeration without drowning the tip. As the milk begins to spin, watch the vortex. If it wavers, pause, adjust the wand slightly, then let the whirlpool reform. When the surface aeration feels stable, lower the wand a fraction deeper to transition into texturing, ensuring the air integrates smoothly while the whirlpool sustains even distribution. This technique benefits from a compatible USB-powered warmer’s steady heat to maintain a consistent texture during practice stability guidance.
Gentle Surface Contact
When you hold the wand at a 20‑30‑degree angle toward yourself and keep the jug parallel to the counter, the tip should sit just below the milk surface, allowing a light, continuous contact that creates a steady whirlpool without drowning the tip. This gentle surface contact kick‑starts aeration while preserving a smooth texture. Lightly rest the jug against the spout, point the steam wand toward the machine, and keep the tip barely submerged. If the milk isn’t spinning, adjust the wand a fraction of an inch within a second. Once the whirlpool steadies, deepen the tip gradually for richer texture. Keep the wand tip just under the surface. Maintain a constant, light contact. Use the spout for a stable angle. Adjust position quickly if the whirlpool falters. Also, remember that cross-back apron designs help you stay comfortable during long service shifts, keeping you focused on texture and consistency. A cross-back design supports longer wear without neck strain while you dial in proper technique.
Position the Jug for a Stable Vortex and Minimal Splash
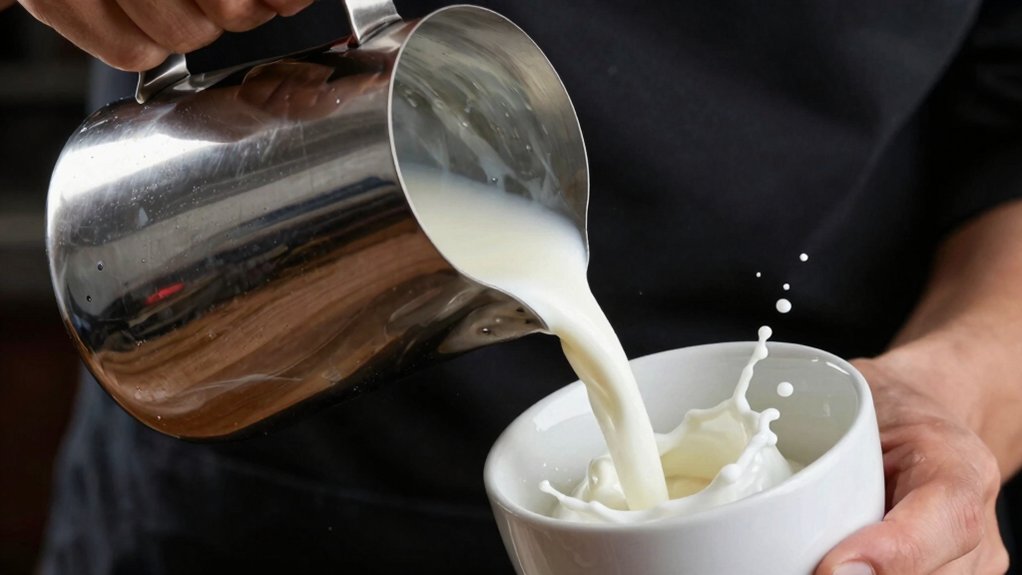
How can you keep the milk swirling smoothly without splashing? You start by placing the jug level on the counter, then tilt the steam wand just enough to spin the milk. The wand tip should sit a hair below the surface on one side, and the jug lightly rests against the wand for extra angle control. Keep a near‑vertical wrist movement and a slight jiggle to maintain vortex control; this centers the whirlpool and prevents splashing. As the volume rises, lower the jug gradually, letting the surface‑contact vortex stay steady. If the spin wavers, make a quick positional tweak and wait one to two seconds before continuing. Small “kissed injections” of air reinforce a fine microfoam while preserving stability. The setup benefits from long‑handled tools that reach into tall containers for consistent mixing long‑handle design.
Initiate Aeration for Milk Texturing
Ever wondered how to coax a silky microfoam without over‑aerating? You start aeration by placing the steam wand tip just below the milk surface, angled slightly to the side. Open the steam valve fully; you’ll hear a “shhh‑shhh” hiss as air rushes in. Keep the jug tilted, the wand near the surface, and lower the jug gradually as the volume rises, maintaining that delicate sub‑surface position. For a latte, aim for 1–3 seconds of aeration; for a cappuccino, stretch it to 3–5 seconds to build richer foam. After you finish, purge and wipe the wand to avoid condensation and keep your milk texture techniques pristine. Also, consider using a coarse grind of cold brew coffee grounds for a smoother base when experimenting with iced latte textures grind size and freshness features like nitrogen flush packaging to preserve flavors.
- Position wand just below surface
- Open valve fully for audible hiss
- Lower jug as volume grows
- Adjust timing for latte vs. cappuccino
Transition to Texturing in Milk Texturing
After you’ve finished the brief aeration, lower the wand just enough to submerge it and create a steady vortex; this deeper immersion pulls the air through the milk, breaking up larger bubbles and spreading the foam evenly. When you reach the 55–60 °C sweet spot, continue monitoring with the thermometer to ensure consistent microfoam texture and avoid overheating, which can compromise stability and taste temperature control and maintain a glossy, latte-art-ready surface.
Monitor Temperature by Feel and Thermometer for the 55‑60 °C Sweet Spot
You’ll feel the jug warm in your palm as the milk nears 55 °C, then notice a comfortable, not hot, heat at around 60 °C. Keep a thermometer on the side of the jug to confirm those tactile cues and stop steaming the moment the reading hits the sweet spot.
If you don’t have a thermometer, trust the slower hiss and the gentle whirlpool to guide you to the same temperature range.
Tactile Temperature Cues
How can you tell when milk hits the sweet spot without a thermometer? You’ll feel the jug warm up as the temperature climbs toward 60 °C. The heat transfers to your fingertips, giving a clear tactile cue that the steam is almost done. Keep a thermometer handy just to confirm the steady rise into the 55‑60 °C window, but rely on your hand to catch the exact moment before carry‑over heat pushes it higher. Tap the side of the jug occasionally; a slight vibration signals the milk’s expansion and warns of overheating. When you sense the warmth and the steam starts to thin, stop steaming, purge the wand, and swirl the milk to lock in texture without letting the temperature drift past 60 °C.
- Warm jug feels firm yet comfortable to the touch.
- Temperature rise slows as you near the sweet spot.
- Tactile cue appears before the thermometer spikes.
- Quick tap reveals subtle changes in milk density.
Thermometer‑Guided Accuracy
Can you feel the jug warming while the thermometer climbs toward 55–60 °C? You’ll know the sweet spot’s arrival when the steam wand’s hiss softens and the milk texture turns glossy. Keep the thermometer in the jug’s side, watch the needle, and use the tactile cue of a gentle tap to confirm the temperature control.
As the reading nears 60 °C, swirl the jug to distribute micro‑foam evenly and prevent hot spots. Stop steaming immediately; exceeding 65 °C will scorch the milk and ruin the velvety texture.
After you finish, purge and wipe the steam wand to keep it clean and maintain consistent temperature control for the next pour. This precise, thermometer‑guided method guarantees stable, café‑quality milk every time.
Adjust Jug Height & Tilt for Foam Density
Ever wondered how a slight tilt and lift can transform foam density? Start with the jug level, then tilt the steam wand just enough to spin the milk. Keep the wand tip just below the surface, angle it 20–30°, and hold the jug parallel to the counter. As the vortex forms, lift the jug about 1 cm to deepen the wand and create smoother microfoam. Gradually lower the jug while moving from aeration to texturing, letting the wand stay in contact without splashing. Use tactile cues or a thermometer to stop around 55–60 °C, then purge and wipe the wand to lock in the desired foam density.
- Tilt wand 20–30° toward you
- Lift jug 1 cm during vortex
- Lower jug gradually for denser foam
- Stop heating at 55–60 °C, then purge
Stop Steaming at the Perfect Heat to Preserve Sweetness and Protein Structure
Stop steaming the milk as soon as it hits 55–60 °C (130–140 °F) to lock in its natural sweetness and keep the protein matrix intact for stable microfoam. You’ll feel the jug warm but not hot, a tactile cue that temperature control is spot‑on. Keep the steam wand angled just enough to introduce air without over‑stretching the proteins; once the target range is reached, pull the jug away immediately to halt carry‑over heating. This prevents the milk from climbing past the sweet spot while preserving foam longevity. If a customer wants extra‑hot milk, you may push to 65–70 °C, but stay below that for everyday drinks. Quick removal, purge, and wipe the wand, then tap the pitcher to settle the microfoam before pouring.
Swirl the Milk to Remove Large Bubbles
You’ll start by creating a strong vortex that rolls the larger bubbles into micro‑foam, keeping the wand tip just below the surface.
As the whirlpool builds, maintain a steady spin until the bubbles integrate and the milk turns glossy and velvety.
If any big bubbles linger, tilt the jug and rotate the pitcher while tapping the side to collapse them uniformly.
Bubble Elimination Techniques
How do you keep those pesky large bubbles from ruining your latte’s silk? Start aeration with the wand tip just below the surface, angled 20‑30° toward you, and point it to one side. As the volume rises, lower the jug to keep a thin surface layer for a smooth swirl. Once you’ve introduced a few “kissed” air bursts, deepen the wand and create a strong vortex. The whirlpool rolls the milk, breaking larger bubbles into microfoam while you maintain the steam flow. Keep the jug parallel to the counter, the wand slightly off‑center, and watch the texture turn glossy and velvety. Stop aeration, then continue vortexing until surface bubbles vanish and a uniform microfoam forms, just before the milk reaches the heating phase.
- Position wand just below surface, side‑focused.
- Lower jug to maintain surface layer while aerating.
- Deepen wand, form vortex to crush bubbles into microfoam.
- Use small “kissed” air injections, then keep vortex until bubbles disappear.
Micro‑Foam Stabilization Steps
After you’ve crushed the big bubbles with the vortex, keep the pitcher moving to lock in a silky micro‑foam. Gently tap the jug side to release oversized bubbles before you swirl, then maintain a smooth, continuous vortex while texturing. This steady swirl distributes air evenly, preventing new turbulence and keeping aeration low. As the milk nears 55–60 °C, halt additional aeration and keep swirling to solidify the microfoam without scalding. Watch the surface; a satin‑like sheen signals stable microfoam. If coarse bubbles appear, resume a gentle swirl to re‑stabilize. The result is a glossy, paint‑like microfoam with uniform tiny bubbles, ready for perfect latte art.
Clean the Steam Wand to Preserve Milk Texturing Quality
Ever wondered why your milk foam sometimes falls flat? You’re probably overlooking the steam wand. A dirty wand injects water and milk residue, ruining milk texturing and compromising texture quality.
A dirty steam wand ruins foam; purge, wipe, and keep it clean for perfect texture.
First, give the wand a quick purge before you start to clear condensed water.
After steaming, wipe it with a dedicated damp cloth—keep the cloth separate from any other kitchen towels to avoid cross‑contamination.
Purge again once you finish texturing to flush out lingering milk.
Finally, keep the wand’s exterior clean on the machine surface; a spotless wand protects consistent foam and flavor.
- Purge before texturing to remove water
- Wipe with a clean, damp cloth after each session
- Purge again after texturing to clear milk residue
- Keep the wand’s exterior clean during setup
Pour With Precision for Latte Art
A clean wand sets the stage, but the real art begins when you start pouring. You hold the jug low, tip the steam wand just beneath the surface, and tilt the jug to spin a gentle whirlpool. Angle the wand 20–30 degrees toward you, keeping it in front and submerging the tip just enough to form a stable microfoam. After aerating for 1–3 seconds, lower the wand to 37 °C, deepen the vortex, and smooth the bubbles during milk texturing. Stop at 55–60 °C, purge and wipe the wand, then swirl and tap the milk to eliminate large bubbles. The resulting glossy microfoam pours with the right consistency for latte art, letting you create crisp hearts or rosettas with confidence.
Frequently Asked Questions
Do I Need to Filter Milk Before Steaming for Microfoam?
You don’t have to filter, but removing large particles helps achieve smoother microfoam. Skim the milk, discard any clumps, then steam gently, keeping the wand just below the surface for consistent texture.
Can I Use Non‑Dairy Milk for Advanced Texturing Techniques?
Yes, you can, non‑dairy milk for advanced texturing, but choose bar‑based options, froth well, and avoid low‑fat varieties. Heat it gently, create a whirl, and incorporate micro‑foam before serving.
How Does Ambient Temperature Affect Steam Wand Performance?
Ambient temperature changes the wand’s heat transfer; cooler rooms make steam lose heat faster, so you’ll notice slower frothing and lower milk temperature, while warmer environments keep steam hotter, improving texture consistency.
Is It Safe to Steam Milk in a Glass Pitcher?
Yes, you can steam milk in a glass pitcher, but use tempered, heat‑resistant glass, avoid sudden temperature spikes, and watch for cracks; otherwise, the glass may shatter under pressure.
What Is the Ideal Milk-To-Water Ratio for Silky Foam?
You’ll get silky foam with a 1:1 milk‑to‑water ratio, using whole milk for richness; blend half milk, half water, steam to 140 °F, and you’ll achieve that velvety texture.
In Summary
Mastering milk texturing boils down to consistency, precision, and respect for the milk’s chemistry. Choose the right milk, purge and wipe the wand, set the proper angle, and create a steady vortex. Aerate just enough, stop at the sweet spot, swirl out bubbles, and clean the wand afterward. Finally, pour with confidence, and your latte art will shine every time.


