

First, inspect the brass exterior for rust, wear, or pitting, wiping it clean to see if the patina is active rust. Next, disassemble the grinder on a tidy workspace, label each part, and photograph orientations for easy reassembly. Then, clean and polish the brass, steel, and chrome with appropriate polishes and seal them with lacquer or wax. After that, check burr alignment and spindle wear by rotating them and listening for smooth, non‑skewed action. Finally, reassemble, calibrate, and test with a few beans—if you keep going, you’ll discover even more detailed steps.
Assess the Exterior of Your Vintage Turkish Coffee Grinder
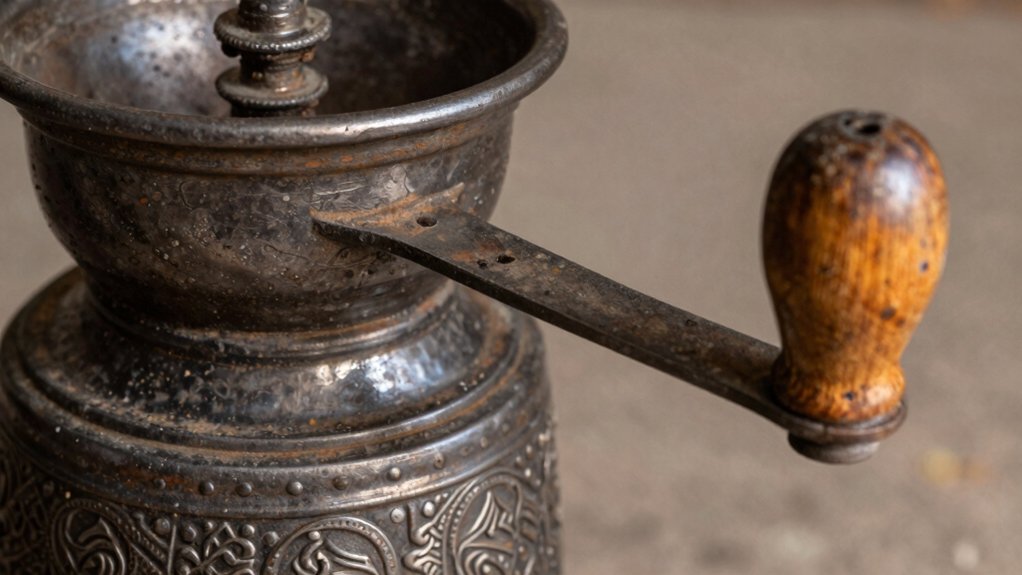
Where should you start? Begin by inspecting the grinder’s brass exterior for surface rust and wear. Look for any discoloration or pitting that signals only superficial corrosion; a quick wipe with a soft cloth will reveal whether the patina is intact or if rust has settled on the metal. If you spot faint rust on adjacent steel parts, note that careful polishing can remove it without harming the brass. Check for cracks, loose joints, or warped sections that could compromise structural integrity before you begin any refinishing. While you’re at it, examine the surface for original decals or maker marks—these details help confirm the model and boost restoration value. Decide whether to preserve the aged look or restore the full luster, then plan your polishing approach accordingly. Additionally, understanding proper materials and finishes ensures the best results and helps maintain the grinder’s durability over time.
Disassemble the Grinder and Document Every Part
After checking the brass exterior for rust and wear, you’ll want to take the grinder apart and record every component.
Start with a clean workspace and lay out a tray for each Turkish grinder parts group.
Use vintage‑sized screwdrivers and pliers, applying a light penetrant to any stubborn screws or bolts.
As you loosen a spring, washer, or adjustment mechanism, snap a photo showing its orientation and note its position in a notebook.
Label each piece with a tiny sticker or tag, and write down model marks, name tags, and serial numbers.
Remove burrs and metal fragments, keeping them in the order you found them so reassembly follows the same sequence.
This visual and written record will guide you when you later restore the original finish and replace missing parts, ensuring your restoration process maintains the grinder’s authenticity.
Clean and Polish Brass, Steel, and Chrome Components
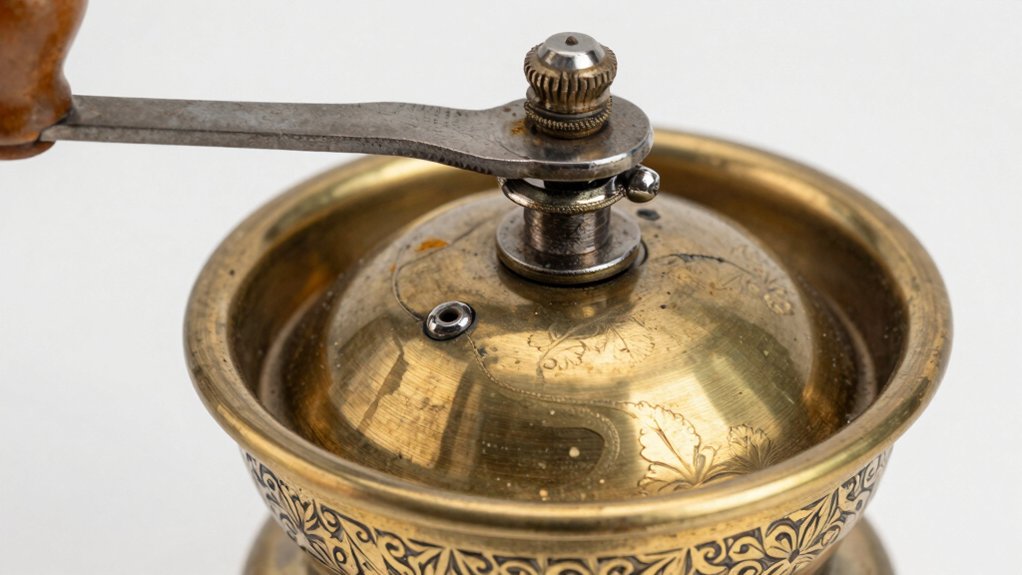
Typically, you’ll start by gently removing loose debris, then apply a suitable metal polish to each material—brass, steel, and chrome—using a soft cloth or brush. For brass, focus on surface rust; a light brass polish revives its bright, protective finish. Steel benefits from a rust‑removing cleaner followed by a fine steel polish to improve appearance and curb corrosion. Chrome requires a dedicated chrome polish and progressive grit steps to hide pitting. Keep bearings and internal parts covered to prevent grit and moisture intrusion. Once polished, seal the surfaces with a thin layer of lacquer or wax to slow oxidation and lock in the shine. Incorporating environmentally friendly cleaning products can help maintain the metal’s integrity while reducing chemical impact.
- Soft brass cloth gliding over a gleaming grinder head
- Steel brush loosening rust before a smooth polish coat
- Chrome pad polishing away tiny pits, revealing mirror‑like sheen
- Protective film covering bearings during polishing
- Final wax layer sealing the restored luster
Check Burr Alignment and Spindle Wear
How can you be sure your grinder will grind evenly? Hold the mechanism upright, turn the inner burr with your fingers, and listen for a steady, non‑skewed sound. The outer burr should stay centered and engage evenly. Next, rotate the crank/shaft and feel for any play, wobble, or roughness—signs of spindle wear or bearing trouble. After disassembly, tighten the adjusting cam fully, then re‑check centering and smooth rotation to confirm proper Grinder alignment. If resistance feels uneven or grind consistency shifts across settings, re‑seat and re‑align both burrs before testing with coffee. Document the initial burr and spindle condition with photos and notes for later comparison. Regularly inspecting your burrs helps maintain optimal espresso shot quality and prevents uneven grinding.
Reassemble the Grinder and Test Grind Quality
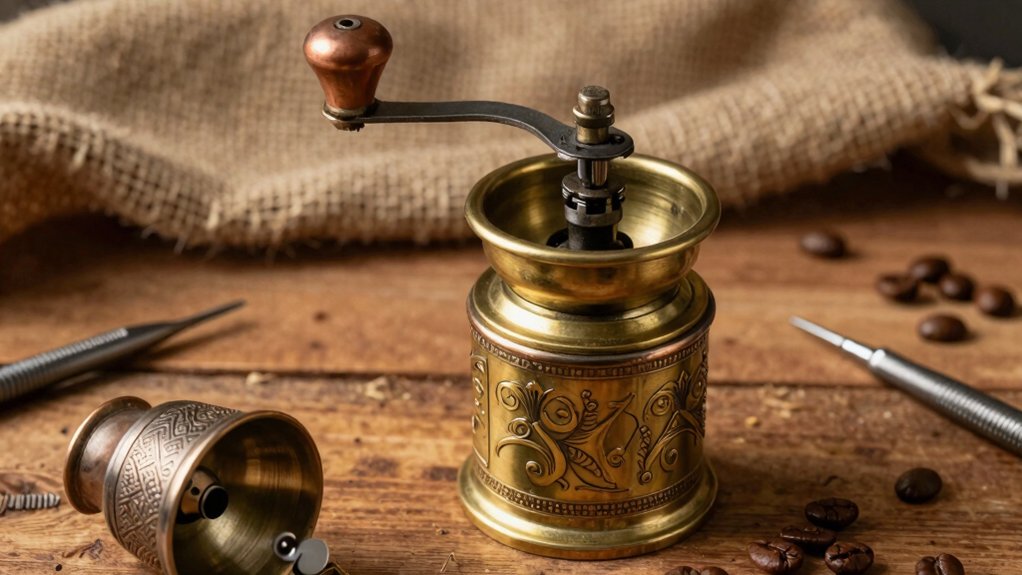
Reassemble the grinder by first placing the burrs and bottom bearing back into position, then securing the lower bearing strap, threading the axle shaft through the top bearing, and tightening the top‑mechanism screws.
Slip the burr lock in, turn the adjusting cam fully down to lock the burr, then attach the handle and top‑cap nut.
Give the machine a quick spin with a few beans, listening for smooth rotation and no binding.
Re‑calibrate burr alignment by holding the burrs, turning them by hand, and feeling for even resistance; adjust until centered and lock with the cam.
Finally, run a full test grind across the adjustment range with standard coffee beans to confirm consistent grind size and stable performance—essential steps in any grinder restoration.
- Burrs snapping back into place, metal gleaming under workshop light.
- Lower bearing strap tightening like a firm handshake.
- Axle shaft sliding through the top bearing with a satisfying click.
- Adjusting cam turning, locking burrs with a firm, audible snap.
- Coffee beans cascading, revealing a uniform, fine grind.
- Ensuring all parts are properly aligned benefits from understanding insulation performance to maintain the grinder’s long-term durability.
Frequently Asked Questions
How to Restore an Old Meat Grinder?
You should inspect the auger and blades for wear, disassemble and photograph parts, degrease metal, dry thoroughly, lubricate moving pieces, check motor or crank, replace damaged gears or bearings, then reassemble and test with cheap meat.
How to Clean a Turkish Coffee Grinder?
Empty the hopper, pull out the burrs, and soak metal parts in coffee‑safe cleaner overnight. Scrub, rinse, dry, then use compressed air to clear debris before reassembling and testing.
How Much Is an Antique Coffee Grinder Worth Today?
You’ll typically see $100‑$300 for functional, original‑part models, while pristine Zassenhaus, Peugeot, or Enterprise pieces can fetch $400‑$800 or more, depending on condition and market demand.
What Are Some Common Mistakes in Turkish Coffee Prep?
You often use pre‑ground or oily beans, grind too coarse or too fine, skip washing the burrs, overheat the water, and add sugar while grinding—each mistake ruins Turkish coffee’s texture and flavor.
In Summary
By now you’ve inspected the exterior, disassembled and documented each piece, polished the brass, steel, and chrome, and verified burr alignment and spindle condition. When you reassemble, double‑check every screw and seal, then run a test grind. If the coffee flows smoothly and the flavor shines, you’ve successfully revived your vintage Turkish grinder—ready for countless more rich, aromatic brews.


