
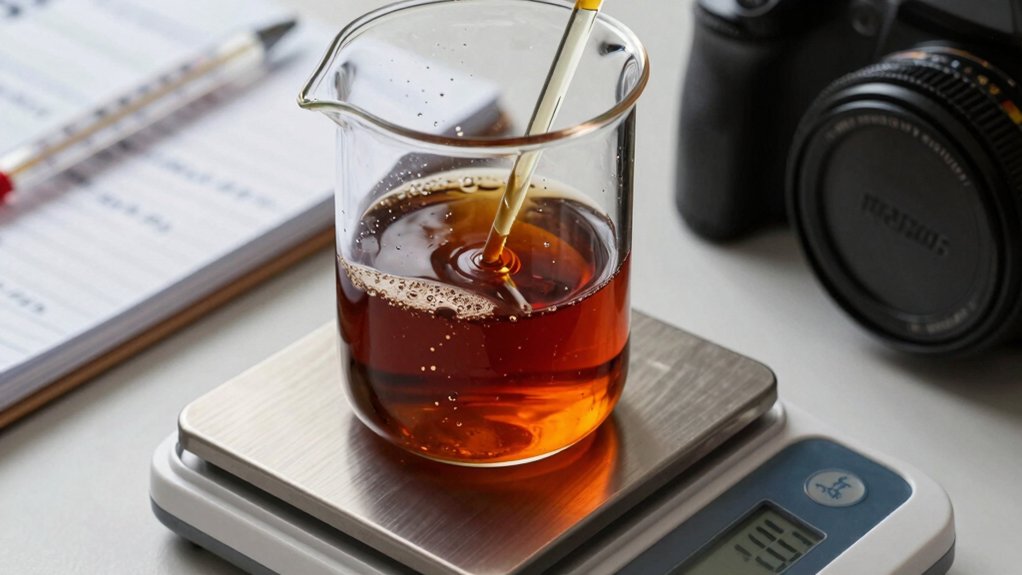
First weigh your coffee grounds and note the bean’s caffeine percent (≈1.2 % for Arabica, 2.3 % for Robusta). Multiply the gram weight by that percentage, then apply an extraction yield of 85‑90 % to get total caffeine in the concentrate. Divide by the concentrate‑to‑water ratio to find mg per milliliter, and adjust for any dilution you’ll use per serving. Follow these steps and you’ll see how to fine‑tune your brew for the exact caffeine level you want.
How to Estimate Caffeine in Coffee Concentrates
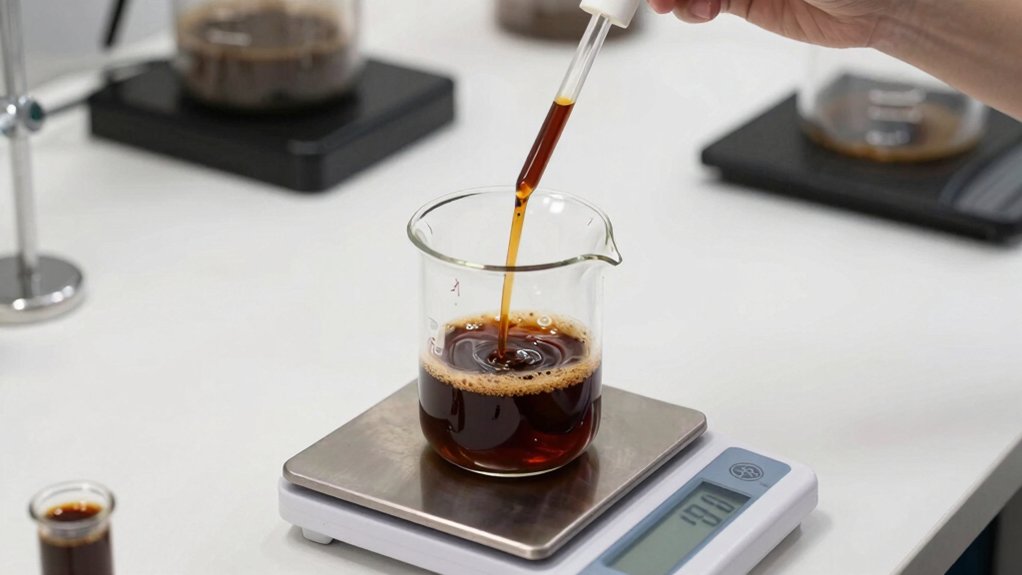
How can you quickly gauge caffeine in a cold‑brew concentrate? First, note the brew ratio: a 1:4 cold brew concentrate typically uses 100 g of coffee for 400 ml of water, yielding about 1 200 mg total caffeine. Multiply the coffee dose by the extraction efficiency (≈85–90 %) to confirm the caffeine content. Then, decide your serving size—usually 8 oz (≈237 ml). Divide the total caffeine by the number of servings the concentrate will produce after dilution. For a 1:4 concentrate, each 8 oz serving contains roughly 200–300 mg caffeine per serving. If you dilute further, the caffeine per serving drops proportionally, but the overall caffeine amount stays the same. This quick calculation lets you estimate caffeine content without complex math. Extraction Yield provides a more precise framing for how much caffeine is pulled from coffee grounds during brewing.
Determine Coffee Weight and Desired Brew Ratio
Where to start?
First, decide your coffee weight. Measure the ground coffee you’ll use, because the caffeine content of the concentrate hinges on that mass. A medium‑roast Arabica typically offers about 12 mg of caffeine per gram, so 100 g of grounds provides roughly 1,200 mg of caffeine before any extraction loss.
Next, pick a brew ratio. For a strong concentrate, aim for 1:3 (one part coffee to three parts water); a milder batch might use 1:5 or 1:8. Remember, a tighter ratio concentrates more caffeine per volume, while a larger ratio spreads the same total caffeine over more liquid. Adjust the ratio to match your desired caffeine extraction and final serving strength.
AeroPress brewing consistency and filtration can influence extraction efficiency, which in turn affects caffeine yield and flavor profile.
Calculate Theoretical Caffeine From Bean Weight for Concentrates
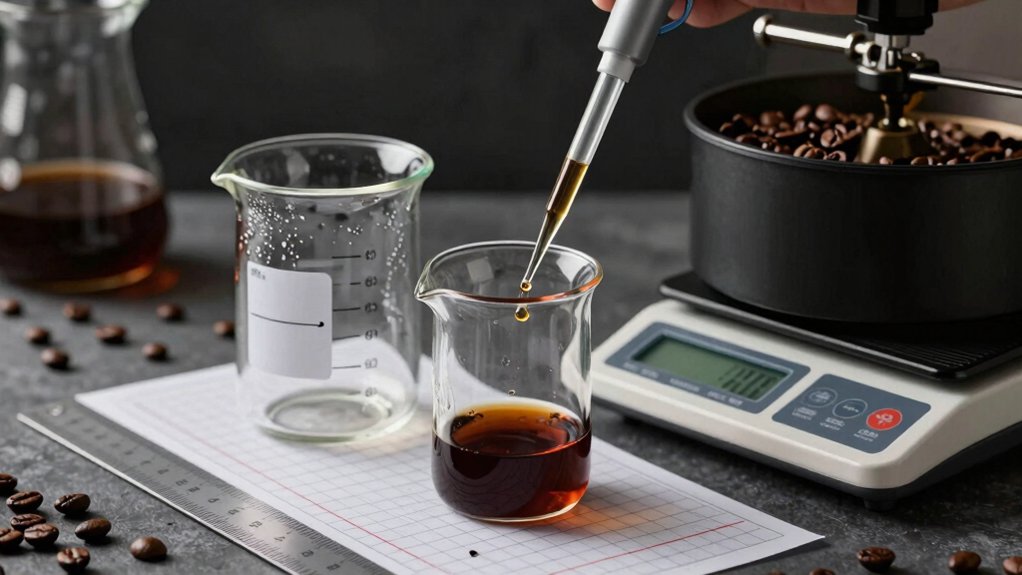
You’ll first estimate the bean caffeine density (≈1.2‑1.6 % by weight) and multiply it by the coffee mass you plan to use. Then apply an extraction yield factor—assuming full extraction for a theoretical maximum—to get the total caffeine in the concentrate. Finally, calculate the dilution impact by dividing that total by the number of servings you expect to produce. Also, consider universal compatibility notes when selecting cleaning tablets to ensure consistent performance across different machines Descaler Tablet Compatibility.
Bean Caffeine Density
Wondering how much caffeine a given amount of beans can supply for a concentrate? Bean caffeine density hinges on caffeine percentage, which is roughly 1.2% for Arabica and 2.2% for Robusta.
To estimate grounds caffeine, multiply bean weight by its caffeine percentage as a decimal. For example, 20 g of 1.4% caffeine beans yields about 0.28 g (280 mg) of caffeine in the grounds, while 40 g doubles that to 0.56 g (560 mg).
The Arabica-Robusta comparison shows Robusta’s caffeine content calculation can be up to twice that of Arabica, ranging 2.2–2.7 g per 100 g versus 1.2–1.5 g. Applying this directly gives you concentrate caffeine estimates before any extraction losses. Bean weight to caffeine estimates
Extraction Yield Factor
Bean caffeine density tells you how much caffeine is present in the beans, but the amount that ends up in a concentrate depends on how efficiently you extract it. To estimate caffeine in concentrate, you multiply the grind weight used by the caffeine percent by weight and then apply the extraction yield factor (EY). This simple formula lets you run quick concentrate calculations without guessing.
- Determine grind weight used (g).
- Identify caffeine percent by weight (0.012–0.016).
- Choose a realistic extraction yield (EY) (0.18–0.22).
- Compute caffeine in concentrate = grind weight × caffeine percent × EY.
For example, 100 g at 1.4% caffeine with 20% EY yields 0.28 g (280 mg) of caffeine in the concentrate.
Dilution Impact Calculation
How much caffeine actually ends up in your cup after you dilute a concentrate? You start with the concentrate yield: a 1:4 brew from 100 g beans gives roughly 1200 mg total caffeine. Dilution doesn’t alter total caffeine, it spreads it over a larger volume, lowering caffeine concentration. Calculate the dilution factor by dividing the final serving size by the concentrate’s original volume. For an 8‑oz serving, if you mix 2 oz of concentrate with 6 oz of water, the dilution factor is 4. Multiply total caffeine by the fraction of concentrate in the serving (2 oz ÷ 8 oz = 0.25) to get about 300 mg caffeine. Adjust the factor for any other serving size to estimate caffeine per cup. Thermal
Adjust for Real‑World Extraction Yield (85‑90 %)
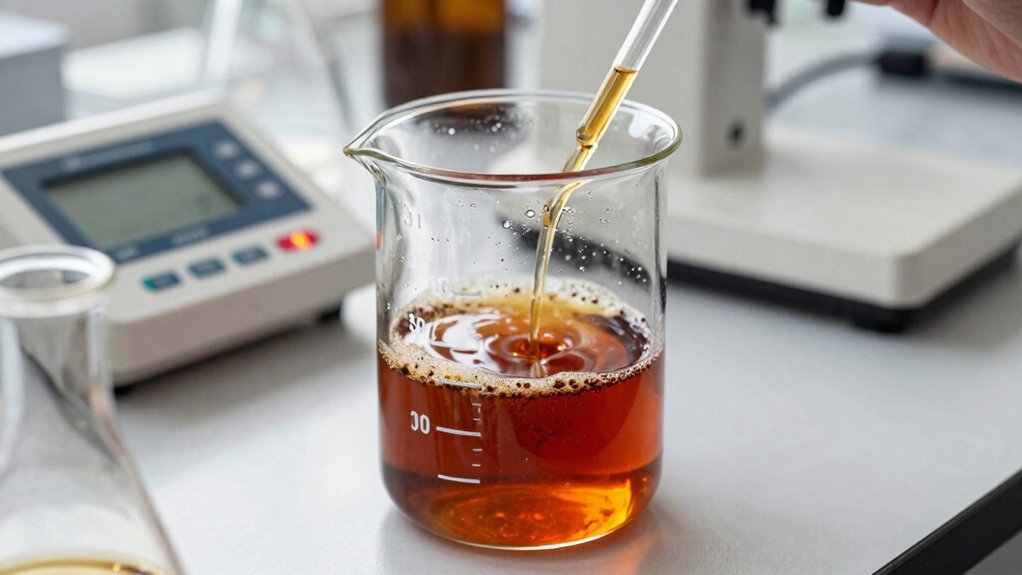
What’s the impact of real‑world extraction yield on your brew’s caffeine? You can’t assume 100 % caffeine extraction; instead, multiply the ground caffeine by the 85–90 % extraction yield to get an accurate caffeine calculation for your cold brew concentrate. This adjustment ensures your serving dilution estimate reflects reality.
- Determine total caffeine in grounds (e.g., 100 g × 1.4 % = 1.4 g).
- Apply the extraction yield range: 1.4 g × 0.85 = 1.19 g, 1.4 g × 0.90 = 1.26 g.
- Record the resulting concentrate caffeine (1.19–1.26 g).
- When you pour an 8 oz serving, factor in any ice or water you add for serving dilution.
Convert Brew‑to‑Water Ratio to Concentrate Volume
Ever wondered how a 1:4 brew‑to‑water ratio translates into the volume of cold‑brew concentrate you’ll actually bottle? Start by measuring coffee grounds: 100 g of medium‑arabica yields roughly 1,200 mg caffeine before extraction. Apply extraction efficiency (≈85 %) to get about 1,020 mg caffeine in the brew. Extraction efficiency also influences how much concentrate you can yield from the same input, tying the caffeine content to final volume. Because the brew‑to‑water ratio is 1:4, the raw water input is 400 g, but spent grounds retain a few grams, so practical concentrate yield is slightly under 400 ml. Divide the caffeine content by the final volume to gauge concentration.
When you later perform dilution (e.g., 1:1 with water or ice), the total caffeine stays the same, but the per‑ounce strength drops. This conversion lets you predict both concentrate yield and caffeine content before bottling.
Calculate Caffeine per Serving After Dilution
Curious about the caffeine you’ll actually get in each sip after you dilute your cold‑brew concentrate?
First, note that dilution changes caffeine concentration but not total caffeine.
To find caffeine per serving, follow these steps:
- Identify the concentrate’s total caffeine (e.g., 1200 mg from 100 g grounds).
- Determine the final serving volume (8 oz ≈ 240 ml).
- Calculate the concentration: total caffeine ÷ volume (≈ 5 mg/ml).
- Adjust for the dilution ratio (1:1 halves concentration, 1:4 yields ¼ of the original).
Using a 1:4 concentrate, you end up with roughly 96 mg caffeine per 8‑oz serving.
This simple math lets you predict the brew’s caffeine impact after any dilution.
Factor in Grind Size and Contact Time Effects
You’ll notice that a finer grind raises the extraction rate, so caffeine leaches faster, while a coarser grind slows it down for a steadier release. Extending the contact time lets more caffeine dissolve, but the gains taper off as the grounds near their maximum yield. Balancing grind size and steep duration lets you fine‑tune extraction efficiency for the desired concentrate strength. Flow-rate indicator can help you monitor how changes in grind and time translate to real-time extraction behavior.
Grind Size Impact
How does grind size shape your caffeine yield? You control surface area, thus extraction speed, by choosing grind size. A finer grind boosts surface area, accelerating extraction and raising caffeine yield, especially in a cold brew concentrate. Conversely, a coarser grind slows extraction and trims caffeine. Because grind size outweighs roast level in impact, it becomes the primary lever for total caffeine.
- Finer grind → +15‑25 % caffeine, risk of bitterness.
- Medium‑coarse grind → balanced caffeine and flavor.
- Surface area ↑ → extraction ↑ → caffeine yield ↑.
- Brew time interacts, but grind size remains the dominant factor.
Adjust your grind to match the desired caffeine level while monitoring flavor.
RoHS and CE certifications ensure electrical safety compliance for devices mentioned in the knowledge notes, reflecting their safety standards and reliability when using car cup heater/cooler products.
Contact Time Influence
What role does contact time play when you already set your grind size? You’ll find that caffeine extraction peaks early, so extending contact time mainly tweaks the extraction rate rather than adding a fixed caffeine boost. A finer grind size gives more surface area, letting the brew concentrate pull caffeine quickly, while a coarser grind slows the process.
In cold brew, you typically sit the grounds 12–24 hours; a longer contact time can lift caffeine modestly, but it also risks over‑extraction and bitterness. Remember, the dominant caffeine driver is dose and grind size; contact time adjusts flavor balance and marginally raises caffeine, not the overall amount.
Use this insight to fine‑tune your brew concentrate without over‑steeping.
Extraction Efficiency Balance
Since contact time only tweaks extraction, the real balance hinges on how grind size and steep length together dictate overall efficiency. You’ll notice that a finer grind boosts caffeine extraction by roughly 15‑25 %, but it also pushes overall extraction efficiency toward the bitter edge if contact time stays long. Conversely, a coarler grind demands a longer contact time to hit the same 18‑22 % yield, keeping the brew concentrate smoother. For cold brew, adjust both variables to keep flavor in check while maximizing caffeine.
- Choose grind size based on desired caffeine boost.
- Set contact time to stay within 18‑22 % extraction efficiency.
- Test with small batches to gauge flavor.
- Scale the dose for consistent brew concentrate strength.
Account for Roast‑Level Caffeine Variance
Ever wonder why your light‑roast brew sometimes feels more caffeinated even though the beans weigh the same? The secret lies in caffeine content and how roast level changes bean density. A light roast is denser, so a scoop holds more beans and thus more caffeine particles, but when you measure by grams, the caffeine amount stays nearly identical across roasts. Focus on dose and grind/extraction settings to control brew concentrate.
Medium roasts often hit the sweet spot for extraction efficiency, pulling caffeine more fully than very light or dark roasts. Remember, bean type (Robusta vs. Arabica) dwarfs roast‑level effects, so adjust dose and grind size first, then tweak extraction to fine‑tune your caffeine target.
Use a Simple Spreadsheet Formula for Quick Estimates
A quick way to estimate caffeine in your brew concentrate is to plug the dose, bean caffeine percentage, and extraction yield into a single spreadsheet formula. Set up three named cells: CoffeeDose, CaffeinePct, Yield. Then enter the formula
`=CoffeeDose*CaffeinePct*Yield` to get the caffeine amount in the concentrate. Swap the caffeine percentage between 0.012 for Arabica and 0.022 for Robusta, and adjust Yield for cold‑brew (≈0.85) or hot‑brew (≈0.95). The result updates instantly, letting you test different beans, doses, and yields without re‑calculating manually.
- Input coffee dose (g)
- Choose bean caffeine % (Arabica/Robusta)
- Set extraction yield
- Read concentrate caffeine (g)
You can then scale to serving size using the concentrate‑to‑total‑volume ratio.
Fix Common Caffeine Calculation Errors
Where do your caffeine numbers go wrong? You probably mixed caffeine content with concentration, used the wrong coffee‑to‑water ratio, or mis‑applied concentrate dilution.
First, calculate total caffeine: coffee_mass_g × caffeine_percent_by_weight × extraction_yield. Keep units consistent—grams for mass, milligrams for caffeine.
Next, divide that total by batch volume to get concentration, then apply the correct dilution factor for each serving.
Watch batch vs per serving: a 100 g batch at 1.4 % yields 1 400 mg total caffeine; an 8‑oz serving gets a proportional slice.
If you used a weight‑based caffeine content instead of a percentage, or swapped dilution and extraction values, your numbers will be off. Re‑run the math with the proper formula and you’ll eliminate those common errors.
Fine‑Tune Brew Ratio for Target Caffeine Level
You’ll set the dose by calculating how many grams of coffee you need to hit your desired caffeine per 8 oz, then pick a brew‑to‑water ratio that delivers that dose. Adjust the ratio up or down until the extracted caffeine matches the target, keeping extraction yield in mind. This lets you fine‑tune the concentrate so each serving lands exactly where you want it.
Dose for Target Caffeine
Wondering how to hit a precise caffeine target? You can dial in the dose by treating coffee mass, extraction efficiency, and your brew concentrate plan as a single equation. First, estimate caffeine content (≈1.2‑1.6 % by weight). Then apply the typical extraction efficiency (85‑90 %). Finally, factor in the dilution ratio to reach the target mg per 8 oz.
- Measure coffee mass (g).
- Multiply by caffeine content to get potential mg.
- Apply extraction efficiency to find actual mg in concentrate.
- Adjust the brew concentrate plan (e.g., 1:4) until the calculated mg matches your target per 8 oz.
A quick check: 150 g coffee at 87 % extraction with a 1:4 plan yields roughly 250 mg per 8 oz, confirming you’re on track.
Adjust Ratio to Match Desired Caffeine
After you’ve calculated the required caffeine dose, the next step is to fine‑tune the brew‑to‑water ratio so the concentrate delivers that amount when you dilute it. Start by picking a concentrate ratio that hits your target caffeine concentration—1:3 gives roughly 250‑350 mg per 8 oz, while 1:6‑1:8 drops it to 140‑220 mg. Adjust grind size and extraction time if you need a subtle tweak: a coarser grind or shorter steep reduces extraction, lowering caffeine without changing the ratio.
Plan dilution so the final serving caffeine matches your goal; for example, a 1:4 batch diluted 1:1 yields the same 8 oz strength as a 1:6 batch diluted 1:3. Scale up by multiplying ground grams by the total caffeine you want, then select a ratio that supplies that total after dilution.
Create a Daily Caffeine‑Control Spreadsheet
A daily caffeine‑control spreadsheet lets you log each brew’s key variables—coffee dose in grams, water‑to‑coffee ratio, brew time, and final cup volume—so you can calculate the exact caffeine per serving. Start with columns for dose, bean caffeine content, and brewing concentration, then compute caffeine extraction yield (≈18‑22%). Use a formula for dose‑to‑cup calculation: dose (g) × caffeine % × extraction yield. Add a serving dilution column to adjust for ice, milk, or extra water, converting cold brew concentrate to per‑serving values. Track daily totals, average per cup, and variance to spot trends.
- Log dose and water ratio
- Input bean caffeine content
- Apply extraction yield formula
- Record serving dilution adjustments
Frequently Asked Questions
What Is the 15-15-15 Rule for Coffee?
You use 15 grams of coffee to produce roughly 15 ounces of brew in about 15 minutes, aiming for a 1:15 coffee‑to‑water weight ratio, which guides strength and caffeine extraction.
How Much Caffeine Is in 3 Oz of Cold Brew Concentrate?
You’ll get roughly 75‑110 mg caffeine in three ounces of typical cold‑brew concentrate, but if it’s a stronger 1:3 blend you’d see about 95‑130 mg. Adjust based on your exact ratio.
What Is the 80 20 Rule for Coffee?
You follow the 80/20 rule by recognizing that roughly 80% of your coffee’s caffeine comes from the first 20% of grounds extracted, so tweaking dose or ratio early on yields most caffeine.
What Is the 2 Hour Coffee Rule?
You follow the 2‑hour coffee rule by stopping extraction after roughly two hours, because most caffeine’s already dissolved; extending brew time adds bitterness but yields little extra caffeine.
In Summary
Now you’ve got a quick, reliable way to gauge caffeine in any brew concentrate. By weighing beans, applying the right brew‑to‑water ratio, and adjusting for real‑world extraction, you can predict caffeine levels with just a spreadsheet. Fine‑tune the ratio to hit your target, track daily intake, and stay in control—no guesswork, no surprises.


