

Start by filling a 12‑16 oz pitcher with 150‑200 ml of cold milk, leaving a couple of inches of headspace. Tilt the pitcher 20‑30° toward you and plunge the wand just below the surface. Listen for a soft “tss‑tss” and watch the volume double; when the thermometer hits 55‑60 °C (130‑140 °F), stop the aeration. Immediately lower the wand deeper, keep the tight vortex at about 37 °C, and finish with a quick spin to polish the glossy, sub‑millimeter microfoam—more details await if you keep going.
What Is Microfoam and Why It Matters for Latte Art
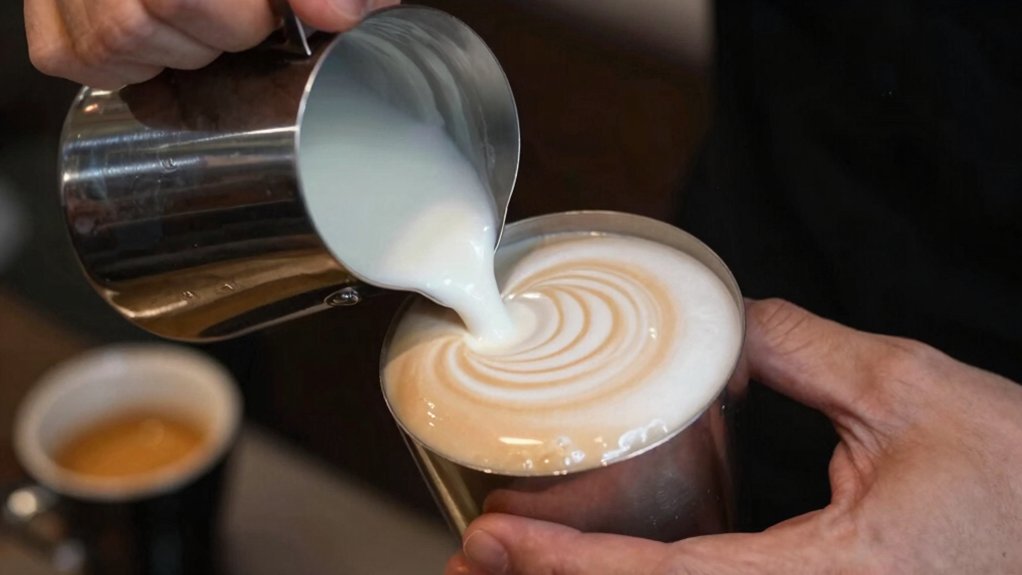
What’s microfoam, and why does it matter for latte art? You create microfoam by steaming milk until tiny bubbles—under 1 mm—form a glossy, wet‑paint surface. This silky texture lets you pour smooth, defined patterns instead of flat, foamy tops. During steaming, you first stretch the milk, introducing air to build volume, then spin a vortex to texture it. Aim for about 100–102 °F while stretching, and stop adding air around 140 °F to keep bubbles tiny. A four‑hole tip and deeper wand position speed vortex formation, giving consistent microfoam that pours cleanly. Watch the milk double, feel the warmth, and notice the glossy sheen—those cues tell you the microfoam is ready for perfect latte art. Sustainability
Choose Milk Volume and Pitcher Size for Your Drink
You should match the milk amount to the pitcher’s capacity so the foam has room to expand without spilling. Choose a pitcher that aligns with the drink size ratio, ensuring the microfoam stays smooth and stable. Proper equipment choice supports consistent latte art results and makes cleanup easier hanging design for convenient storage after use.
Pitch Milk Amount
How much milk should you pour into your pitcher? Aim for a milk volume that leaves 1–2 inches of headspace, so the stretching phase can expand safely.
For a 12 oz (350 ml) latte, fill the pitcher about one‑third to halfway full—roughly 150–200 ml. This amount gives enough room for aeration and vortexing without spilling.
Keep the same volume each drink to lock in repeatable stretching cues and texture.
If your steam wand is powerful, you can use the higher end of that range; a gentler wand works better with a slightly smaller volume.
Adjust a few milliliters when switching milk types, because whole dairy expands more than most non‑dairy alternatives.
Headspace considerations help ensure consistent stretching outcomes across drinks and barista skill levels.
Pitcher Capacity Match
Ever wondered how a pitcher’s size can make or break your latte’s texture? Matching milk volume to pitcher capacity lets you hit the stretching phase without overflow and gives you consistent microfoam. Fill a clean, dedicated pitcher only half to two‑thirds full for a single or latte‑sized drink, leaving 1–2 inches of headspace for expansion. Track the stretch by volume increase, not just time, and adjust for milk type or machine power.
- Choose a 12‑16 oz pitcher for standard drinks.
- Keep milk cooler at start for controlled aeration.
- Leave 1–2 inches headspace for foam rise.
- Watch the vortex tighten; stop just before it looks glossy.
This balance ensures the stretching phase yields glossy, velvety milk ready for latte art. Pitcher capacity
Drink Size Ratio
Should you match your milk volume to the drink’s size and the pitcher’s capacity, you’ll keep the stretching phase under control and avoid overflow.
For a 12‑16 oz latte, fill the pitcher roughly one‑third to halfway full; this leaves room for air to integrate during stretching while preserving a stable whirlpool.
Choose a jug that fits the portion—too small hampers vortex formation, too large forces the wand to travel extra distance, weakening milk texturing.
Adjust the pitcher first, then set steam tip depth and power to maintain consistent aeration.
End the stretching phase with the right volume and silky texture before moving to the whirl and integration steps. This ratio ensures smooth milk texturing and flawless latte art. App connectivity supports tracking and consistency across brewing sessions.
Position the Steam Wand for Proper Air Injection
Place the wand tip just off‑center and tilt the pitcher 20–30 degrees toward you, keeping the tip barely submerged to let air slip in smoothly. As the milk expands, lower the pitcher so the tip stays at the right depth, maintaining a steady whirlpool without splashing. The four‑hole tip speeds up the vortex, giving you even air distribution for a silky texture, while using a 600–800W frother helps keep the foam stable during longer frothing sessions aeration awareness.
Off Wand Tip Depth
How deep should the wand sit to inject just the right amount of air? You’ll find the sweet spot by keeping the steam wand depth just above the milk surface at first, then lowering it as the milk expands. This approach balances aeration timing with smooth milk texturing and prevents splashing. Keep the pitcher tilted 20–30°, and stay off‑center for a stable whirlpool. As the temperature rises, deepen the tip to sustain the vortex and create microfoam that holds latte art. Tip just above surface – start aeration. Lower to ½‑inch depth – begin texturing. Keep pitcher angle consistent. Adjust depth as temperature approaches 37 °C Flezoo 4Pcs Stainless Steel Coffee Measuring Spoons
Angle for Optimal Air Injection
After finding the sweet spot for wand depth, angle the wand about 20–30° toward yourself while keeping the pitcher tilted roughly 45°.
This steam wand angle lets the tip skim the milk surface, creating a gentle “tss‑tss” that signals steady aeration without splashing.
Keep the pitcher tilted and the wand tip just below the surface, then gradually lower it as the milk warms, letting the whirlpool tighten and the air bubbles disperse.
As the temperature rises, submerge the wand deeper to shift from aeration to texturing, forming a stable vortex that yields silky microfoam formation.
Adjust the tilt as needed to maintain consistent steam contact, ensuring the foam stays glossy and free of large bubbles.
Listen for the Gentle “tss‑tss” and Stop Aeration
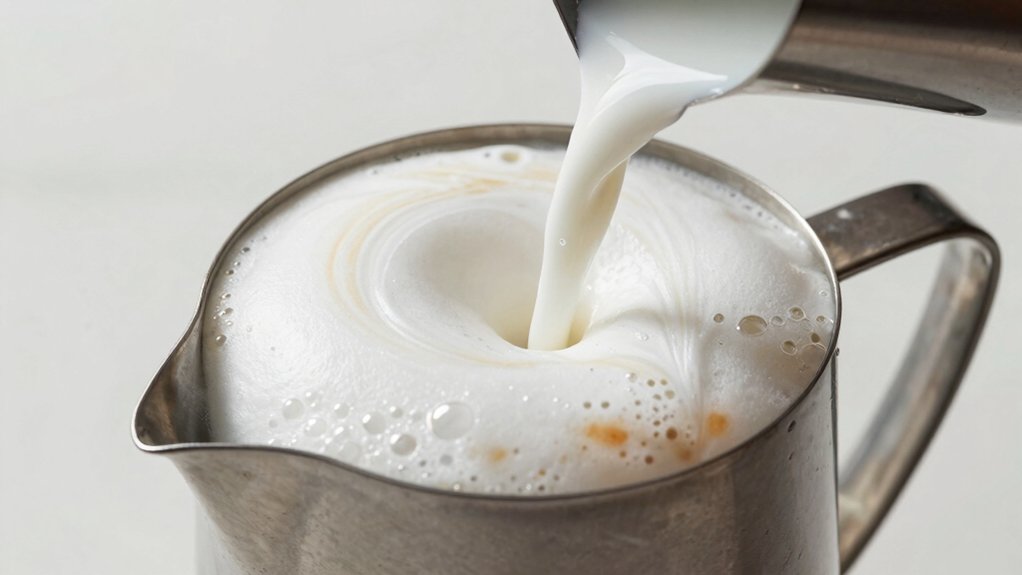
A gentle “tss‑tss” is your cue that the milk is entering the aeration window; when the sound stays soft and muted, you’re pulling the right amount of air, but a sharp or loud tss‑tss means you’re over‑aerating and risking dry, stiff foam. Focus on the subtle hiss, monitor the volume, and stop as soon as the milk reaches a smooth, glossy texture before it warms too much.
- Listen – keep ears on the tss‑tss, noting any rise in pitch.
- Watch – watch the milk rise in the pitcher; a steady, modest increase signals proper aeration.
- Feel – the pitcher should feel heavier as volume grows, but not ballooned.
- Stop – halt the wand the temperature softens and the sound fades, preserving a silky micro‑foam.
Create a Vortex: Submerge the Wand Deeper for Texturing
Ever wondered why the milk feels silkier when the wand dives deeper? Once you’ve reached room temperature during aeration, lower the wand tip a few centimeters into the jug. This deeper submersion shifts the process from air incorporation to texturing, creating a tight vortex that pulls milk into a smooth, even microfoam.
Lift the jug just enough—about 1 cm—to keep the vortex strong without splashing. If you have a four‑hole steam tip, you’ll notice a faster, more stable vortex than with a single‑hole tip, giving you tighter control over bubble size.
Aim for a continuous vortex at roughly 37 °C (99 °F) to blend steam and milk uniformly, preventing dry, stiff foam and setting the stage for flawless latte art.
Check Milk Temperature: Aim 55‑60 °C (130‑140 °F)
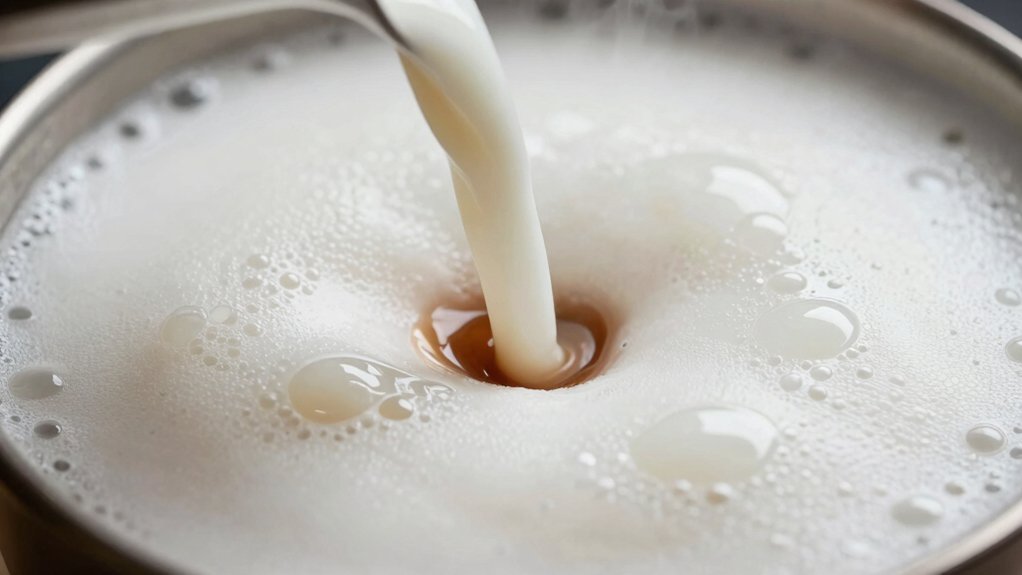
When the vortex is steady, keep an eye on the temperature—stop steaming as soon as the milk hits 55–60 °C (130–140 °F). Hitting that sweet spot preserves sweetness and protects the microfoam structure. Use a thermometer to confirm the reading; it backs up the feel of the steam wand and makes your latte art repeatable. Below that range, the milk stays watery; above it, the foam loses elasticity and flavor deteriorates.
- Insert the thermometer probe just below the surface.
- Watch the dial as the steam wand heats the milk.
- Pull the wand back when 55–60 °C appears.
- Immediately transition to the texturing phase for silky microfoam.
Set Jug Angle to Get Microfoam or Cappuccino Foam
If you tilt the pitcher 20–30° toward yourself and keep it parallel to the counter, the steam wand will carve a tight vortex that determines whether you get silky microfoam or a denser cappuccino foam. Aim the wand at that angle, then plunge it just below the surface for a quick aeration burst. This creates the initial volume and tiny bubbles. As the milk expands, lower the jug slightly while maintaining the 20–30° tilt, letting the wand stay deeper. The deeper submersion sustains a smooth vortex at around 37 °C, producing a glossy texture with sub‑millimeter bubbles—true microfoam. If you prefer a thicker, more stable cappuccino foam, keep the wand shallower and let the vortex thicken the foam before finishing.
Finish With a Spin: Swirl Away Large Bubbles
After you’ve set the pitcher at the right tilt and created a tight vortex, finish the process with a quick spin to collapse any stray bubbles. A gentle whirl refines the aeration and texturing, turning coarse foam into silky microfoam ready for latte art. Keep the motion short—just enough to polish the surface without over‑whipping. You’ll notice a glossy, paint‑like texture that pours smoothly and holds patterns.
A swift spin smooths foam into glossy, bubble‑free microfoam perfect for flawless latte art.
- Start the swirl when the foam feels velvety.
- Rotate the pitcher 180°–270° in a fluid motion.
- Pause if the foam begins to thin.
- Stop once the surface is uniform and bubble‑free.
This finish‑with‑a‑spin step locks in consistency and prepares every cup for flawless designs.
Troubleshoot Latte‑Art Milk Steaming Issues
Ever wondered why your latte foam sometimes ends up dry and bubbly instead of silky? You’re probably over‑aerating cold milk, which stabilizes proteins but creates stiff texture. Begin with a gentle aeration burst, then listen for a soft tss‑tss as you switch to texturing. Stop injecting air once the volume hits your target and keep the pitcher moving to form a vortex around 37 °C (99 °F). If large bubbles linger, tap the pitcher and swirl it to polish the surface, preventing the “bubble bath” effect. Aim to finish the stretch just before the milk reaches about 100 °F (38 °C); then complete the texture with controlled vortexing. The final microfoam should be glossy, wet‑paint‑like, and filled with sub‑1 mm bubbles, ready for flawless latte art.
Frequently Asked Questions
How Long to Stretch Milk for Latte Art?
You should stretch milk about four to six seconds, but trust the feel and temperature instead of a clock—stop when the pitcher feels warm, around 60‑65 °C, and the foam looks glossy with sub‑millimeter bubbles.
How to Get the Perfect Milk for Latte Art?
You’ll start with cold milk, aerate until you hear a soft tss‑tss, then stretch it to about 100‑102°F (or up to 140°F if you prefer richer microfoam), watching the pitcher whirl and the milk double in size, and stop when it looks glossy with sub‑1 mm bubbles.
How to Know When to Stop Aerating Milk?
You stop aerating when the milk reaches a glossy, velvety surface, feels warm around 37 °C, and the volume has increased just enough—usually after 4‑6 seconds—without large bubbles.
What Is the Perfect Milk Temperature for Latte Art?
You should aim for about 140 °F (60 °C) when making latte art; it gives silky microfoam, good pourability, and avoids scalding. If you feel the pitcher warm, you’re close enough.
In Summary
Mastering the milk‑stretching phase is the key to flawless latte art. By timing the aeration, controlling the wand depth, and hitting the 55‑60 °C sweet spot, you’ll create silky microfoam that holds its shape. Keep the pitcher angled, spin the milk to dissolve bubbles, and you’ll consistently pull smooth hearts, rosettas, and tulips—every cup a canvas, every sip a masterpiece.


