

You let the coffee slurry cool because heat masks volatile aromas and overwhelms subtle flavors, so a controlled temperature drop reveals the true sensory profile. Above 71 °C steam can scald your nasal passages and distort volatiles, while cooling to 65 °C, 55 °C, and finally 45 °C lets roast‑forward notes recede and origin‑driven nuances emerge. The vessel material—ceramic, glass, metal, or plastic—sets how quickly you hit each stage, and spacing the three passes about five minutes apart ensures consistent, reliable cupping. Keep reading to discover how to fine‑tune your workflow.
Coffee Cupping Temperature: Why Cooling Comes First
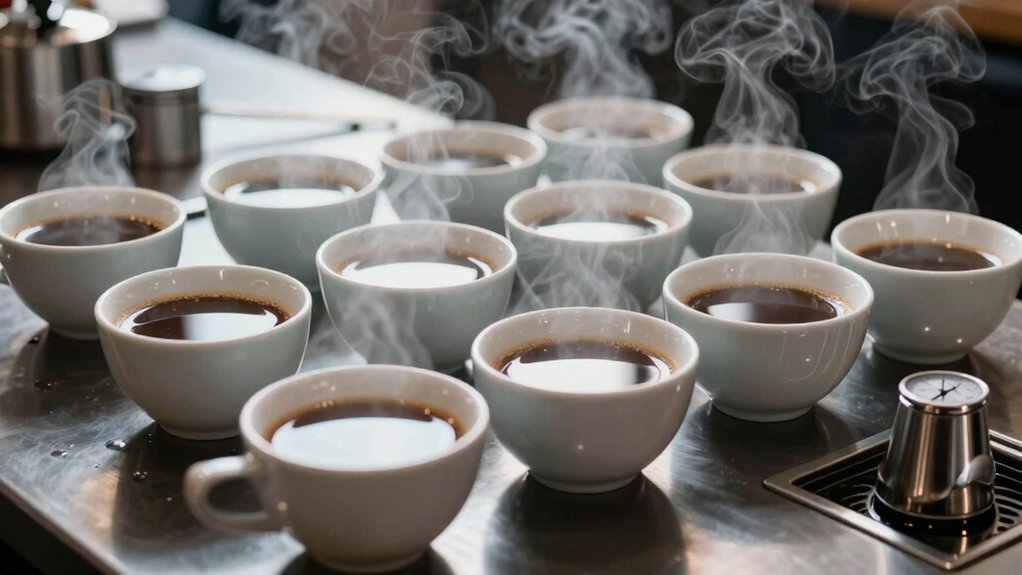
Because the aroma stage of cupping must happen before you risk scalding your tongue, protocols require the brew to cool below 71 °C first. You’ll notice the temperature drops faster in a ceramic cupping bowl; the slurry reaches under 70 °C after roughly 4½ minutes, whereas plastic takes about nine minutes. This cooling window lets you inhale the coffee’s volatile compounds without harming your palate.
Once the slurry hits around 65 °C, you can sip safely, aligning the tasting phase with a comfortable temperature. The standardized cooling step protects tasters, ensures consistent sensory perception, and prevents premature irritation that could skew your evaluation of aroma, body, and flavor.
Coffee Cupping Temperature Safety: 71 °C Threshold for Aroma
Why must you wait until the coffee drops below 71 °C before inhaling its aroma? Because the SCA cupping protocol treats 71 °C as the safety threshold. Above that, steam can scald your nasal passages and mask delicate volatiles. You monitor the temperature, and once it falls into the safe zone, you begin the aroma assessment. This pause guarantees that the scent you perceive isn’t distorted by heat‑induced volatility loss. To maintain consistent tasting standards, you’ll typically sip the slurry when it reaches around 65 °C, aligning with safety guidelines for tasting, and you should reference the 71 °C threshold guidance when planning cupping sessions.
Coffee Cupping Temperature: How Vessel Material Controls Cooling
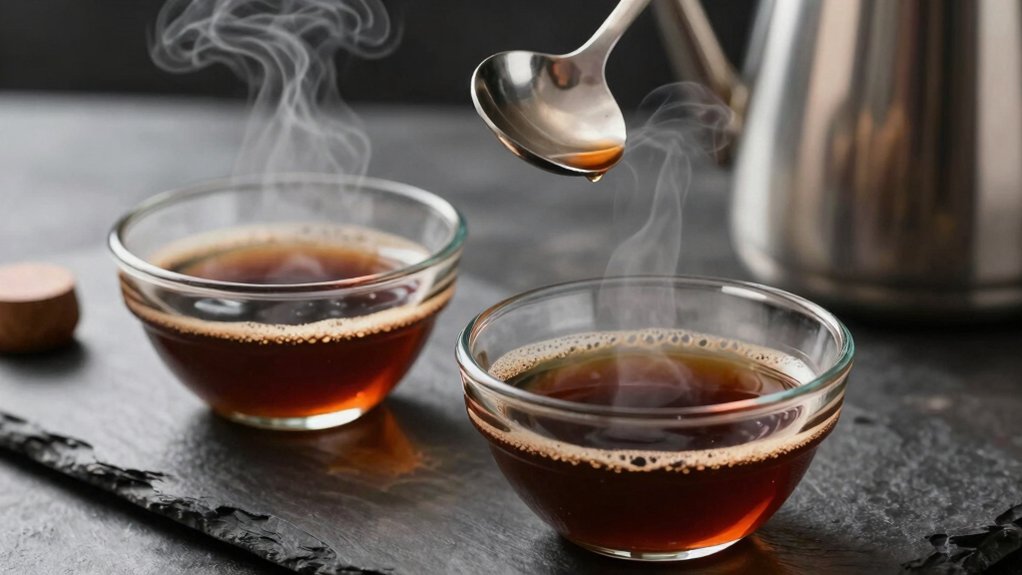
You’ll notice that the bowl you choose directly shapes how fast the coffee slurry cools, and ceramic vessels pull the temperature down much quicker than plastic.
Ceramic canisters and jars with airtight lids help maintain stable temperatures during cupping, reducing rapid heat loss and guiding consistent aroma development odor preservation.
Vessel Material Impacts Cooling
Ceramic cupping bowls, weighing around 300 g, shed heat noticeably faster than their plastic counterparts, so the slurry drops below the safe‑tasting threshold of 70–71 °C in roughly 4½ minutes instead of 9 minutes.
You’ll notice that the ceramic material’s higher thermal conductivity drives a shorter cooling time, pushing the aroma phase into the safe zone sooner. Thermal conductivity can influence how quickly heat dissipates in cupping setups, aligning with best practices that emphasize consistent temperatures for reliable flavor notes.
In contrast, plastic retains heat, delaying the transition and extending the hot‑stage. This difference matters because cupping protocols rely on a staged temperature framework—hot at 65 °C, comfortable at 55 °C, warm at 45 °C—to isolate flavor notes.
Ceramic Bowls Cool Faster
The faster heat loss of ceramic A‑vessel bowls—about 300 g each—means the coffee slurry reaches the sub‑71 °C aroma window in roughly four and a half minutes, whereas plastic bowls linger near that temperature for nearly twice as long. You’ll notice that ceramic bowls pull heat away more efficiently because their higher thermal conductivity and lower heat capacity let the slurry drop quickly. This faster cooling rate aligns with cupping protocols that demand the drink sit below 71 °C before you start sniffing, then cool to around 65 °C for the hot‑phase tasting. Timing your aroma assessment with the bowl’s material‑driven cooling helps avoid tongue burns and capture the coffee’s nuanced flavors at the right moment, a principle supported by how vessel materials influence heat transfer during cupping thermal conductance.
Coffee Cupping Temperature: Ceramic vs. Plastic Bowls – Real‑World Times
You’ll notice the ceramic bowl drops the slurry below 70 °C in about 4½ minutes, while the plastic bowl takes roughly 9 minutes.
This faster cooling lets you move into the aroma‑first stage sooner and start tasting at 65 °C without risking a scald.
The material difference consequently directly shapes the timing of each cupping pass.
Ceramic Bowl Fast Cooling
A quick glance at the numbers shows that a 300‑gram ceramic cupping bowl drops the slurry temperature below 70 °C in roughly four and a half minutes, while a comparable plastic bowl takes about nine minutes. You’ll notice that ceramic bowls conduct heat away faster because their dense matrix and higher thermal conductivity let the hot slurry lose energy to the surrounding air quickly. This rapid cooling time means you can hit the 71 °C aroma threshold and the 65 °C tasting threshold sooner, reducing the risk of scalding and keeping the cupping schedule tight.
| Material | Approx. Time to <70 °C |
|---|---|
| Ceramic | 4.5 min |
| Plastic | 9 min |
| Glass | 6 min |
| Metal | 3 min |
Understanding these differences helps you plan cupping sessions efficiently and maintain consistent sensory evaluation. Explore 3D-printed trays
Plastic Bowl Slower Cooling
Compared with ceramic, plastic cupping bowls linger near the target temperature far longer, taking roughly nine minutes to fall below 70 °C.
When you pour the slurry into a plastic bowl, the heat stays trapped, so the cooling curve flattens and the temperature hovers just above the safe‑aroma window.
This slower cooling means you must wait longer before you can safely sniff the coffee without risking tongue scalding.
The material’s lower thermal conductivity delays the transition from hot tasting to aroma assessment, pushing back the moment you begin the aroma‑first phase.
Because plastic retains heat, you’ll notice the cupping process stretching out, and you’ll need to monitor the thermometer closely to ensure the brew reaches the optimal tasting range.
To maintain consistent results, consider the potential impact of bowl material on aroma perception when planning cupping sessions for broader flavor comparisons bowl material impact.
Coffee Cupping Temperature: Three Simple Passes (65 °C → 55 °C → 45 °C)
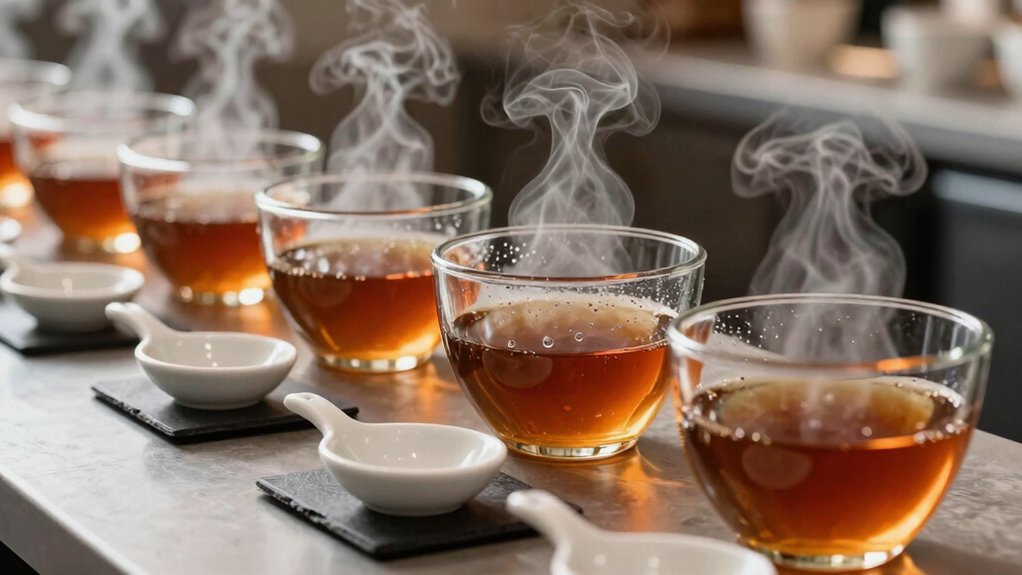
The three‑pass temperature ladder—65 °C, 55 °C, then 45 °C—gives you a clear, repeatable rhythm for cupping. You start at 65 °C, where the hot slurry releases its initial aroma and flavor burst. After about five minutes, the drink cools to 55 °C, a comfortable zone that lets you notice subtler notes without overwhelming heat. Another five‑minute pause brings the cup to 45 °C, a warm stage that reveals sweetness and mouthfeel often masked earlier. Vessel material matters; ceramic cools faster, so you may need to adjust timing. This structured progression lets you track how each temperature shift transforms the coffee’s profile. Temperature control and consistent timing help preserve microfoam structure and prevent scorching, which is especially relevant when cupping with milder or more delicate coffees. Foam quality and careful sensory cues become more reliable as you standardize the process.
Coffee Cupping Temperature: Measuring Slurry Before Tasting
After the three‑pass ladder sets the rhythm, you need to verify the slurry’s temperature before you even start sniffing. Grab a calibrated thermometer and dip it into the cup, making sure the probe touches the liquid, not the bowl’s edge. Record the reading; if it’s above 71 °C, wait a minute and measure again. Ceramic A‑vessel bowls will drop below the safe zone in roughly four and a half minutes, while plastic takes about nine. Once the temperature hits the 70‑71 °C range, you’ve entered the cupping aroma window, and you can proceed without risking a scald. This quick check guarantees you start tasting at the proper 65 °C stage, keeping the sensory timeline on track.
Coffee Cupping Temperature: When to Start Smelling vs. Tasting Without Burning
You’ll wait until the slurry drops below 71 °C before you start sniffing, because that “safe zone” protects your nose from scalding and preserves aroma fidelity.
Once the temperature reaches about 65 °C you can begin tasting, then move to 55 °C and 45 °C for the three‑pass flavor profile.
The material of your cupping bowl matters—ceramic cools the coffee in roughly half the time of plastic, so you’ll adjust your sniff‑and‑taste timing accordingly.
Safe Aroma Timing
Why wait for the coffee to cool before you start sniffing? When you’re doing copper cupping, you must respect aroma timing to protect your senses. The protocol says the slurry should dip below 71 °C before you bring the cup to your nose. This prevents scalding and lets volatile compounds reach you intact. Use a thermometer; if the reading shows 69 °C or lower, you’re safe to inhale. Ceramic bowls help because they hit that safe zone in roughly 4:30 minutes, while plastic takes about 9 minutes.
Once the coffee is in the aroma‑first zone, you can pause, note the fragrance, and then move to tasting when the temperature settles around 65 °C. This disciplined timing ensures consistent, reliable cupping results.
Taste Temperature Threshold
When does the coffee become safe enough to taste without burning your tongue? You wait until the temperature falls below 71 °C, then you can start the aroma assessment. Once the coffee reaches roughly 65 °C, you transition to tasting. At this point the heat is low enough to avoid scalding while still allowing you to perceive the nuanced flavors. You’ll notice the aroma intensity shifts as the temperature drops, so you should note the scent before you sip.
A typical cupping session uses a three‑pass framework: hot at 65 °C, comfortable at 55 °C, and warm at 45 °C, with about five minutes between passes. Measuring temperature before each pass ensures you stay within the safe zone and capture the full sensory profile.
Material Cooling Influence
The temperature thresholds you just learned dictate when you can safely smell and taste, but the material of the cupping bowl determines how quickly those thresholds are reached. Ceramic vessels shed heat faster, dropping the slurry to the safe zone (≈70 °C) in roughly 4½ minutes, while plastic bowls linger, taking about 9 minutes. This difference shifts when you can start the aroma phase without burning your nose and when you can safely sip at 65 °C.
| Material | Cooling Time to 70 °C | Aroma Entry Point |
|---|---|---|
| Ceramic | ~4:30 min | After 4 min |
| Plastic | ~9 min | After 9 min |
| Metal | ~3 min | After 3 min |
Choose ceramic when you need a quick transition; plastic gives a slower, more gradual cool‑down, affecting your workflow and timing.
Coffee Cupping Temperature Myth: Over‑Extraction Does Not Occur When Cooling
Even though the coffee slurry cools, you won’t extract more solubles because the grounds stay undisturbed; over‑extraction only happens when you stir or disturb the bed, not when the temperature simply drops. As the crust forms on the surface, it seals the bed, preventing further solute migration.
The cooling time built into cupping—about five minutes between the 65 °C, 55 °C, and 45 °C passes—lets the slurry drop safely without stirring, so you capture the intended flavor evolution. Ceramic vessels accelerate that drop, reaching under 70 °C in roughly 4½ minutes, while plastic takes longer. This deliberate pause protects your tongue and ensures the aroma‑first approach works without risking unwanted extraction.
Coffee Cupping Temperature Effect on Aroma Volatiles & Perceived Sweetness
A coffee’s aroma and perceived sweetness evolve dramatically as the slurry cools, with distinct volatile notes surfacing at roughly 65 °C, 55 °C, and 45 °C. When the temperature drops below 71 °C, aroma volatiles become more perceptible, and the sweetness you taste sharpens around 55 °C and 45 °C. Ceramic bowls speed the cooling curve, letting you hit those key zones in about 4½ minutes, while plastic extends the timeline to roughly nine minutes. Understanding this rhythm lets you capture the full bouquet and sweetness profile before they fade.
| Temperature | Sensory focus |
|---|---|
| 65 °C | Initial aroma volatiles, bright acidity |
| 55 °C | Emerging perceived sweetness, balanced aroma |
| 45 °C | Deep aroma volatiles, lingering sweetness |
Coffee Cupping Temperature: Adjust Brew Ratios & Grind Size for Consistent Cooling
Why does your cupping temperature drift so quickly? You can slow that drift by tweaking brew ratios and grind size. A tighter 10 g : 180 g ratio yields a hotter slurry that cools more predictably, while a coarser grind releases heat faster, lowering the initial temperature. Choose a ratio that lands you just above 71 °C, then let the ceramic A vessel shed heat to 70 °C in four minutes; plastic bowls will linger longer. Consistent cooling lets you hit the three‑pass targets—65 °C, 55 °C, 45 °C—without surprise. Measure temperature before each pass, adjust the grind to keep the cooling curve steady, and you’ll get reliable flavor readings every time.
Coffee Cupping Temperature: How to Space Passes 5 Minutes Apart
Fine‑tuning brew ratios and grind size gets the slurry to start just above 71 °C, now you need to manage the timing of each tasting. You’ll want three passes, each spaced roughly five minutes apart, so the temperature drops from hot (65 °C) to comfortable (55 °C) and finally warm (45 °C). Use a timer, note the cup material, and adjust if a ceramic vessel cools faster than plastic.
Three five‑minute passes: 65 °C → 55 °C → 45 °C, adjusting for cup material.
- Start the first pass at 65 °C, begin tasting immediately.
- After five minutes, check that the slurry sits near 55 °C; start the second pass.
- Wait another five minutes, confirm the temperature is around 45 °C, then begin the final pass.
Consistently spacing passes lets you isolate roast and origin flavors without scalding your tongue.
Coffee Cupping Temperature: Common Cooling Mistakes – Stirring & Late Crust Break
Ever wonder why a quick stir or a delayed crust break can ruin your cupping results? When you stir too early, you introduce extra turbulence that speeds heat loss, pushing the slurry below the 71 °C safety threshold before you’ve even started the aroma sniff.
In ceramic cupping bowls, this effect is amplified because the stone walls draw heat faster than plastic, often dropping below 70 °C by the 4:30‑minute mark.
Likewise, waiting too long for the crust break lets the surface cool unevenly; the bottom stays hot while the top chills, creating a temperature gradient that distorts flavor perception.
To keep extraction consistent, let the crust break naturally around the 5‑minute window and avoid stirring until you’ve recorded the aroma and reached the 65 °C drinking temperature.
Coffee Cupping Temperature: Summarizing Flavor Shifts Across 65 °C → 45 °C
How do the flavors evolve as your cupping slurry cools from 65 °C down to 45 °C? At 65 °C the roast dominates: you taste smoky, caramelized notes that mask subtle origin characters. By the time you reach 55 °C, the temperature drop lets acidity and fruit emerge, while the roast still lingers. At 45 °C the slurry feels warm, and the flavor notes shift fully toward the bean’s terroir—bright citrus, floral, or berry tones become clear, and bitterness recedes.
- Hot (65 °C) – Roast‑forward, bold, masking subtlety.
- Comfortable (55 °C) – Balance of roast and origin, acidity rises.
- Warm (45 °C) – Origin‑driven, nuanced flavor notes dominate.
You’ll notice each stage reveals a new layer, so let the temperature fall naturally and sip without stirring to preserve the evolving profile.
Frequently Asked Questions
What Is the 2 Hour Rule for Coffee?
You follow the 2‑hour rule by letting brewed coffee sit at room temperature for no longer than two hours before tasting or storing, preventing oxidation and flavor degradation.
What Is the Best Temperature for Coffee Cupping?
You should aim for about 65 °C when you start cupping, then let the slurry dip to around 55 °C for the second pass and 45 °C for the final pass, keeping each stage under five minutes.
What Is the 15-15-15 Rule for Coffee?
You follow the 15‑15‑15 rule by tasting coffee at three temperatures—65 °C, then 55 °C, then 45 °C—spaced about five minutes apart, letting each cup cool before the next pass.
What Are the 4 Enemies of Coffee?
You’ll face four enemies of coffee: stale beans, improper grind size, bad water quality, and inconsistent brewing temperature. Each one ruins flavor, aroma, and overall cup balance.
In Summary
You’ve seen why cooling matters: it protects your nose, lets flavors unfold, and keeps the cupping consistent. By starting at 71 °C, using the right bowl, and moving through 65 °C, 55 °C, and 45 °C in five‑minute steps, you’ll capture the full aroma spectrum without burning your palate. Avoid stirring too early or breaking the crust late, and you’ll get reliable, repeatable results every time.


