
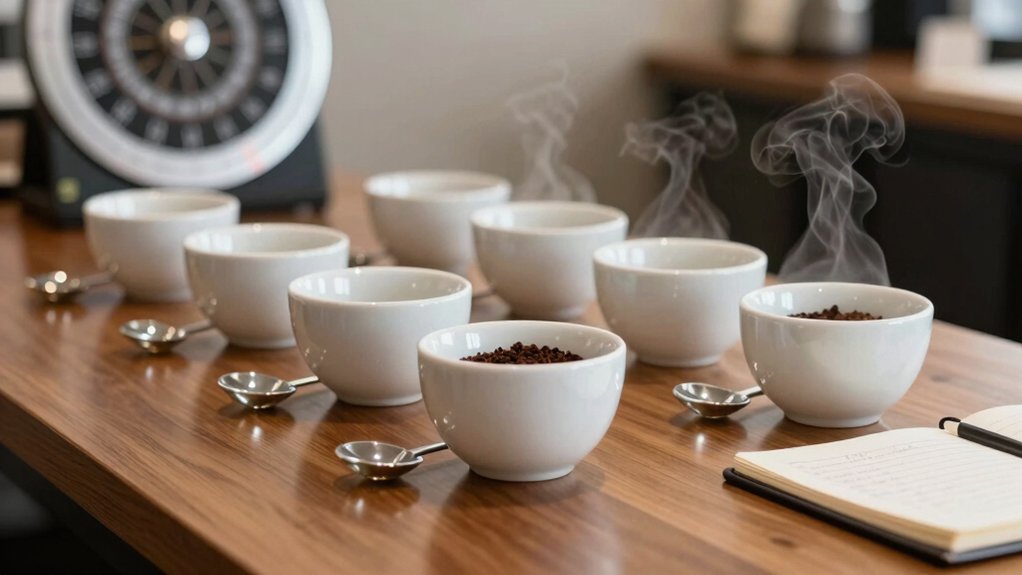
You’ll start by gathering cupping bowls, a scale, spoons, and a timer, then weigh 20 g of coffee and grind it medium‑coarse right before brewing. Warm the bowls, pour 150 g of 200°F water, and start a four‑minute timer. At the 4‑minute mark, skim the foam, pierce the crust, and inhale the wet aroma. Transfer the grounds, slurp vigorously, and record flavors, acidity, and body. Score any defects, and you’ll see how each step builds a reliable aroma profile.
Why Coffee Cupping Matters to Roasters and Buyers
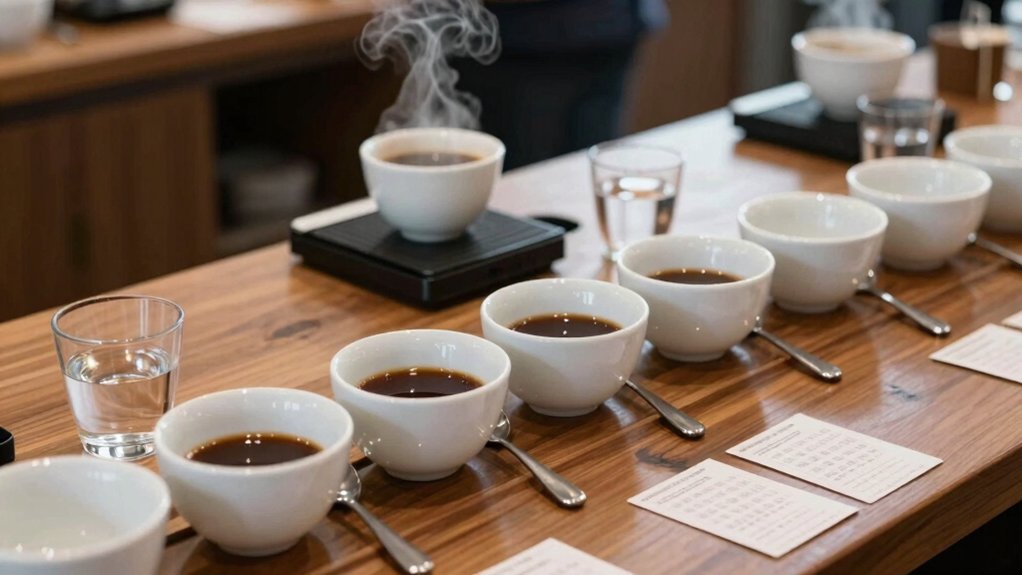
Why does coffee cupping matter to you as a roaster or buyer? You rely on aroma evaluation to gauge dry fragrance and wet aroma, so you can spot subtle intensity shifts before they affect a batch.
Standardized cupping gives you a repeatable 1:18 ratio, fresh grinding, and crust‑breaking steps that strip subjectivity from the process. By documenting notes on a structured sheet, you build a reference library that supports quality control across lots and origins.
This data fuels procurement decisions, letting you choose beans that meet your flavor profile and price targets. It also helps you calibrate roast profiles, ensuring each roast delivers the expected aroma and consistency your customers expect. Foam stability
Gather the Essential Cupping Supplies
After noting how aroma drives your quality decisions, you’ll need the right tools to capture it reliably.
First, set up a clean, organized station with labeled samples. Use cupping bowls of 160–200 ml capacity, each paired with a rinse cup to keep the aroma pure. Place a scale on the bench to weigh 20 g of coffee for each sample, and keep a timer nearby for the four‑minute brew window. Arrange two cupping spoons per coffee: one for breaking the crust and another for scooping grounds without cross‑contamination. Keep hot water ready, and ensure every bowl is separate so you can compare dry fragrance and wet aroma accurately. This setup lets you focus on the scent, not the mess. Twist to release
Measure and Grind 20 g of Coffee per Sample
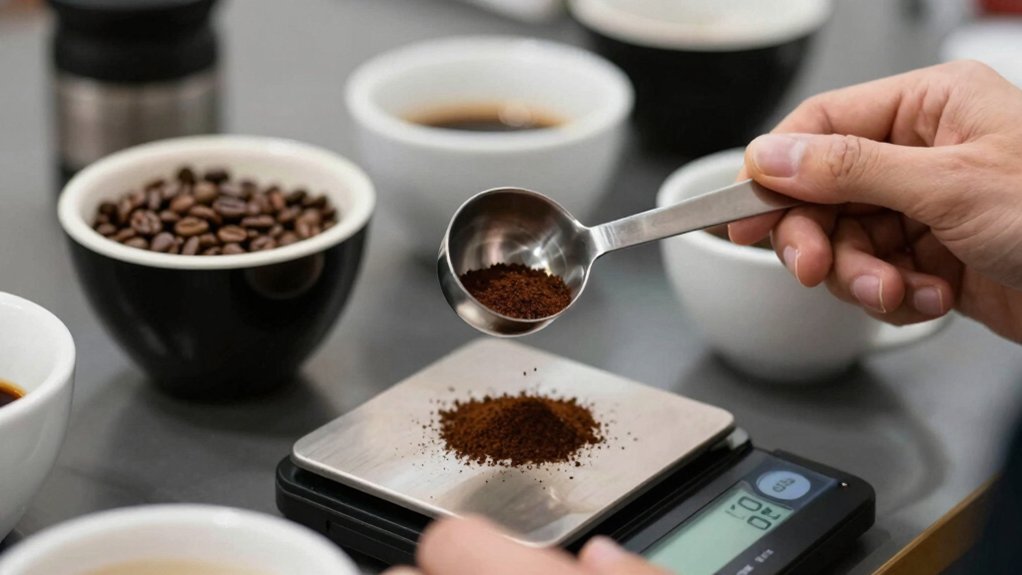
- Weigh 20 grams on a calibrated scale.
- Set the grinder to a medium-coarse grind.
- Grind each batch right before you begin.
- Purge the grinder between samples to avoid cross-contamination.
- Pay attention to grind consistency and even particle size to support uniform aroma extraction Programmed grind settings.
Set Up the Cupping Bowls and Water Temperature
Because aroma can dissipate quickly, start by warming shallow cupping bowls (160–200 ml) and pre‑weigh 8.25 g of coffee for each 150 ml of water.
Fill a kettle and bring water to 200°F (±2°F).
While the water heats, grind the coffee fresh, then pause to sniff the dry fragrance—this aroma pre‑wet step lets you gauge the beans before any liquid touches them.
Place the measured coffee into each cupping bowl, then pour the hot water, ensuring the temperature stays consistent across all samples.
The warm bowls help lock in volatile compounds, and the precise water temperature guarantees uniform extraction.
Brew the Coffee: Pour 150 g of Water and Start the Timer
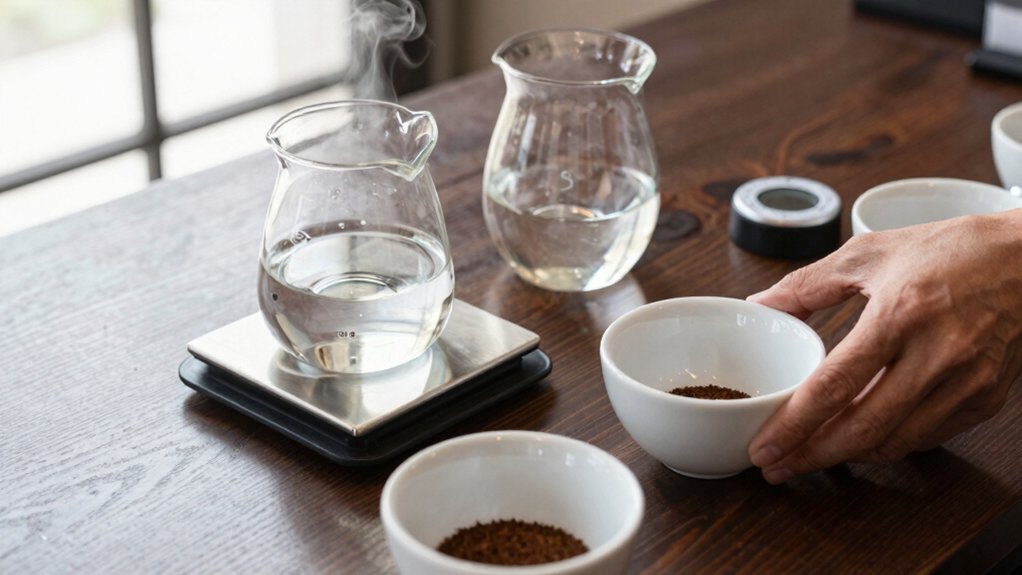
You’ll pour exactly 150 g of water at 200°F, keeping the temperature steady for ideal aroma. Start the timer the moment the water hits the grounds, ensuring a precise four‑minute extraction. This consistent volume and timing give you a reliable baseline for evaluating the coffee’s scent. Brew Time and micro-filtration help ensure a smoother, less bitter cup during extraction.
Precise Water Temperature
A steady 200 ± 2°F (93 ± 1°C) water poured at exactly 150 g into each cupping bowl kick‑starts the aroma extraction, and you should start the timer the instant the water contacts the grounds. Precise water temperature drives aroma development, anchors the cupping protocol, and guarantees brewing consistency across samples. Ensuring a 3-ply, high‑absorbency napkin Quality helps keep the setup clean and organized during cupping sessions consistent measurements.
- Heat water to 200 °F, checking with a calibrated thermometer.
- Verify the temperature stays within ±2 °F before each pour.
- Use a scale to deliver exactly 150 g of water, avoiding over‑ or under‑pouring.
- Record the temperature for every batch to spot drift and maintain consistency.
Consistent Water Volume
How much water do you need for a reliable cupping? You need exactly 150 g of cupping water for each sample, and you must pour it in a single, even motion. This standardized pour creates a uniform crust, prevents channeling, and synchronizes aroma development across all bowls. As soon as the water hits the grounds, start the timer to lock in the extraction window and capture the initial aroma notes. Maintaining the 150‑gram volume ensures a consistent coffee‑to‑water ratio, which is crucial for comparing cupping results. Record the pour time and the first wet aroma notes in your log, and repeat the same volume for every coffee you evaluate. Consistency here underpins the scientific rigor of your cupping process. The use of a precise scale can help ensure you hit that 150 g target consistently across sessions precise scale and maintain repeatability in your cupping protocol.
Accurate Timing Start
After measuring the 150 g of water, pour it in a steady, single motion and hit the timer the instant the stream contacts the grounds. This precise timing locks in the aroma profile you’ll evaluate during cupping, and the consistent infusion gives each sample a fair chance to reveal its character. Additionally, ensure the scale provides a stable, high-precision reading to support repeatable timing across brews 0.1 g precision.
Assess the Dry Fragrance Before Adding Water
Ever notice how the dry fragrance of freshly ground coffee can hint at its hidden character before any water touches it? You should start by grinding each sample to the same grind size, then let it rest for a minute in an open cupping bowl. Gently sniff from the side, avoiding heat or hand contact, and focus on the initial aroma that rises. Note any fruit, nut, cocoa, or floral notes—these are the volatile compounds that define the dry fragrance. Write those observations down separately from later wet aromas, so you can track how the profile evolves. Consistency in grind size and timing lets you compare coffees reliably, making the dry fragrance a solid baseline for your cupping analysis.
Break the Crust at 4 Minutes and Smell the Wet Aroma
At four minutes, you’ll notice a thin crust forming on the surface; break it gently with a spoon to release the trapped aromatics. Then wipe the spoon, bring your nose close to the bowl’s edge, and inhale the wet aroma that emerges. This quick crust‑technique shift lets you evaluate the coffee’s volatile compounds before tasting.
The Crust Technique
Break the crust at the four‑minute mark with a clean spoon, then immediately inhale the wet aroma rising from the bowl. This moment of crust breaking signals the shift from dry to wet aroma release and is a core step in the cupping protocol. You’ll notice volatile compounds surfacing, giving you a richer, more nuanced scent profile.
- Use a stainless‑steel spoon, wiped clean.
- Press gently to split the crust evenly.
- Pause, then draw the wet aroma directly into your nostrils.
- Note the immediate change in intensity before moving on.
Wet Aroma Evaluation
The moment the crust splits, a wave of wet aroma climbs from the bowl, inviting you to inhale the coffee’s freshly brewed scent.
At the four‑minute mark you perform the crust break with a spoon, then bring your nose close and draw in the wet aroma. This burst carries the soluble aroma compounds that have just dissolved in the hot brew, giving you a clear picture of the coffee’s volatile profile. You’re not smelling the dry fragrance you evaluated earlier; instead you capture the nuanced, steam‑laden notes that hint at acidity, sweetness, and balance.
In cupping, this wet aroma evaluation sets expectations for the flavor phase, helping you anticipate how the coffee will develop on the palate.
Remove Foam and Grounds – Prepare for Tasting
Wondering how to get the most out of your cupping session? After brewing, you’ll see a light foam and a crust of grounds on the surface. Use two cupping spoons: one to skim the foam, the other to pierce the crust. Push the spoon gently through the crust, then wipe it front‑to‑back to release the wet aromas. Let the coffee sit a moment so sediments settle, then transfer the foam and grounds into the spent‑grounds bowl. Finally, bring your nose to the bowl’s edge and inhale the freshly broken‑crust aroma before you taste.
- Skim foam with the first spoon.
- Pierce crust with the second spoon.
- Wipe spoon front‑to‑back to capture aromas.
- Transfer foam and grounds to the spent‑grounds bowl.
Slurp, Taste, and Record Sensory Notes (Flavor, Acidity, Body)
A quick, vigorous slurp sprays the coffee across your tongue, letting you feel its flavor, acidity, and body all at once. As you slurp, the aroma bursts, and you capture the first sensory notes. Record the dry fragrance, then break the crust and note the wet aroma.
Move to tasting notes: identify nutty, chocolate, caramel, or fruity flavors, gauge acidity level, and assess mouthfeel. Use a consistent scale or an app like Tastify to log aroma intensity, flavor clarity, sweetness, and aftertaste. Keep entries time‑stamped, separating observations for aroma, taste, acidity, body, and overall balance. This methodical log ensures you track each cup’s evolution from cool to warm, preserving precise, comparable data.
Identify Common Defects and How to Score Your Cupping Results
After you’ve logged the dry and wet aromas, turn your attention to spotting off‑flavors that betray poor storage or processing. You’ll notice moldy or stale cardboard notes, fermentation, grassy/earthy, or rubbery/chemical aromas—these are your aroma defects. Compare the dry fragrance pre‑brew to the wet aroma after breaking the crust, and rate intensity, complexity, and pleasantness on a 0‑5 scale. Record each defect separately to keep a clean cupping score sheet.
- Identify moldy/off‑flavors.
- Detect stale cardboard or cardboard‑like smells.
- Spot fermentation or grassy/earthy notes.
- Note rubbery or chemical odors.
These steps sharpen your sensory matrix and ensure consistent, actionable results.
Frequently Asked Questions
How to Store Coffee Beans After Roasting for Optimal Cupping?
Store roasted beans in an airtight, opaque container at 55‑65 °F, away from light and moisture. Use a one‑way valve to release CO₂, and consume within two weeks for ideal cupping flavor.
What Is the Ideal Water Mineral Content for Consistent Aroma Extraction?
You should aim for 150‑200 ppm total dissolved solids, with calcium around 50 ppm and magnesium near 10 ppm. This balance extracts aroma consistently while avoiding over‑extraction or flat flavors.
Can Alternative Brewing Devices Replace the Traditional Cupping Bowl?
Yes, you can swap the cupping bowl for a French press, AeroPress, or pour‑over dripper, as long as you keep the coffee‑to‑water ratio, temperature, and brewing time consistent for reliable aroma comparison.
How Does Ambient Temperature Affect Aroma Perception During Cupping?
You’ll notice warmer rooms intensify volatile compounds, making aromas seem stronger, while cooler temperatures mute them, so the coffee’s bouquet can shift dramatically depending on the ambient heat.
What Are the Best Practices for Cleaning Cupping Equipment Between Samples?
You should rinse each cup and spoon with hot water, scrub gently with a soft brush, then soak in a mild detergent solution for a minute before rinsing thoroughly and drying with a lint‑free cloth.
In Summary
By mastering these ten steps, you’ll consistently uncover a coffee’s true character, spot flaws early, and communicate its qualities with confidence. Your cupping becomes a reliable tool for selecting, roasting, and selling beans that delight every palate. Keep the process disciplined, trust your senses, and let each cup guide you toward better coffee decisions.


